Not everyone is up to building a house or a large outbuilding, even if they have the desire. Some lack experience, others lack time. But some work can still be done yourself, while saving quite significant money. For example, installing a foundation plinth (otmostka) around the house.
I ordered my country timber house from a construction company. The house foundation is a reinforced concrete strip foundation, 300 mm wide and 1 m high (500 mm underground part and 500 mm above-ground plinth) on a half-meter sand cushion.
When the builders finished erecting the house at the end of winter, they advised me to definitely build the plinth in the summer, before the autumn rains, even postponing other work. And if funds for finishing the house are insufficient, then do it yourself—since no special experience or lengthy practice is needed for this. Then your house will winter without problems and will greet more than one spring.
And although the work seemed straightforward, before starting it I still read the relevant literature (the magazine “Modelist-Konstruktor” also had publications on this topic), and familiarized myself with similar materials on the Internet. And not in vain. I hadn’t even suspected some of the subtleties of this work. For example, this point: the plinth should extend at least 200 mm beyond the projection of the roof overhang edge.
I chose the simplest and cheapest option—a concrete plinth 600 mm wide, with a minimum thickness of 100 mm on a sand subbase layer up to 200 mm thick, which would surround the house on all sides. Looking ahead, I’ll note that at part of the side wall in front of the porch, I “combined” the plinth with a sidewalk—made it 1500 mm wide.
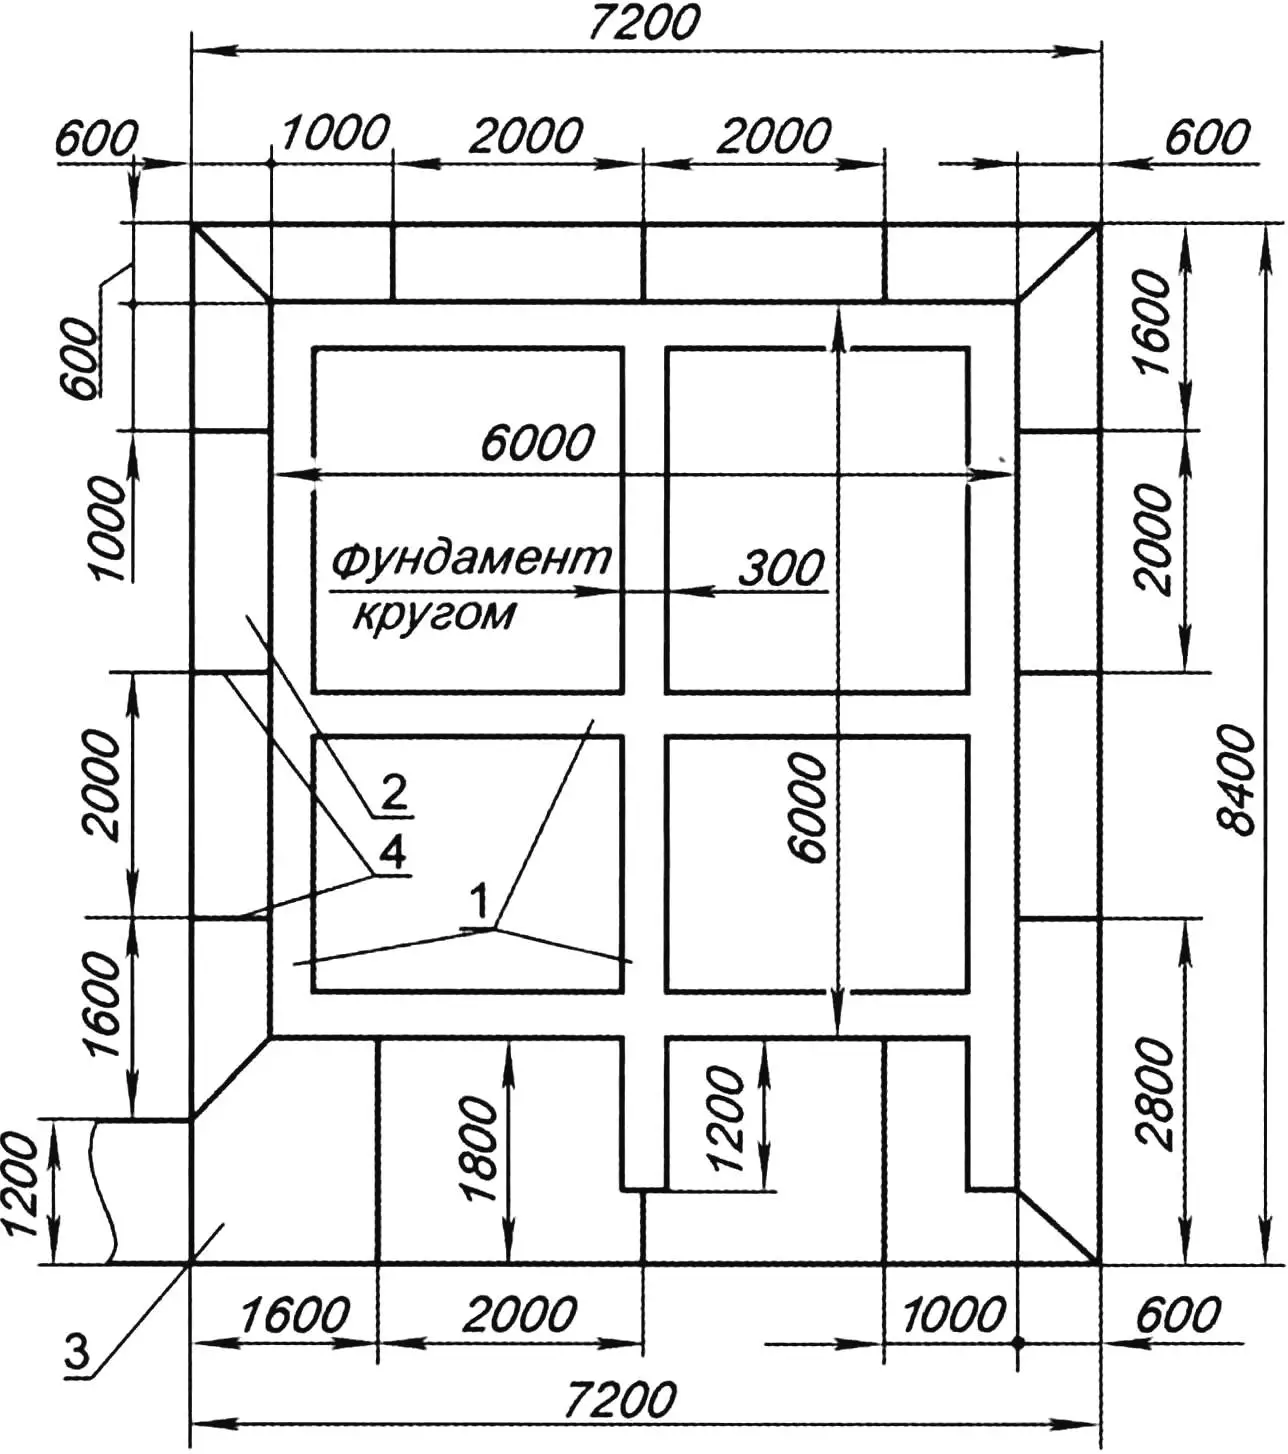
1 — foundation; 2 — plinth; 3 — sidewalk combined with plinth; 4 — section boundaries combined with expansion joints
I calculated the necessary volume of materials: sand, crushed stone, cement, boards for formwork, and also estimated what tools would be needed.
I ordered river sand, washed. Only this kind is needed for concrete. But for the subbase layer, quarry sand with small clay impurities would have been quite suitable. Crushed stone—limestone, grade 600–800, fraction up to 50 mm. Binder—Portland cement grade 500.
The first problem I encountered was determining the slopes: I intended to use the plinth as a sidewalk. Therefore, I chose a minimum slope—3%.
Since installing the plinth is outdoor work, I tried to choose suitable weather (days without rain), trusting the forecast. But, as is known, you can’t order the weather, and forecasts can let you down, so I tried to be prepared for unexpected precipitation—I prepared in advance a polyethylene film of suitable length and width and weights for it (pieces of beams and boards left over from building the house), so the wind wouldn’t blow the film away. And not in vain. On the third day, instead of the predicted light rain, a downpour poured from a gray cloud. I managed to cover the concrete, but the trench I had dug in advance along the wall for 2.5–3 m (pit, ditch) was filled with water almost to the edges, not from “direct hits,” but from water flowing from the nearest “surroundings” (approaches). I had to leave it to dry and continue work on the next section, returning back when I was already working near the adjacent wall.
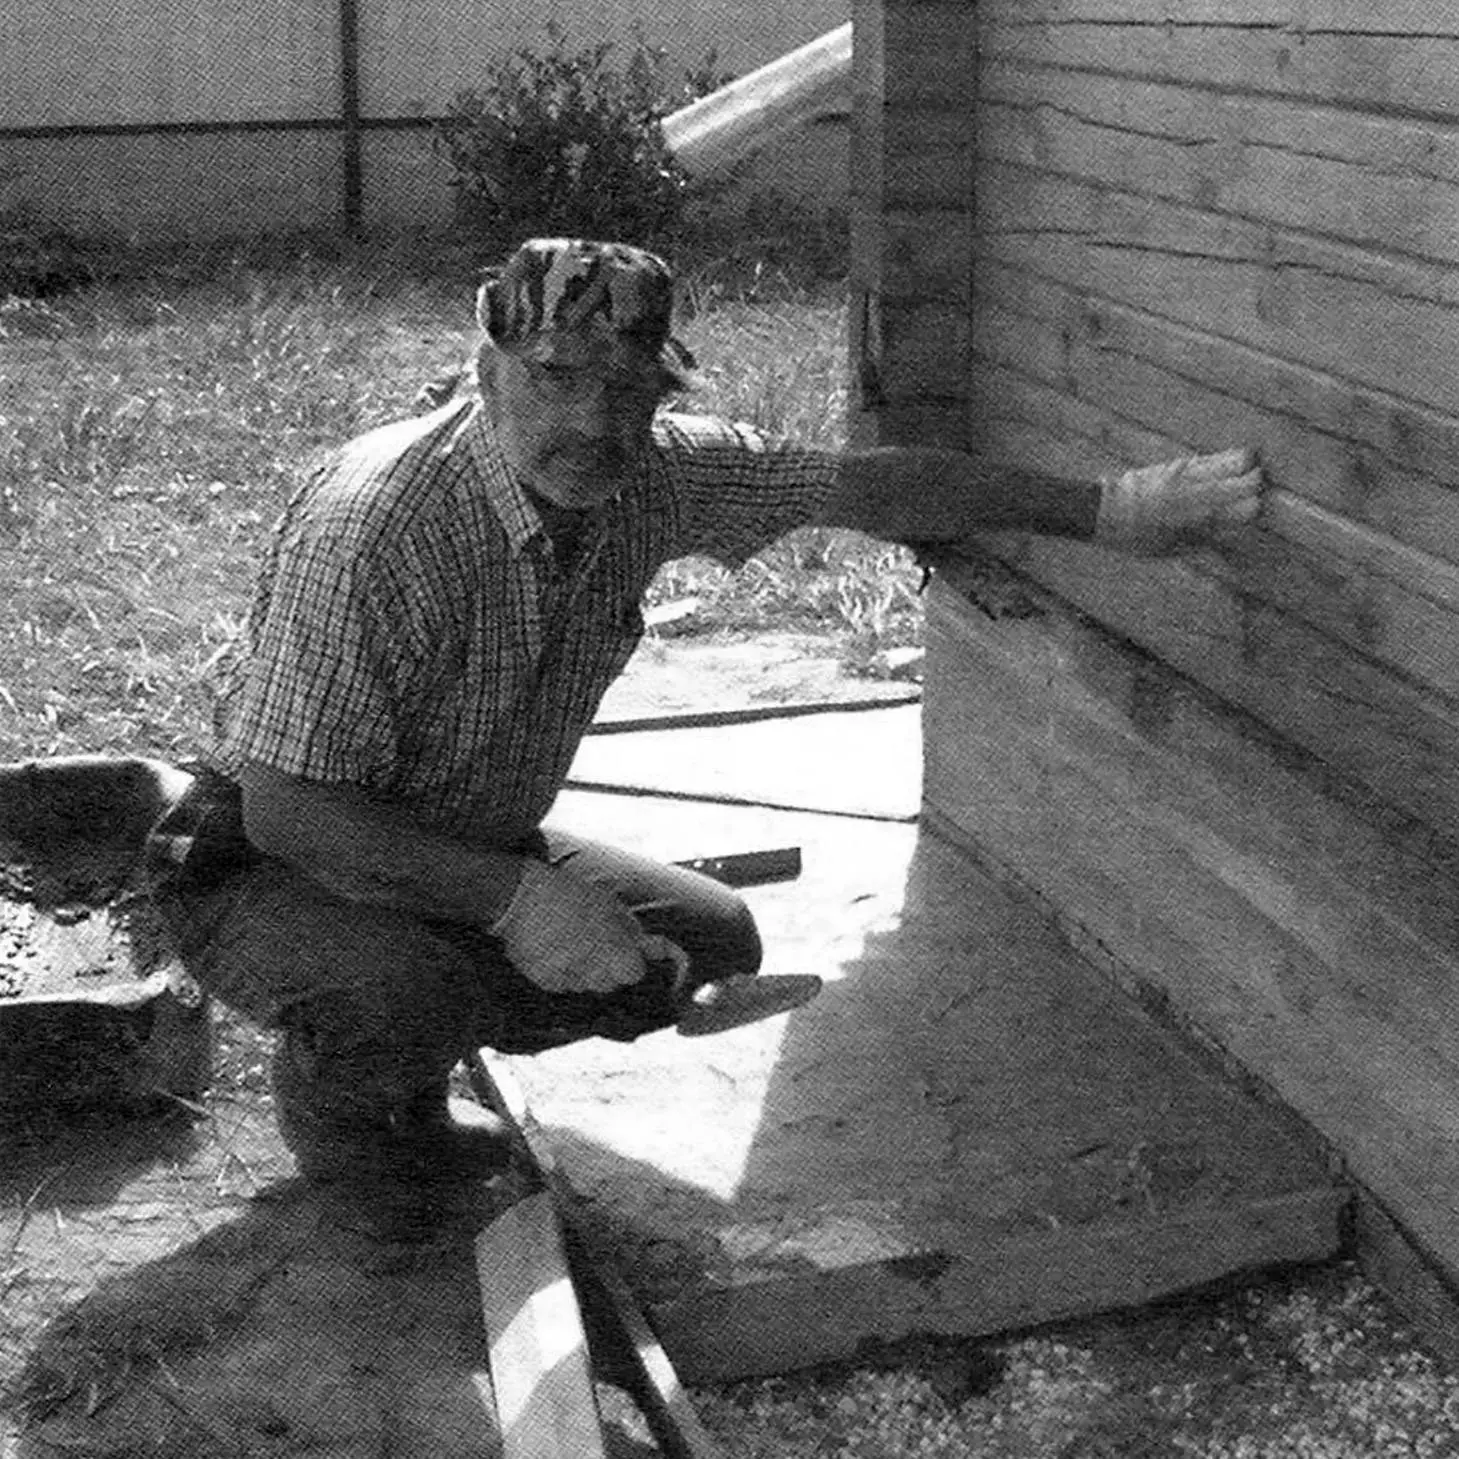
This led me to the idea of doing the plinth not in stages (by type of work), but by sections, planning for a certain period of time. For example: before lunch (or after lunch) complete the full cycle of plinth installation work on a section—from removing the soil layer (digging a trench) to “ironing” the concrete (sprinkling the not yet hardened surface of the concrete plinth with cement and smoothing it with a flat steel tool (trowel, “hawk,” or better—a float). This is how I proceeded further, thereby protecting myself from bad weather and diversifying the work, plus delighting the household with daily commissioning of a new section, or even two.
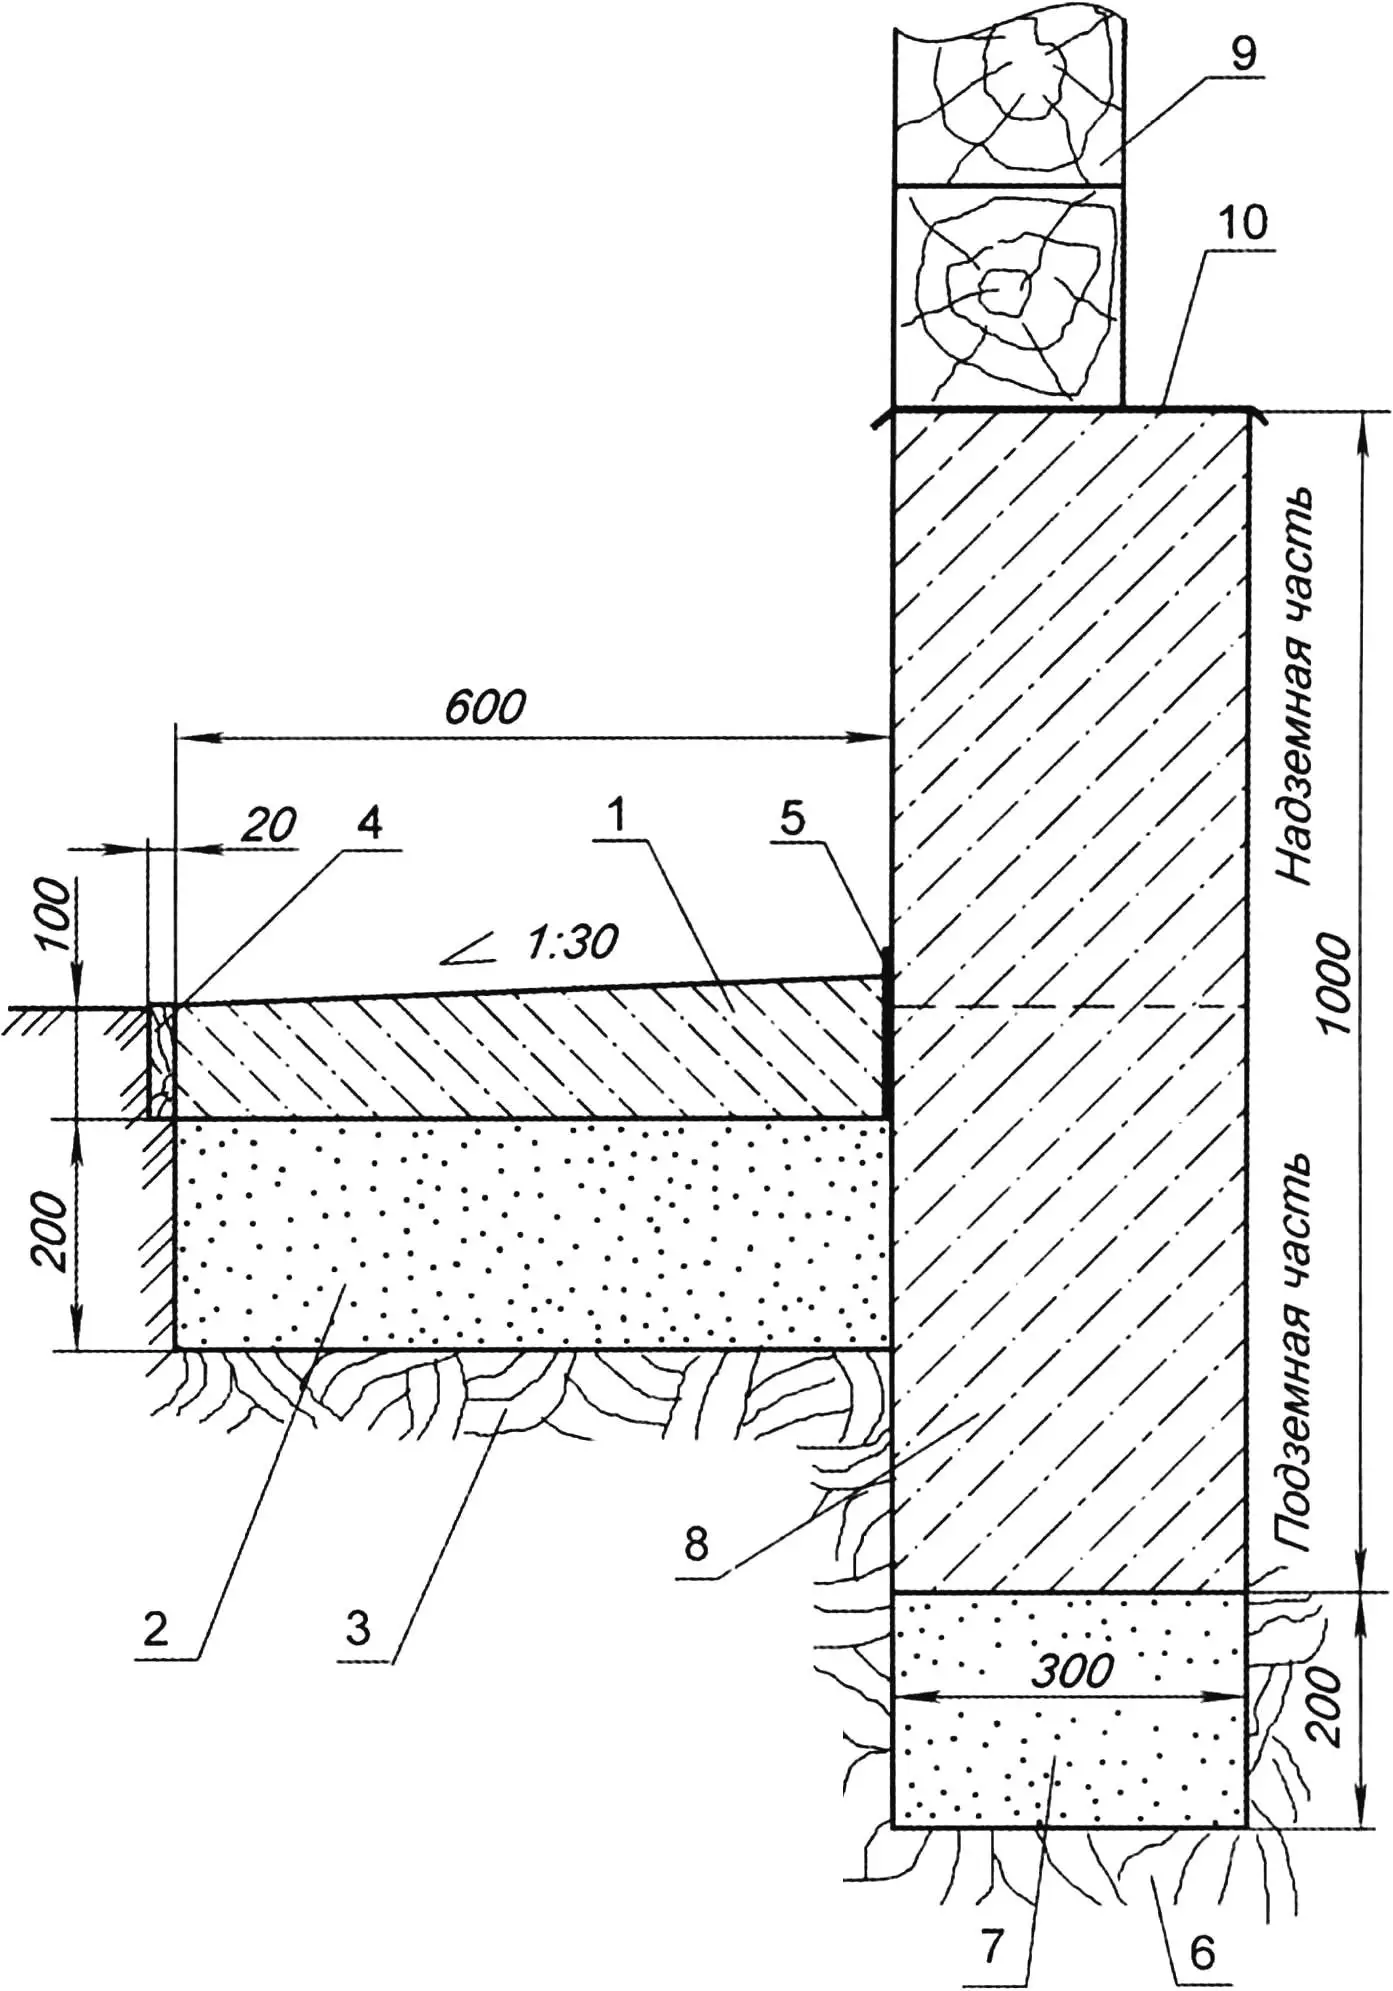
1 — plinth covering (concrete M300); 2 — subbase layer (sand); 3 — base (clay); 4 — formwork board; 5 — separating pad (roofing felt); 6 — house foundation base (clay); 7 — house foundation sand cushion; 8 — shallow foundation (reinforced concrete); 9 — house wall (timber 200×200); 10 — waterproofing (roofing felt)
I divided the sections into approximately two meters each, placing a transverse board (20 mm thick) between them. At the corners, I installed such a board diagonally.
Since we’re talking about the trench, I’ll say that I dug it to the depth of a spade blade, that is, about 250 mm. In the literature I read that it would be good to treat the bottom of the trench with herbicides to prevent weeds or shrubs from growing through the plinth. In my case, this depth corresponded to the thickness of the fertile soil layer (down to clay), so I didn’t treat it with herbicides. I immediately loaded the soil from the trench into a wheelbarrow and used it to fill low areas of the garden. The unintentionally loosened soil layer at the bottom of the trench, before filling with sand, I compacted with a hand tamper.
Concrete mix composition: cement-sand-crushed stone—1:2:3 (by volume). I added approximately as much water as cement.
I initially prepared the concrete mix in a nailed-together wooden box. But here a neighbor came to the rescue, offering for this purpose a steel stamped pallet from a decommissioned truck crane. It was good already because all its corners were rounded. It was convenient to mix the components with a square shovel and scoop out the mix almost without residue, as well as clean and wash the pallet after finishing work.
At the time I was making the plinth, a construction crew from Armenia was doing exterior finishing work on the neighboring house. Observing my work preparing the concrete mix using the classic technique (measuring “by the book” and pouring sand-crushed stone-cement into the mixer-pallet with a bucket and, after mixing it all “dry” with a shovel, adding water and mixing again), one of them, named Armen, came up to me and showed how he performs these operations. He measured and poured only sand and cement into the pallet, mixed them, added water, mixed again, and into the already liquid mix added crushed stone and mixed again. I repeated his technique and immediately felt that I spent incomparably less time and effort on this cycle of operations, for which I’m grateful to the advisor.
Another small “trick.” Initially, I poured the concrete mix directly onto the prepared sand cushion. At the same time, I noticed that first of all the top layer of the mix drains—cement “milk,” which practically lacks crushed stone, and it (“milk”) goes into the sand. Then, before pouring the mix, I started spreading a layer of crushed stone on the cushion, which soaked up the “milk” and formed a monolith with the concrete covering. This way concrete was saved, and accordingly cement.
A few words about reinforcing the concrete plinth covering. I didn’t do it for most of it, but only made it at the wall on the porch side, where the plinth is combined with the sidewalk. For reinforcement, I used pipe scraps, steel mesh (chain-link), in places tying them with annealed steel wire from the same mesh.
After the concrete gained sufficient strength, already in late summer, on a cool August day, I carefully removed the boards, and filled the expansion joints with heated bitumen mastic, adding cement and sand to it. With the same composition, I also filled the gaps between the plinth and the foundation plinth, having first removed the roofing felt pad.
What does the plinth provide?
The main task—protecting the foundation from meltwater and rain, diverting water away from the house foundation.
Reduces freezing and frost heaving of the soil in winter near the foundation and under it, especially with shallow foundation depth.
Reduces the likelihood of damage to the foundation by plant roots.
Decorative quality, architectural completeness, aesthetics of the structure.
A. POLIBIN
Recommend to read
 JEWELLERY WITH THEIR HANDS
During archaeological excavations of ancient burial mounds and graves along with different kinds of jewelry in many meet the beautiful decorations, made of copper. Try your hand in the...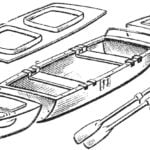 BOAT-CLAMSHELL
Propose the layout diagram of the folding kayak with a rigid hull or a light boat in the yard, It consists of middle main part and two detachable sections — bow and stern, the kayak is...
