A home craftsman’s desire to mechanize their labor as much as possible and replace hand tools with mechanical ones is only natural. One such tool is the jigsaw, indispensable when working with plywood, thin plastic, and similar materials. There are several options for replacing a hand jigsaw with a mechanical one: an attachment for the “Skillful Hands” machine, a foot drive, etc. Many DIY enthusiasts use commercially available electric jigsaws, which, however, often fail to meet the required standards: they are underpowered, have a limited blade stroke (insufficient for thick plywood), and sawing with them requires some skill.
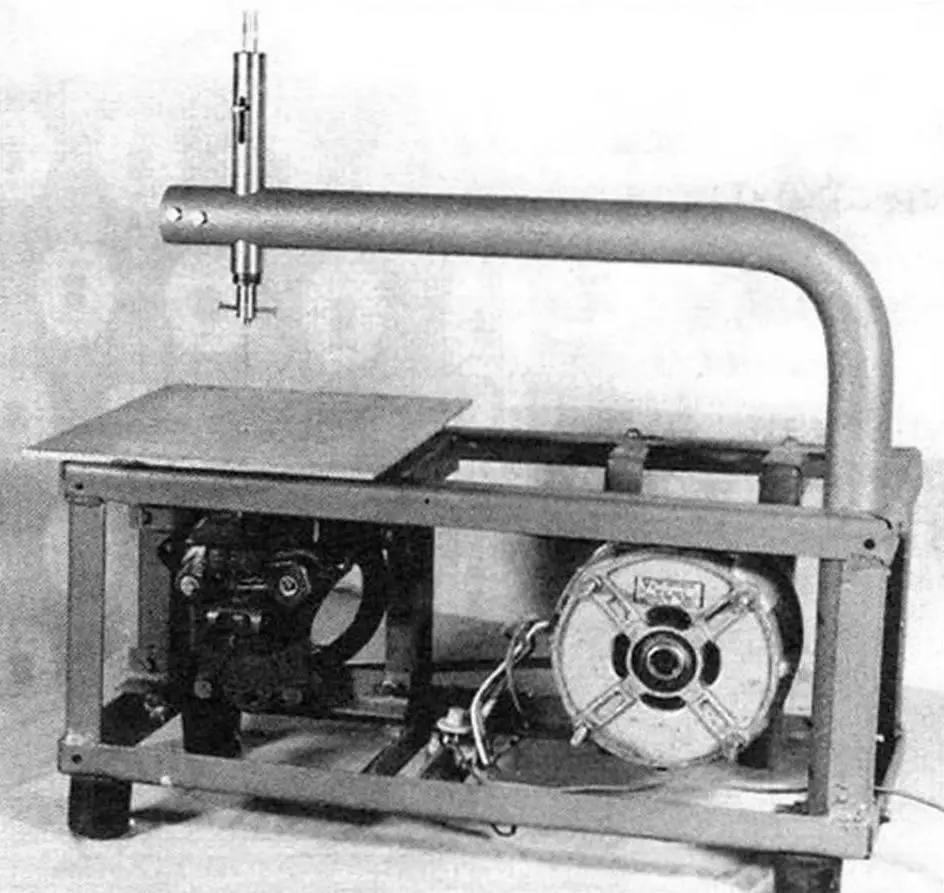
I present to readers an electric jigsaw that is virtually free of these drawbacks. Its design incorporates the piston system of a refrigerator compressor model FR-0.125 and a DBSM-1E-U4 motor from a washing machine.
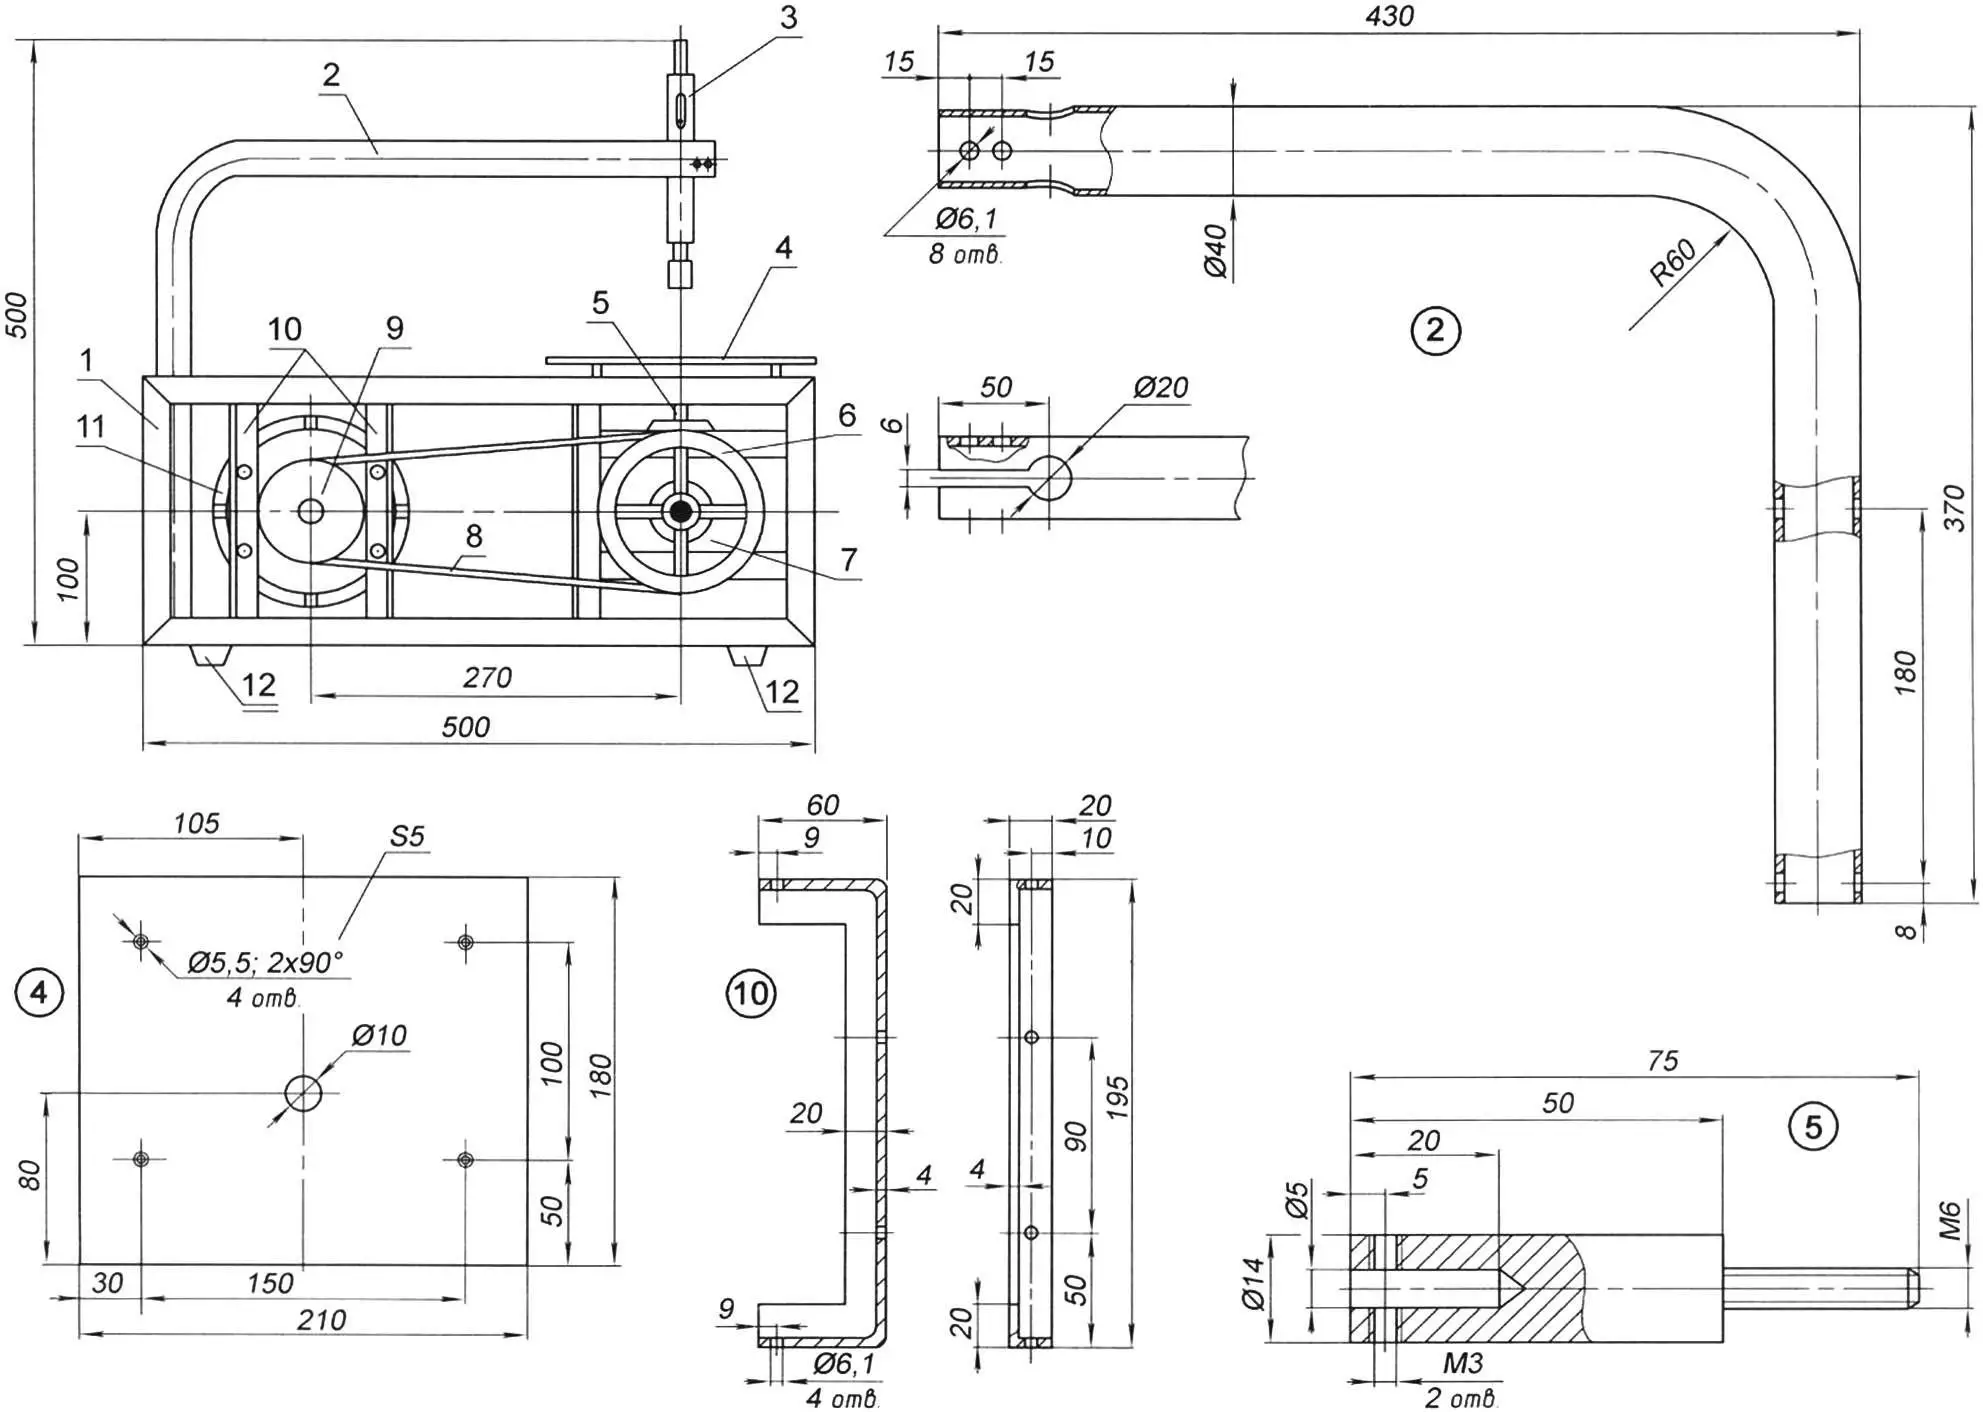
1 — frame; 2 — arm; 3 — upper blade holder assembly; 4 — table; 5 — lower blade holder assembly; 6 — driven pulley Ø130 mm; 7 — refrigeration unit; 8 — drive belt; 9 — drive pulley Ø70 mm; 10 — motor mounting brackets; 11 — motor; 12 — legs
The jigsaw operates at a driven pulley speed of around 700 RPM, with a blade stroke of 12 mm — twice that of a store-bought unit. It’s easy to use, has enough power to cut through thick wood, and the resulting cut requires no additional finishing.
To achieve optimal blade oscillation frequency, I installed a 130 mm pulley on the refrigeration unit and a 70 mm pulley on the motor, connecting them with a belt drive (all parts taken from a washing machine).
Modifying the refrigeration unit is not difficult. First, cut the compressor’s shell open and remove it. Detach the stator and, on the rotor side, mount a large pulley directly onto the shaft (enlarge the shaft hole if needed). Then disassemble the piston system: unscrew the three mounting screws and remove the piston. Drill a threaded hole in the center of the piston’s top surface to accommodate the screw from the lower blade holder.
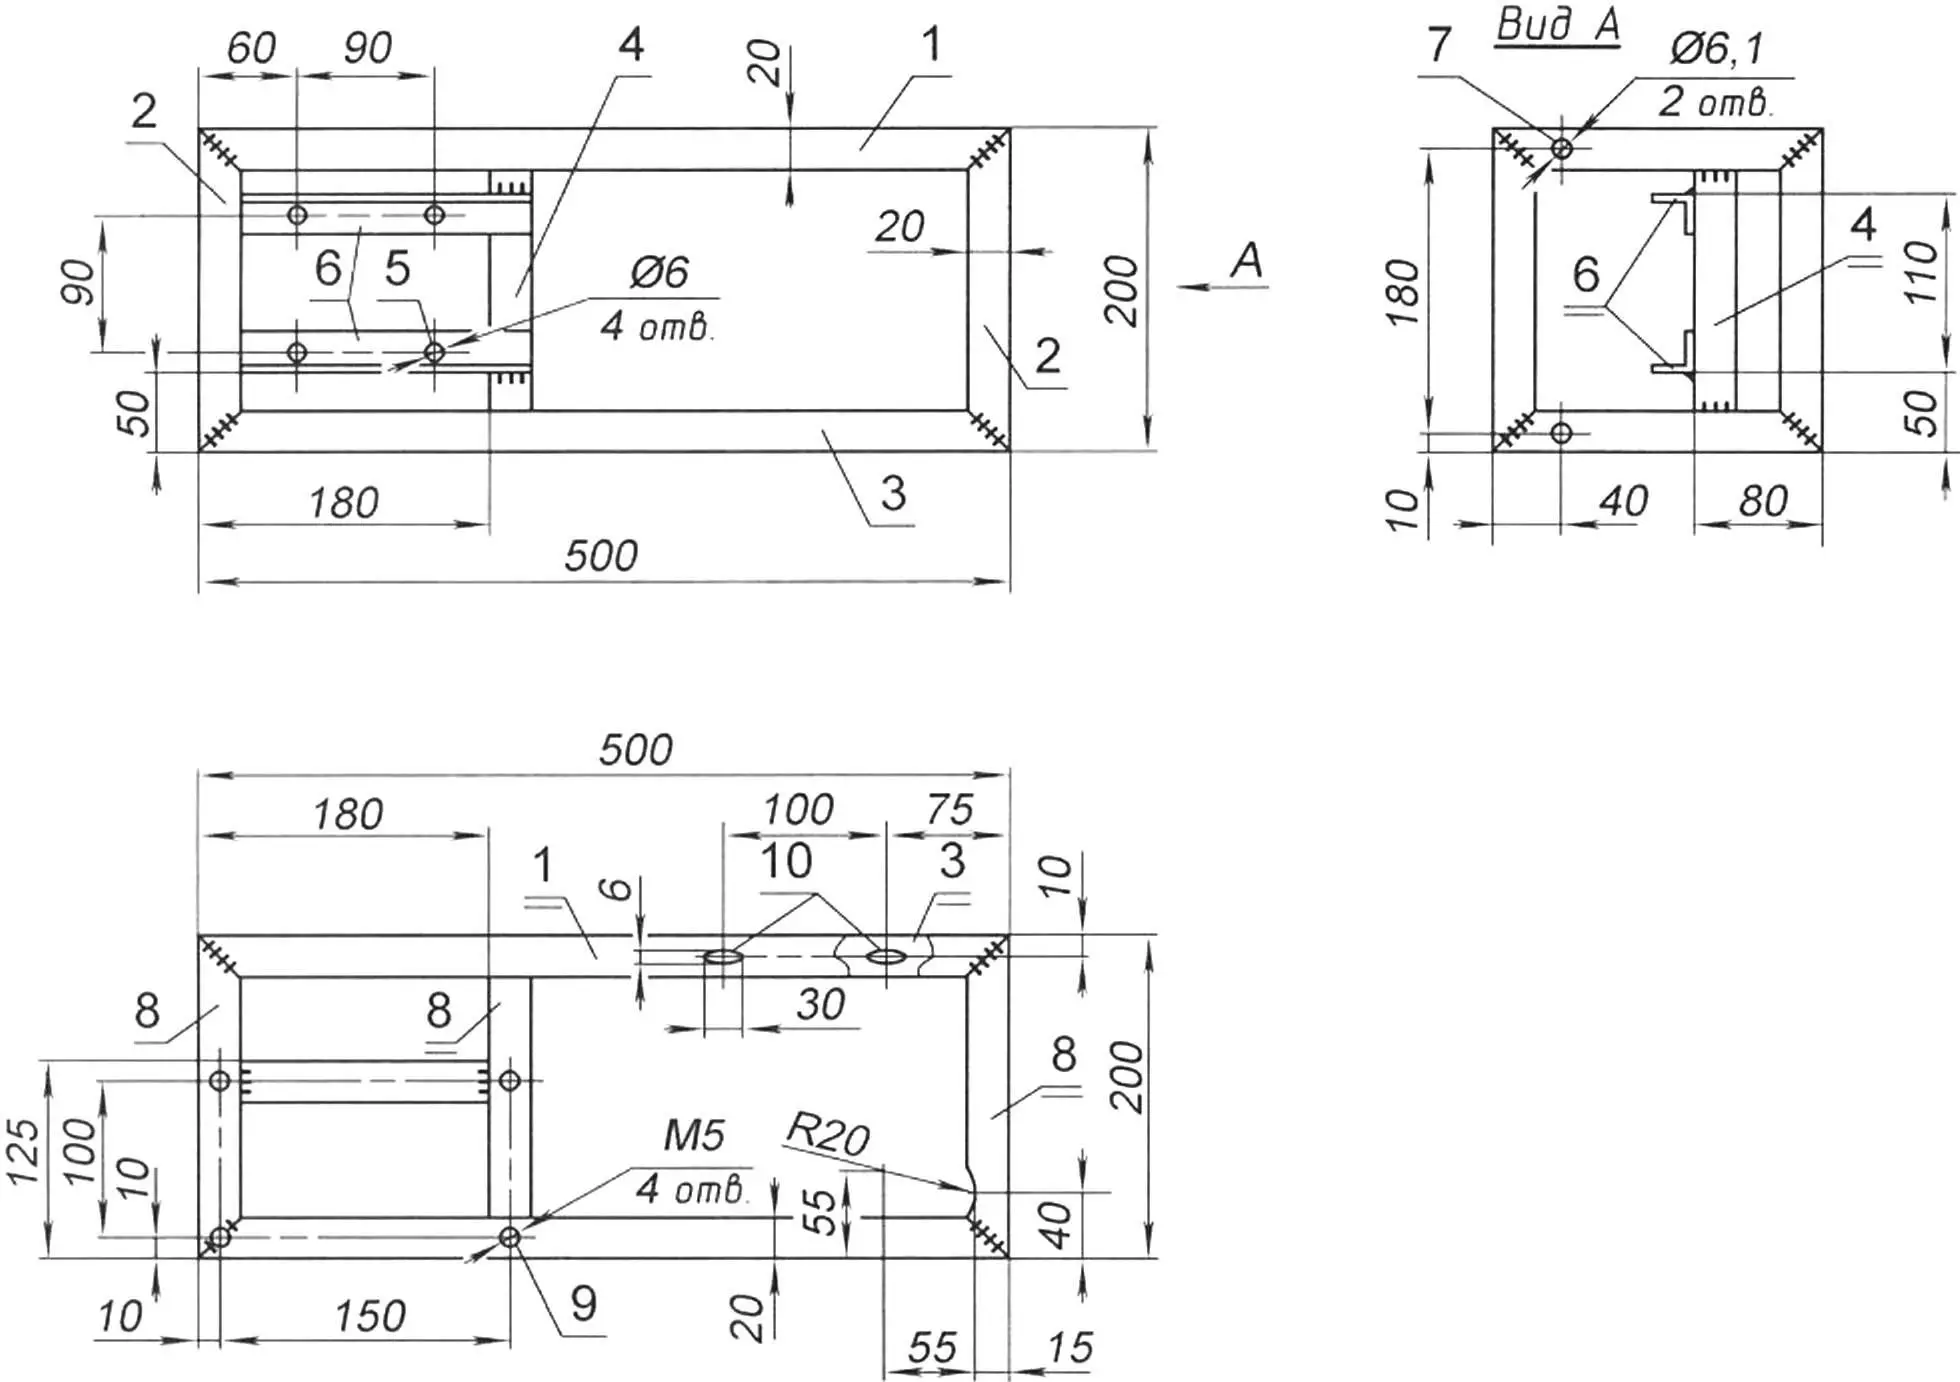
1 — upper longerons; 2 — upright; 3 — lower longerons; 4 — support bracket; 5 — hole for refrigeration unit mounting bolt; 6 — refrigeration unit bracket; 7 — hole for arm mounting screw; 8 — crossbars; 9 — hole for table mounting screw; 10 — holes for motor bracket bolts
Secure the lower blade holder to the piston in the required position and reassemble the piston system in reverse order. Be sure to remove the valves during reassembly. The most complex unit of the jigsaw is now complete. It is mounted on a frame welded from 20×20 mm steel angles. Since refrigeration unit housings can vary in design, the only adjustment needed may be the location of mounting holes on the frame.
I made the motor bracket bolt holes elongated to allow for drive belt tensioning.
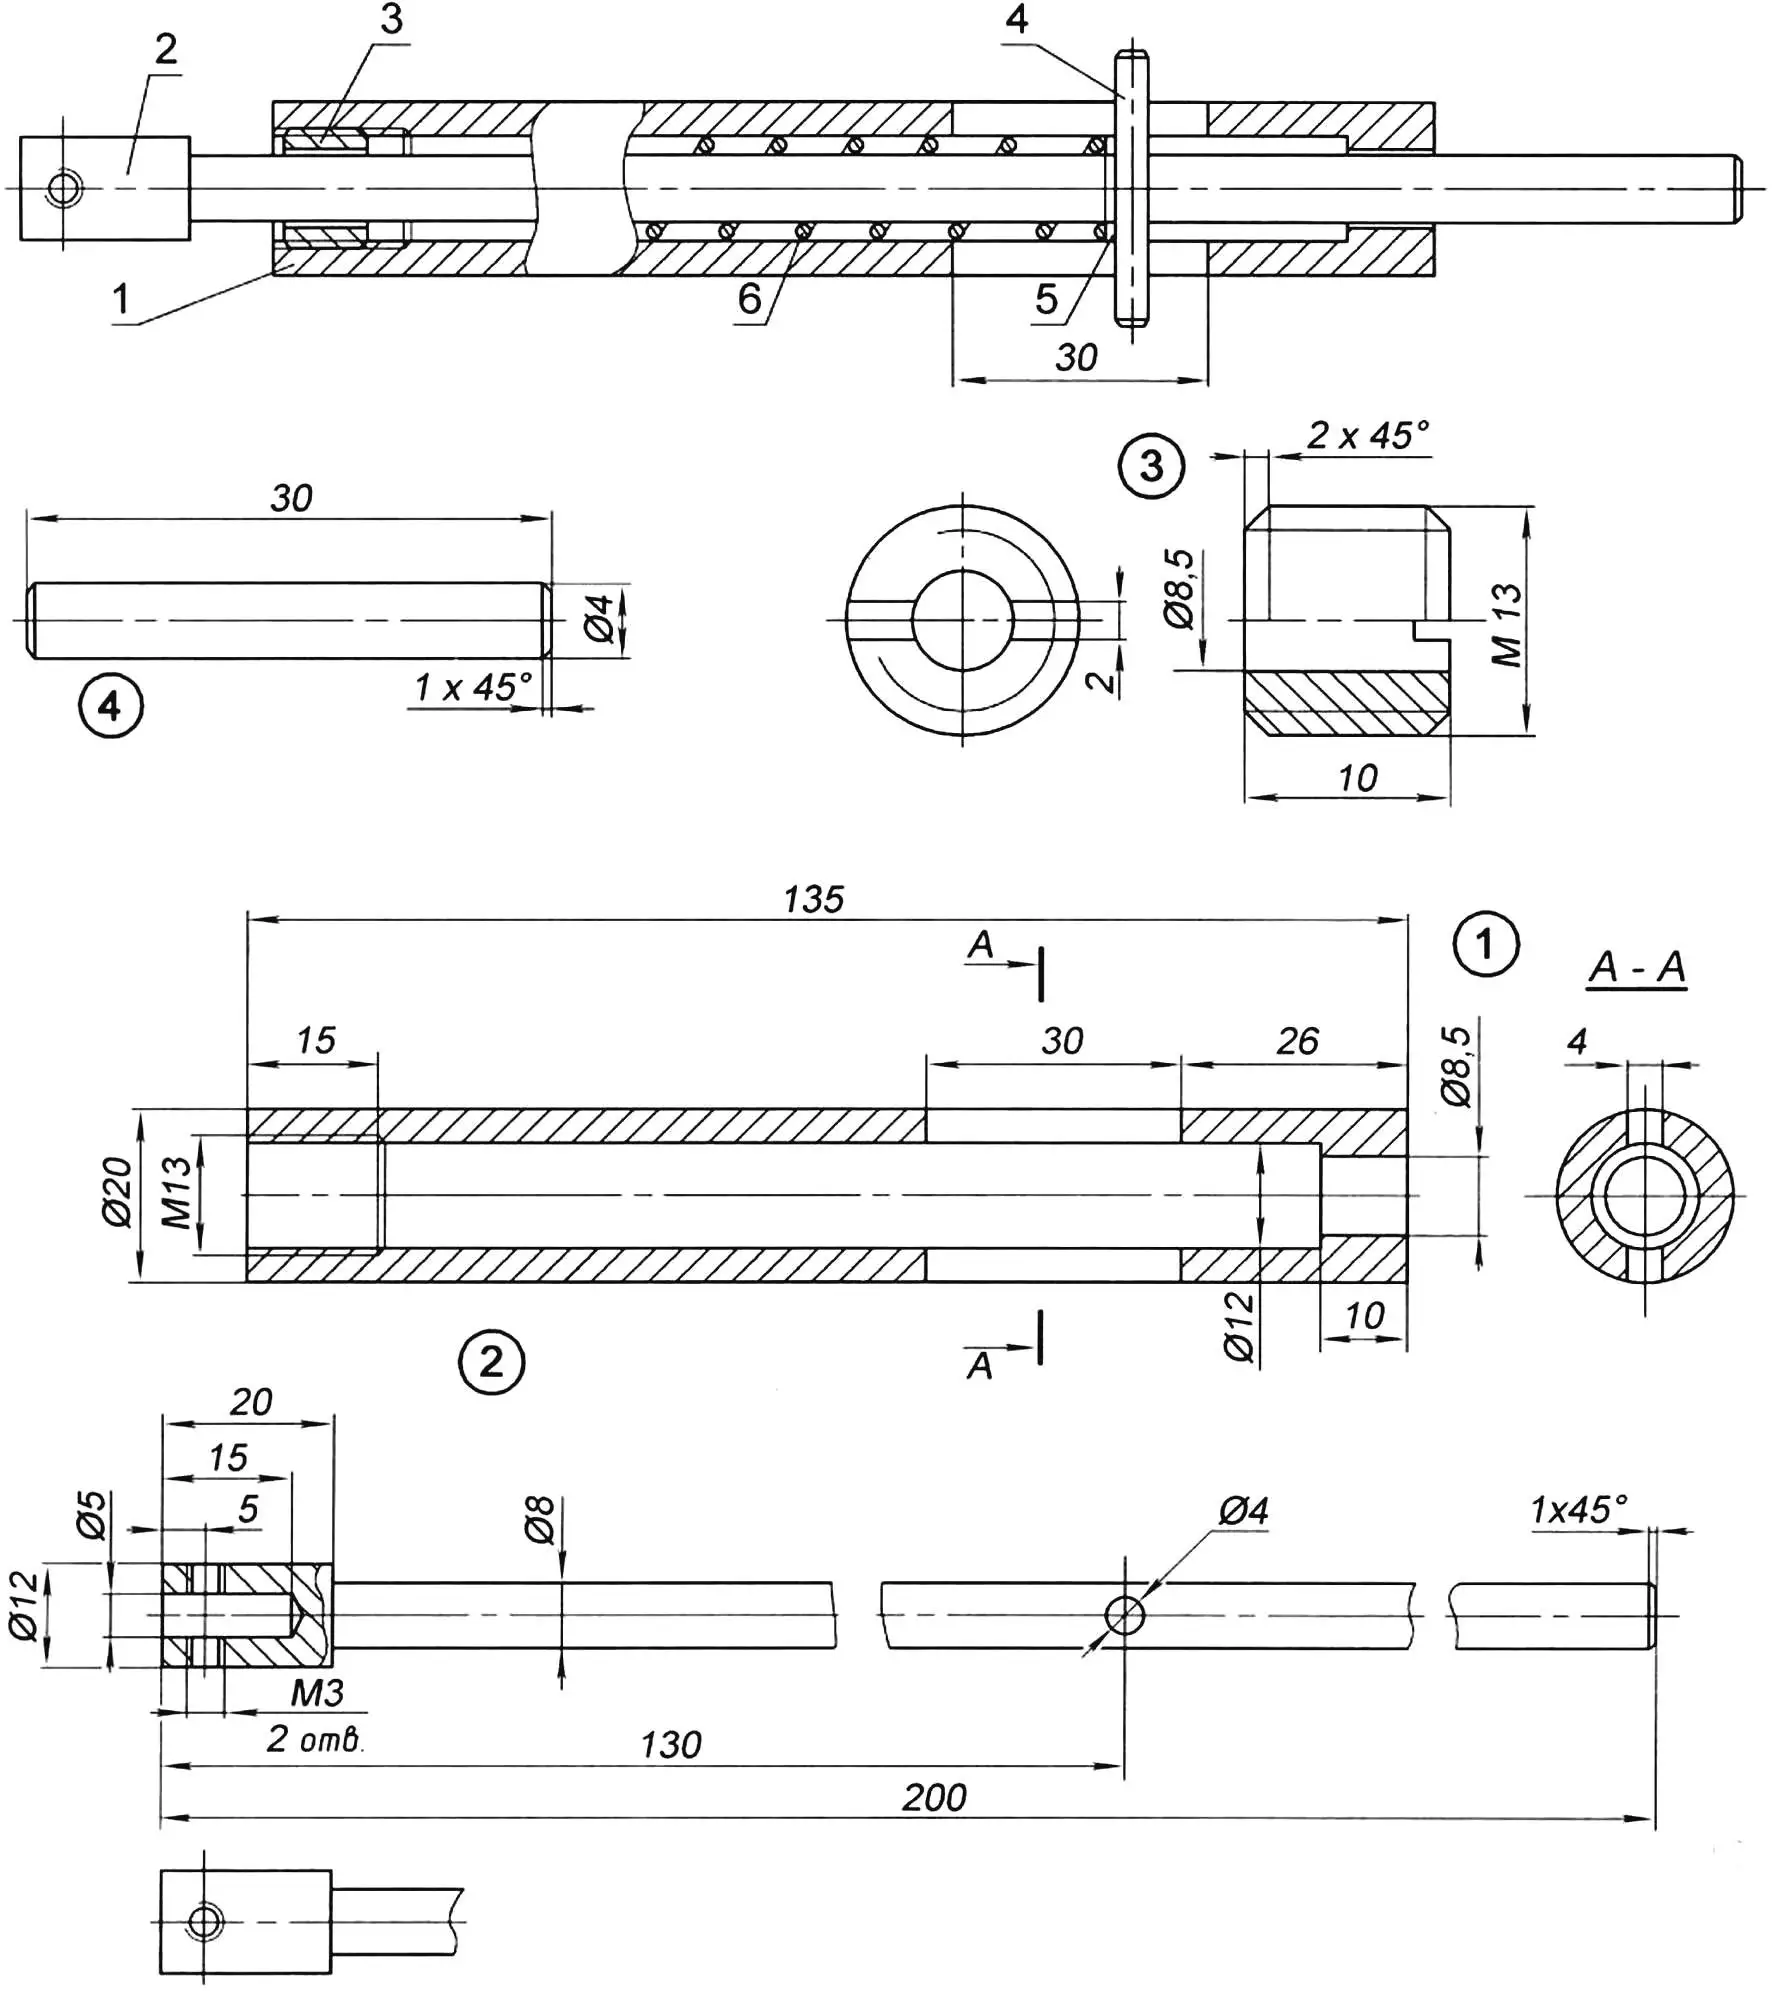
1 — sleeve; 2 — clamp with rod; 3 — threaded bushing; 4 — pin; 5 — washer; 6 — spring
The upper blade holder assembly is more complex than the lower one. The tension spring force is selected experimentally. Grooves in the sleeve and a pin prevent the rod and blade from rotating along their axis.
The assembly is mounted in an arm made of 40 mm diameter metal pipe, and it’s clamped in the required position according to the blade length.
Finally, a few technical tips. Lubricate the jigsaw right before use; clamp the blade into the lower holder while the piston is at its top position; spread the teeth of the blade for a cleaner cut and sharpen them if possible.
V. GONTAR
Recommend to read
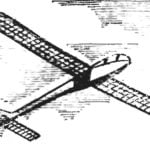 TO GIVE THE MODELER WINGS!
The entrance to the house I saw a boy pet of the twelve who, standing in front of Mr. he, gave to someone signals. All his efforts, however, remained unanswered. To login for some reason...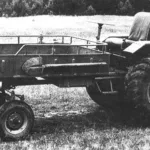 An all-purpose vehicle for a farmer
I built the self-propelled chassis called “Bychok” (Little Bull) more than ten years ago. Over this substantial period of use the machine has proved unpretentious, reliable and capable....
