Over the twenty years since the collapse of the Soviet Union, we have become accustomed to running to the store for ready-made products at the slightest thing. The managers who appeared in the country in huge numbers, absorbed by the thirst for profit, today don’t even know how to hold a hammer. This is also facilitated by the stream of TV series promoting free love and violence, while the authors of this mess don’t want to see that in the hustle and bustle there is plenty of room for creativity, and not only in the field of ballet and painting. Fortunately, for people capable of independently arranging their lives, the desire to create something useful does not disappear.
In view of this, I propose to overcome your laziness, citing busyness, and instead of running to the store for such trifles as the well-known bathtub grid, arm yourself with tools and make it yourself. In doing so, you will give pleasure not only to yourself, but also to those around you, especially children, who will certainly exclaim: dad can do it!
To make a grid, for example, measuring 670×370 mm, it is enough to purchase six linear meters of slats (three slats 2000 mm long, 40-45 mm wide and 19-20 mm thick), as well as two dozen self-tapping screws no more than 30 mm long.
For work, you will also need a fine-toothed hacksaw (can be for metal), a drill, a screwdriver, a file and fine sandpaper, as well as an antiseptic to protect the wood from moisture (the author used white acrylic impregnating antiseptic varnish – at the hostess’s request).
Work should begin with determining the dimensions of the grid, then saw the slats to the required sizes. In this case, I prepared six longitudinal slats 670 mm long and 45 mm wide, two transverse ones 370 mm long and one diagonal – 685 mm (for rigidity) with a small margin. After that, I slightly rounded all the edges with a file and carefully sanded them.
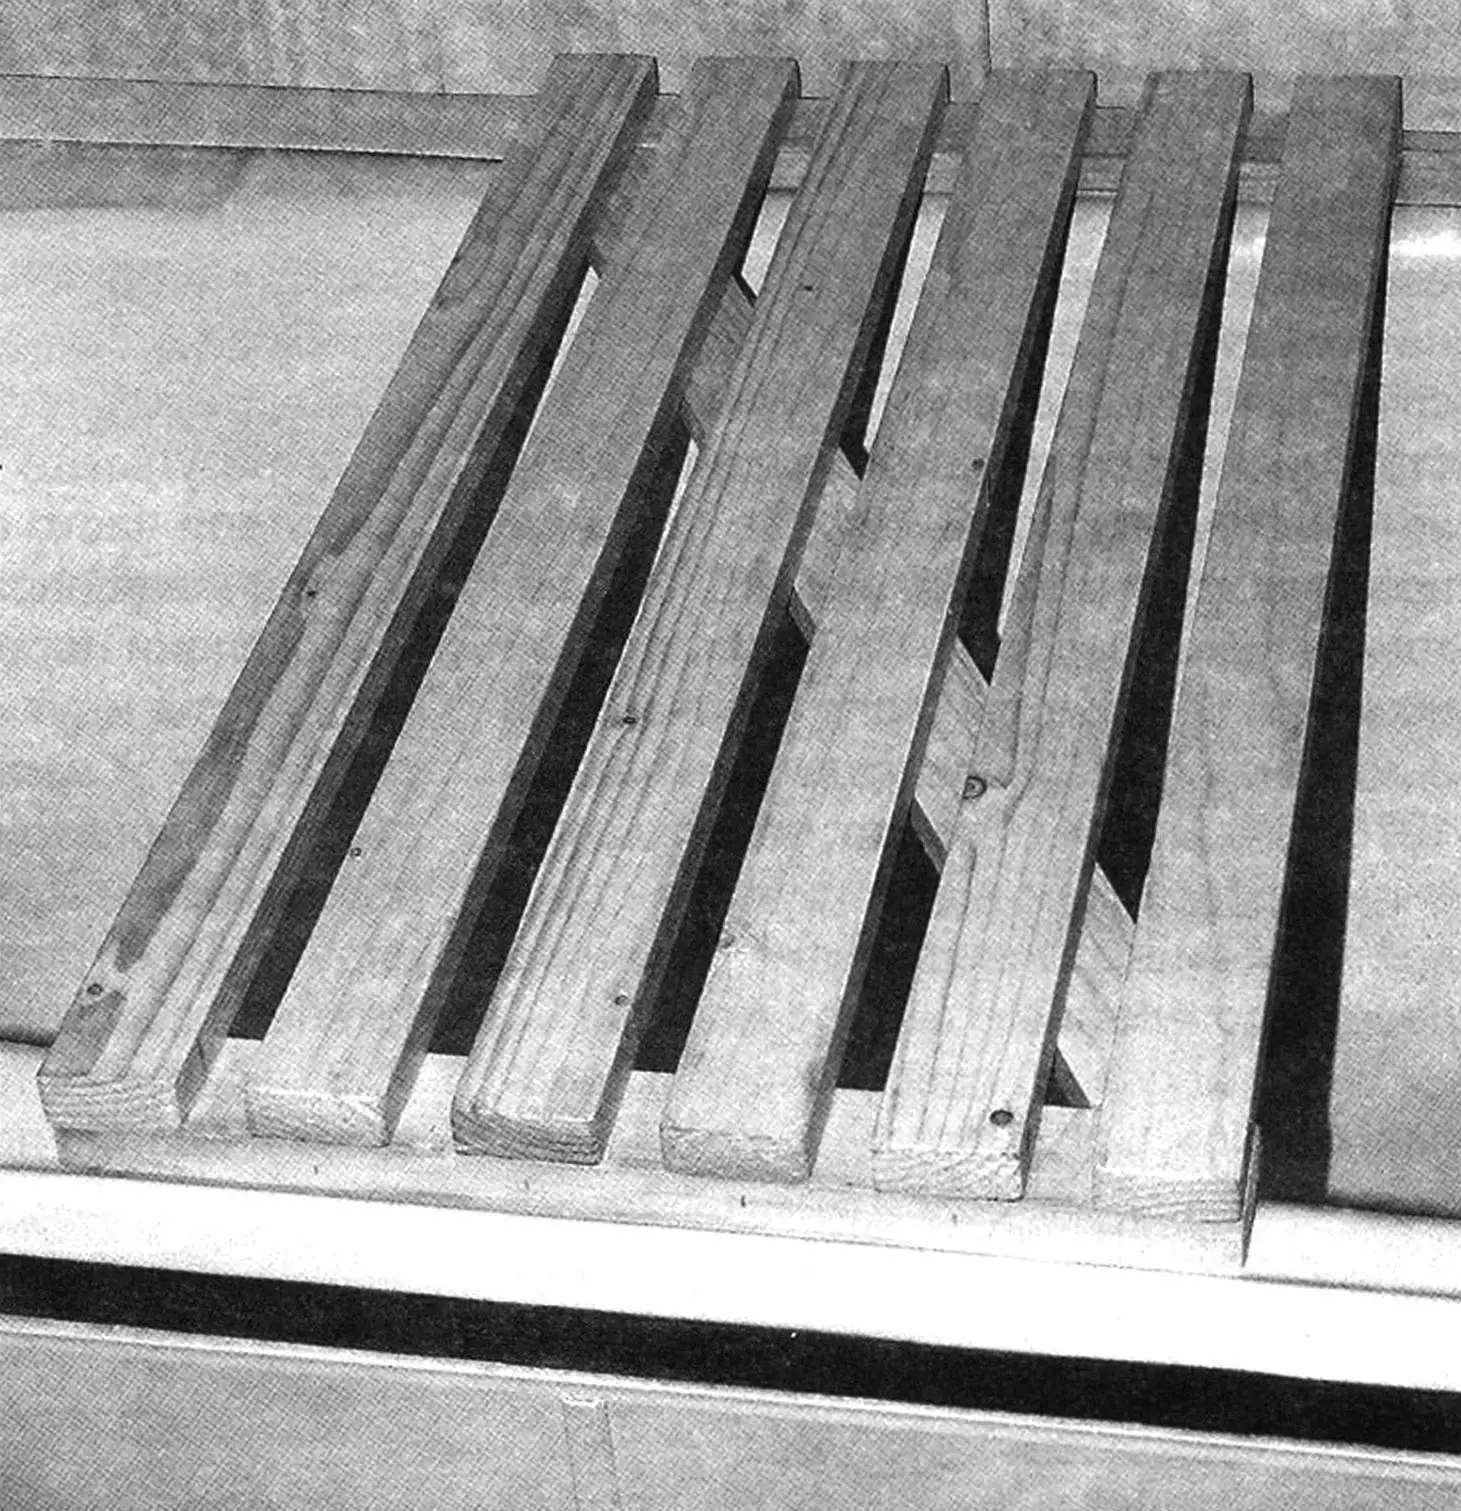
I started fastening with the outer slats at 90° angles, controlling the joint with a square. On the resulting frame, I evenly laid out the remaining longitudinal bars, controlling the gaps between them (about 20 mm), and made appropriate markings with a pencil for self-tapping screws. Then, using an electric drill (or a manual one), I drilled through holes for screws in the longitudinal slats, and on the inside of these slats with an 8-mm drill, I made recesses (~ 4 mm) for the screw heads. After that, I fastened the longitudinal and transverse slats.
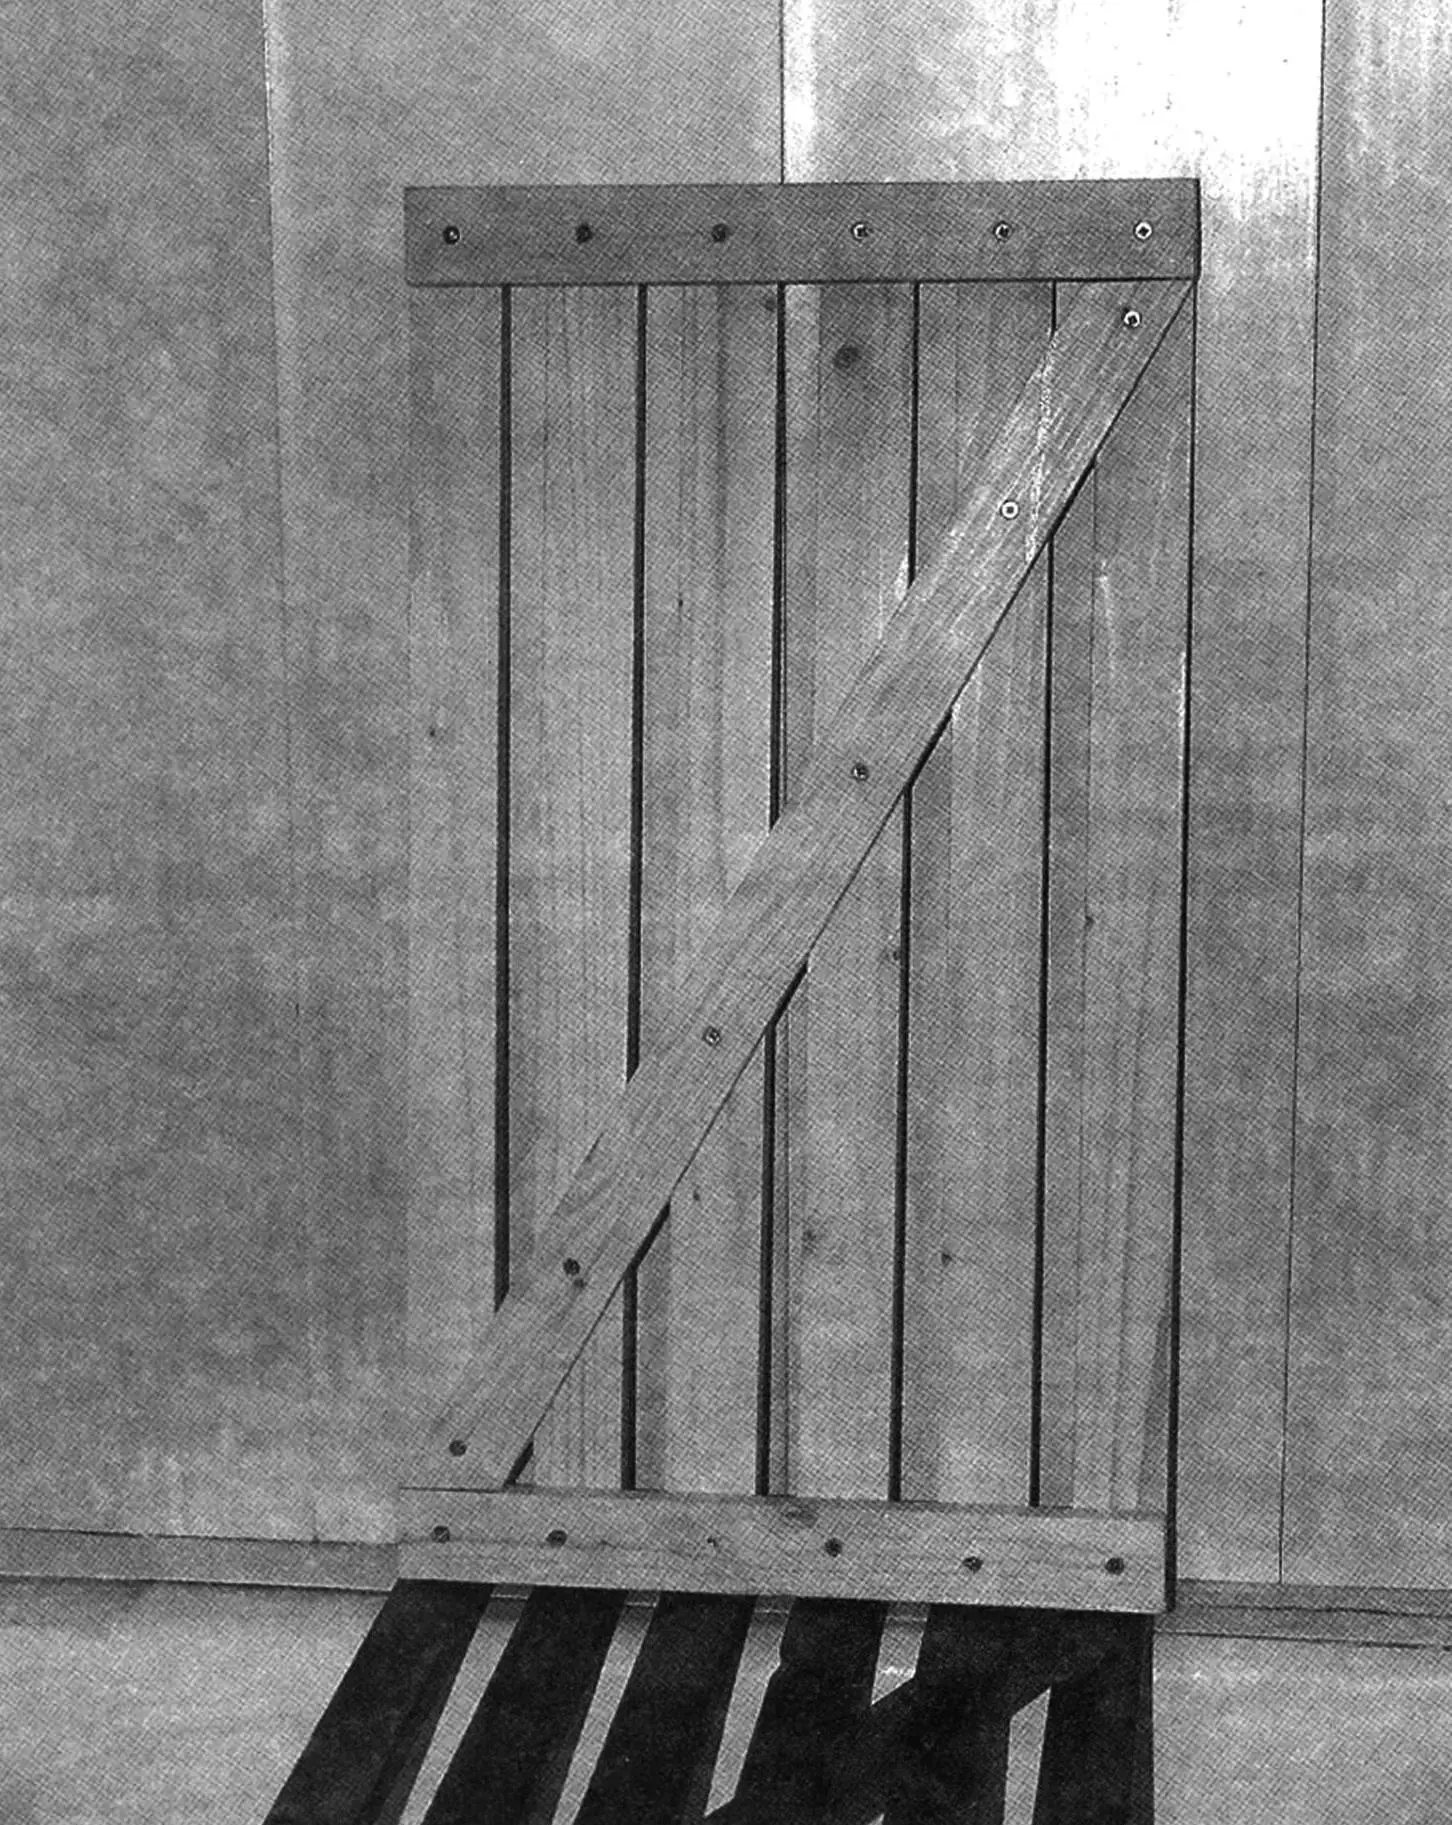
Finally, I fixed the diagonal slat. To do this, placing the resulting grid face down on the table, I applied the diagonal slat and, making final markings, drilled holes for screws in place and rigidly fastened it to the longitudinal slats. If desired, all holes for screw heads can be filled by inserting wooden pins into them (preferably with glue). After cutting the protruding parts of the pins flush, with a fine-toothed saw, for example, a slot saw, they should be carefully sanded.
At the final stage, I coated the grid with antiseptic varnish.
After drying, I cleaned the coating with fine sandpaper and, freeing the structure from dust, painted it again.
In the final form, a quite quality product was obtained, about which the grandchildren said: “grandfather can do it!”
The homemade grid can be used both as a seat and as a floor one, and also used as a stand for basins.
«Modelist-Konstruktor» № 2’2016
Recommend to read
 THE LABEL “SCOTCH”
You will agree that even in a darkened cellar will not mix banks, for example, blueberry and blackcurrant, if they have labels with information about the contents. Someone as label uses... The an-70
The development of military transport aircraft (MTC) An-70 intended to replace the An-12, began in 1986 After seven years of tactical and technical requirements specified, wherein, based...
