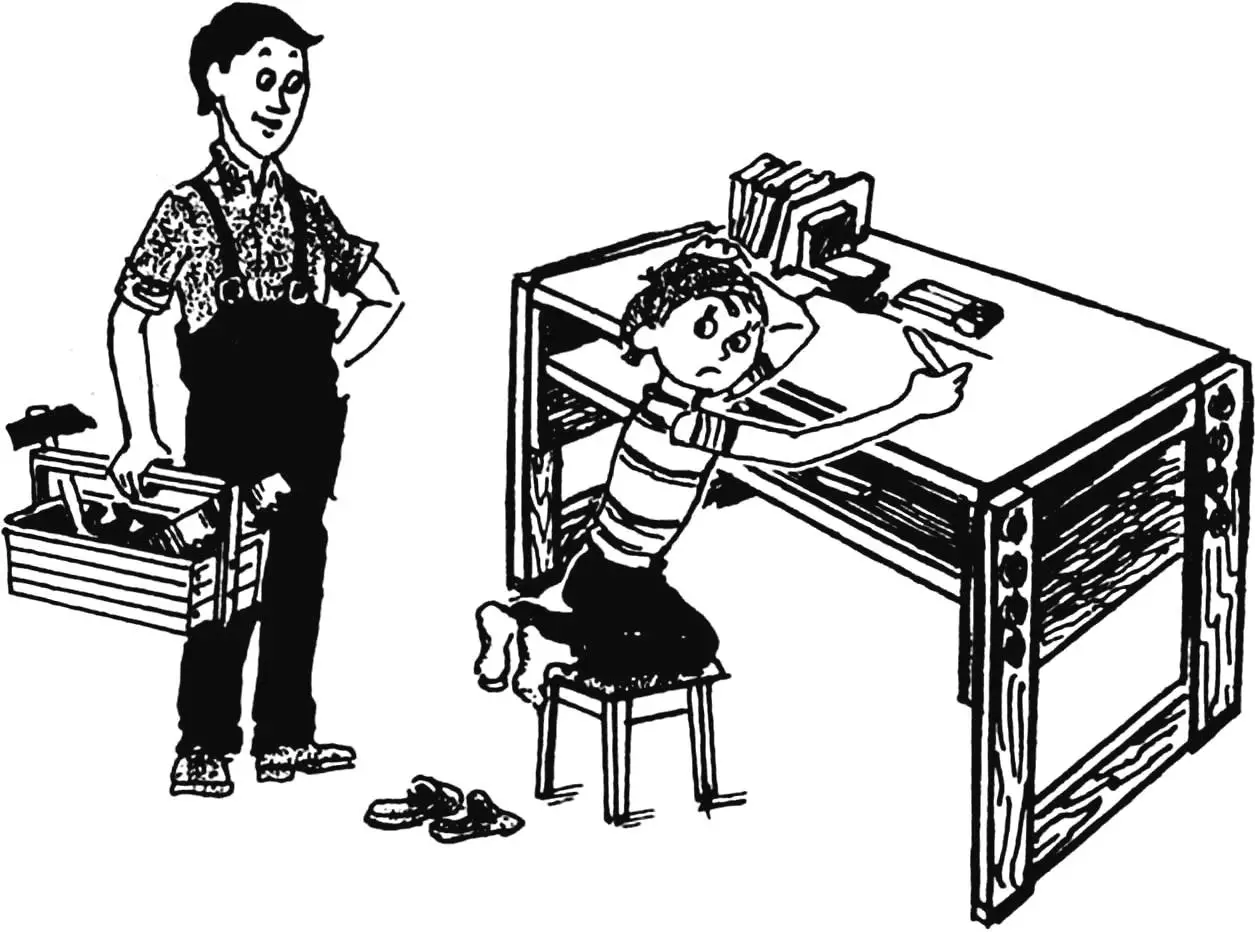
It’s good if a child has their own table for games and activities. But it would be even better if the table always matched the child’s age, or more precisely — their height.
The table design proposed by the Hungarian magazine «Eszermester» allows you to adjust its height.
This is achieved by making the legs separately and attaching them to the table with furniture bolts with wing nuts. Thus, you can change the level of their installation by choosing pairs of suitable holes.
The figure shows design options that differ in the table body solution: with shelf-niches in the under-table and with a drawer (if desired — with two drawers).
The construction of the first option is given in detail, as the simplest to manufacture. Moreover, its solution provides for two-sided use of the table when it is installed against a wall with one of its ends.
The table body is made from furniture panels or chipboard. It consists of two side panels, horizontal and vertical under-table panels, and a tabletop. All parts are connected to each other with inserted round tenons with glue (carpentry, casein, PVA). Through holes for furniture bolts are drilled in the side panels — for attachment to the legs.
The legs are assembled from wooden blocks with a cross-section of 60×30 mm, with the same inserted round tenons with glue. After assembly, holes for fastening bolts are drilled in the vertical blocks. In this case, it is convenient to use side panels with holes as a jig.
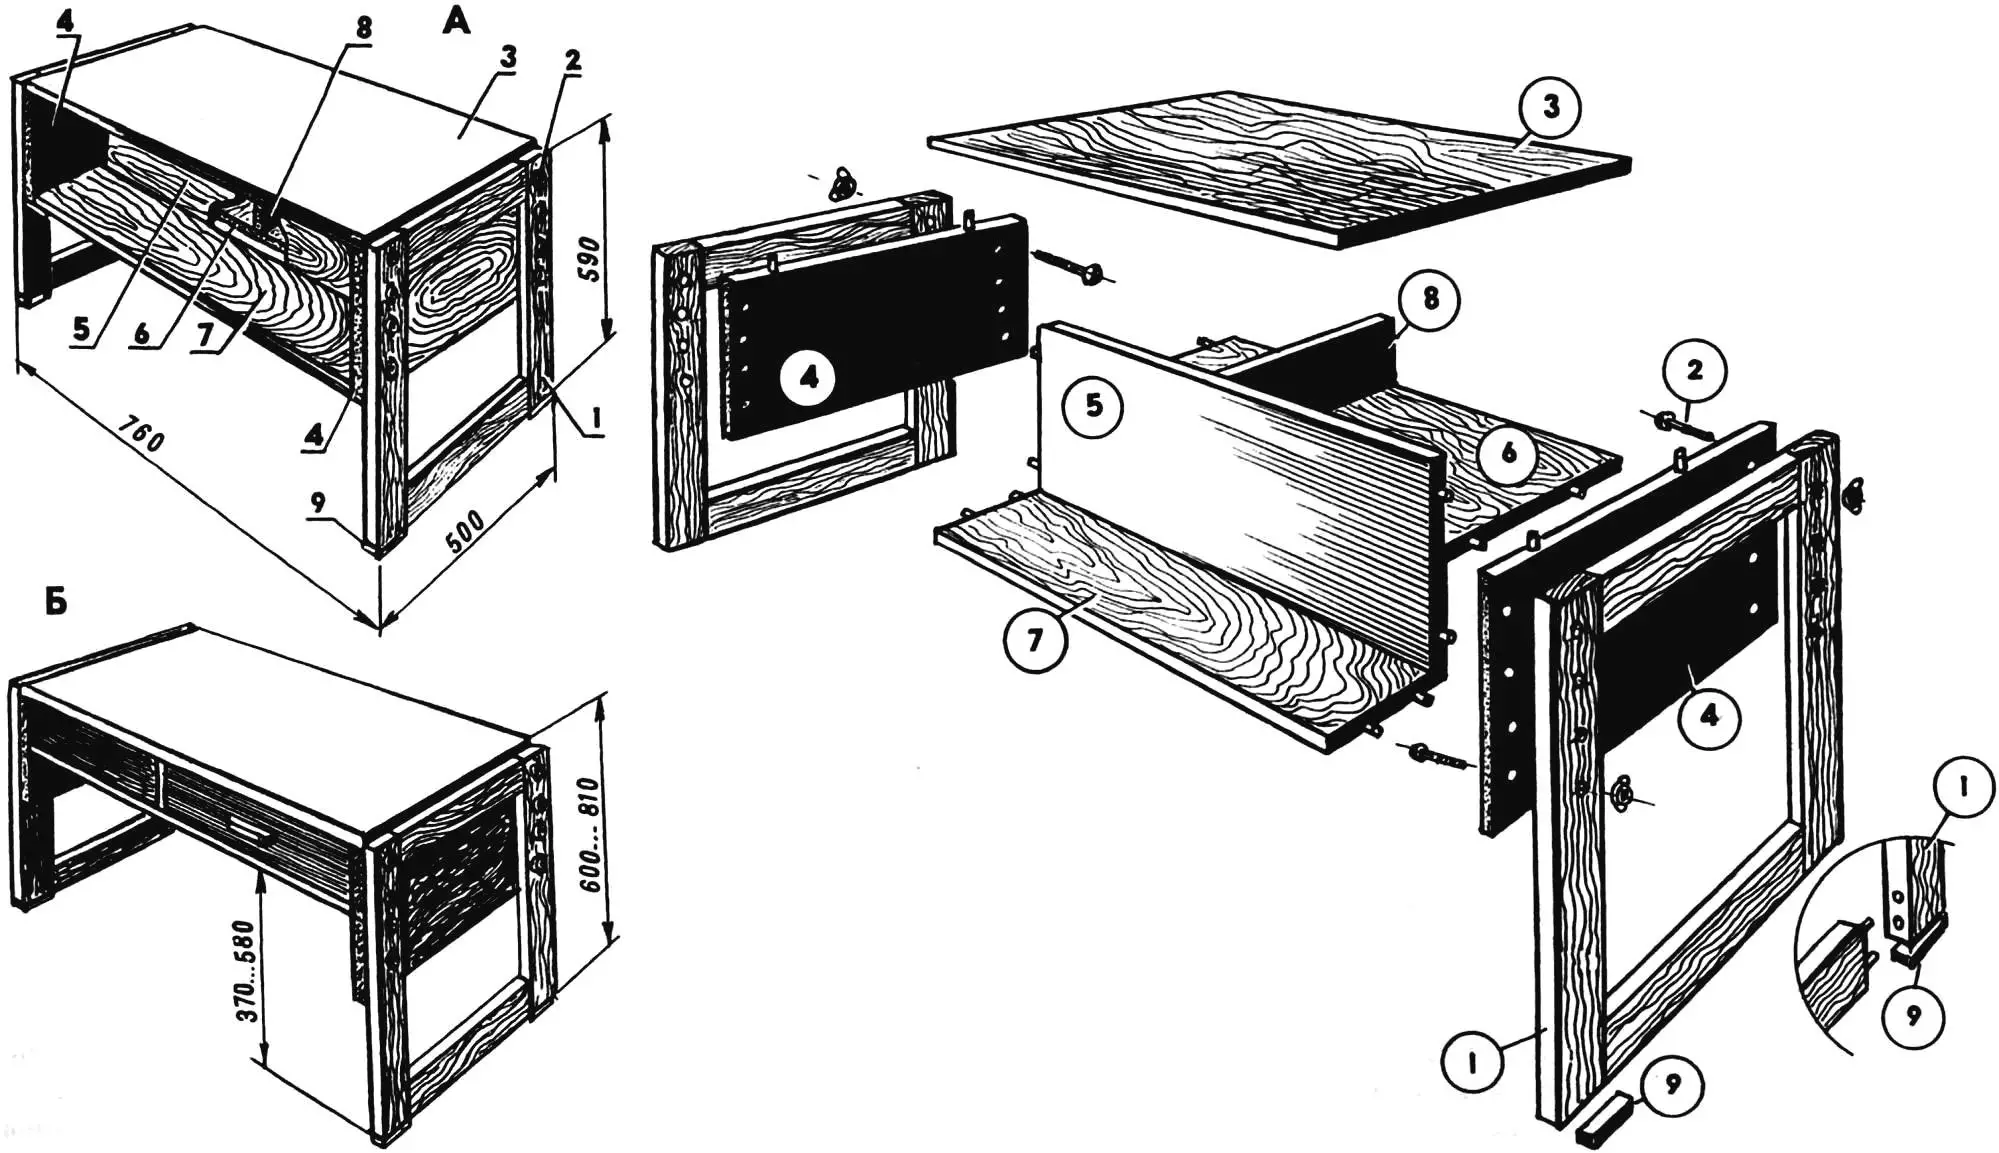
A — with shelves; B — with drawer and open section;
1 — leg; 2 — furniture bolt with wing nut; 3 — tabletop; 4 — side panels; 5 — longitudinal partition; 6,7 — shelves; 8 — transverse partition; 9 — foot pad
If the under-table shelves are made at the same level, then the horizontal panel forming them can be solid, and the vertical divider panels are installed on it. However, another solution is also possible, when the shelves are located at different levels. Then the horizontal panels are made separately and attached to the longitudinal vertical panel (also with tenons), which becomes the main load-bearing element. A transverse (divider) vertical panel is also attached to it, dividing this shelf into two independent sections, into which one or two drawers can be built if necessary.
Multi-level shelves are, of course, somewhat more difficult to manufacture, but more convenient to use: various “small items” (for example, notebooks, albums, boxes with paints, pencils, markers) are placed in the smaller one, and books in the larger one.
If the body is assembled from furniture panels that practically do not require finishing, then you can limit yourself to only painting or gluing the edges of the panels with veneer or a special plastic strip.
In the case of using chipboard for the table body, all panels must be painted with oil or enamel paints (according to environmental requirements). At the same time, it is effective to use different color painting: for example, one tone for the tabletop and under-table, and another for the side panels and legs.
Before painting, all chipboard panels are thoroughly cleaned with sandpaper. Paint is applied with a brush or roller in several layers, with thorough drying of each layer. If necessary — with intermediate surface sanding.
Sharp edges and corners should preferably be dulled beforehand with a block or file to avoid injuries. For the same purpose, it is necessary to saw off the protruding ends of the bolts.
For greater stability of the table, it is advisable to pad the bottom of the legs with foot pads made of wooden blocks with protective strips of felt or felt glued to them, so as not to scratch the floor.
Protecting the tabletop from mechanical impacts (and at the same time teaching the child to be neat and thrifty, without limiting the types of their activities at the table), it is advisable to cut out a special mat from a sheet of thin plywood, hardboard, rubber or plastic. Its dimensions can correspond to half or a quarter of the tabletop area.
Recommend to read
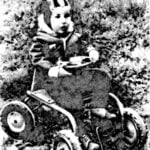 RECUMBENT FOR KID
The idea to design children's recumbent came to me not by accident. The fact that all of the current children's pedal cars are not without drawbacks. The idea of the idealized child...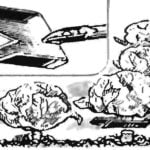 WITH A SHOVEL — CABBAGE
Old (and possibly new) shovel is easy to turn into unusual tool for cleaning.. cabbage. If it is the middle cut, as pucusana in the figure, and to sharpen, it will be possible in the...
