To work just putting on the table a sheet of plywood or chipboard.
Work
The shards stick to the following: ready-to-eat glue, apply with a trowel or scraper to a small section of the product surface, then glue one crock. Next, pick one appropriate to the first color and the shape of the fragments (like a children’s game in which the separate parts is made of the whole picture). So mosaic is made — the crock over the crock. If you are working with tiles of different colors (or solid and painted), then ensure that in the process your creativity arose over the composition and the surface was smooth (without ridges and pits). The distance between the shards, depending on their size and shape of the product may vary from 3 to 10 mm.
Important: at the base of the product do not cover it with mosaic plot width of about 2 mm.
Because the glue does not set immediately, it is possible to correct some errors and to make amendments in the composition. Glued all the shards, leave the product to dry.
Prepare a binder solution desired consistency and apply it with a spatula in the grooves between the shards. While a damp sponge, carefully remove any shards caught in their solution. Constantly rinse the sponge.
When the solution dries, wipe again with a damp sponge the surface of the product, then dry cloth soft, dry cloth.
In conclusion, cover the top edge of the product a disperse dye.
Start with a simple
It is easier to develop this technology on flat surfaces. For example, to draw a frame for the mirror. As the basis is better to take ready with a wide brim or to cut a frame out of plywood or chipboard of a thickness of 10-12 mm, external dimensions 640×580 mm and with window — 410×350 mm. If you plan to use larger pieces of tile, then start working with them, spreading evenly and with large gaps. Then glue the shards of tile smaller and other colors.
Preparation of mosaic:
a – fragmentation of ceramic tiles PA arbitrary large dimensions; b – the continuation of the crushing of the fragments of tiles with wire cutters
Mosaic frame. After gluing mosaic on plywood or orgalitovoj basis remains to attach the inner and outer frame of wooden slats or baguette
Important: don’t forget internal and external perimeter of the frame to keep free from mosaic strips that are nailed to the completion of appropriate size wooden slats frame. The grooves between mosaic and strips complete the binder solution. Reiki ink. If then in some places it poshlifovat you get the effect of “old”. Mirror dimensions 460×410 mm is inserted from the back side of the frame and attached with staples or glazing beads.
Out of the box — box
You’ll need: any box of wood, old or new, but unpainted, not carved and painted, not varnished; and the materials referred to at the beginning.
Decorative jewelry box. For its production you can use any box
Simple plate due to the mosaic turns into a decorative wall
Of small fragments of colored or patterned porcelain or of earthenware obtained elegant and original women’s ornament: clip-on earrings, pendants, brooches
The techniques are almost the same as that of frame for a mirror. The front and side of the box you can put the shards are larger, and cover the pieces smaller. The bottom and the back plane of the box to decorate optional: coat them with paint under the main color of the shards or several layers of varnish.
The box would look more elegant if its bottom plane to glue wooden legs.
Recommend to read TAPE INSTEAD OF THE FRAME If there is no suitable photo frame it can be replaced by any opaque tape, stretched on the table of a photographic enlarger in the longitudinal and transverse directions. The ends of... THE MOTOR ON A HANG GLIDER Did not have time to be approved and become a massive new and exciting sport of hang gliding enthusiasts as it took to lay another area in the technical work associated with designing...

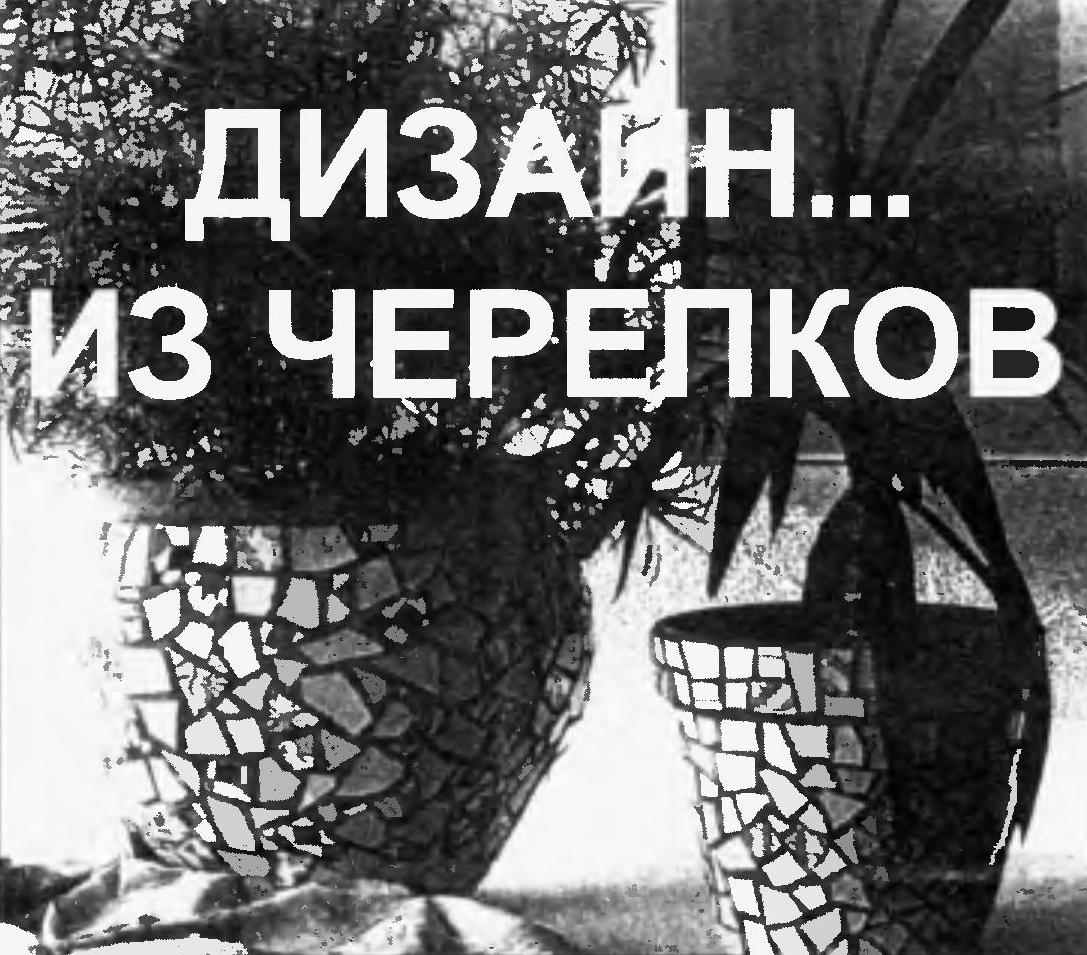 No need to be a technician to do such wonderful things. Old vase turned into the original decoration of the interior; a simple clay bowl in the Cup with an elegant geometric ornament; and from the frame out of plywood for a mirror it is impossible to look away. What looks like a set of stories, really — a wooden box decorated with ceramic shards. A clip made of fragments of porcelain and small beads. Good idea for a gift: the same can be decorative pins and brooches.