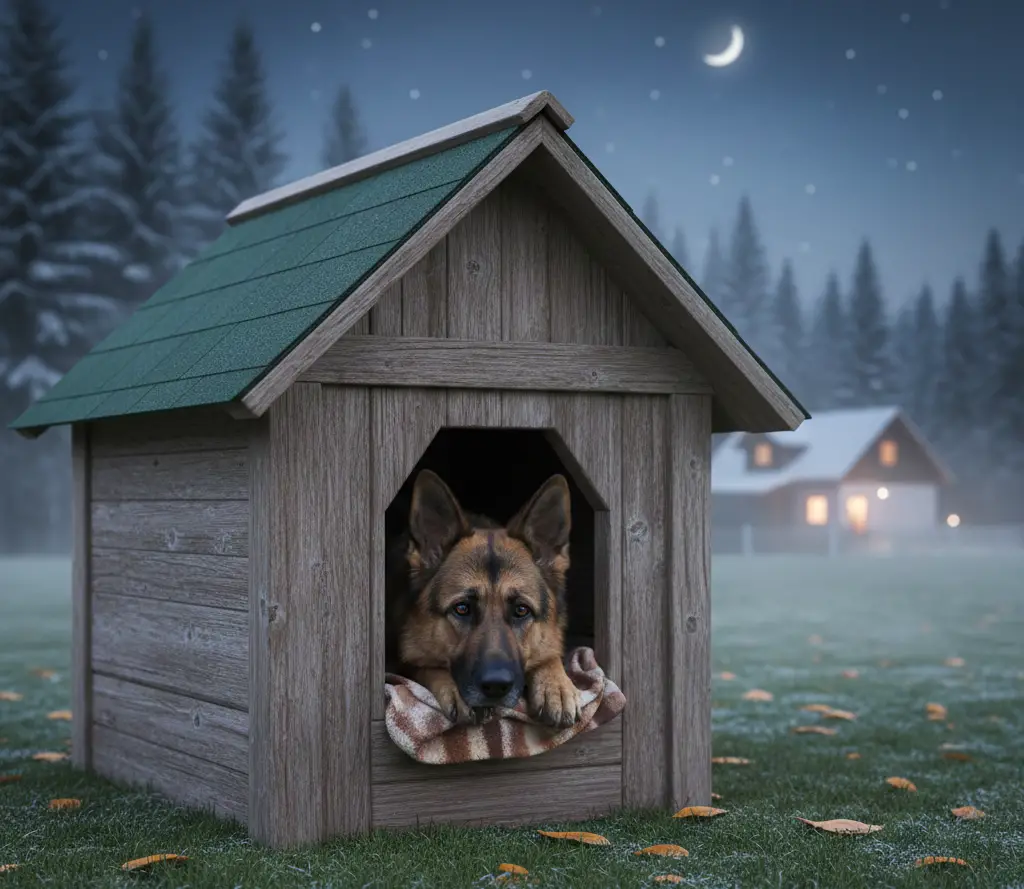
A roof over one’s head is needed by a four-legged friend who guards your home too. It doesn’t have to be a palace, but shelter from the weather is essential for a dog. Building a kennel is within reach of any owner, and it doesn’t require special skill, tools, or materials—just what’s usually on hand: boards, roofing felt, nails, a saw, and a hammer.
So let’s get to it!
Kennel layout
Four walls, a floor, and a gable roof—that’s the whole layout of a dog’s dwelling. As you can see, it’s simple, as is the process of making it. Judge for yourself.
The walls are panels made of boards. For the side walls, the boards should be cut to a length that more or less matches your dog’s size when lying down; for the end walls—when curled up. The same applies to the height of the panel: it’s best if it matches the dog’s height.
The entrance hole (“door” into the kennel) can be half the dog’s height—the dog will still squeeze through, but less rain or snow will get inside. For the same reason, the roof panels are best made with an overhang so they noticeably overlap the main part of the kennel around the perimeter.
So let’s look in more detail at the main parts of the kennel and how to make them.
Walls
It’s best to start by assembling the wall panels—then after putting them together it’s easier to fit the roof and floor on site.
Anyone who used to send parcels in plywood boxes will remember their design: the frame battens were set back from the edges in places so the sides could be joined neatly into a box. The same principle applies here: on the sides of the kennel the vertical frame battens are nailed flush with the edge, while on the back and front walls they are set in by the thickness of the side battens, into which they slot when assembling. This makes assembly easier and adds stiffness to the resulting box.
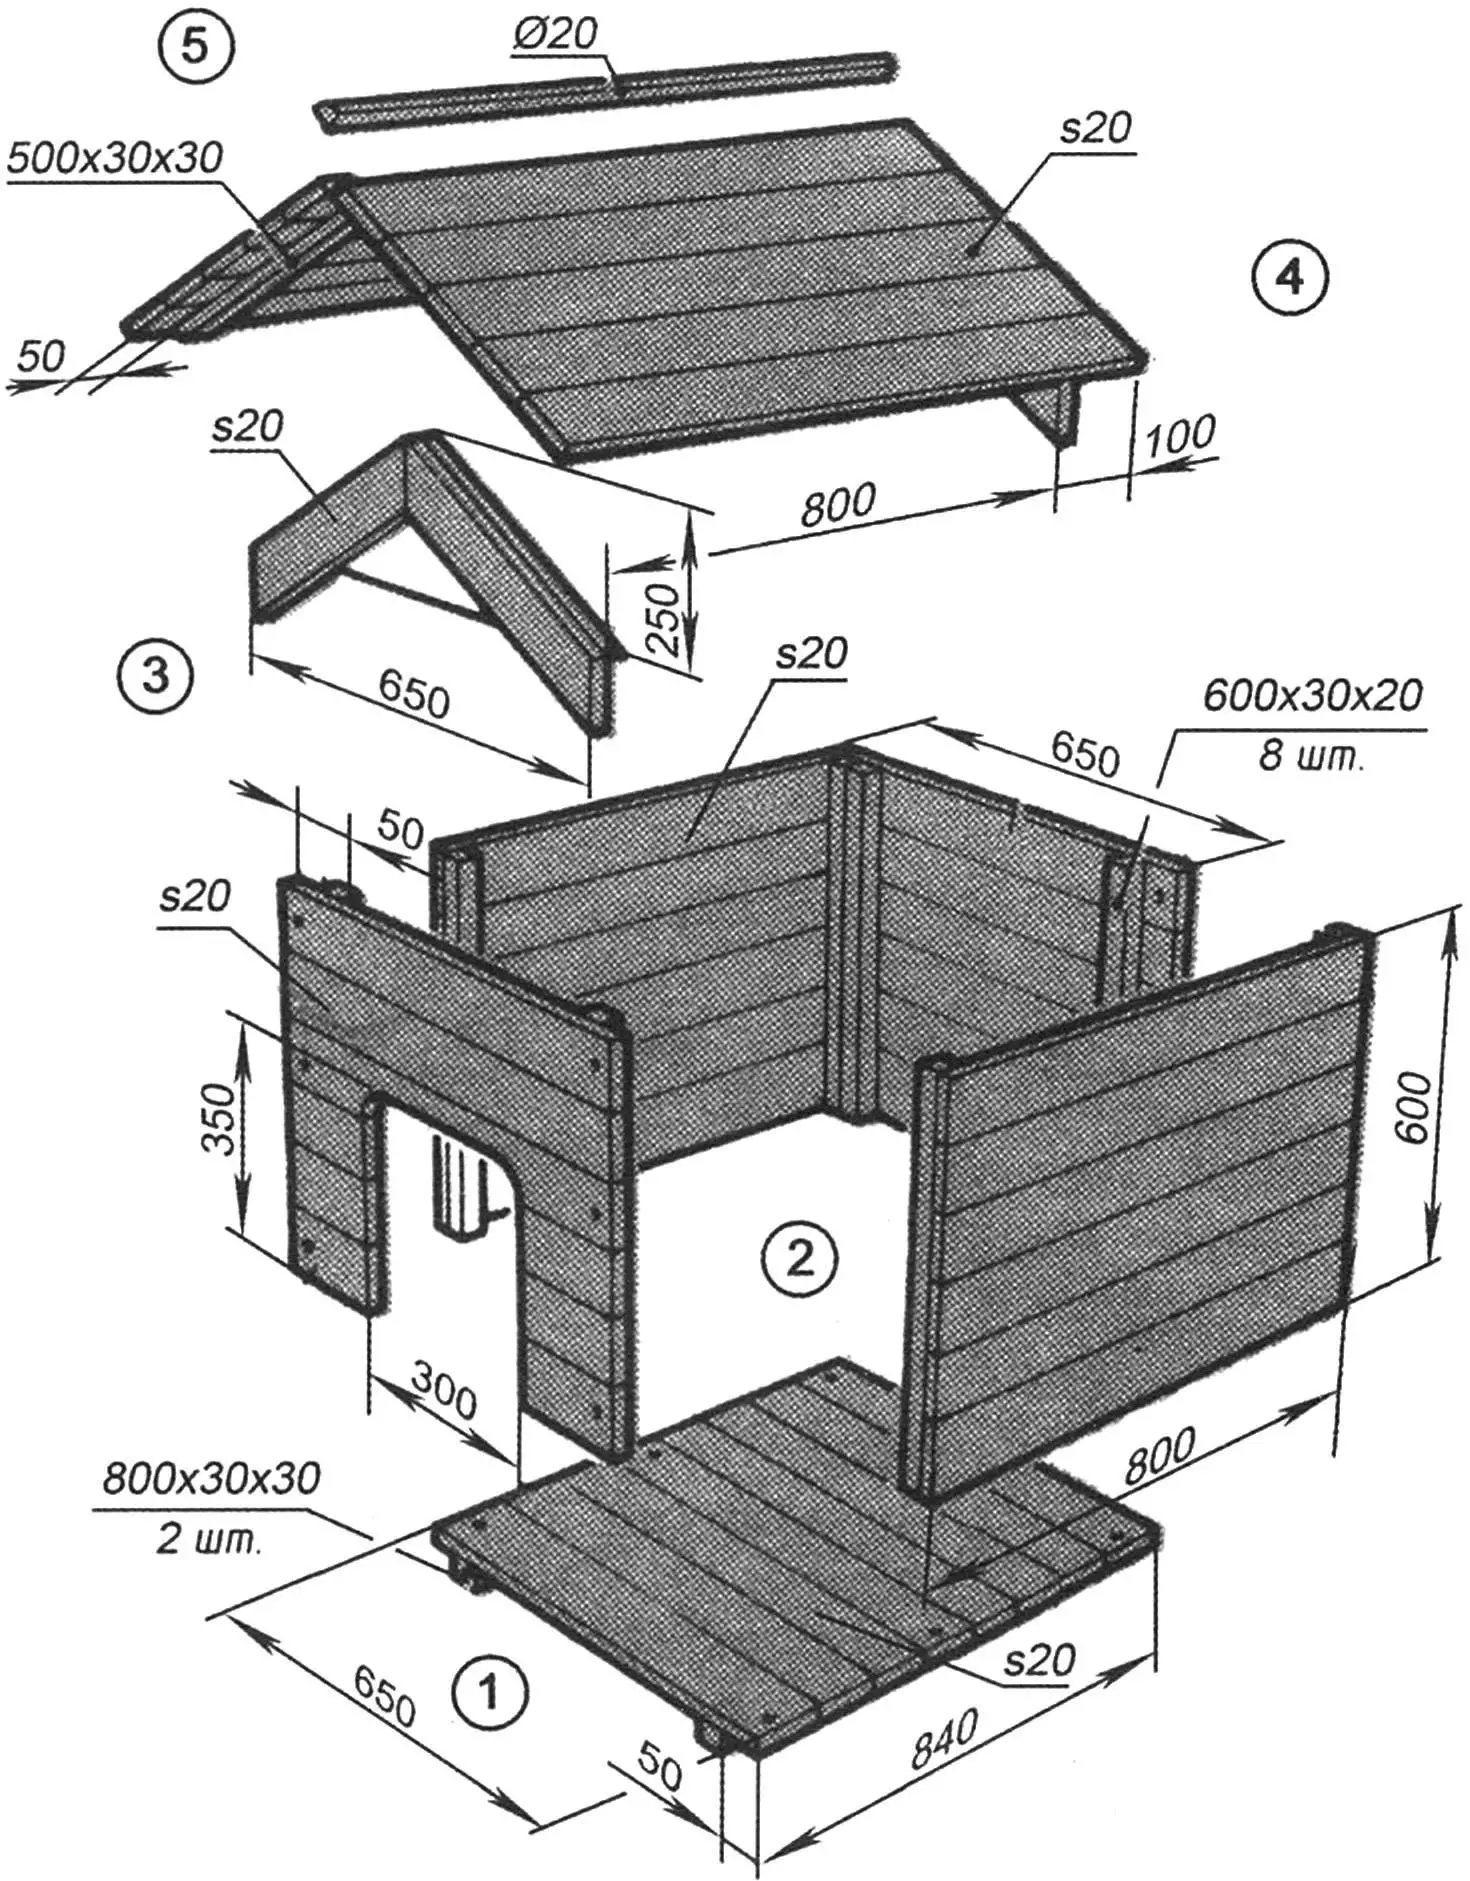
1 — floor; 2 — main box panels; 3 — roof bracket; 4 — roof panels; 5 — ridge angle
In the front panel, after assembly, an entrance hole of the right size is cut out and framed on the back with extra battens (you can use only vertical ones nailed on either side of the hole).
After all four panels are made, they are nailed together to form the main part of the kennel as a box open at the top and bottom.
Floor
Now the box needs to be “closed.” The floor does this from below: its panel is made so that the assembled box is covered on all four sides. The battens under the floor act as legs so it doesn’t sit on the ground and is isolated from moisture—the kennel stays dry.
Roof
The roof keeps the kennel dry. It’s built so it fits over the kennel box like a hat, even without extra fastening. The trick is that besides the two sloping panels—the roof slopes—you need to make two triangular brackets for them: they’re fixed to the slopes at the ends and provide support and the right pitch.
The brackets are made of two boards joined at about 45°. At the back this pair is connected by a horizontal board that acts as the roof support when it’s “put on” the kennel box. After assembling the slopes and attaching them to the brackets, a ridge angle is fixed on top to cover the gap where the slopes meet—and the kennel is ready.
Finishing
This design is handy because it’s practically demountable. That’s useful for seasonal trips to the dacha or when you need to store the kennel for the winter.
The structure doesn’t need fancy finishing, but a minimum is worth doing. First, protect the wood from the elements with linseed oil, oil-based paint, or a preservative like “Pinotex”—owner’s choice.
What you must do is waterproof the roof so it doesn’t leak in bad weather. Options: if you have a sheet of tin the right size, you can cover the slopes and paint with oil paint. Roofing felt or, as a last resort, an old tablecloth or greenhouse film will also work. For strength, fix them at the edges and in the middle with wooden battens.
Your four-legged friend should be happy with this new home.
«Modelist-Konstruktor» No. 4’2012, B. BORISOV
Recommend to read
 THERMORESIN FROM THE SOLDERING IRON
Many of the materials the born chemicals using elevated temperatures, for example, various plastics and synthetics, more manageable when shaping or processing temperature than the tools... THE REFEREE SIGNALS
Do you think what is common between math and electronics? Readers familiar with digital technology, recall that the mathematical laws of Boolean algebra the basis for the action of logic...
