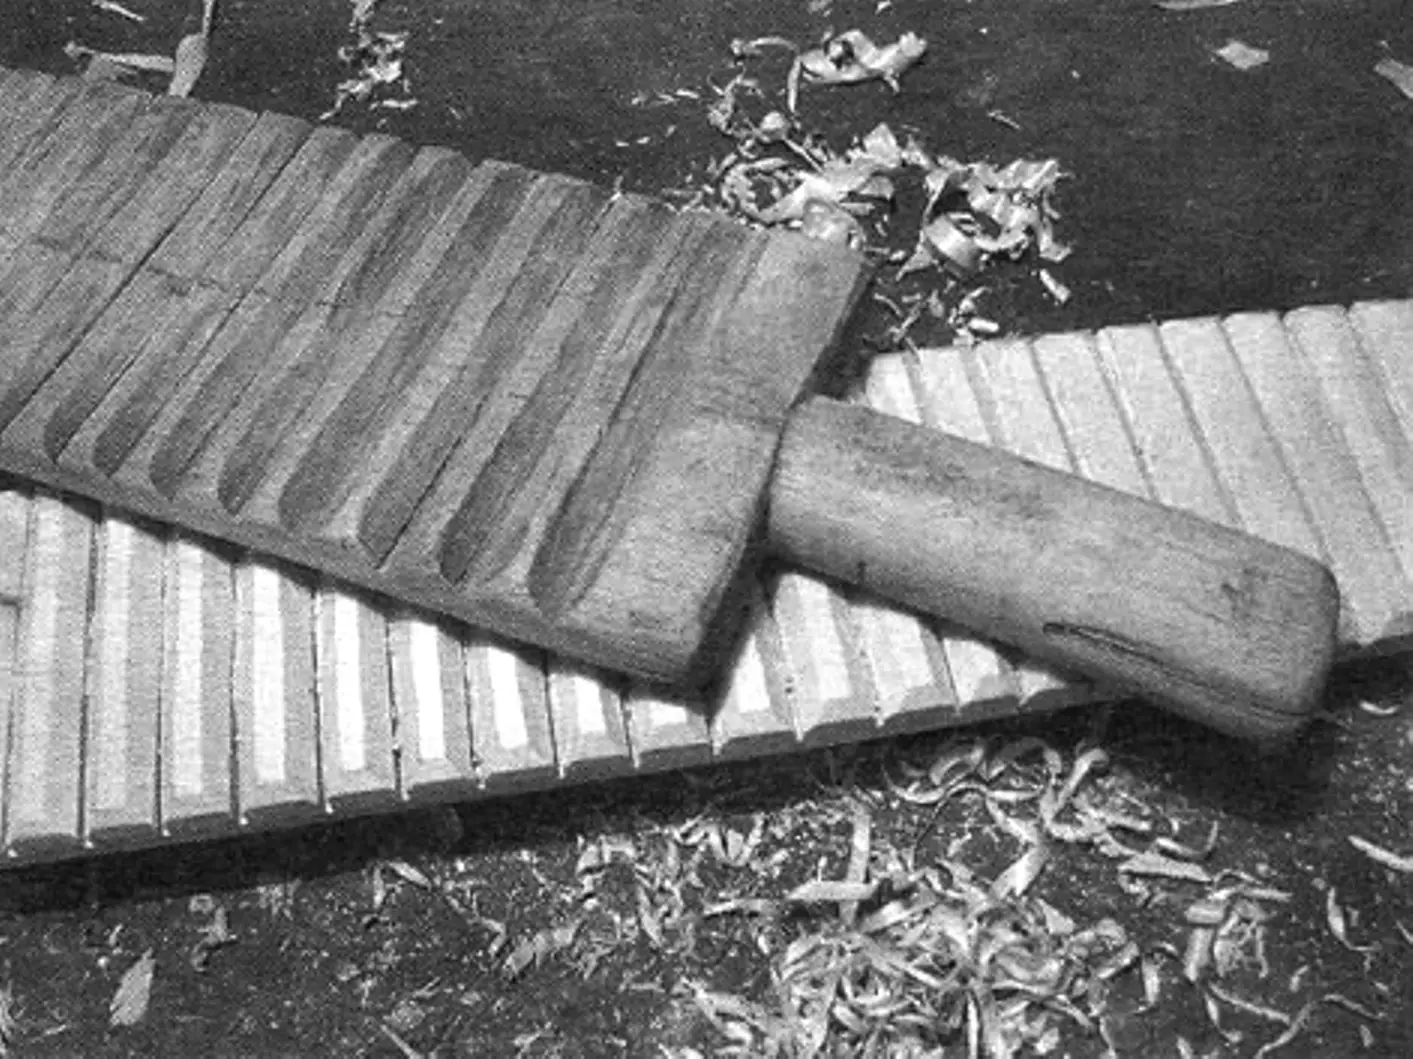
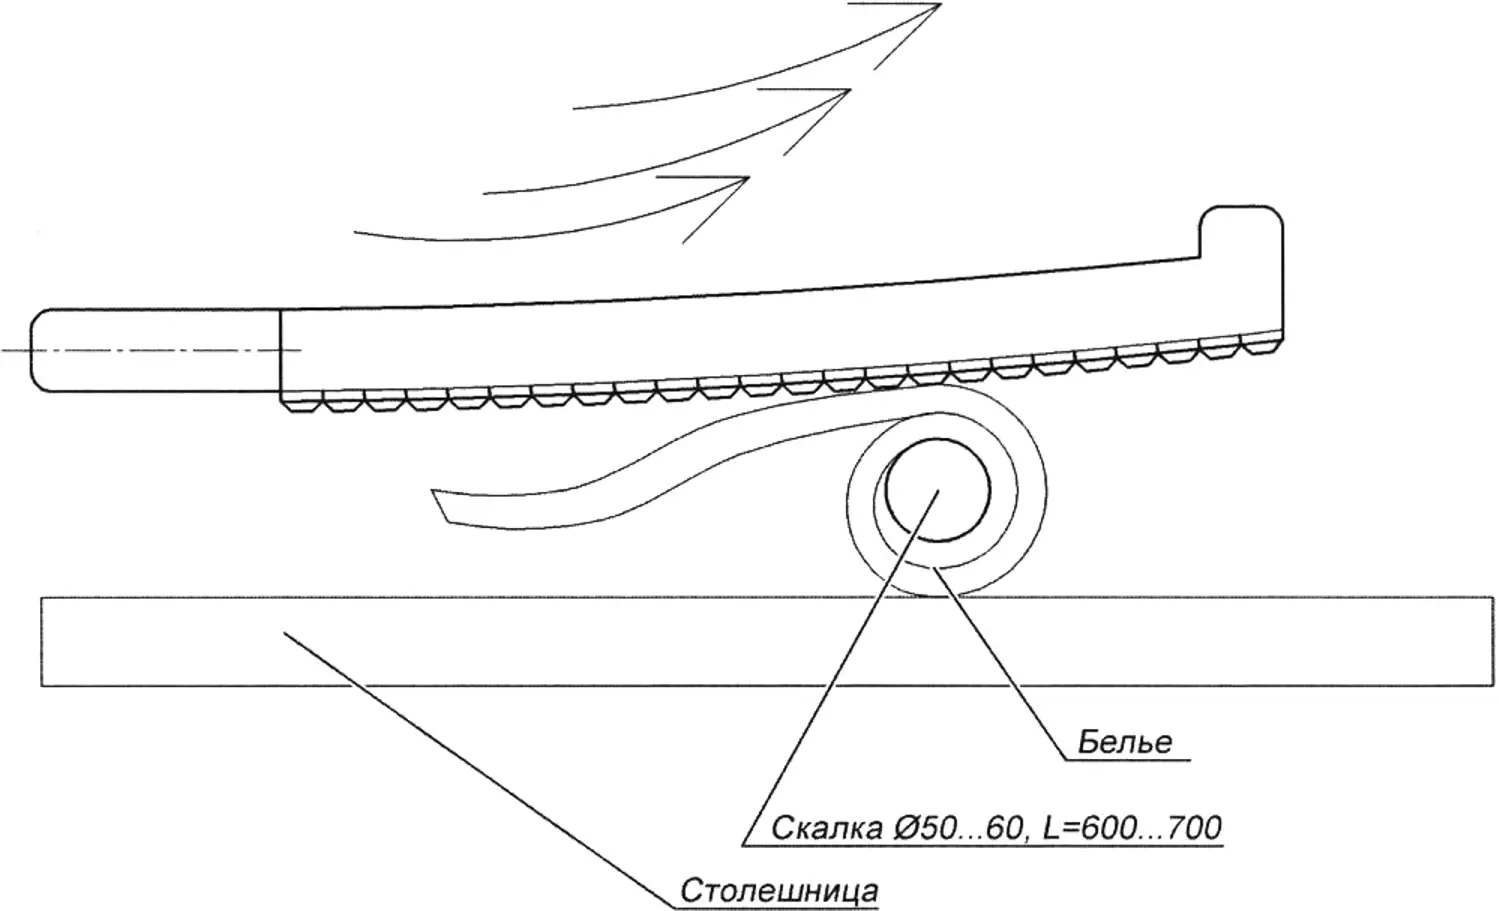
The rubel (other names: rebrak, pralnik) is a wooden washboard and at the same time an “iron” used in everyday life long ago. Incidentally, it would be quite handy in the field, on expeditions, or at a dacha where there is no electricity. Russian women used this tool (or rather a set consisting of the rubel itself and a round stick—a skalka) for beating out laundry and ironing linen and other items made of coarse flax fabric. In some cases the rubel was also used for felting wool footwear. In the Russian North rubels were called “rolling sticks.” People say virtuosos even used the rubel as a musical instrument. In the modern world it is a museum exhibit or a piece of home décor.
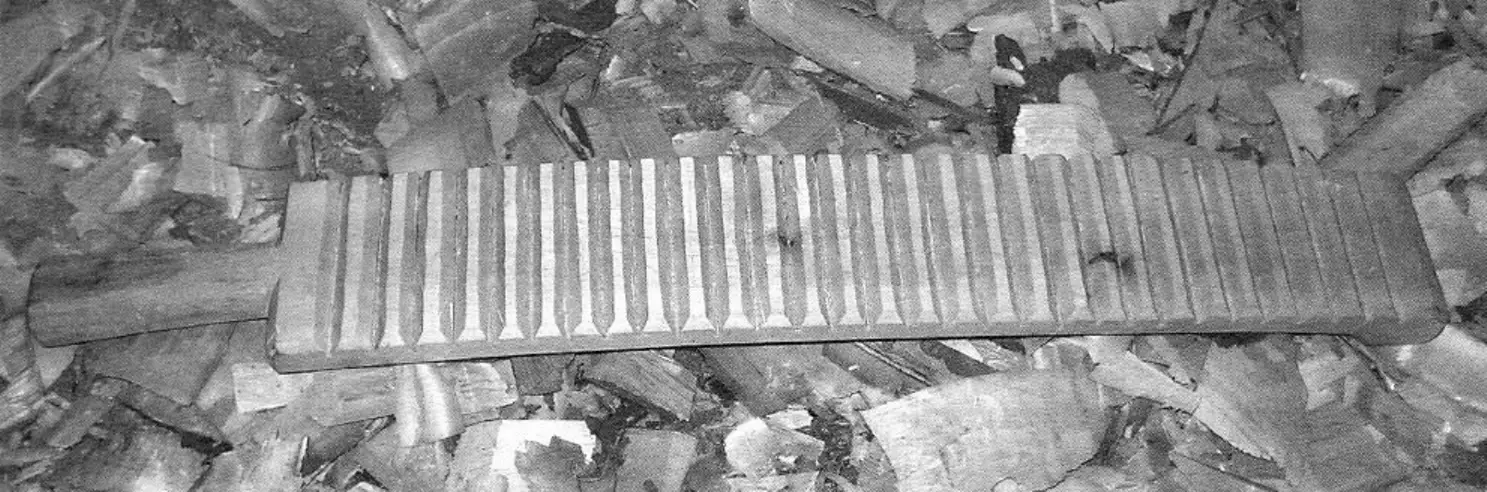
The rubel is a wooden billet ribbed on one side with a rounded handle, made of birch. For easier rolling, the body of the rubel is given a slight bend. Crosswise teeth cut on the convex side make washing easier (like a washboard) and improve smoothing. There may also be a second brace handle near the nose for two-handed work and small knobs on the grip.
HOW TO MAKE A RUBEL?
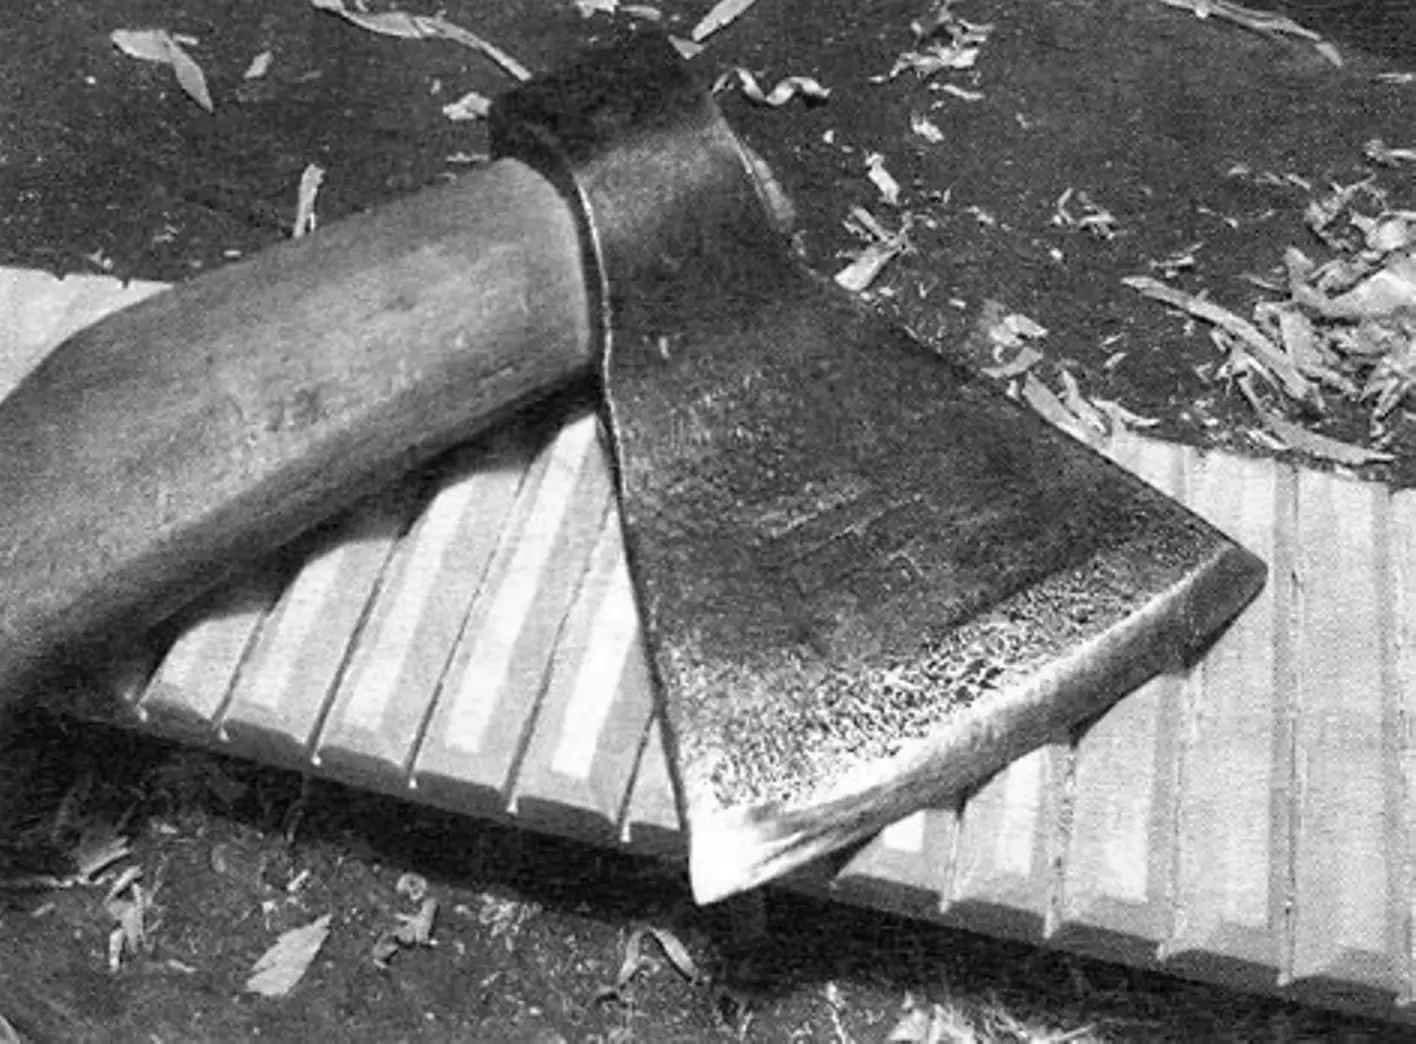
A careful look at a historical specimen showed the blank was a birch trunk section of suitable diameter or a long dry birch log; everything was done by hand with a broadaxe and a handsaw; there is no final varnish finish.
I weighed my skills and realized I could make a rubel myself (and I assure you—anyone can).
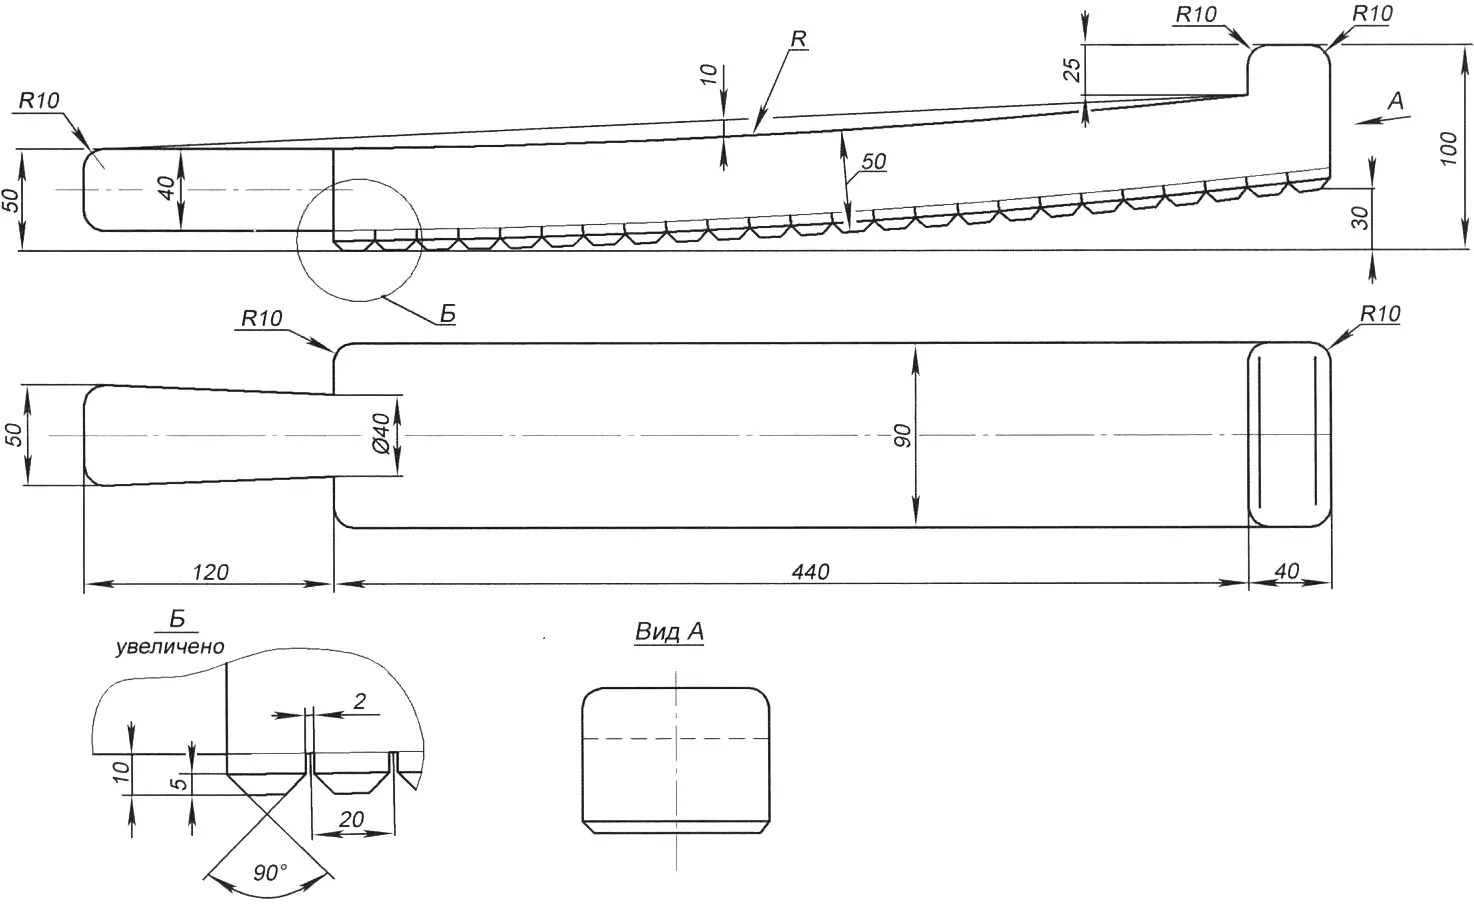
The drawing is approximate because blanks may vary.
As stock for a replica rubel, a birch board about 60 mm thick or a bit more works well, preferably without knots (if there are any, place them on the upper, non-working side).
From the side view, mark the length, bend, and projection of the brace handle. Saw partway along the inner slope of the handle and hew out the rubel shape with the axe.
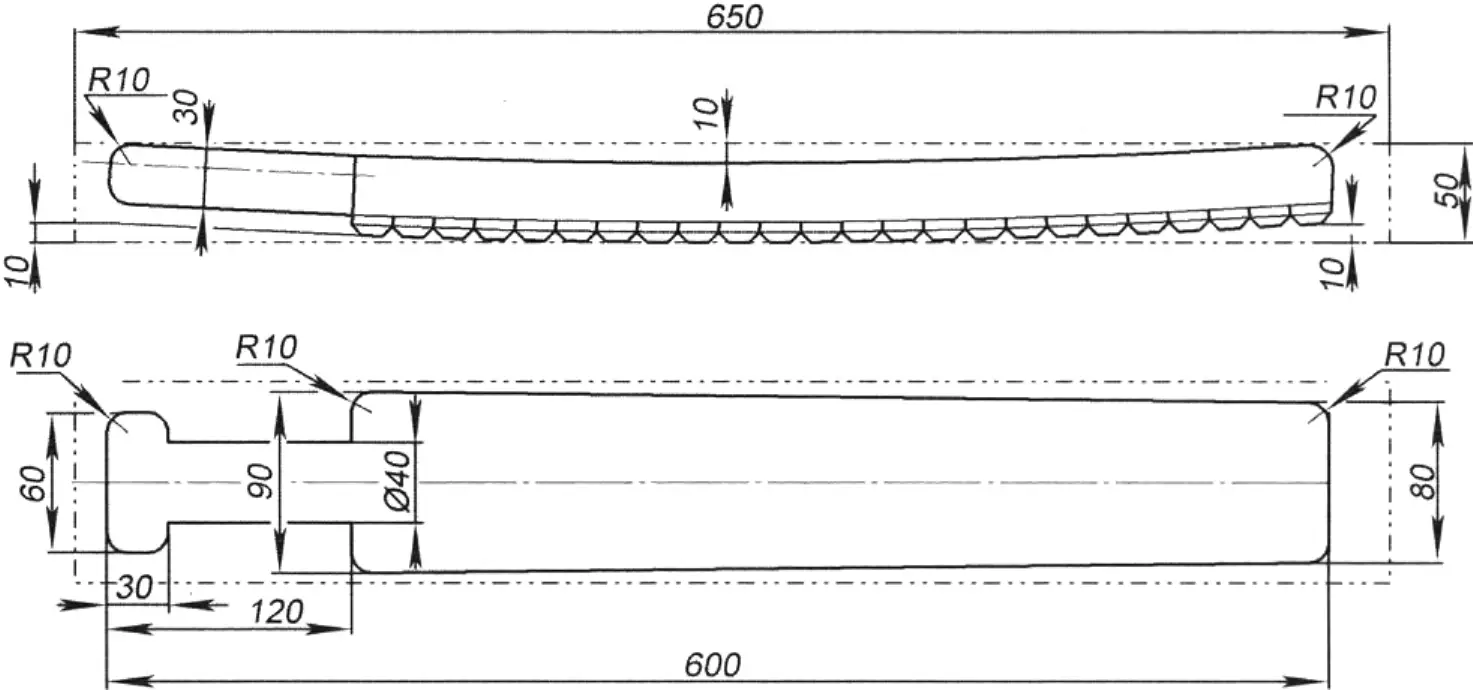
From the top view, mark the length and width of the grip, saw and chip away the excess. Also trim the outline, handle shaft, and grip to clean lines with the axe. Chamfer along and around the perimeter. Smooth all surfaces with a hand plane.
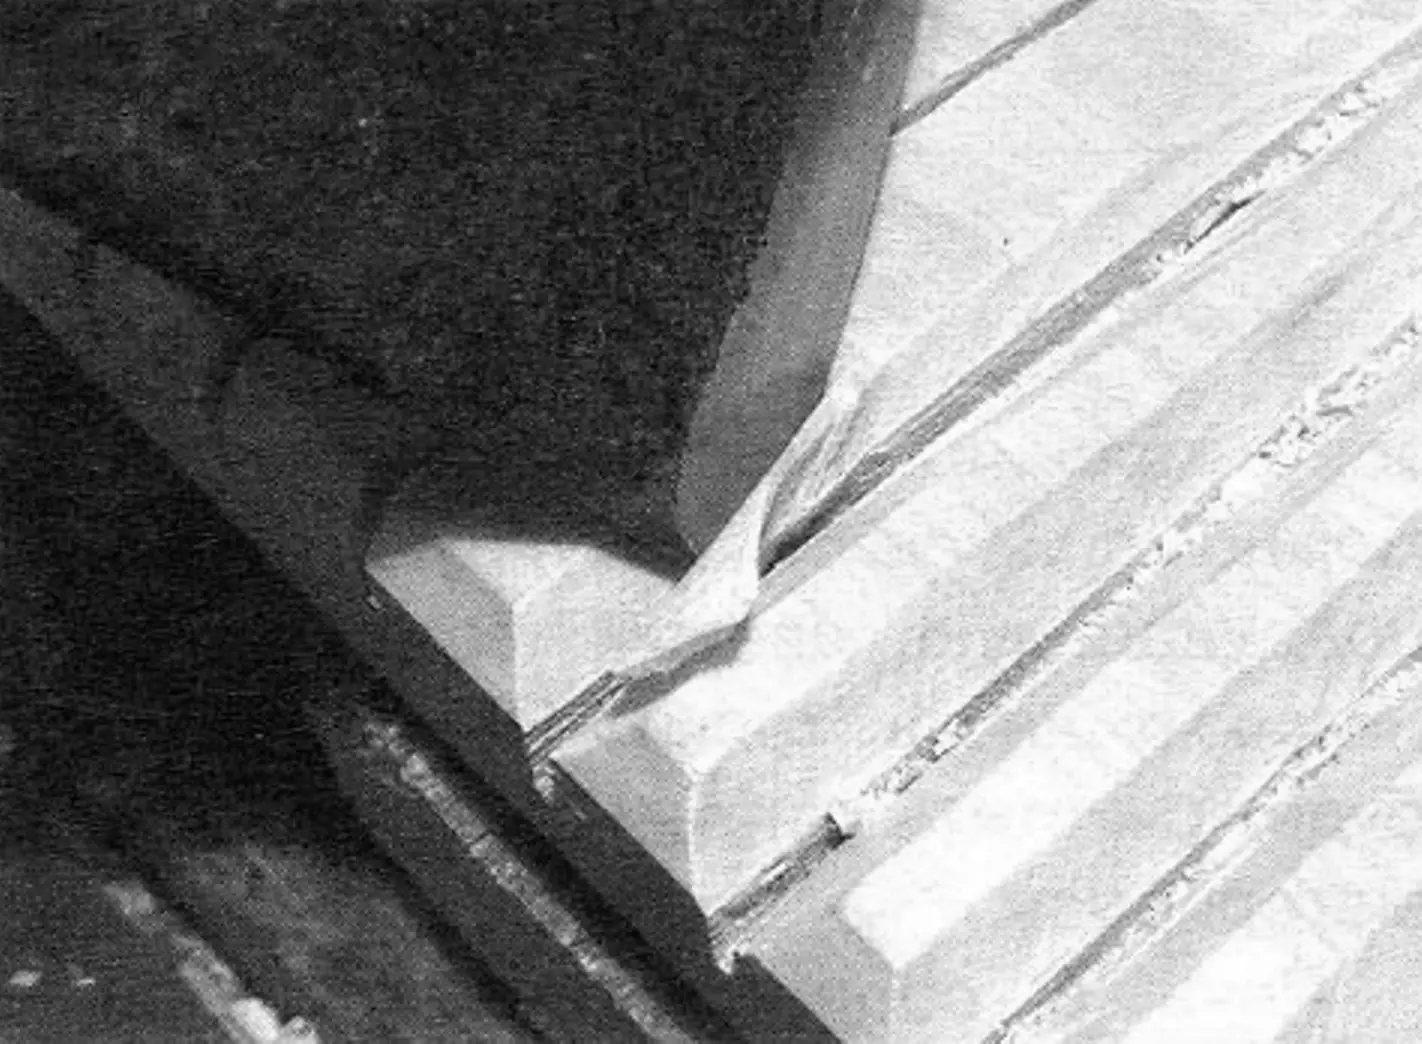
On the convex bottom face, mark the spacing of the cross teeth and saw them to a depth of eight millimeters. With the sharp toe of the broadaxe in two or three passes, chamfer every tooth.
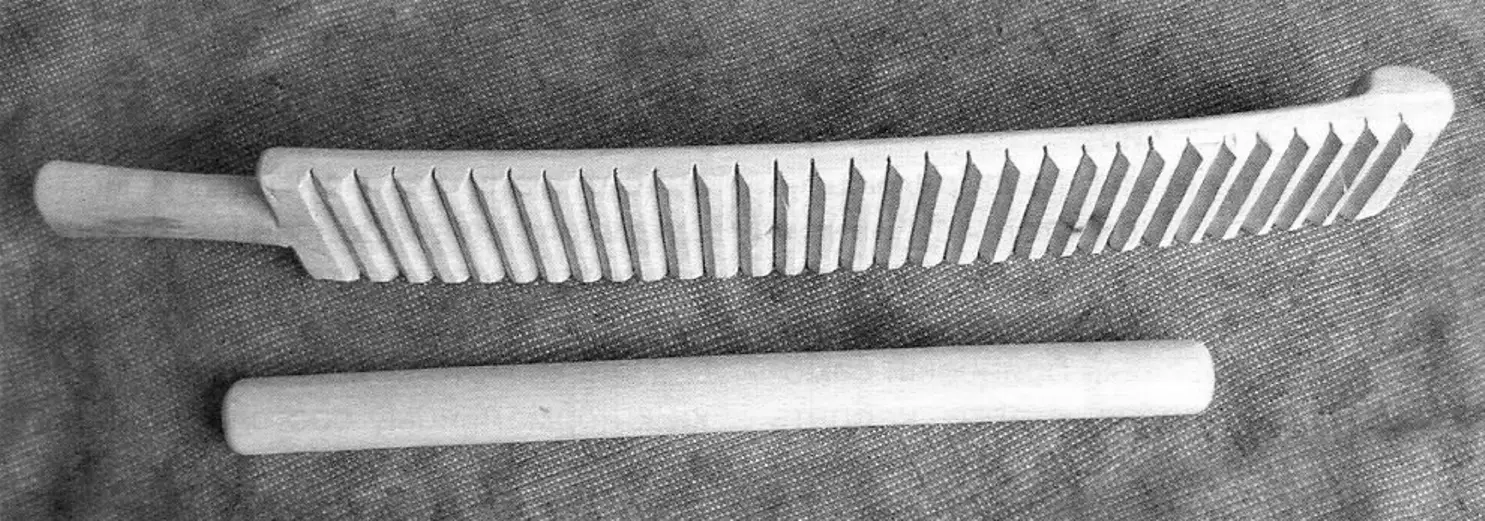
Making the skalka should present no difficulty. You can turn it on a lathe, buy a shovel handle, or take a thick branch segment and strip the bark.
For final finishing, use a glass shard and sandpaper to remove sharp edges and burrs from the wash-and-press tool.
Modelist-Konstruktor No. 11’2016, A. MATVIYCHUK
Recommend to read
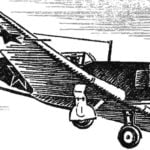 PROFILE ONLY
(THE BUILD-POLYOPIA). Building the model-polyopia begin with the manufacture of the fuselage (Fig. 1), the contours of the lateral projection should most accurately reflect the...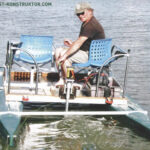 FROM CATAMARAN TO TRIMARAN
In my previous article (see “M-K” No. 12-2019 and 1-2020 ) I talked about the experience of building and operating a collapsible planing catamaran of the Craig Cat type. Such a craft can...
