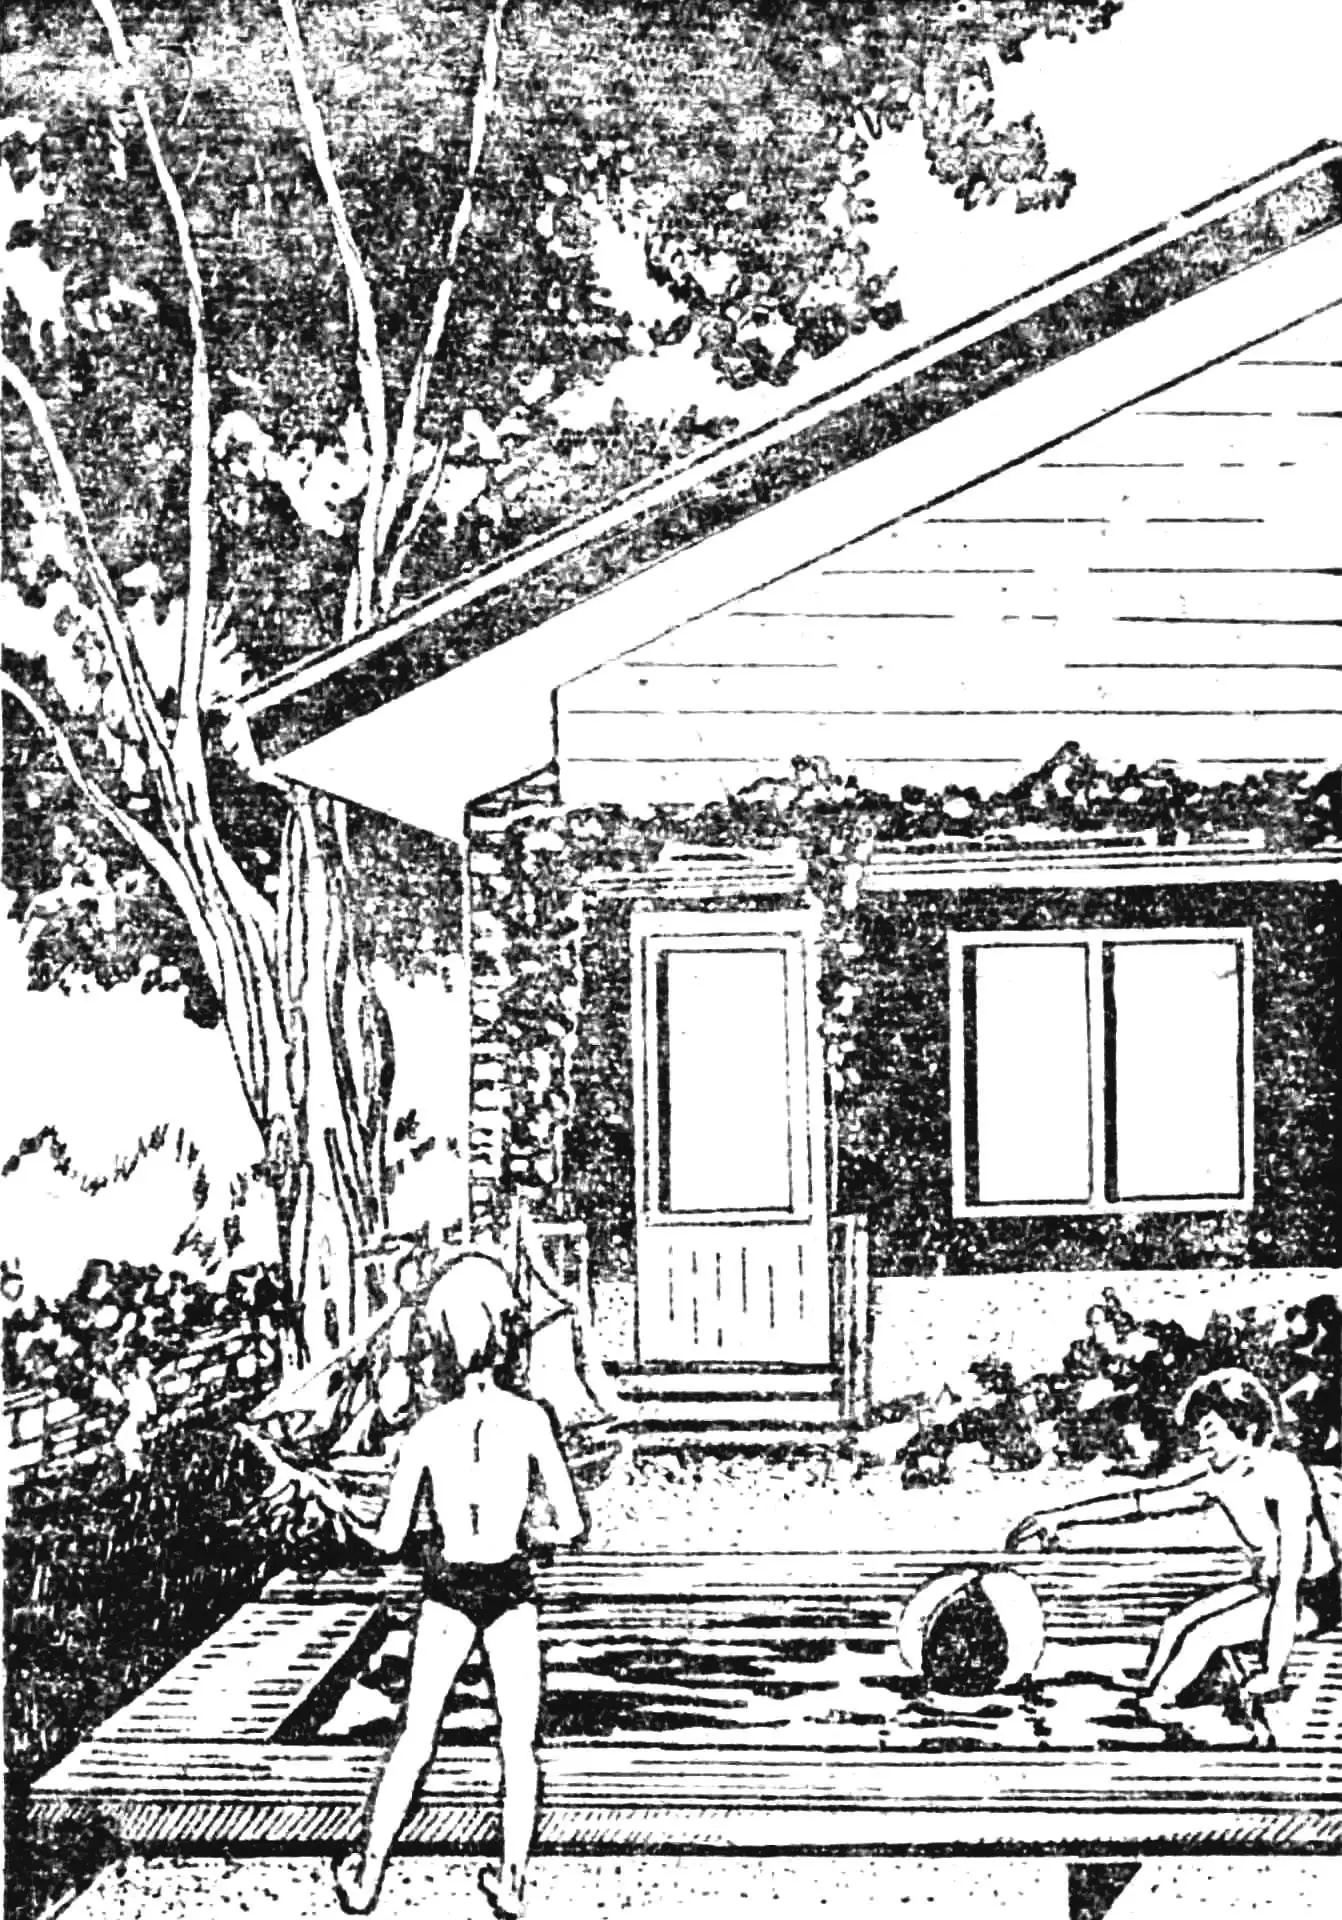
A swimming pool, mind you, is too grand a name. In everyday speech, such tiny ponds for toddlers are usually called “frog ponds.” Building one will not take much time or strain your family budget, and on a hot summer day both your children and you will get plenty of joy from a dip like this. Moreover, you do not have to use this pool only as a bathing spot. Thanks to its shallow depth, the water will warm by evening to just the temperature you need for watering. And evaporation from its surface brings that welcome coolness in the heat.
So do not put it off—get started. Two or three evenings, and a pond with always crystal-clear, fresh water is at your service!
Since any pond is, first of all, a hole filled with water, we will begin there. Excavate a pit 2000 × 2000 mm and 600 mm deep. To keep moisture from pooling on the bottom, you need drainage. By sloping the floor toward the center of the pit, where a small sump 300–400 mm deep is dug, you will direct collected water into that depression.
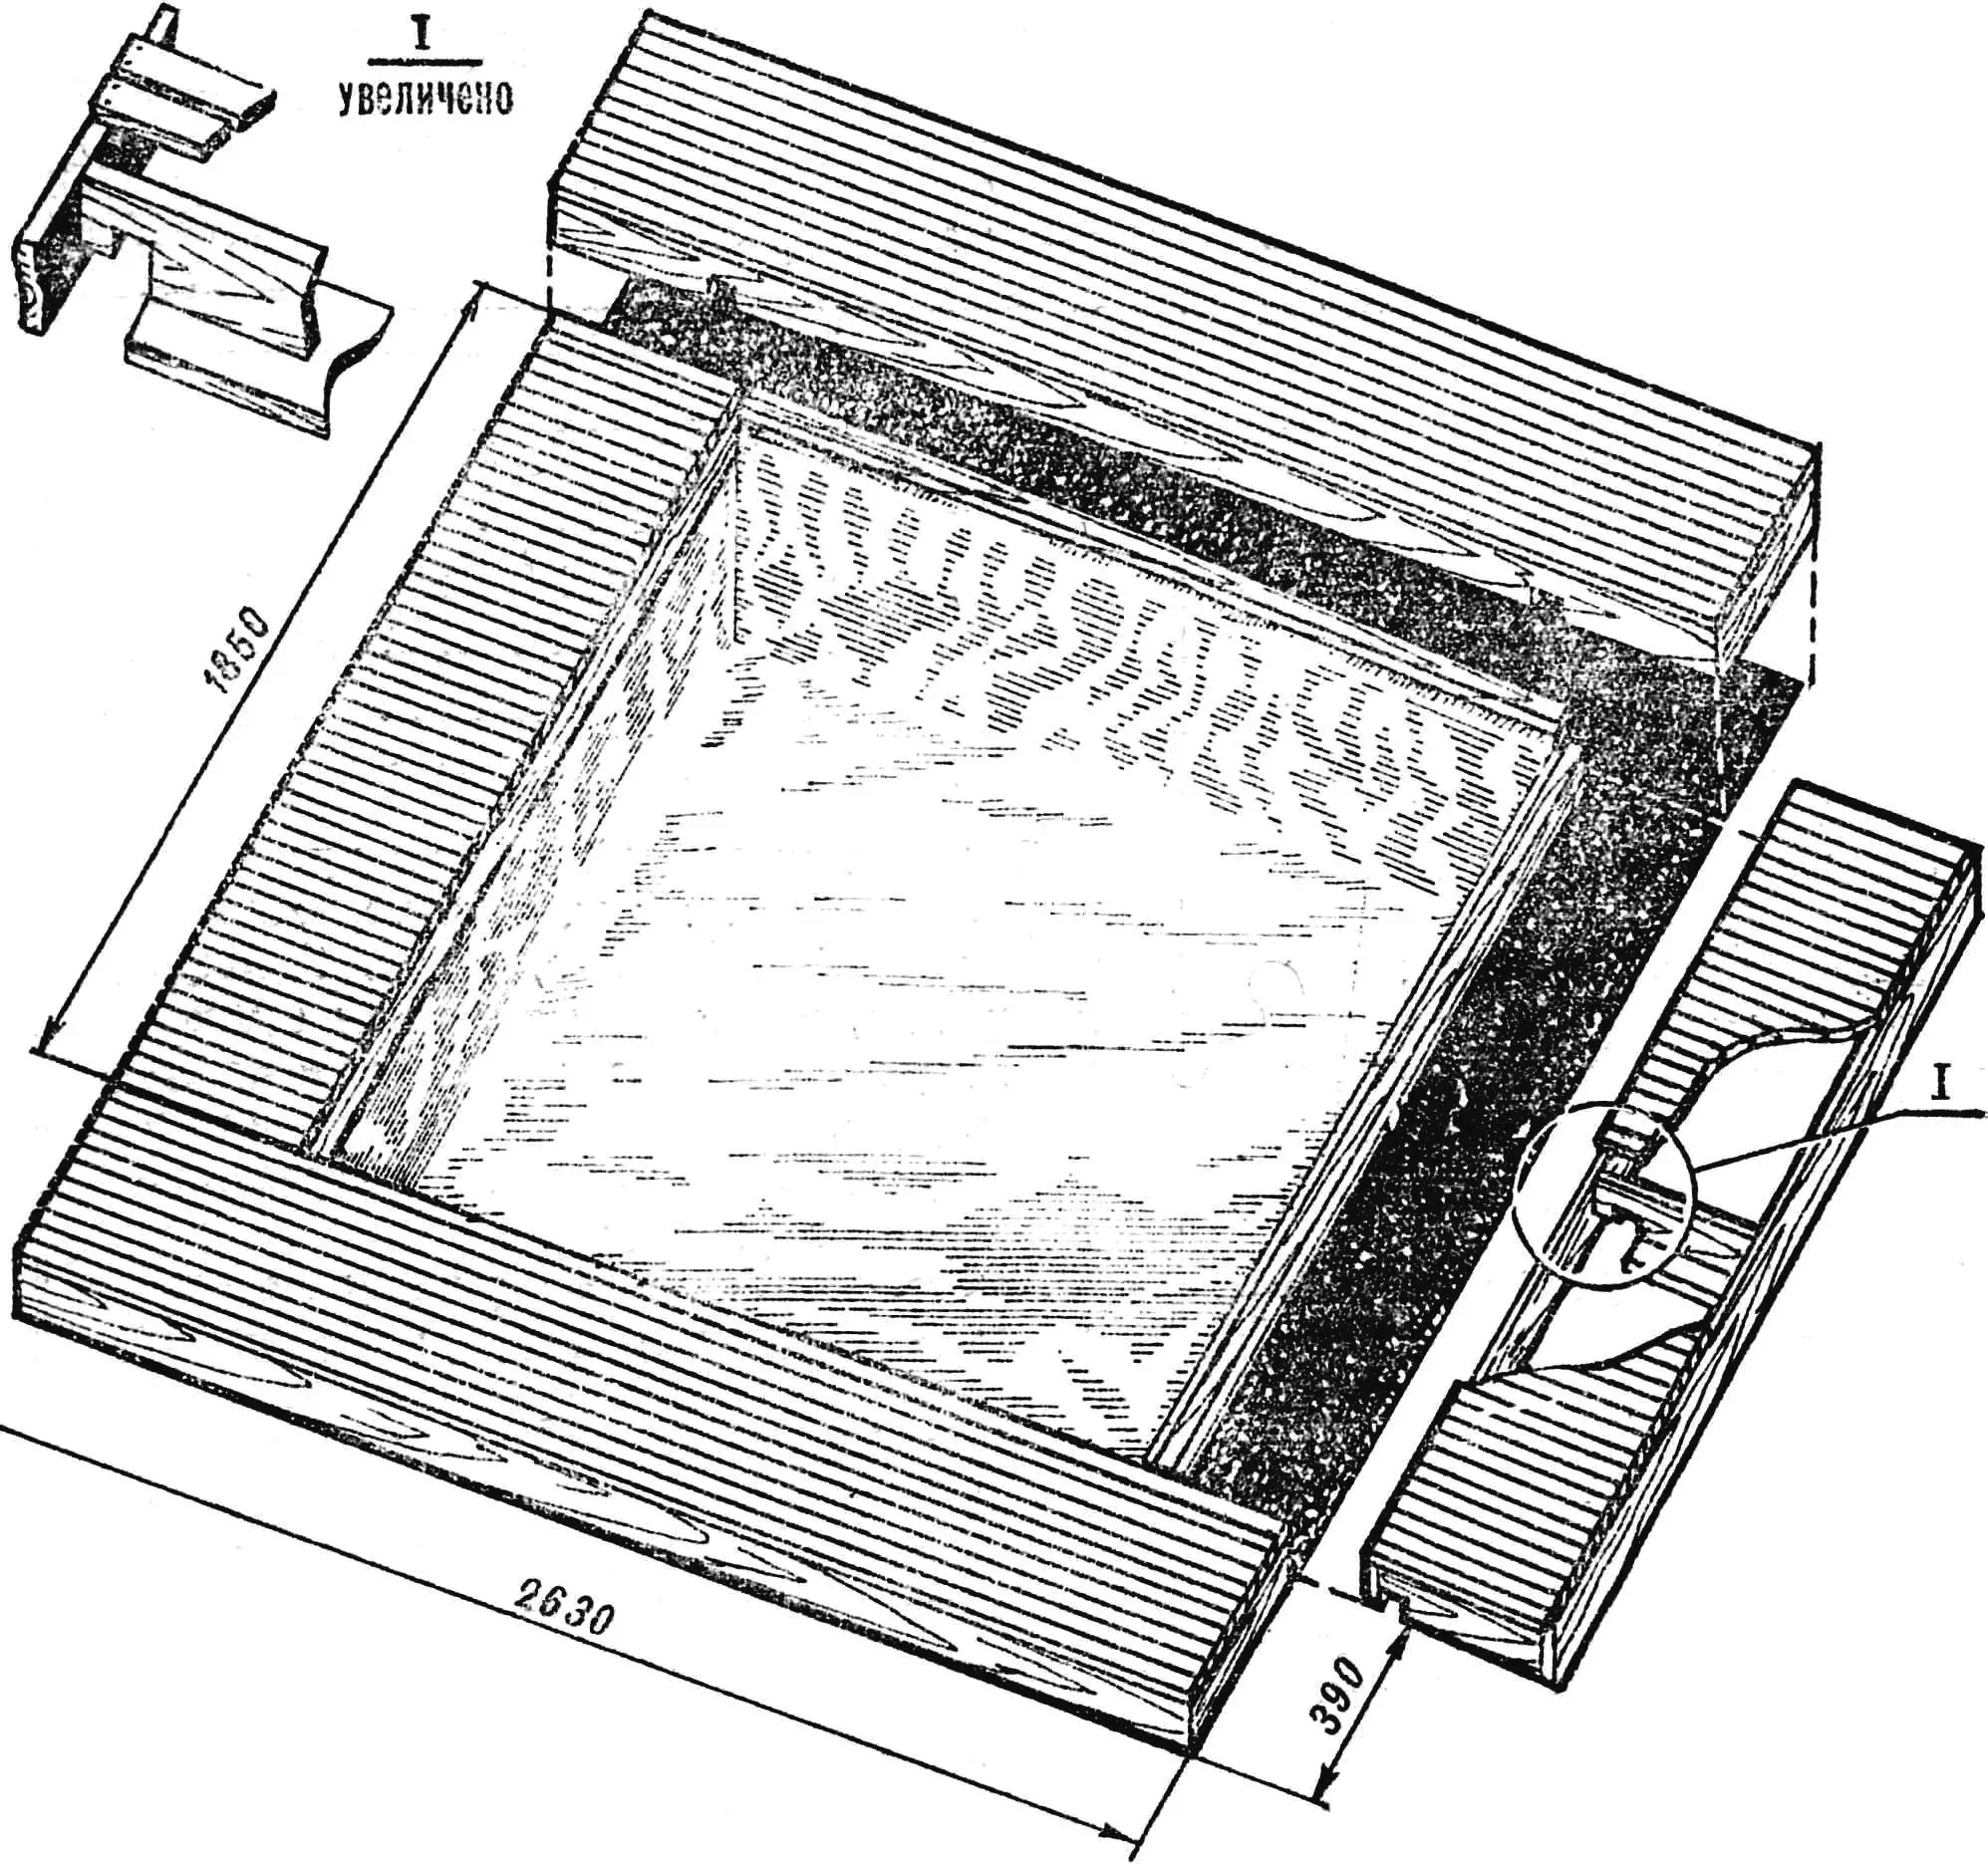
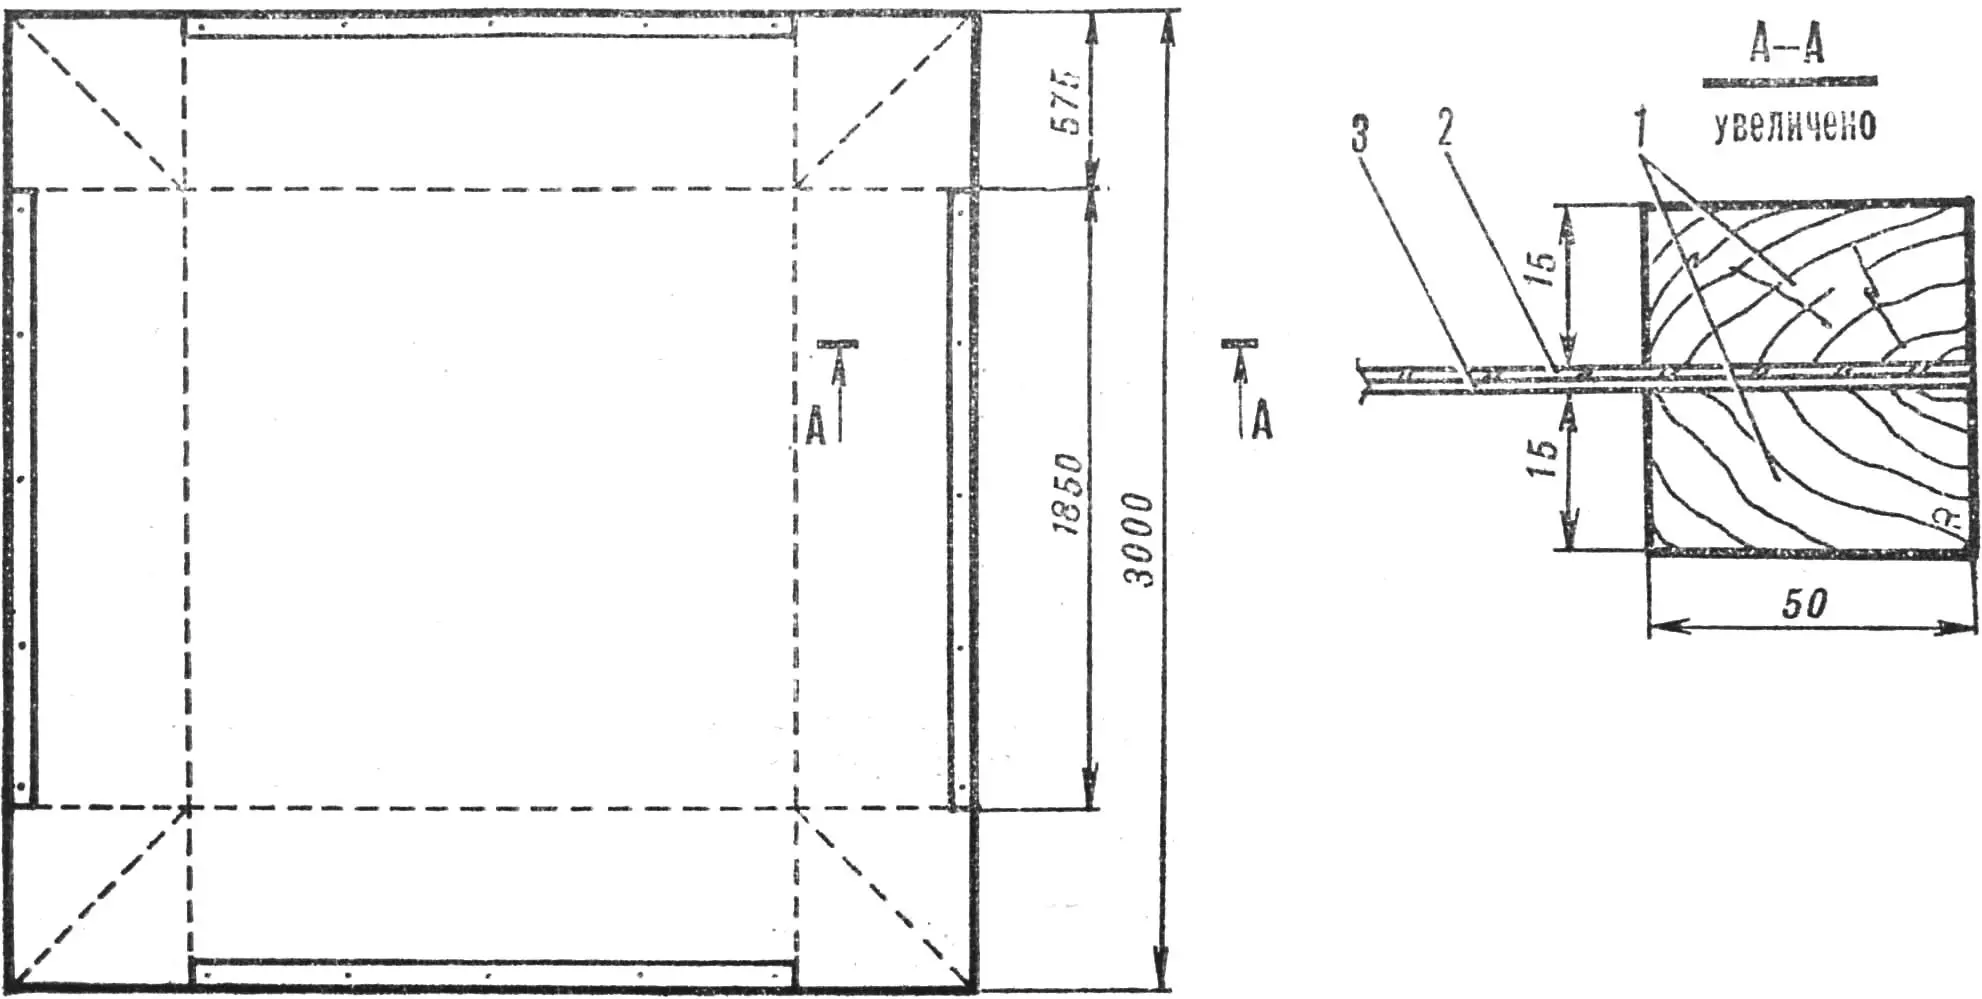
Next, mark points for stakes. You should get a square 1850 × 1850 mm. Drive stakes 50 × 50 mm in section and 900 mm long, soaked in bitumen, into the marked spots so their tops stand 25 mm above the ground. Line the pit walls with roofing felt, wrapping its upper edge around a board 25 × 100 mm in section, and nail the board to the stakes so the felt is clamped between the stakes and the board, with the board rising 15 mm above each stake.
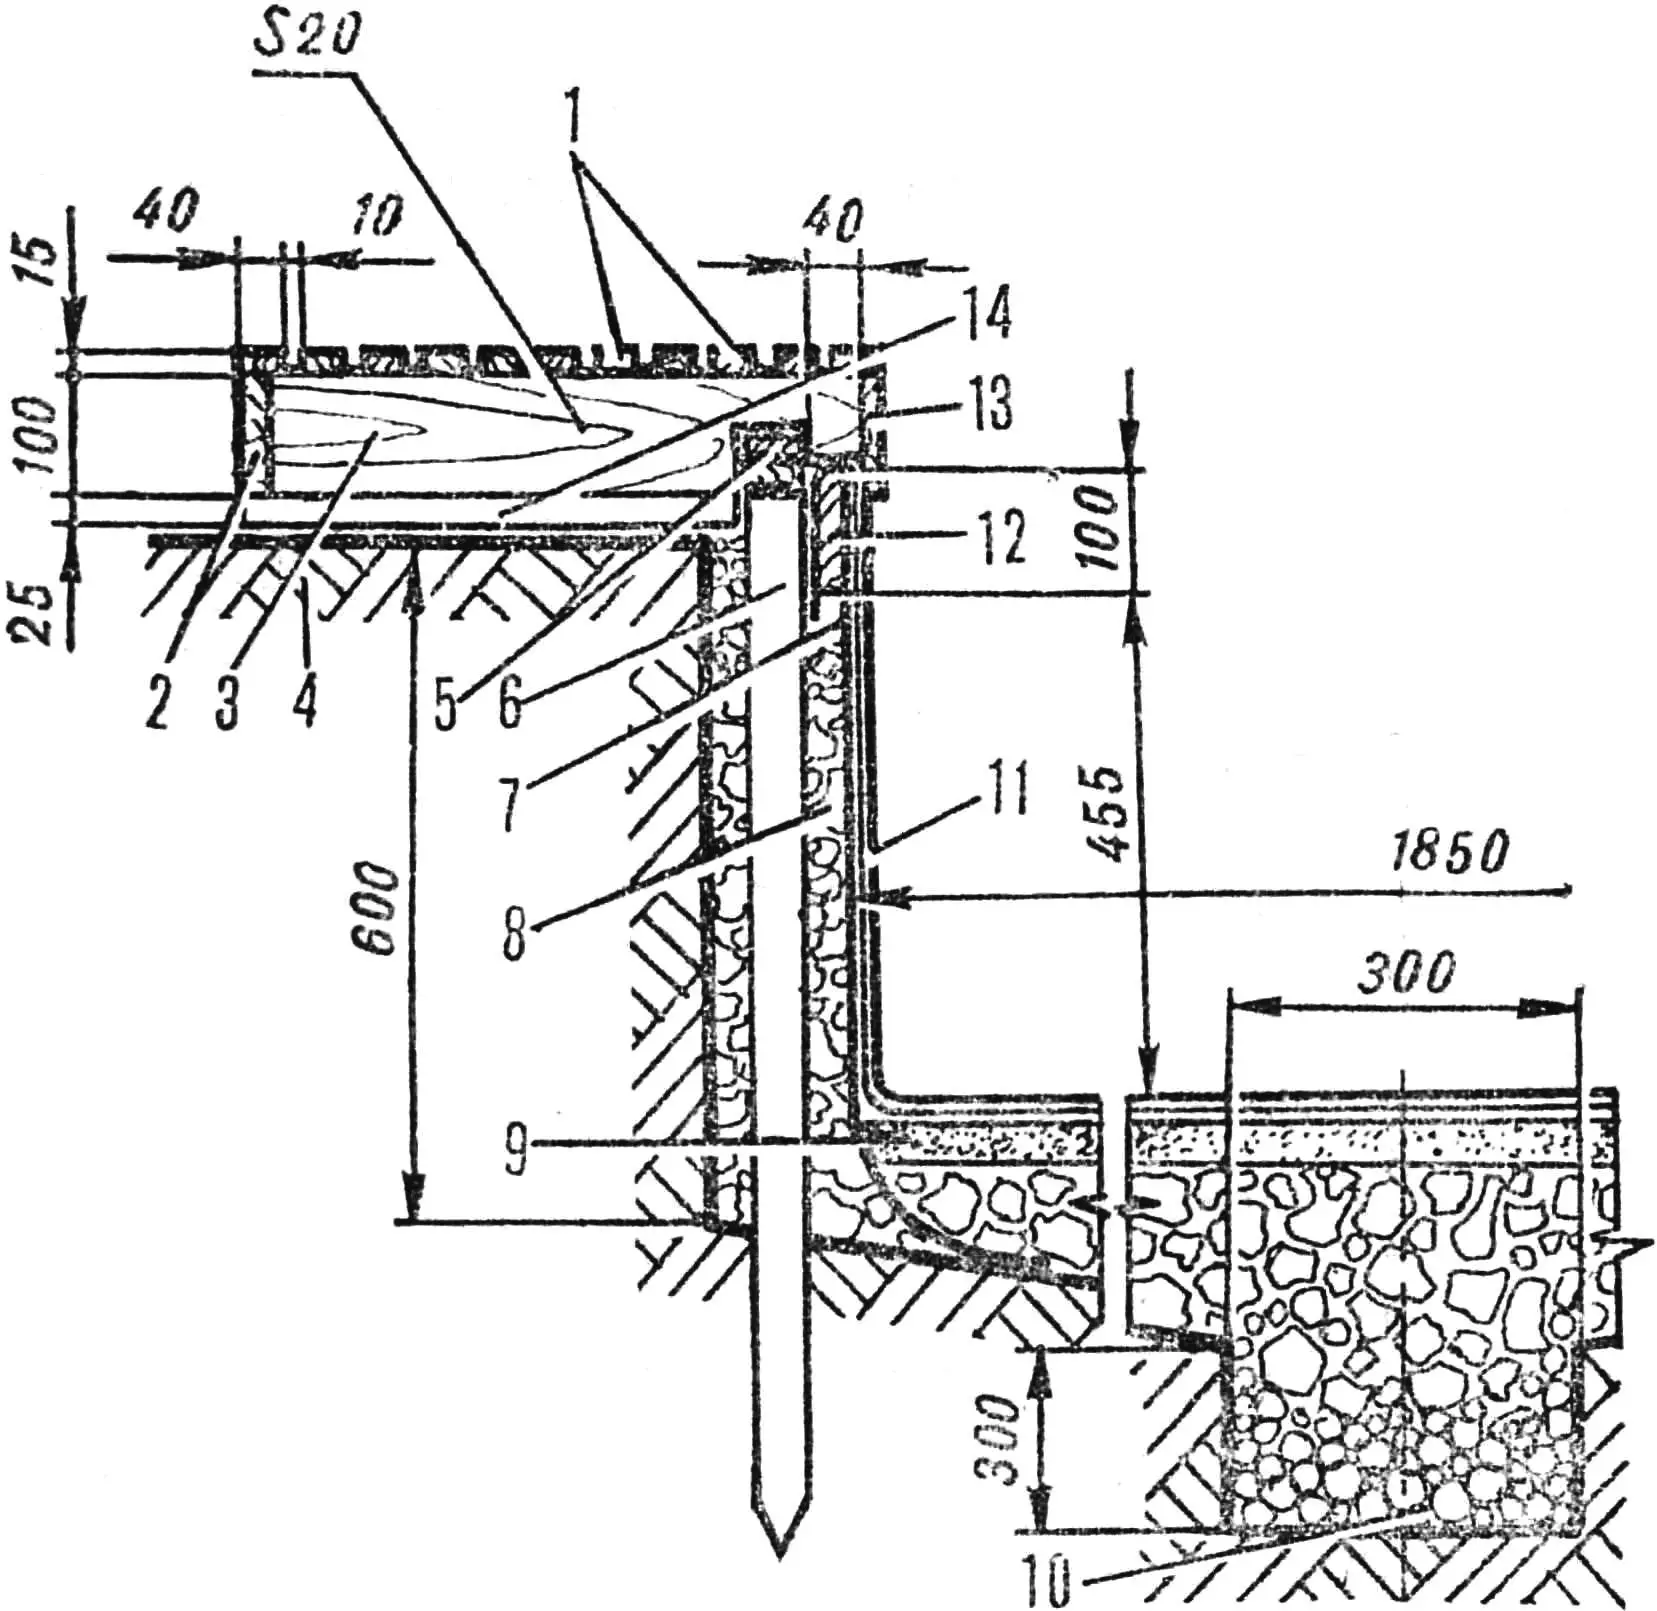
1 — slats of removable grates, 2 — frame of removable grates, 3 — cross brace, 4 — soil, 5 — embedded batten for film liner, 6 — stake, 7 — roofing felt, 8 — gravel for side drainage, 9 — sand bottom, 10 — bottom drainage, 11 — polyethylene film, 12 — board, 13 — decorative grating board, 14 — cleat board.
Fold the lower edge of the roofing felt into the pit, notching the corners first. You can then fill the bottom with gravel drainage until the surface is level. Cover the bottom with sand on top. The depth of the pit to the top edge of the board should be about 550 mm. Fill the remaining gap between the pit walls and the felt with gravel to form side drainage. The pool base is ready.
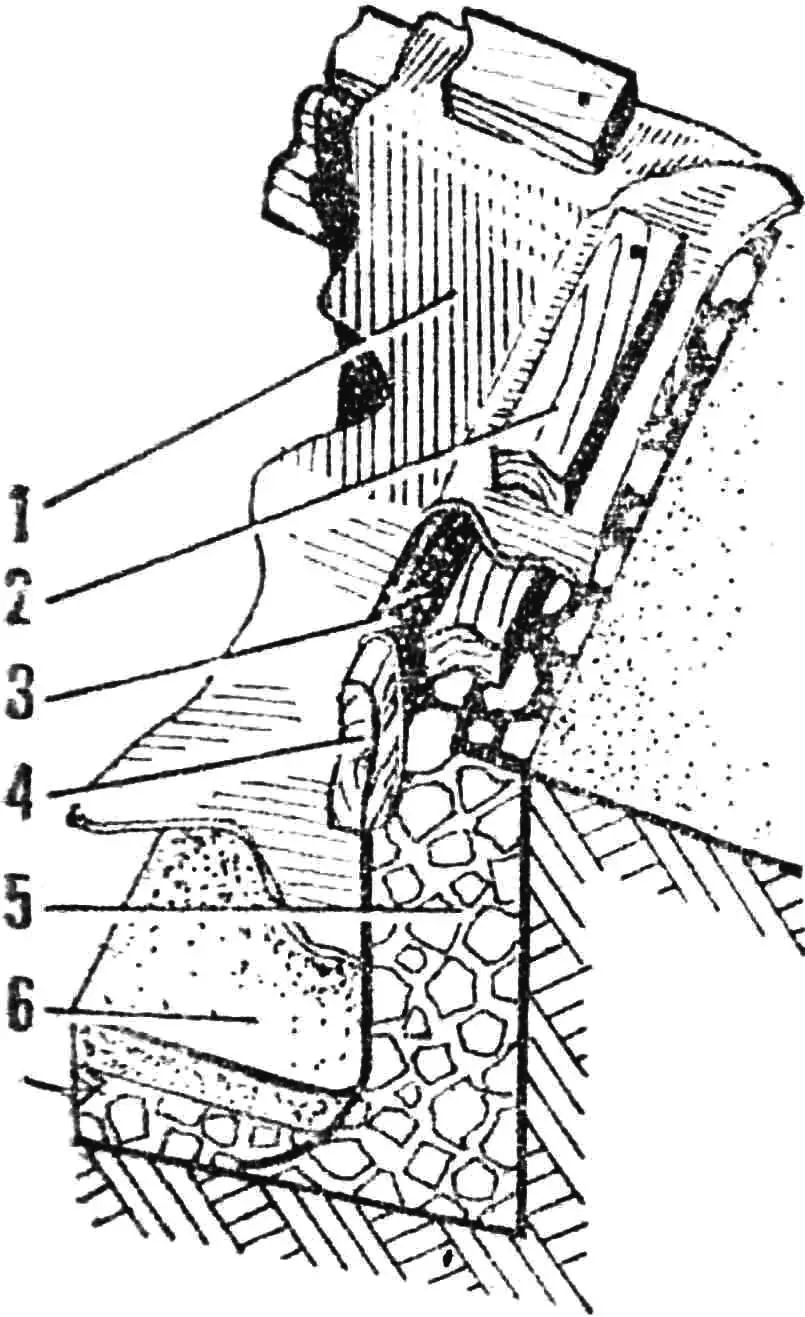
1 — polyethylene film, 2 — embedded batten for film liner, 3 — roofing felt, 4 — board, 5 — drainage gravel, 6 — sand pool bottom.
All that remains is to make removable grating covers from strips and cut the pool liner from 3000 × 3000 mm polyethylene film. To tint the water, you can place a piece of synthetic fabric under the film, the same size. Lay the film edges, aligned with the fabric, between battens 15 × 50 mm in section and 1850 mm long, and secure with nails. Then spread the liner on the pit bottom; fold the corners outward and tuck the battens behind the boards fixed to the stakes. Hold the battens down with the removable gratings. They consist of four sections: two with slats running lengthwise (long) and two crosswise (short). The long section is built from three cross braces—boards 100 × 20 mm—with cleat boards 25 × 100 mm and 440 mm long nailed underneath; the braces fit into a frame. The top surface along the length is covered with 40 × 15 mm strips spaced 10 mm apart. The short section is 1850 mm long; the end braces form the frame ends. The top slats run crosswise. Install the finished sections so the notches in the cross braces lock the liner battens in place.
1 — embedded battens, 2 — polyethylene film, 3 — synthetic fabric.
All wooden parts should be primed with boiled oil and painted with enamel or coated with parquet varnish.
For winter, remove the liner. Rolled diagonally with the remaining “tail” wrapped around the assembled strips, you get a bundle about 2000 × 300 × 200 mm. Cover the pit with boards to keep precipitation out.
“M-K” 6’87, from the magazine “Householder,” England
Recommend to read
 FIVE MINUS THREE
Convenient headlamp Chinese led lights can be purchased everywhere. They are all very similar and the only difference is the number of LEDs and therefore — in value. The inside of the...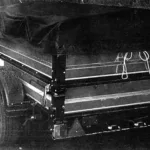 Trailer tester
To check the operation of the trailer's lighting system, two people are needed: the driver turns on the switches and presses the brake pedal, while an assistant monitors whether the...
