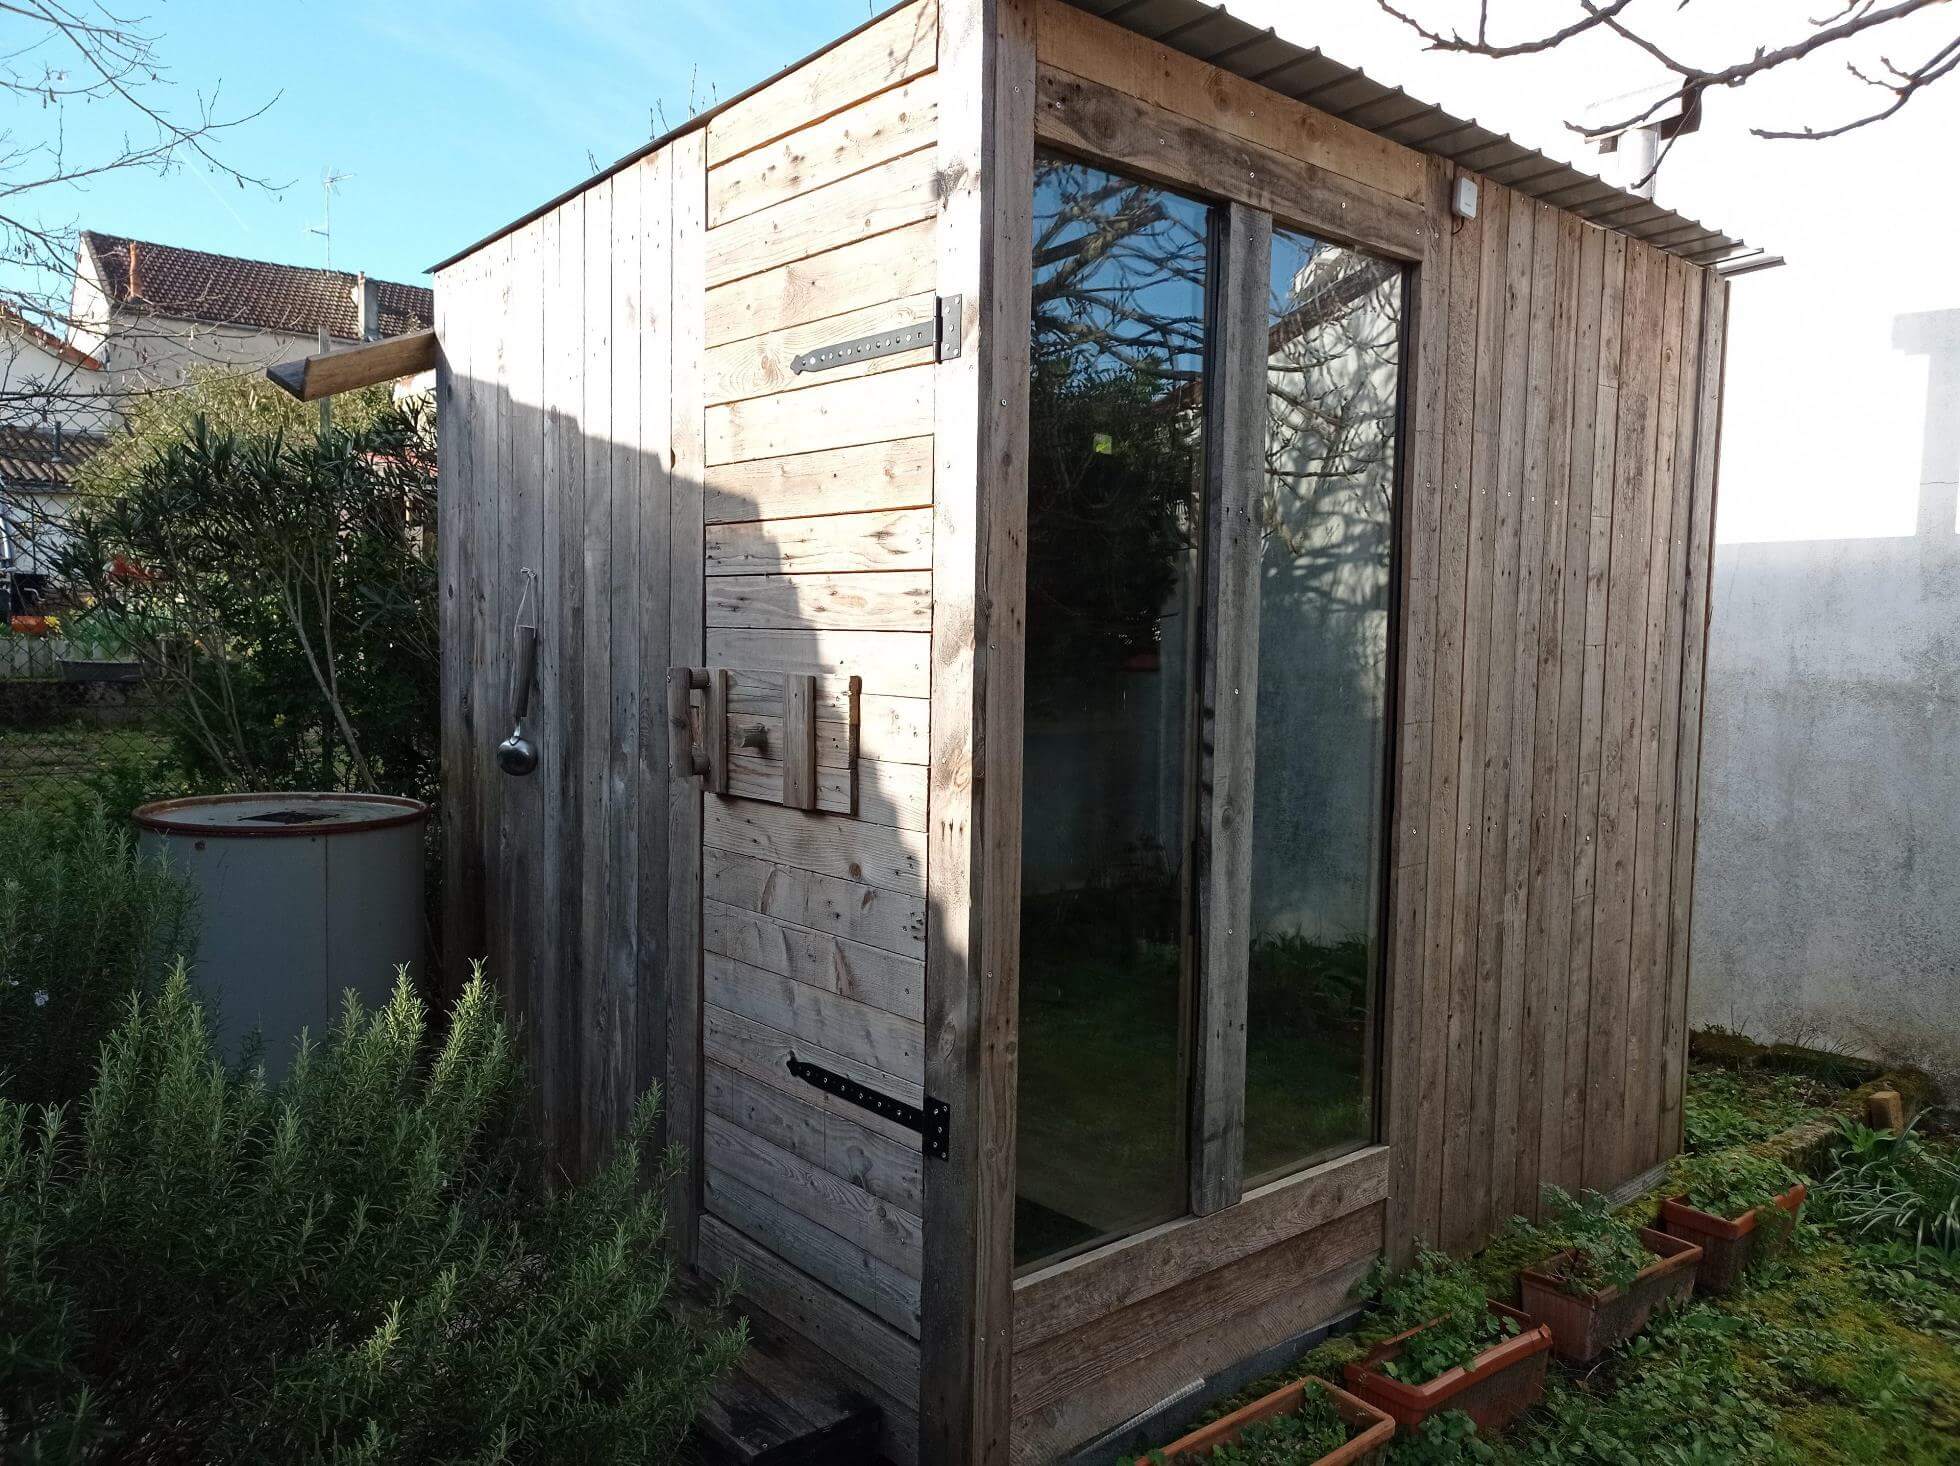
Have you ever thought about building your own sauna? This idea didn’t let me go for quite a long time, and then one day I decided: I’ll build a sauna in my garden! First, I began to study all the available materials about the construction of saunas. It was important to understand what types of saunas exist, what materials and tools will be required, and, of course, what the end result will be. I chose a traditional Finnish sauna, as it was ideal for our climatic conditions and provided the maximum effect from the sauna procedures.
The first step was to determine the location for construction. I chose a corner of the garden, protected from the wind and prying eyes. Then I started designing: I drew a plan where the stove, shelves and windows would be located. Be sure to take into account ventilation, because proper air exchange is the key to good heating and safety. After the project was prepared, construction work began.
Materials
Here are the tools I needed:
- Miter saw
- Screwdriver
- Jigsaw
- Nail puller
- Pallet scrap
The most important tool is a pallet crowbar: it helps you remove boards easily and without much effort. My crowbar was made from an old pitchfork and three mason’s chisels welded together.
Step 1: Planning
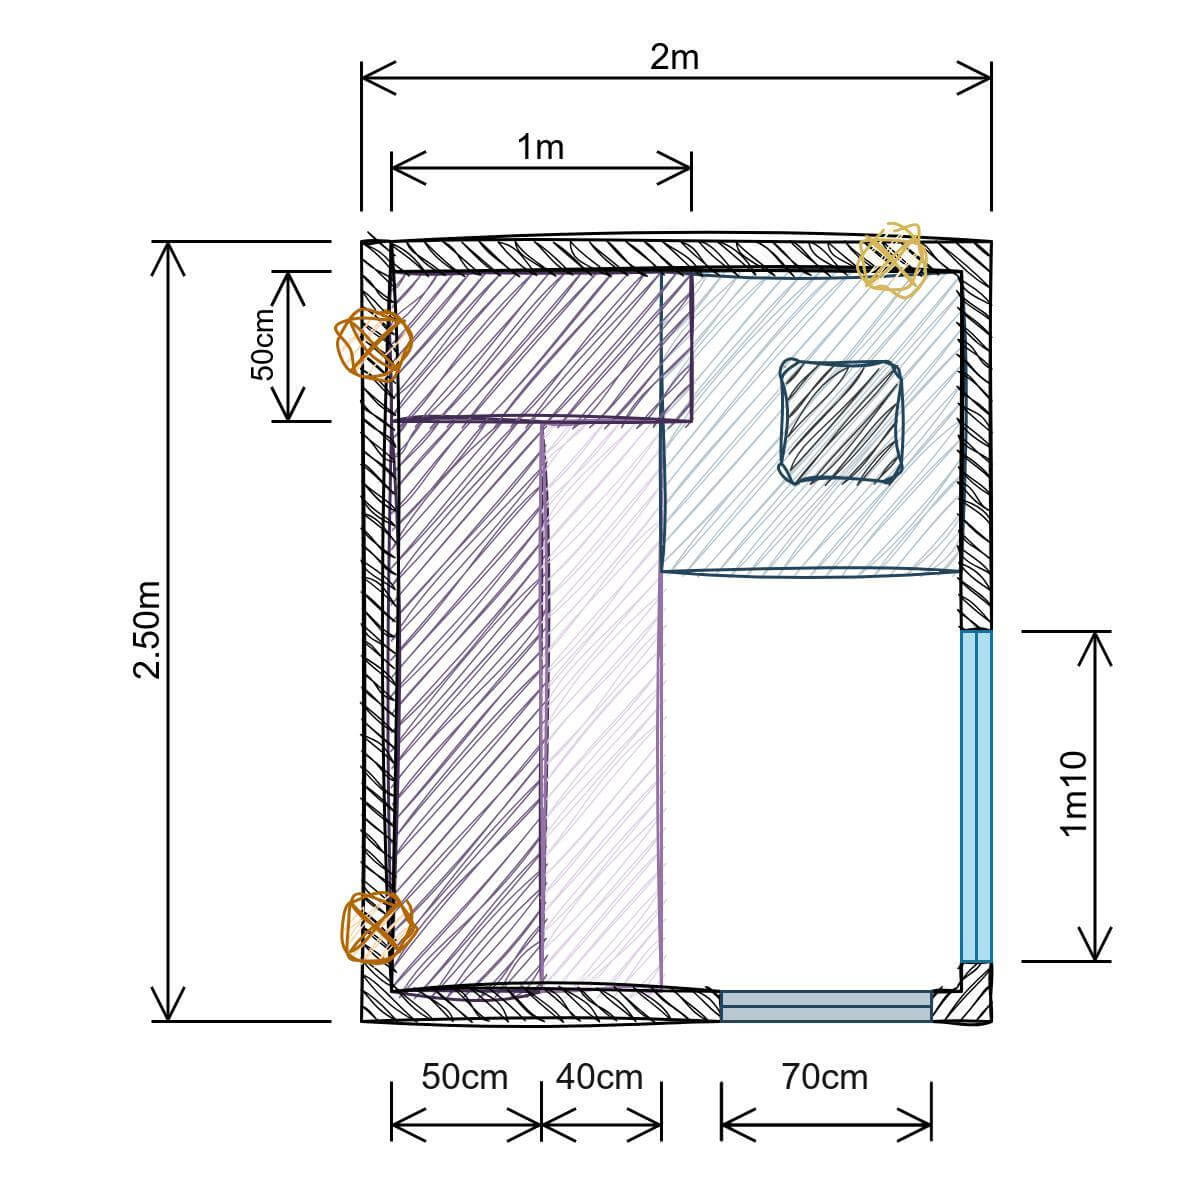
First of all, I planned everything down to the smallest detail. It is important to consider that in France you do not need a building permit if the area does not exceed 5 square meters. m. Therefore, I chose the dimensions 2m x 2.5m.
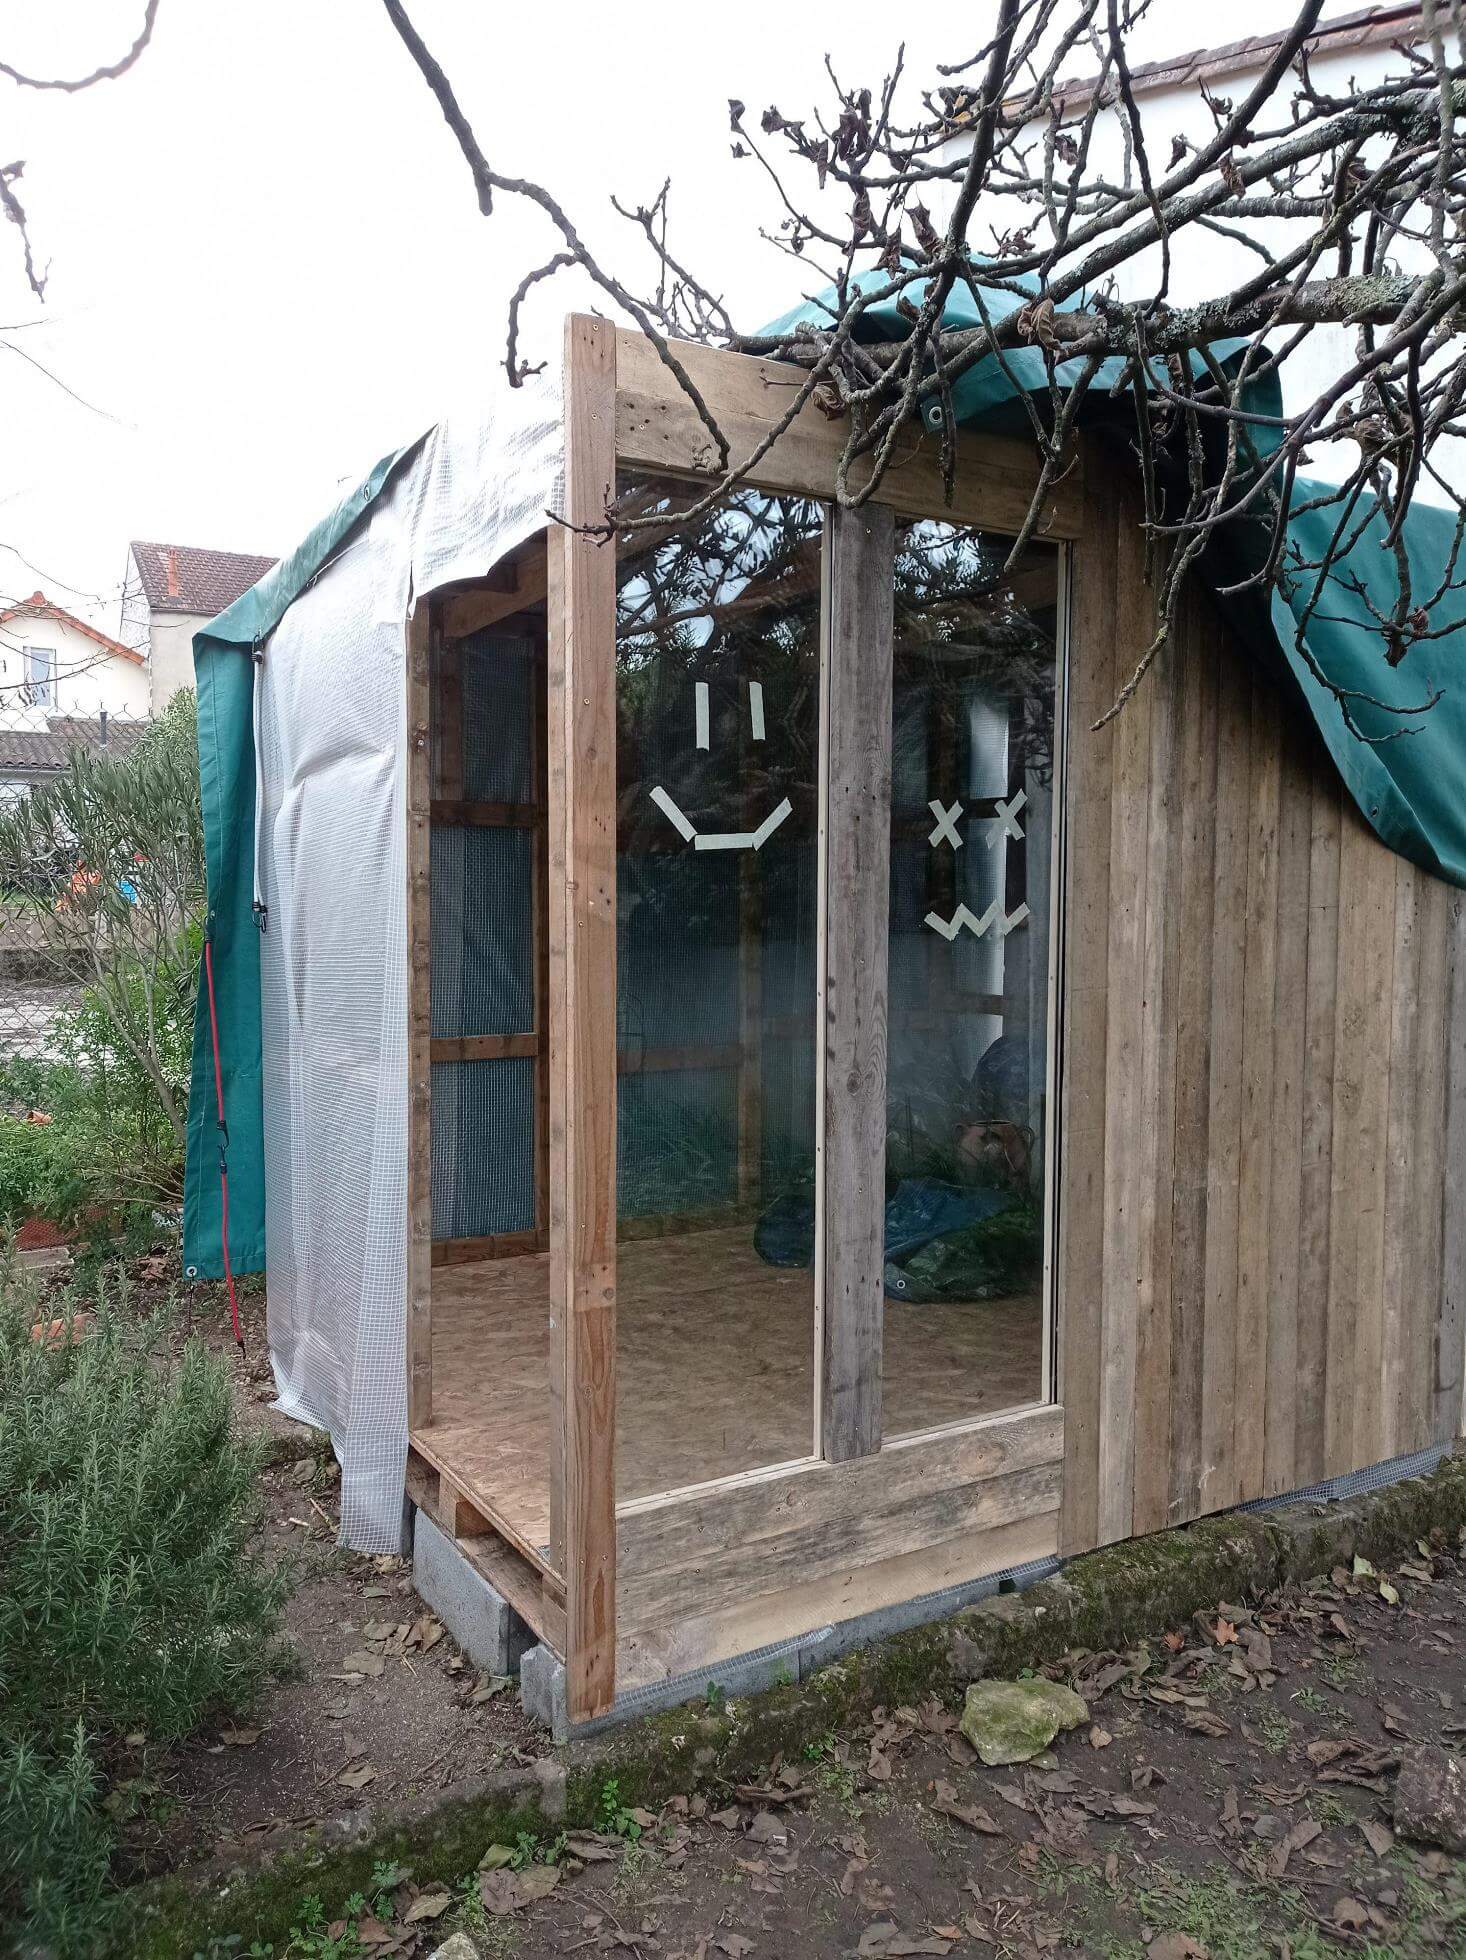
Red crosses on the plan indicate the upper ventilation holes – they are closed when the stove is working and open after the session. Yellow crosses are the lower ventilation holes: one behind the stove for draft and one under the bench for exhaust air exhaust.
Step 2: Foundation
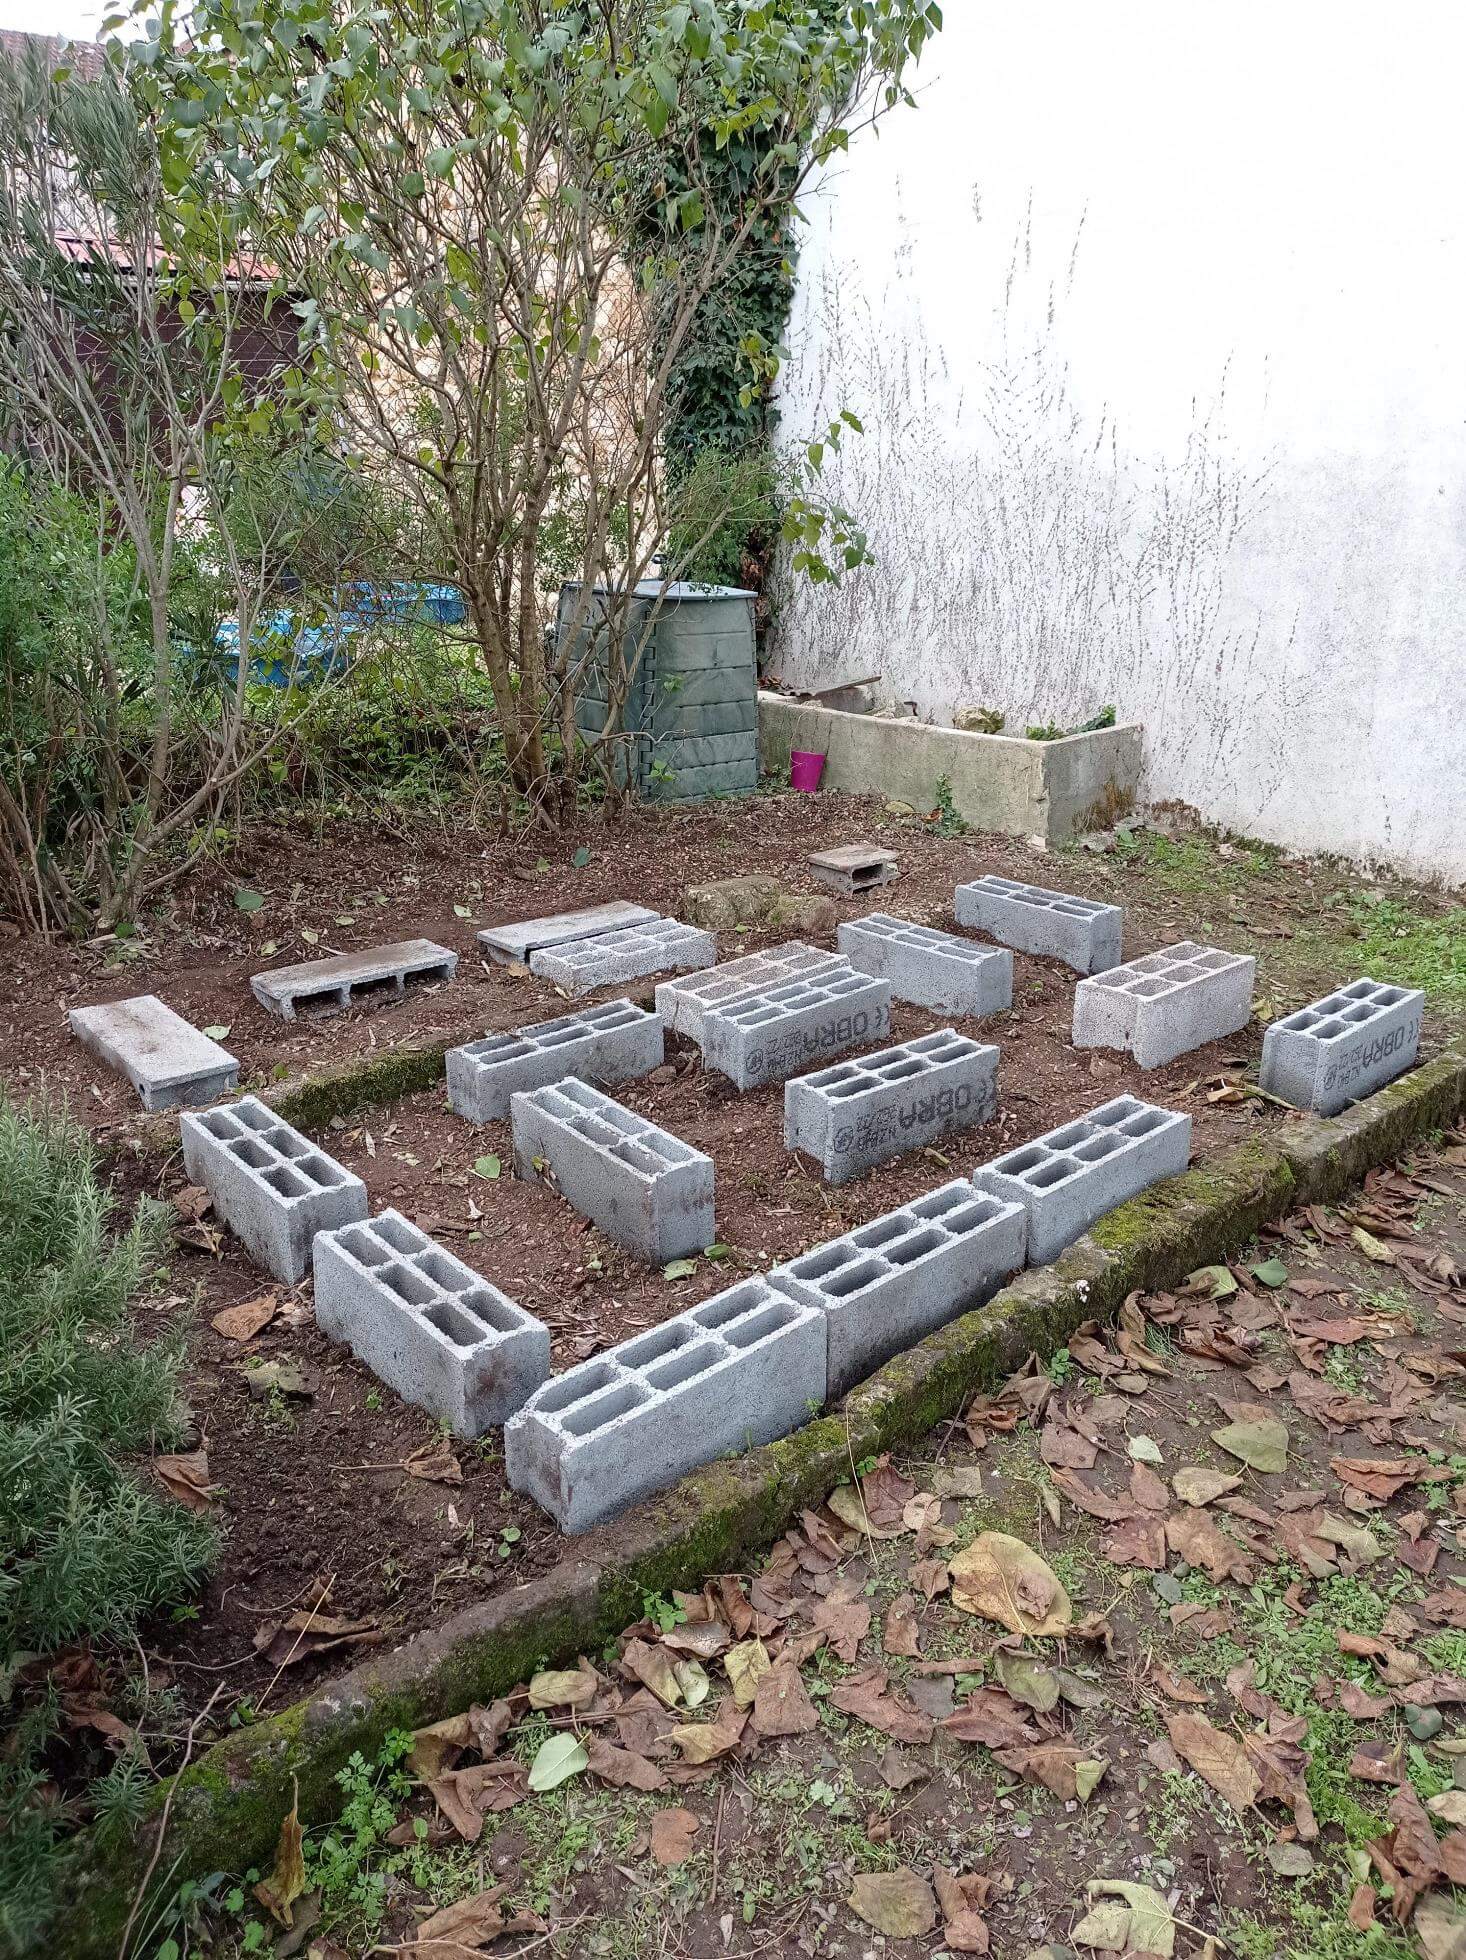
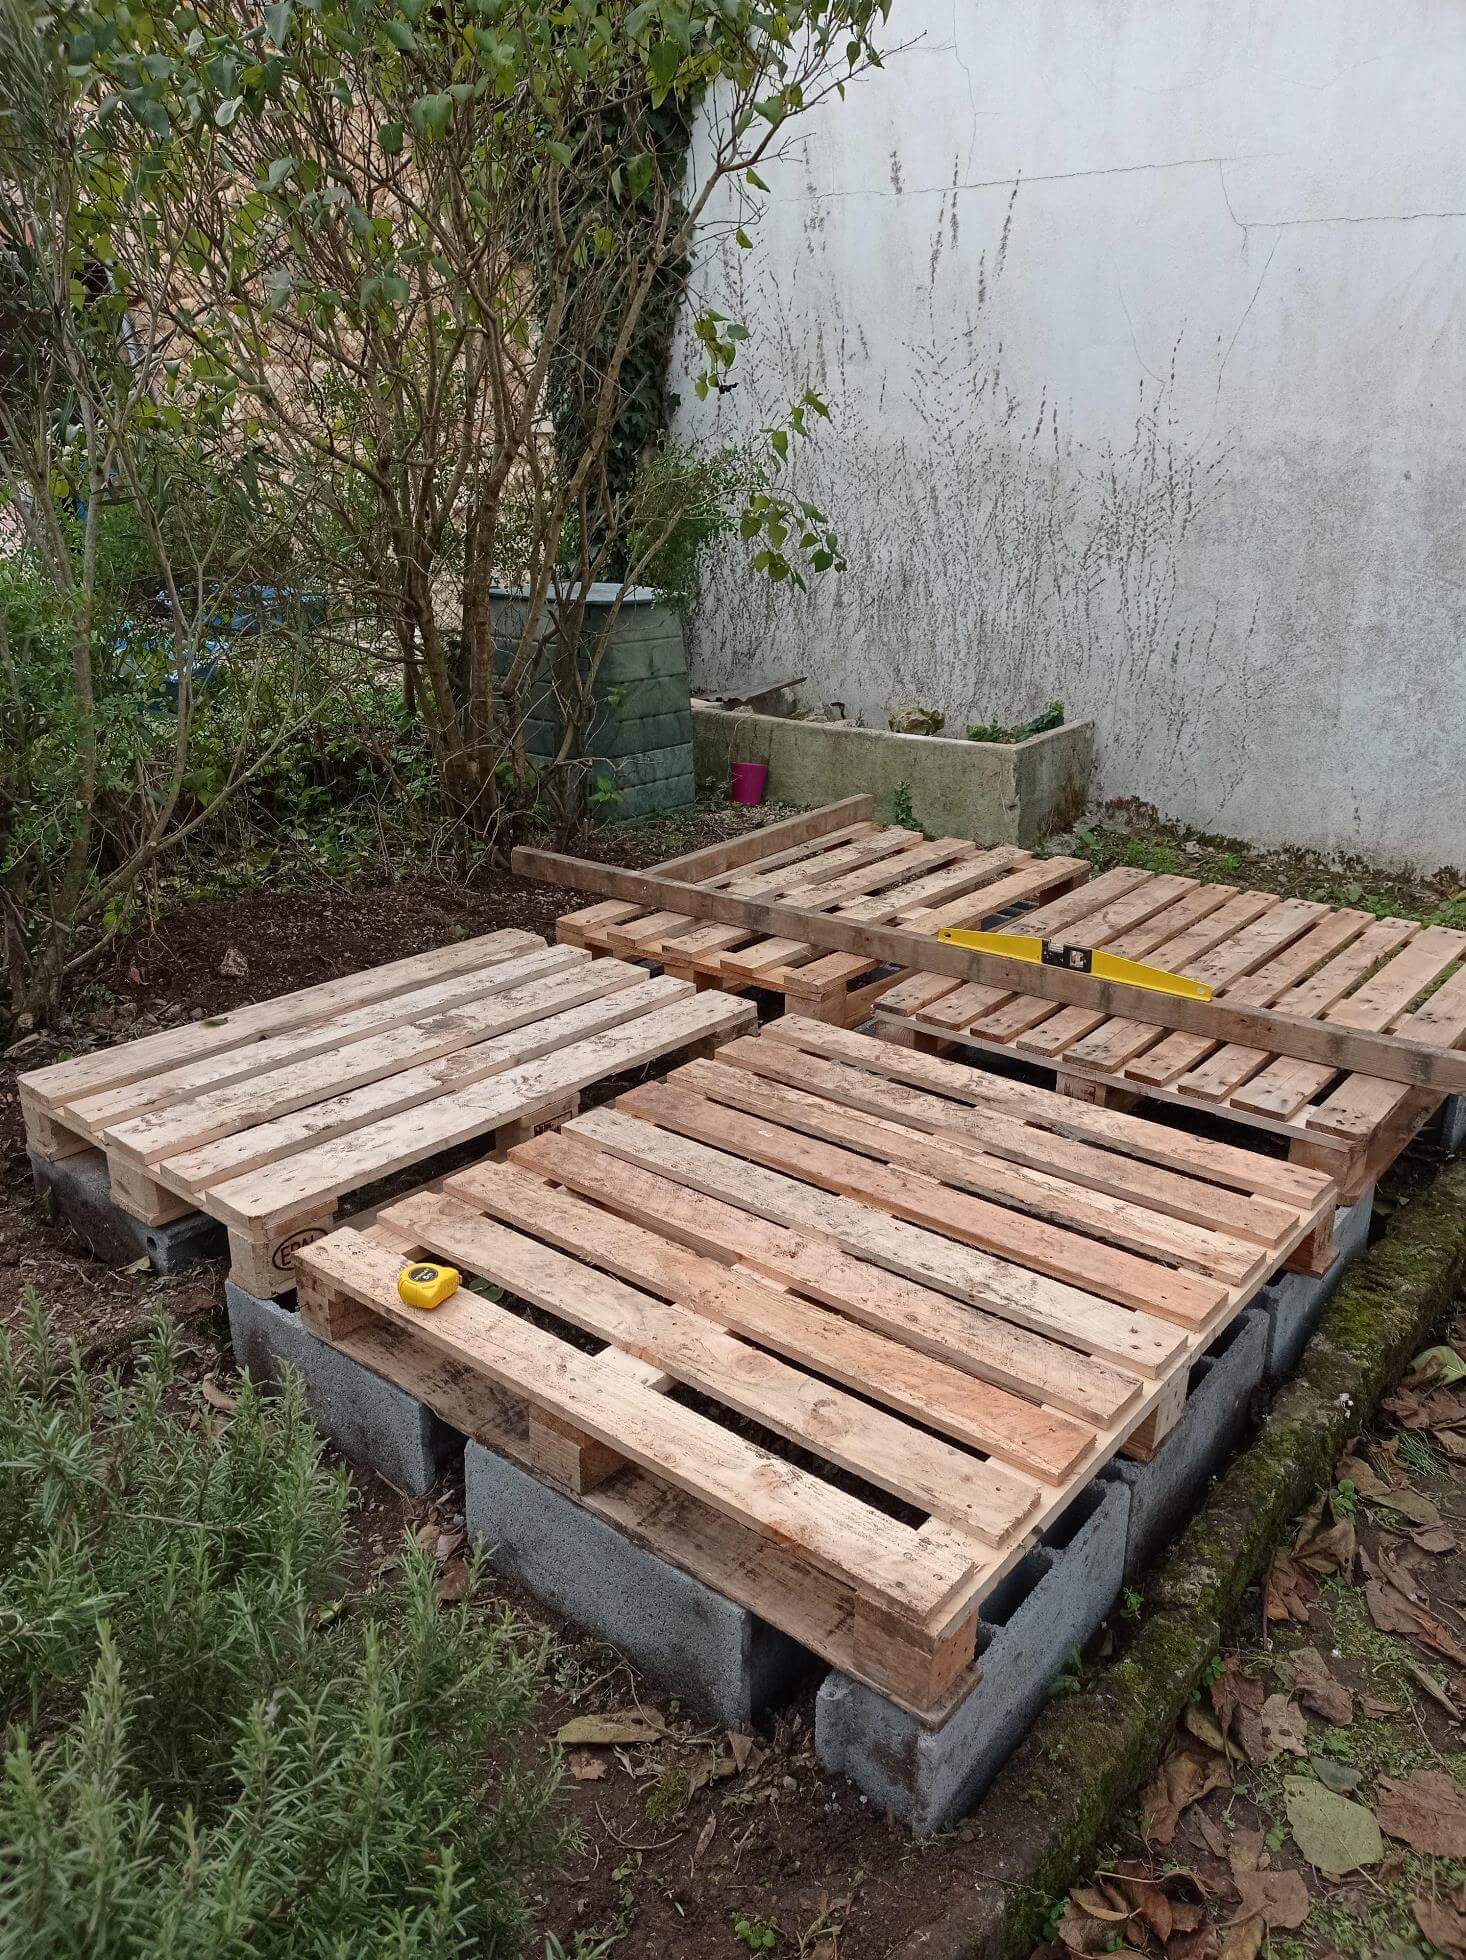
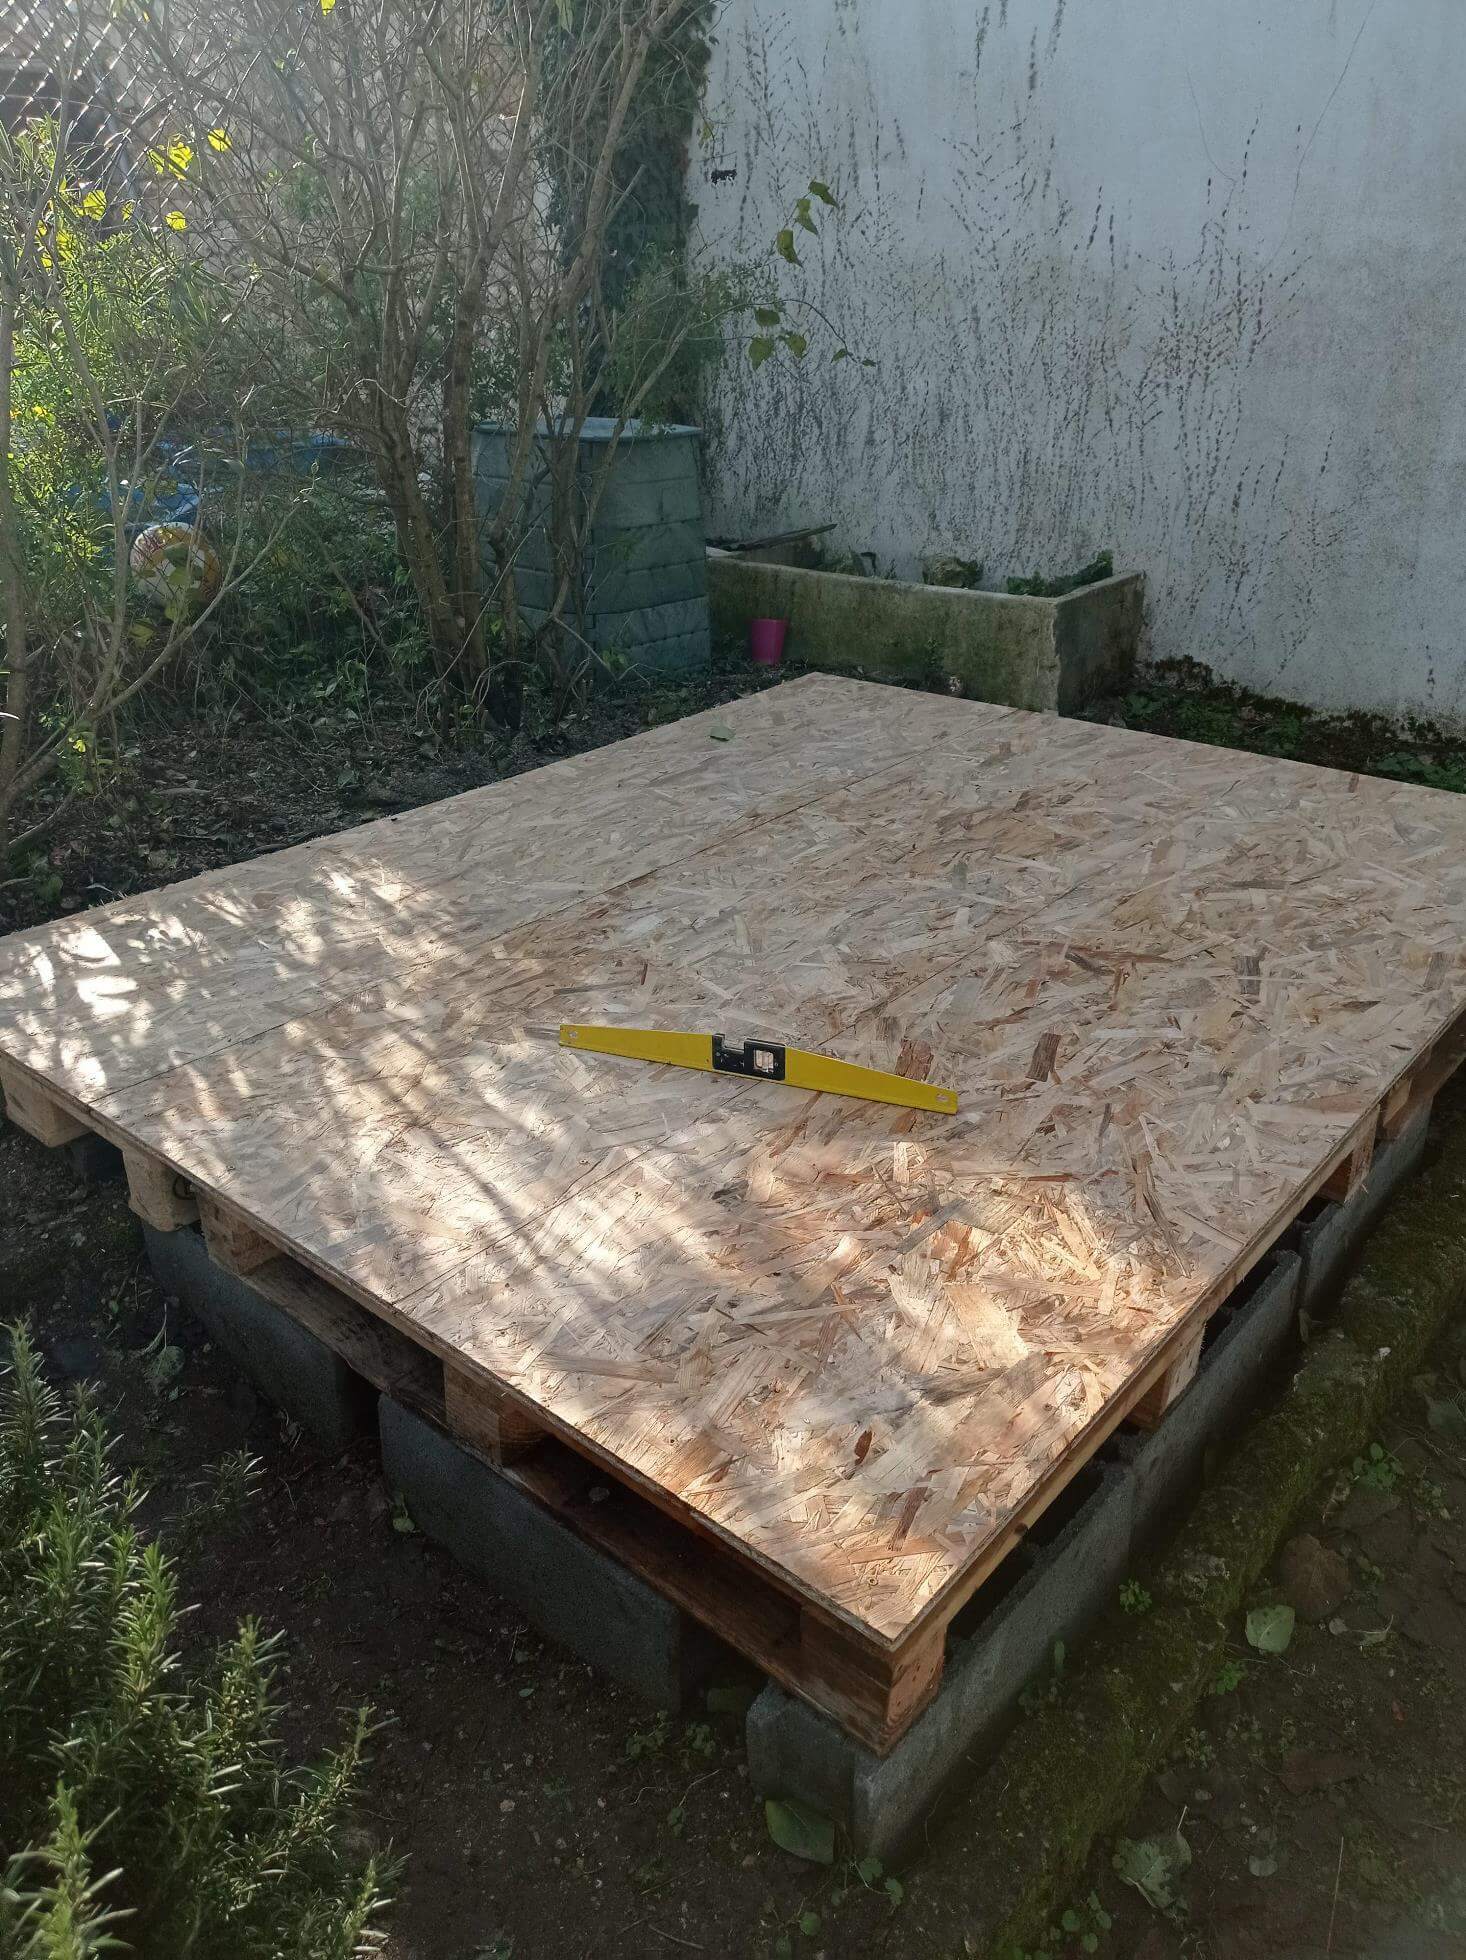
The foundation is the basis of everything! It is important here that everything is perfectly straight. I made three layers:
- Concrete blocks
- Pallets
- OSB panels
Step 3: Frame

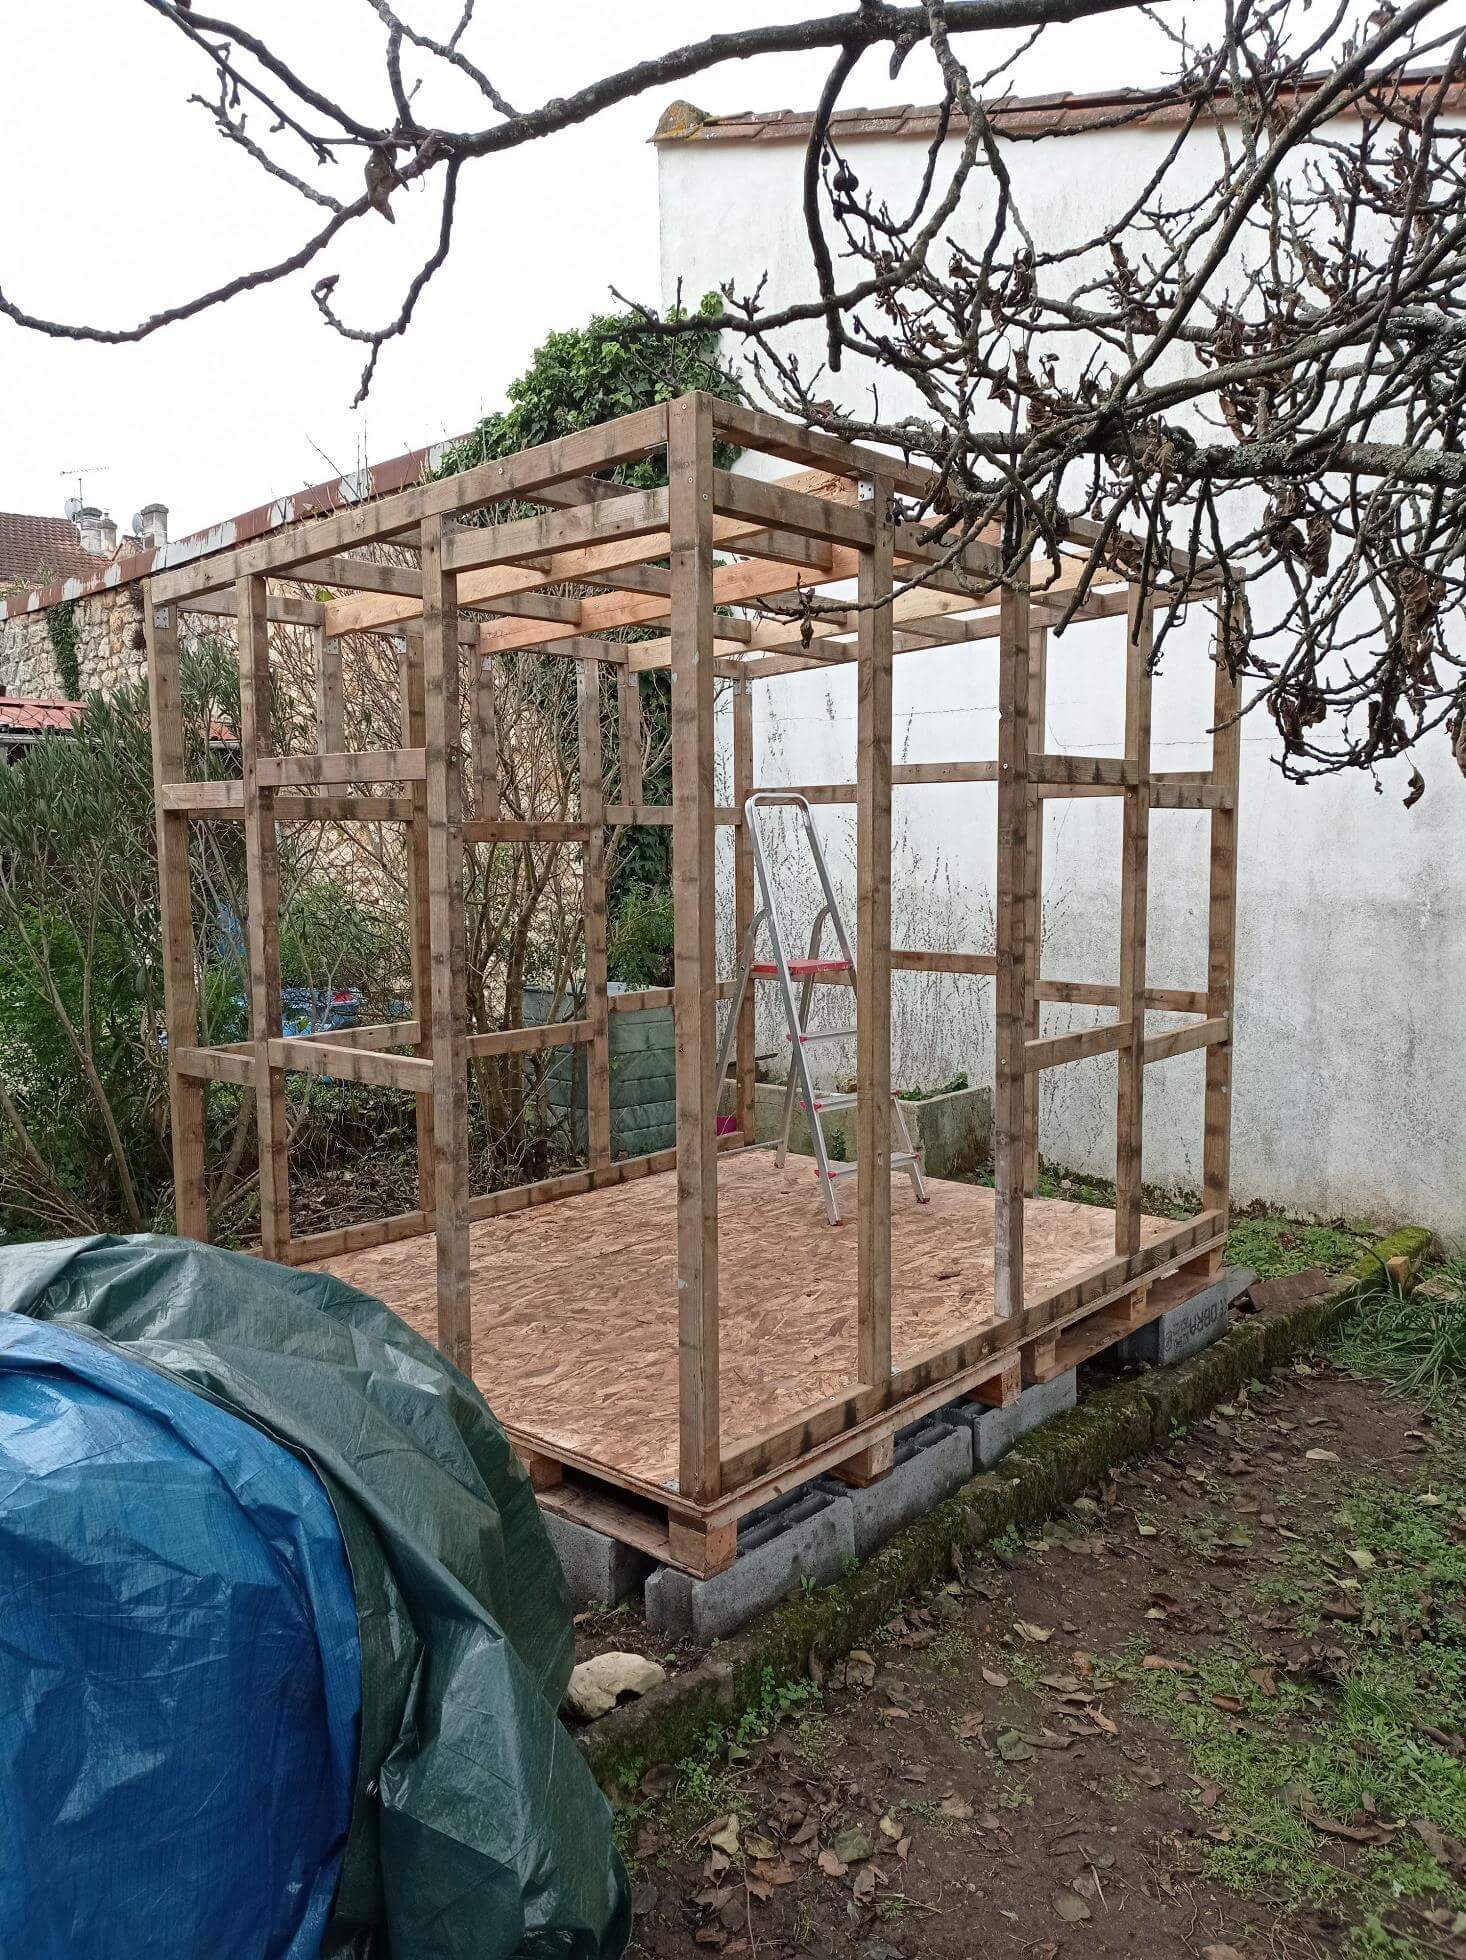
I used metal fasteners to secure the rafters to the ground. The rafters were taken from my old deck!
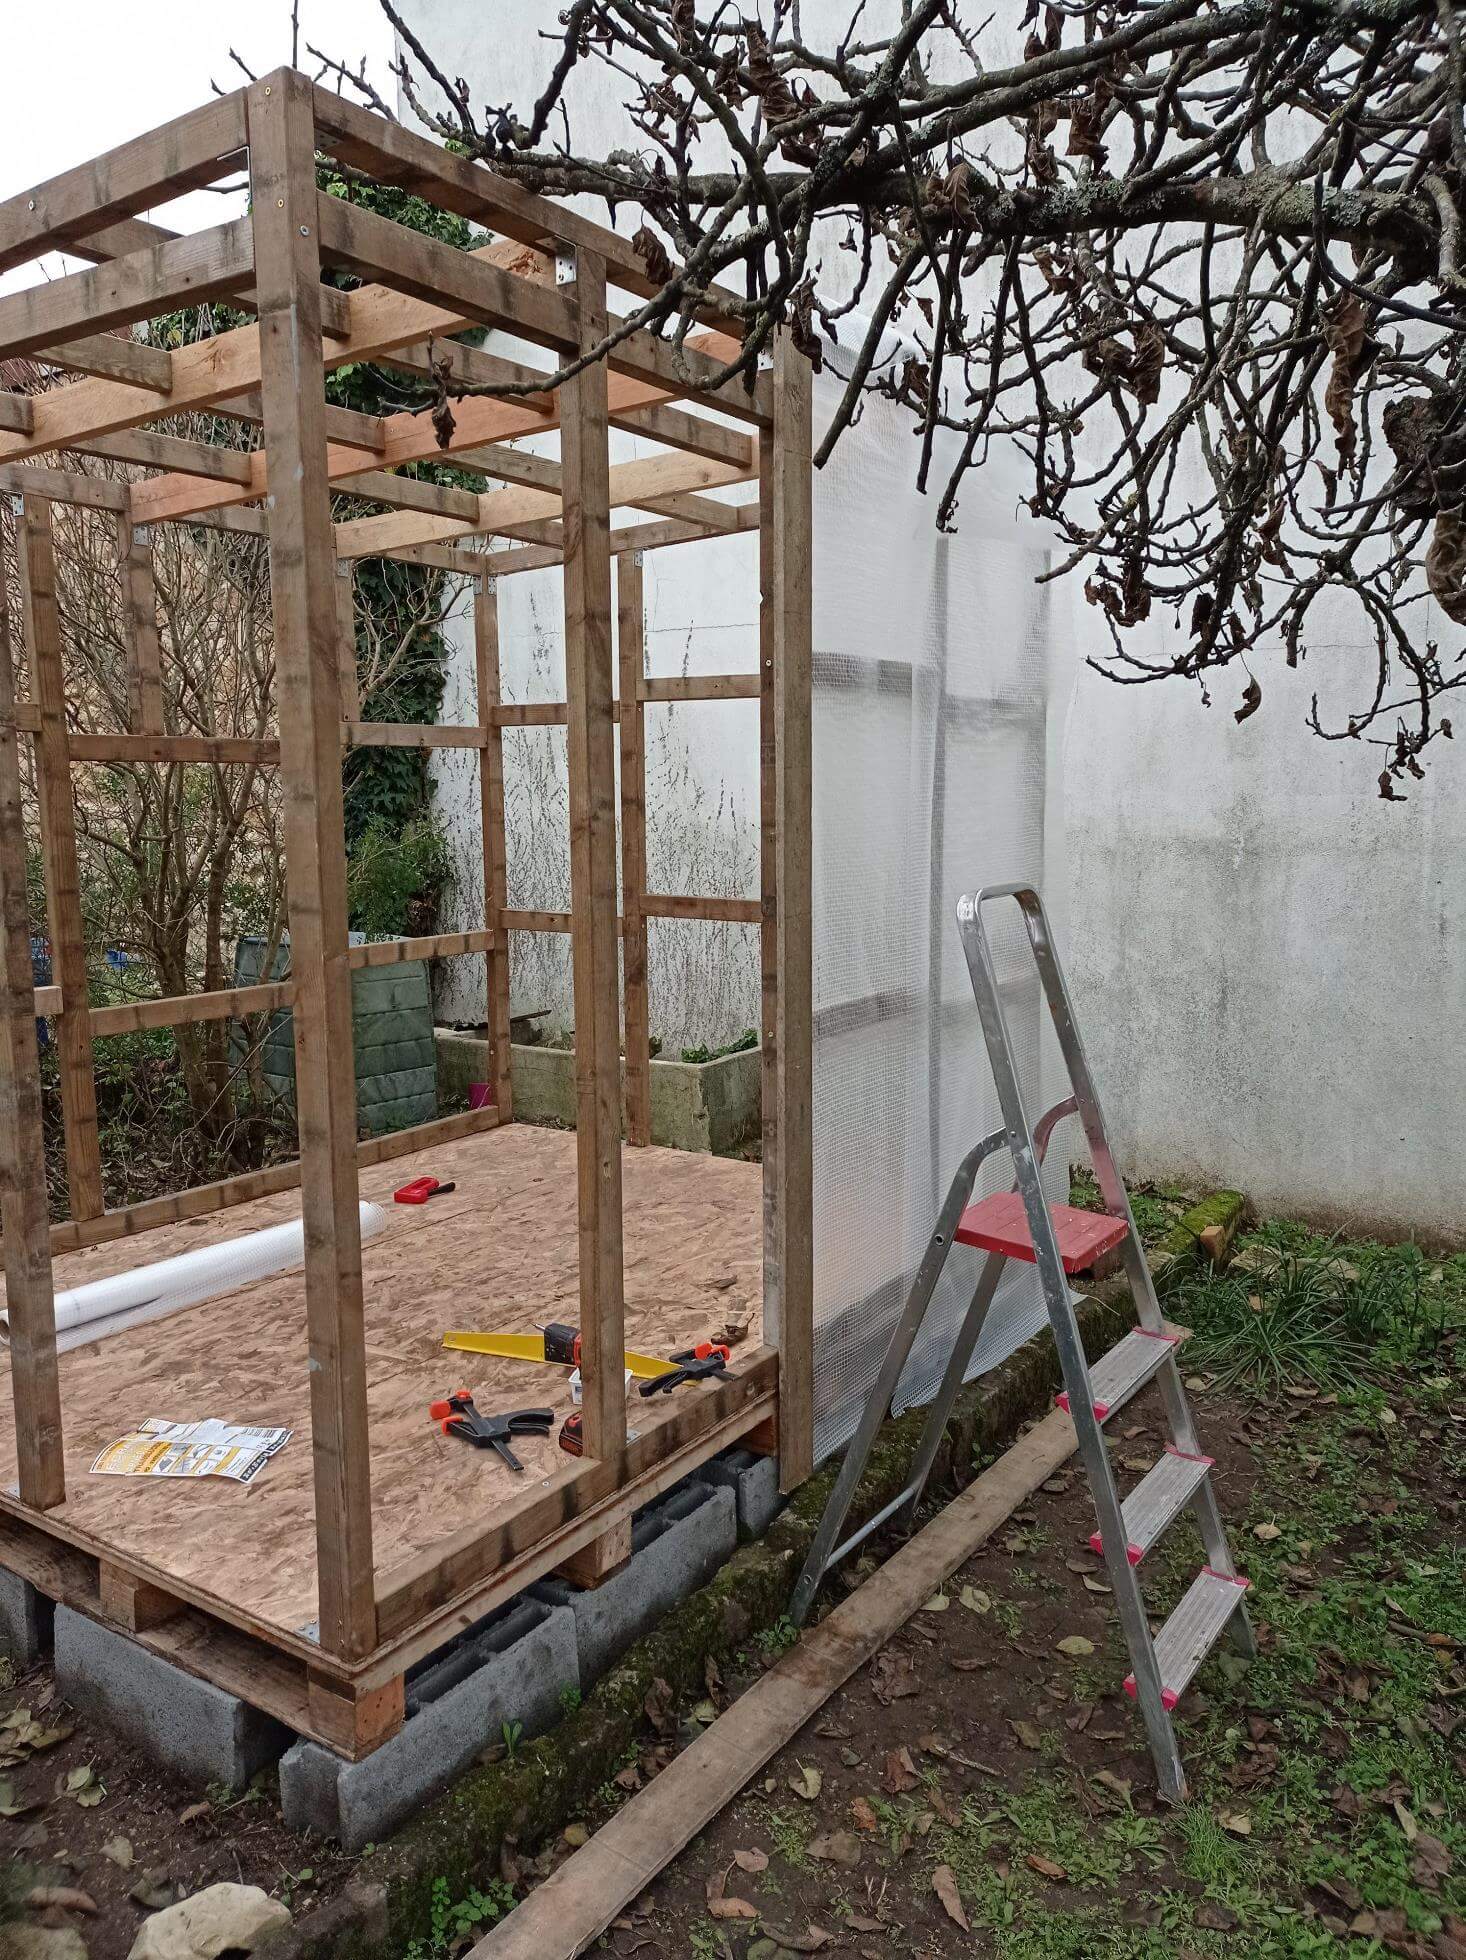
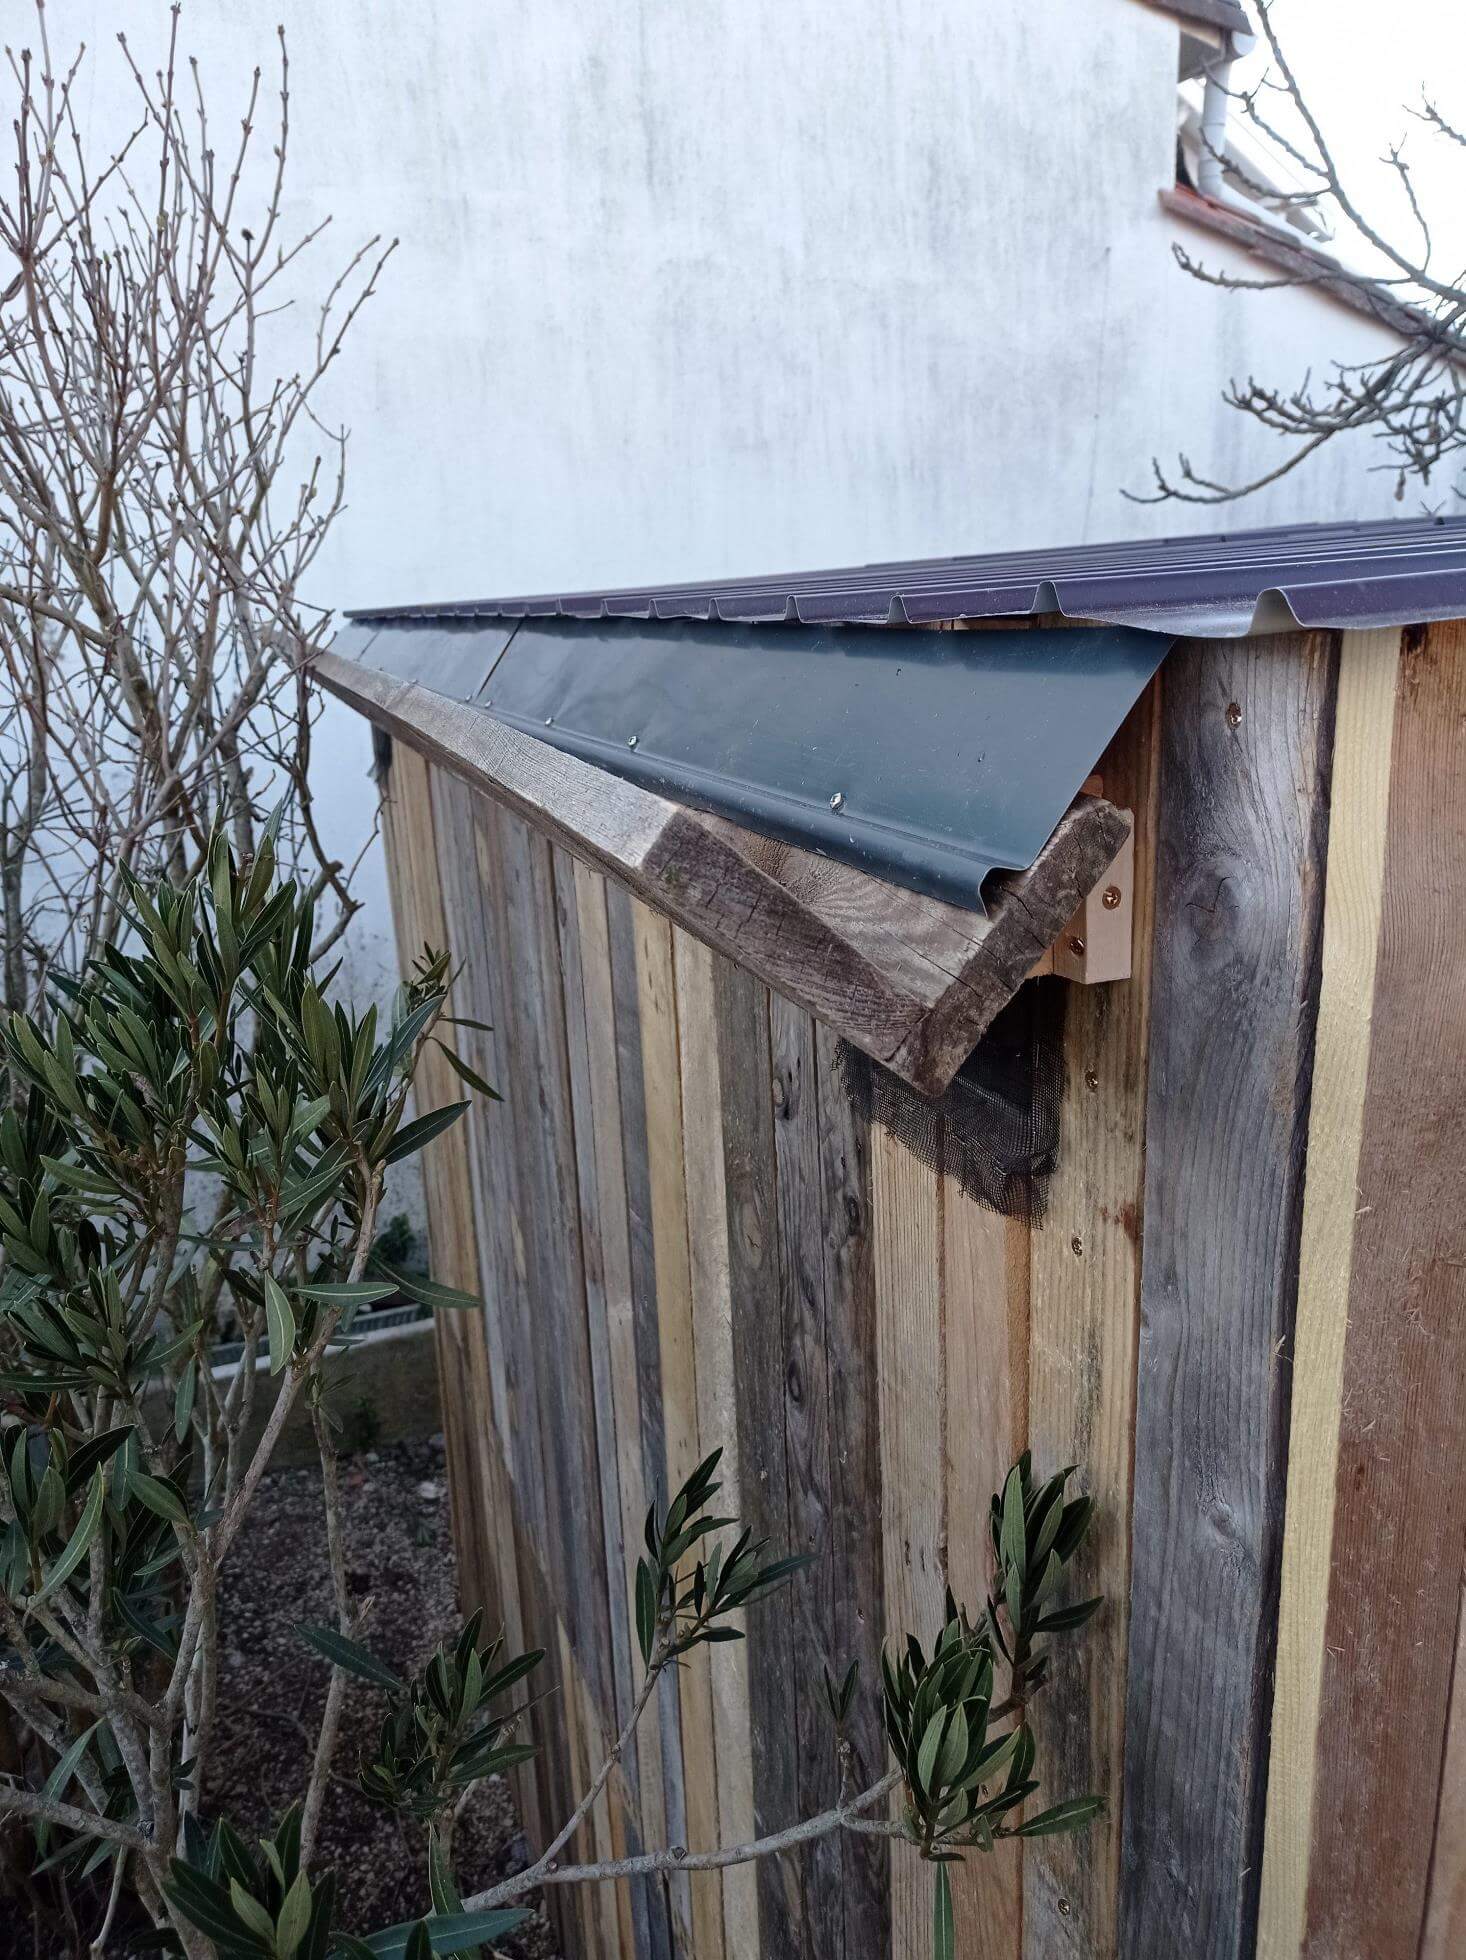
Step 4: Exterior Finish
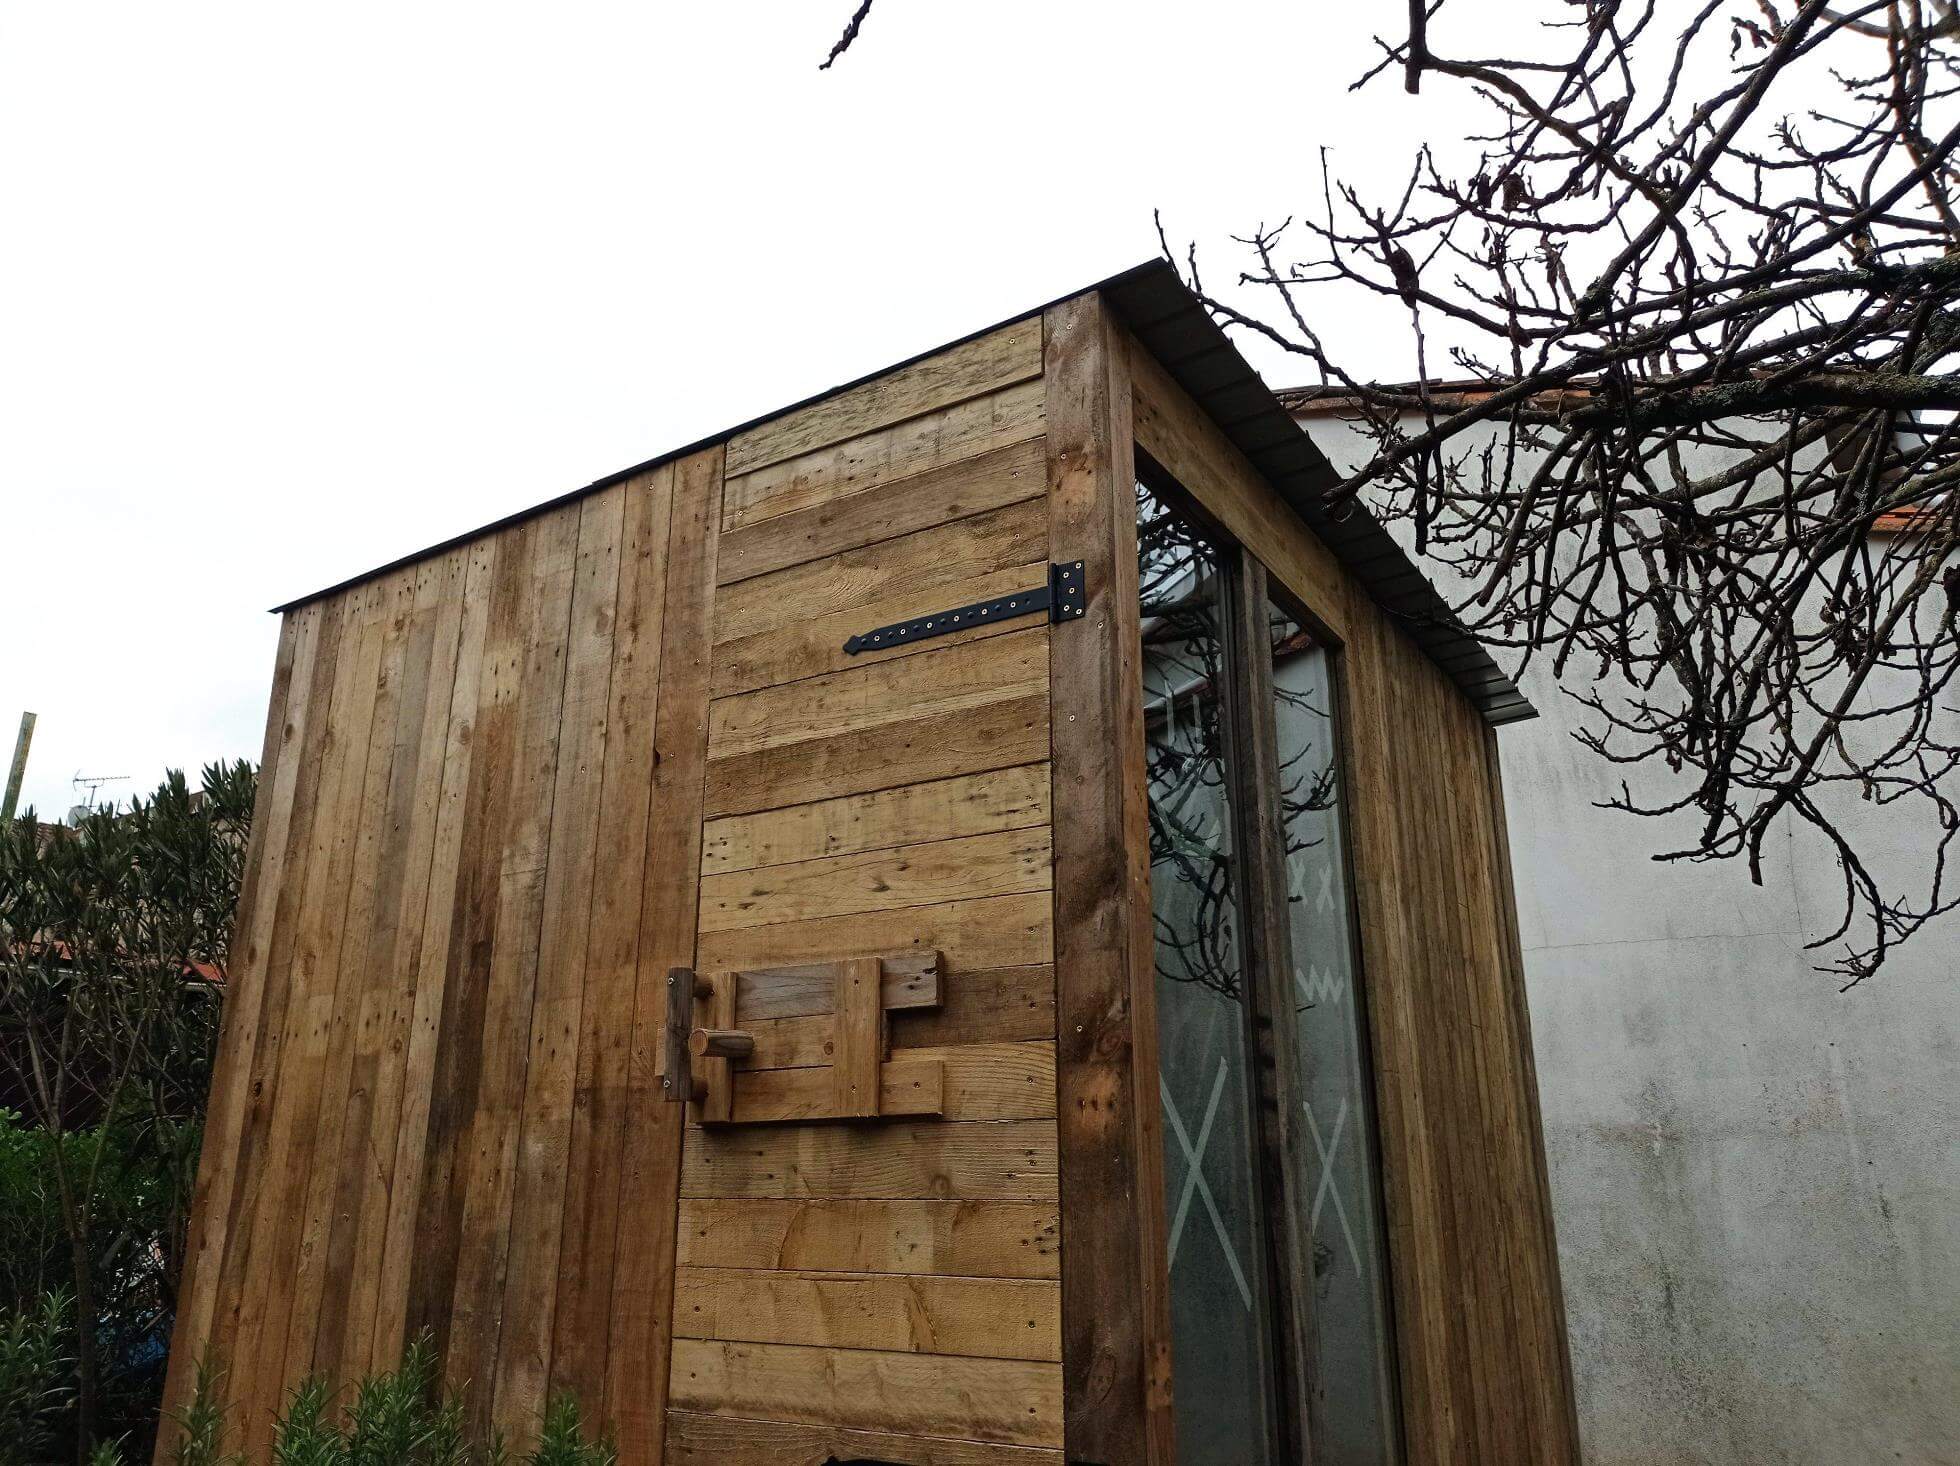
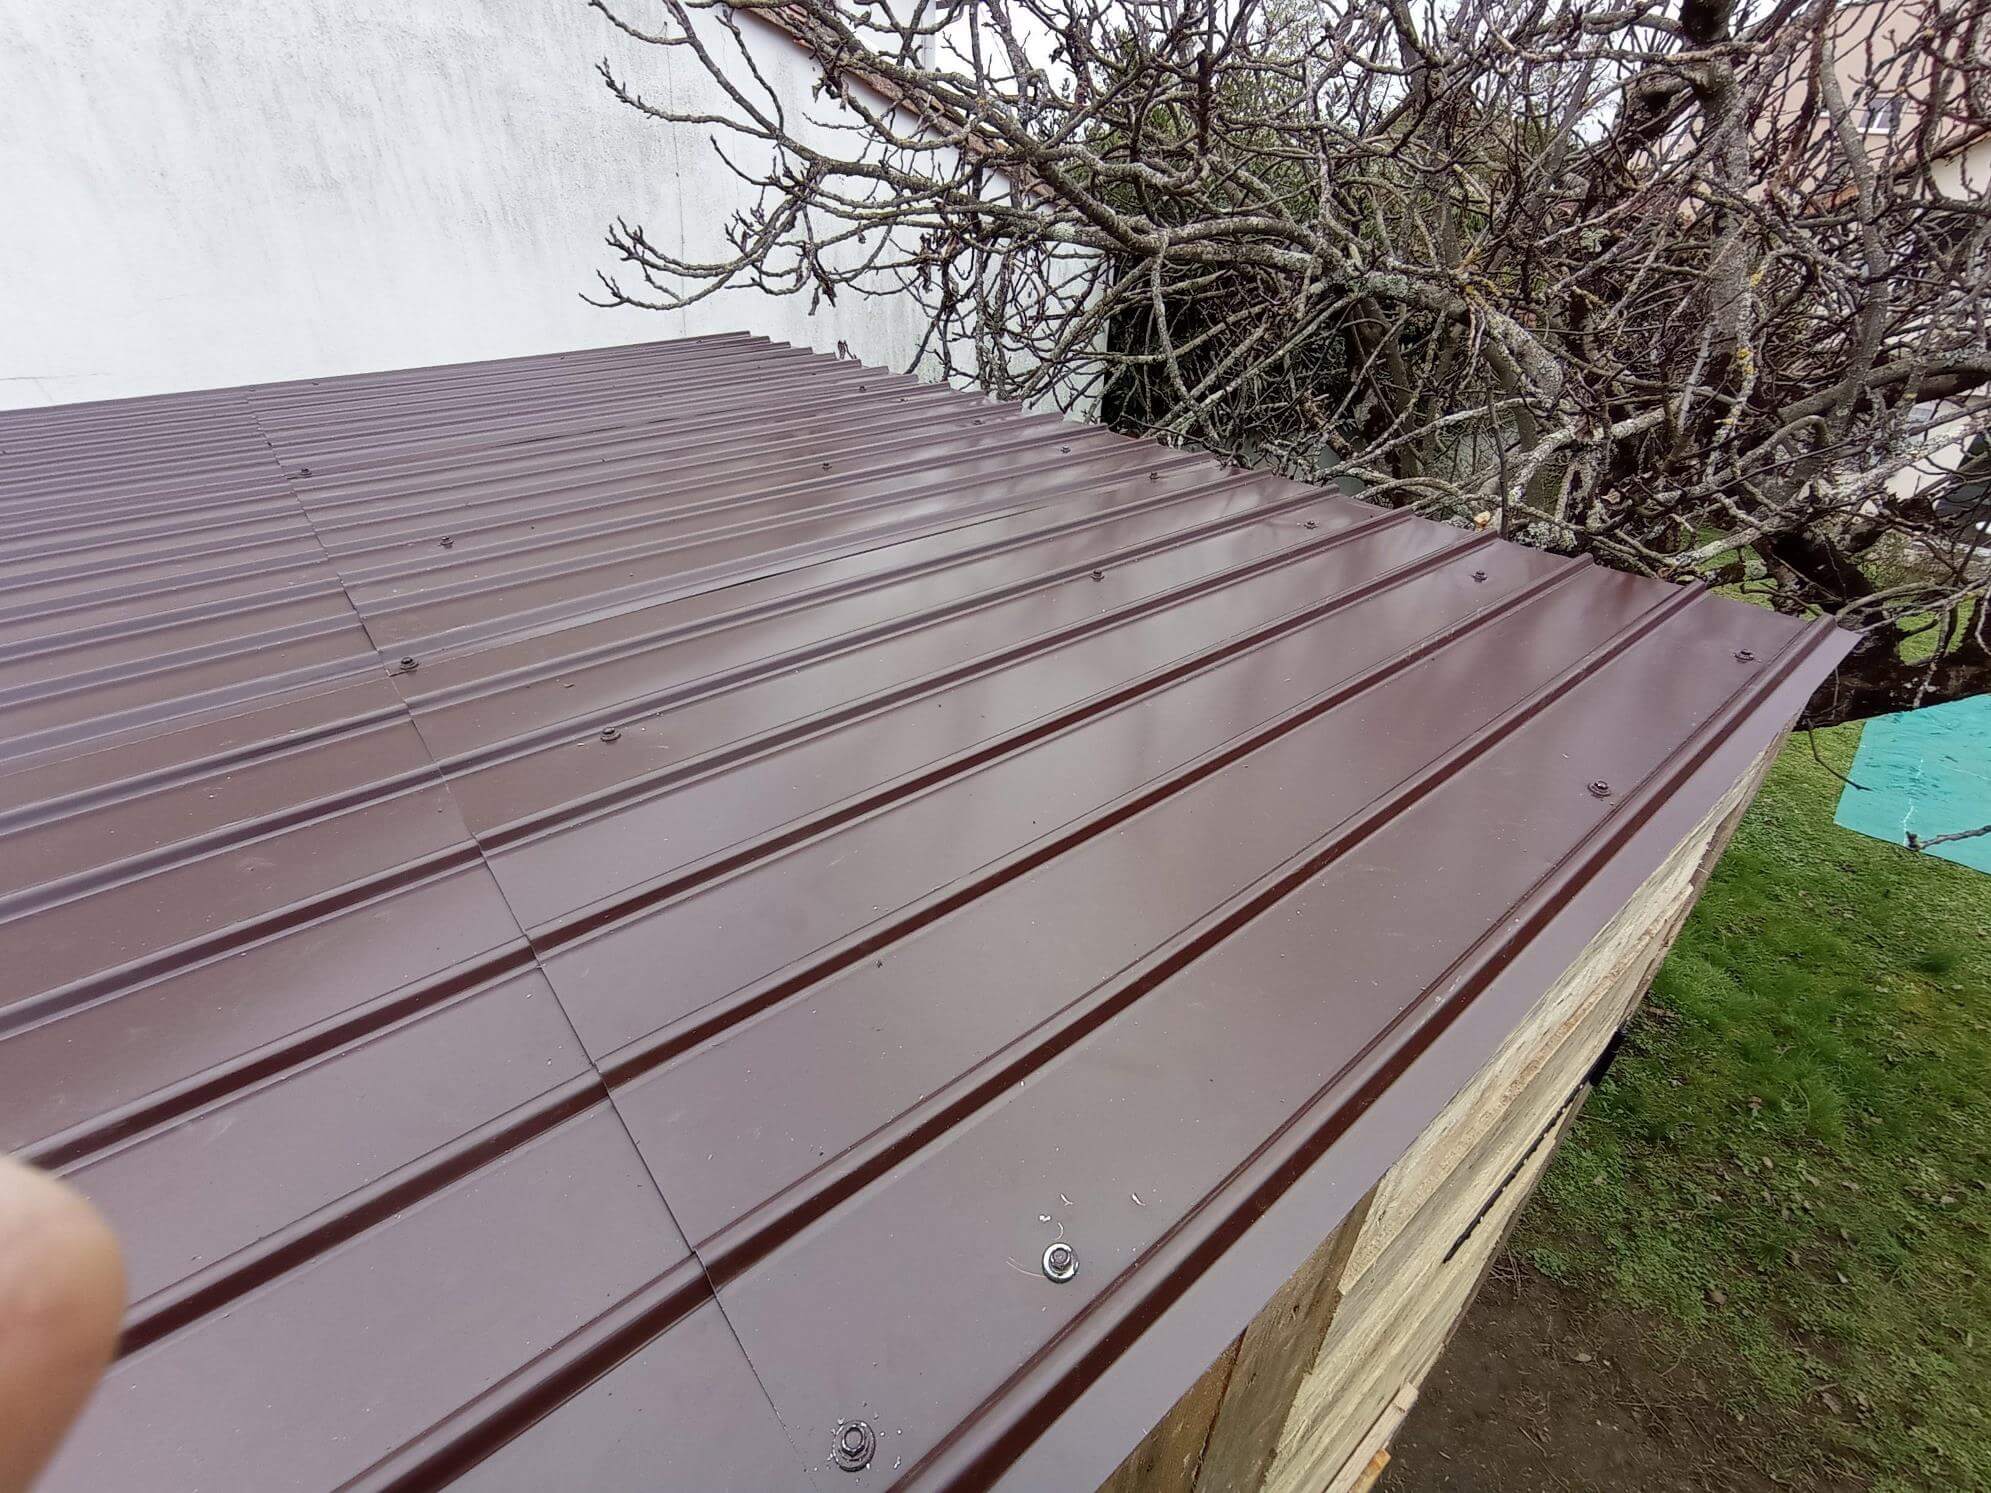
I wrapped the entire frame with a waterproof membrane and screwed large boards vertically. The roof was made from corrugated metal sheets measuring 91cm x 120cm. True, I was slightly wrong in my calculations, and the sheets barely extend beyond the roof. 😦
Step 5: Interior finishing
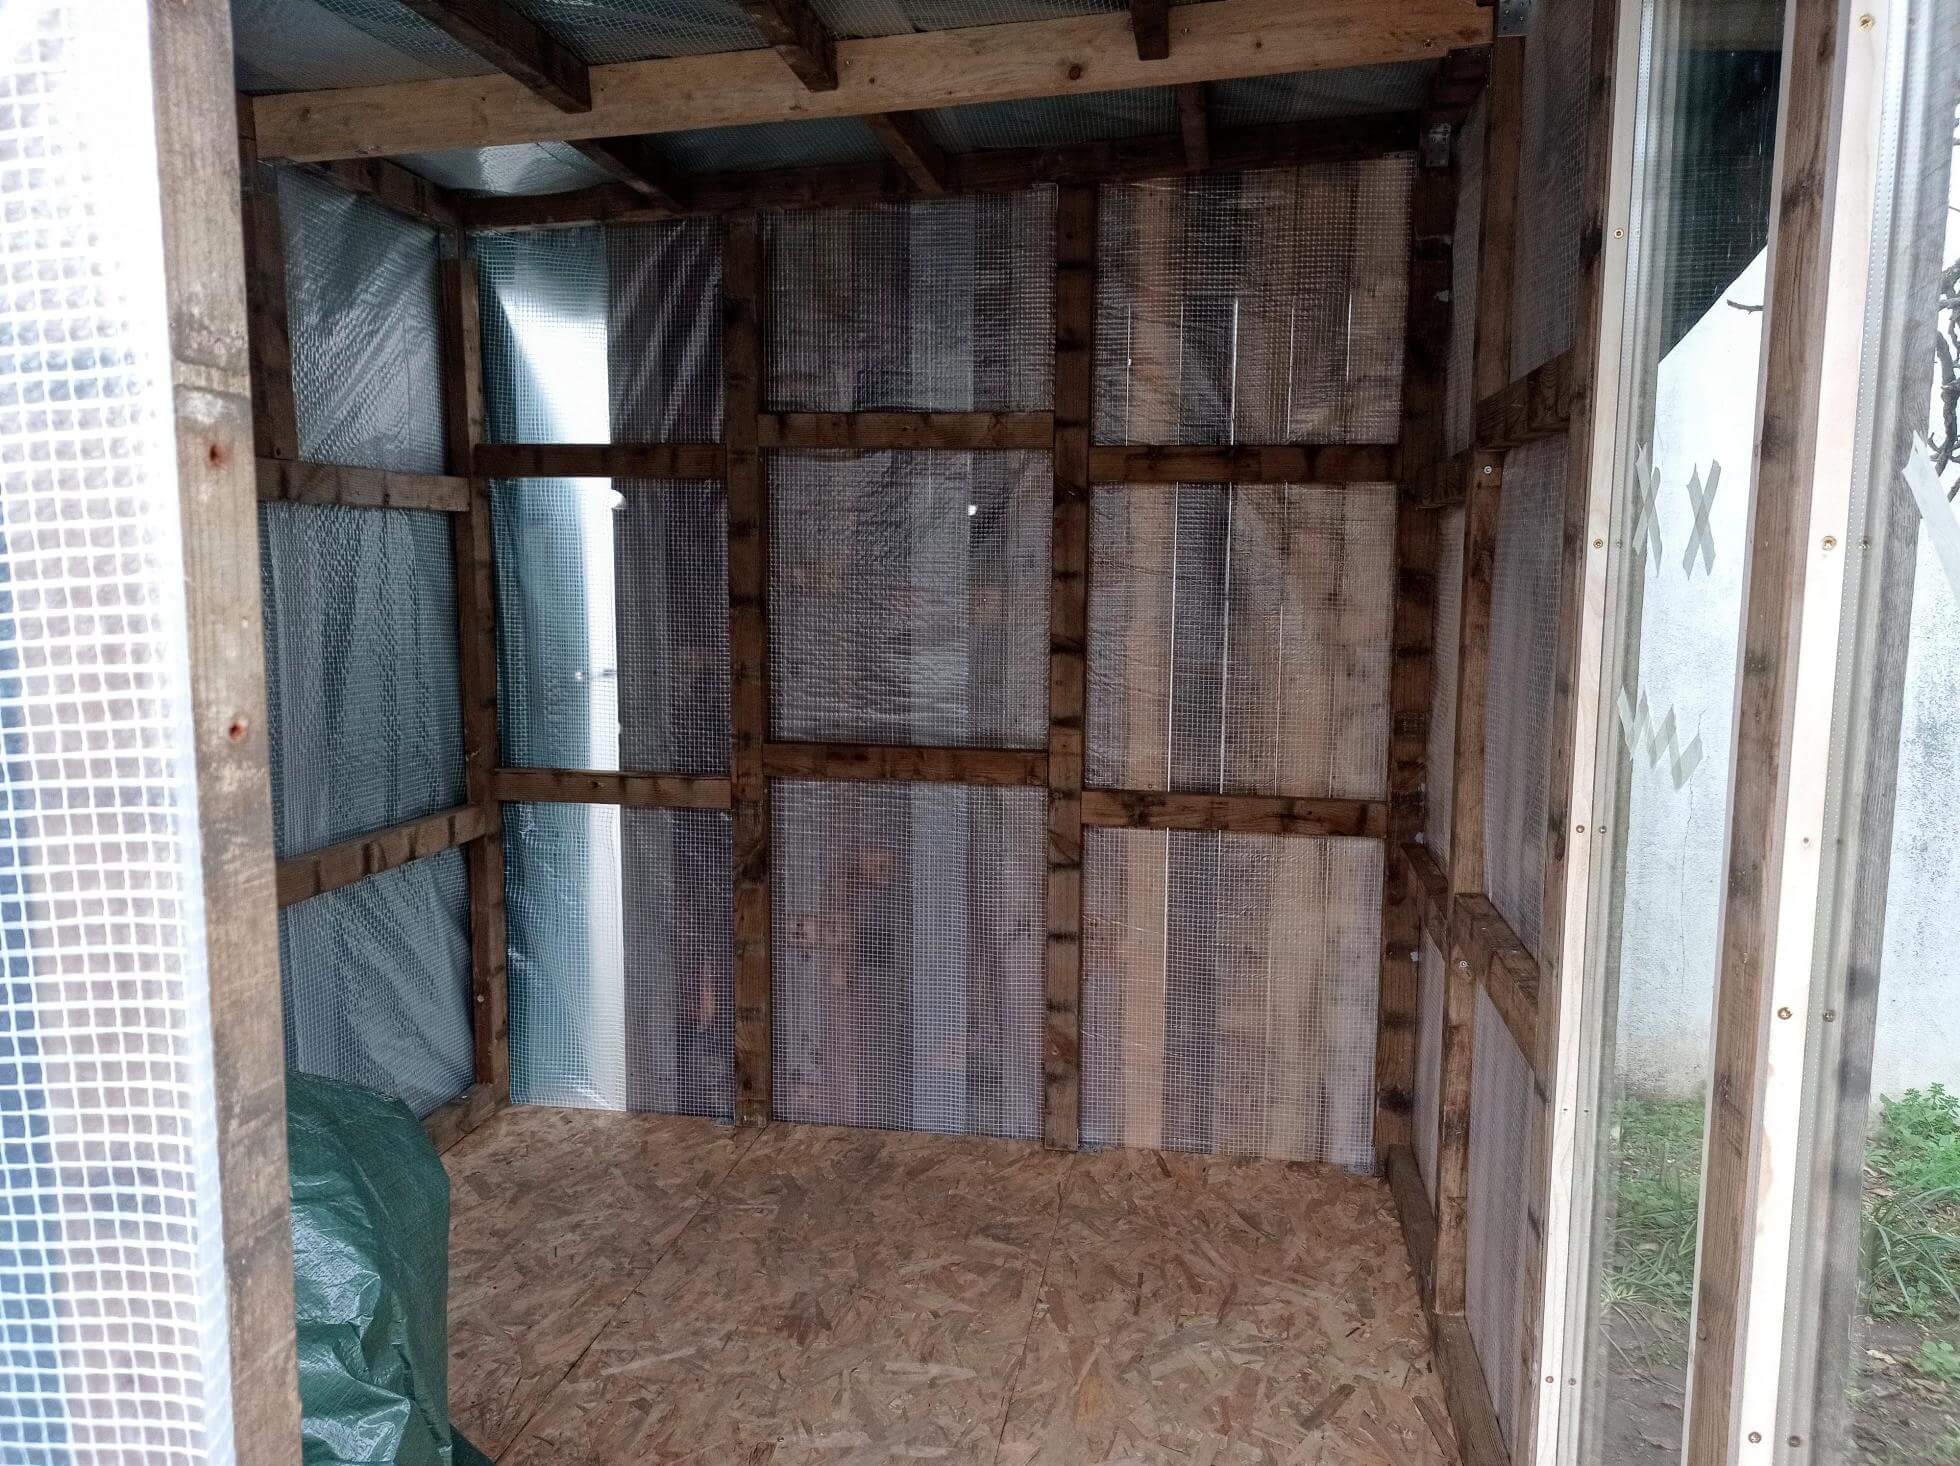
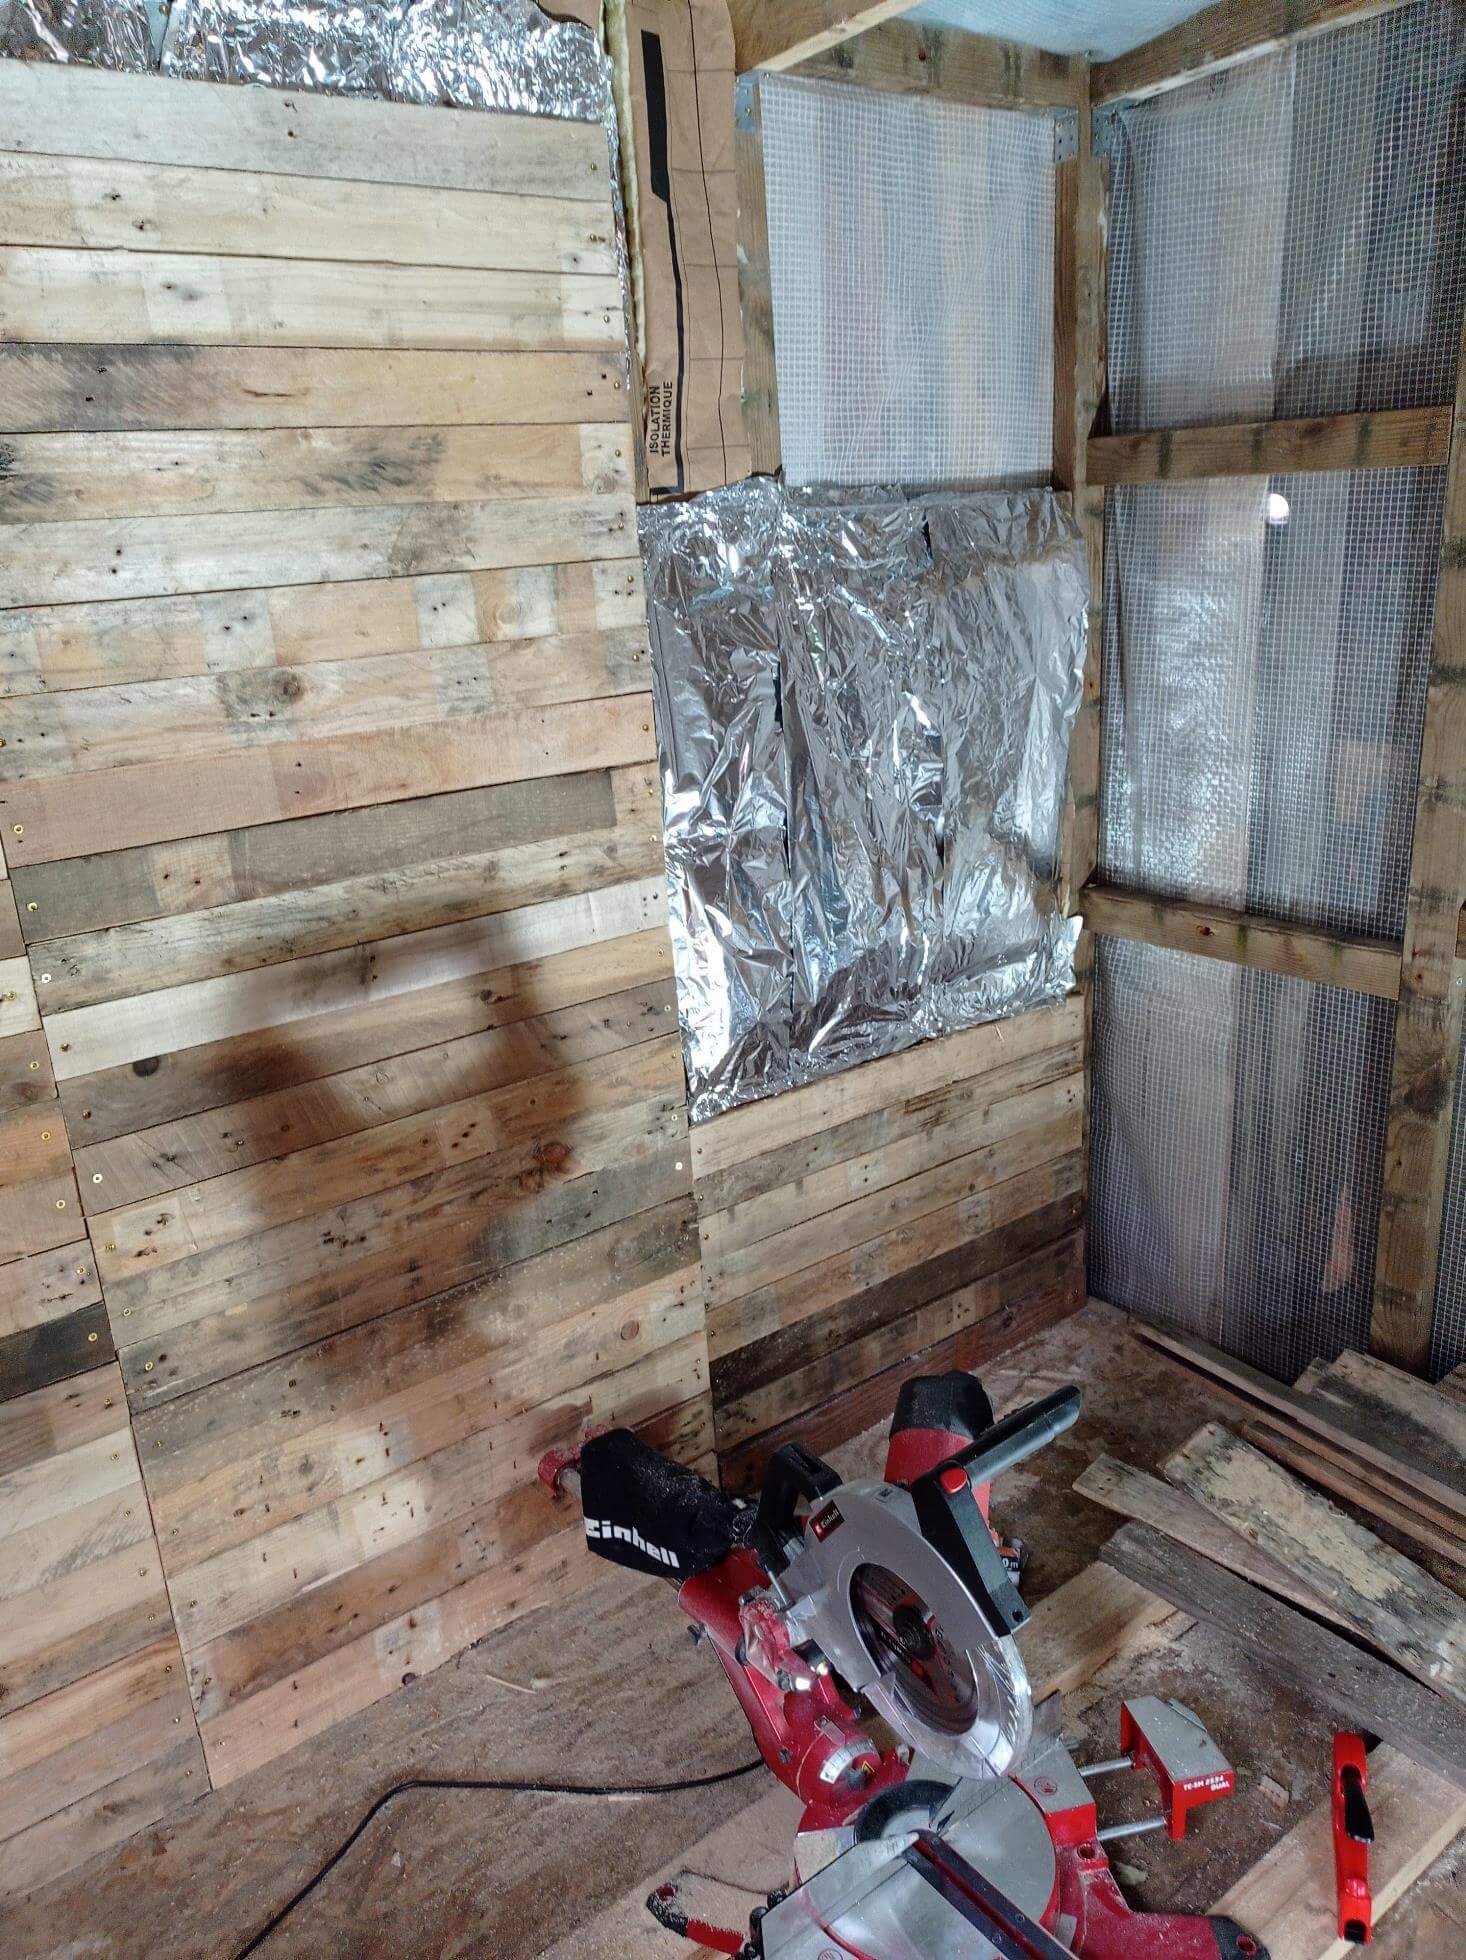
Very simple:
- Glass wool insulation layer
- A layer of aluminum foil
- Layer of boards
For the ceiling I used the remains of 10 cm of polystyrene foam. I originally planned to bring the chimney out through the top, but decided to make it behind the stove to avoid a lot of bends.
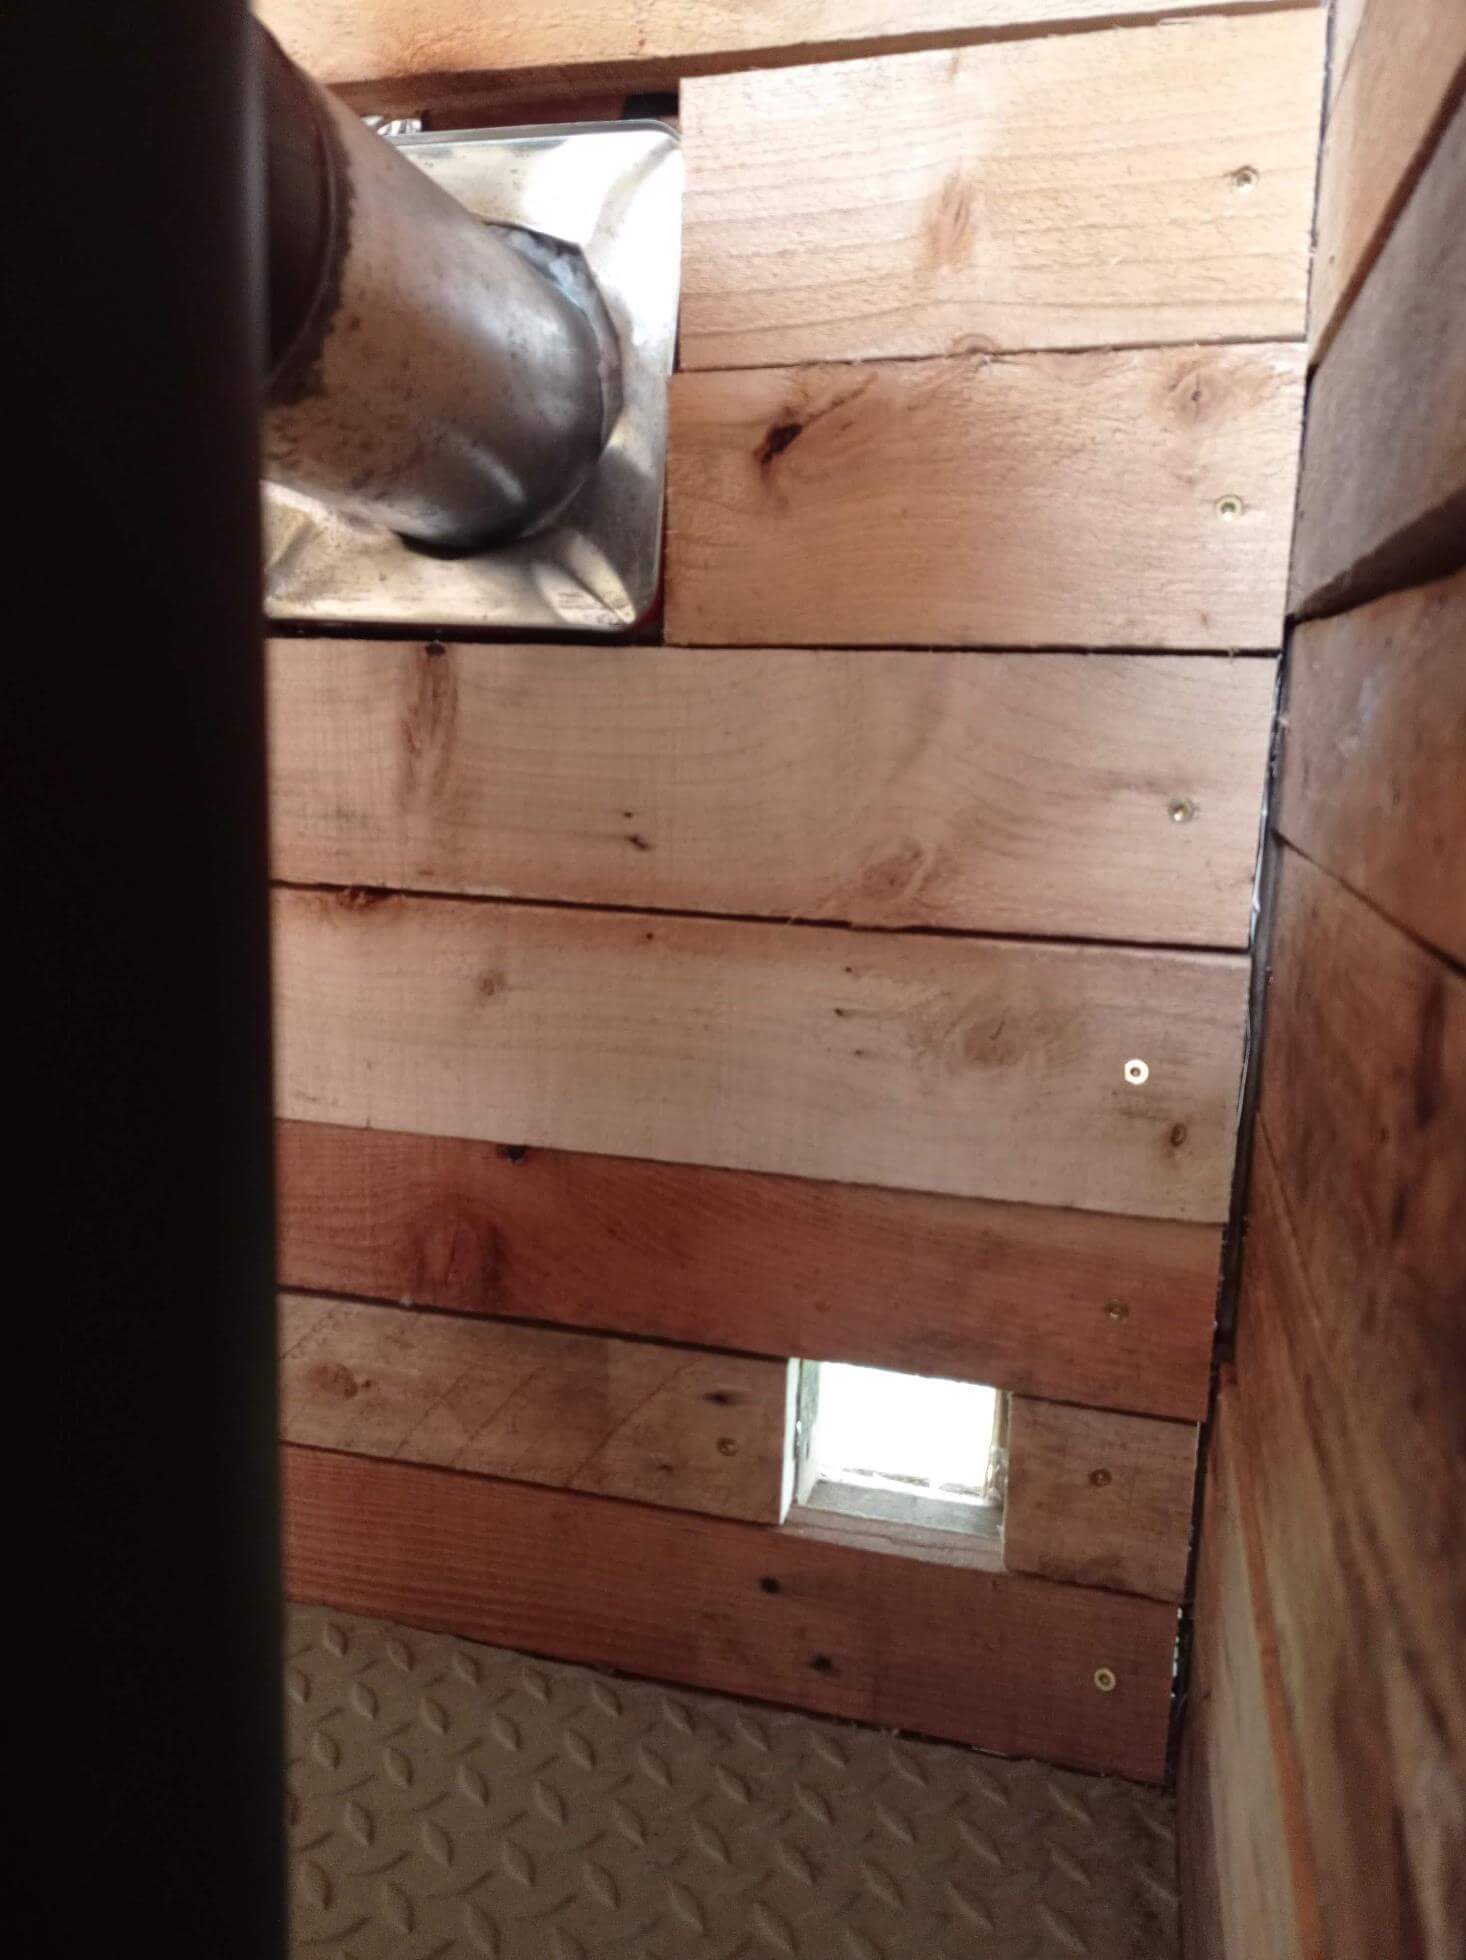
Step 6: Chimney
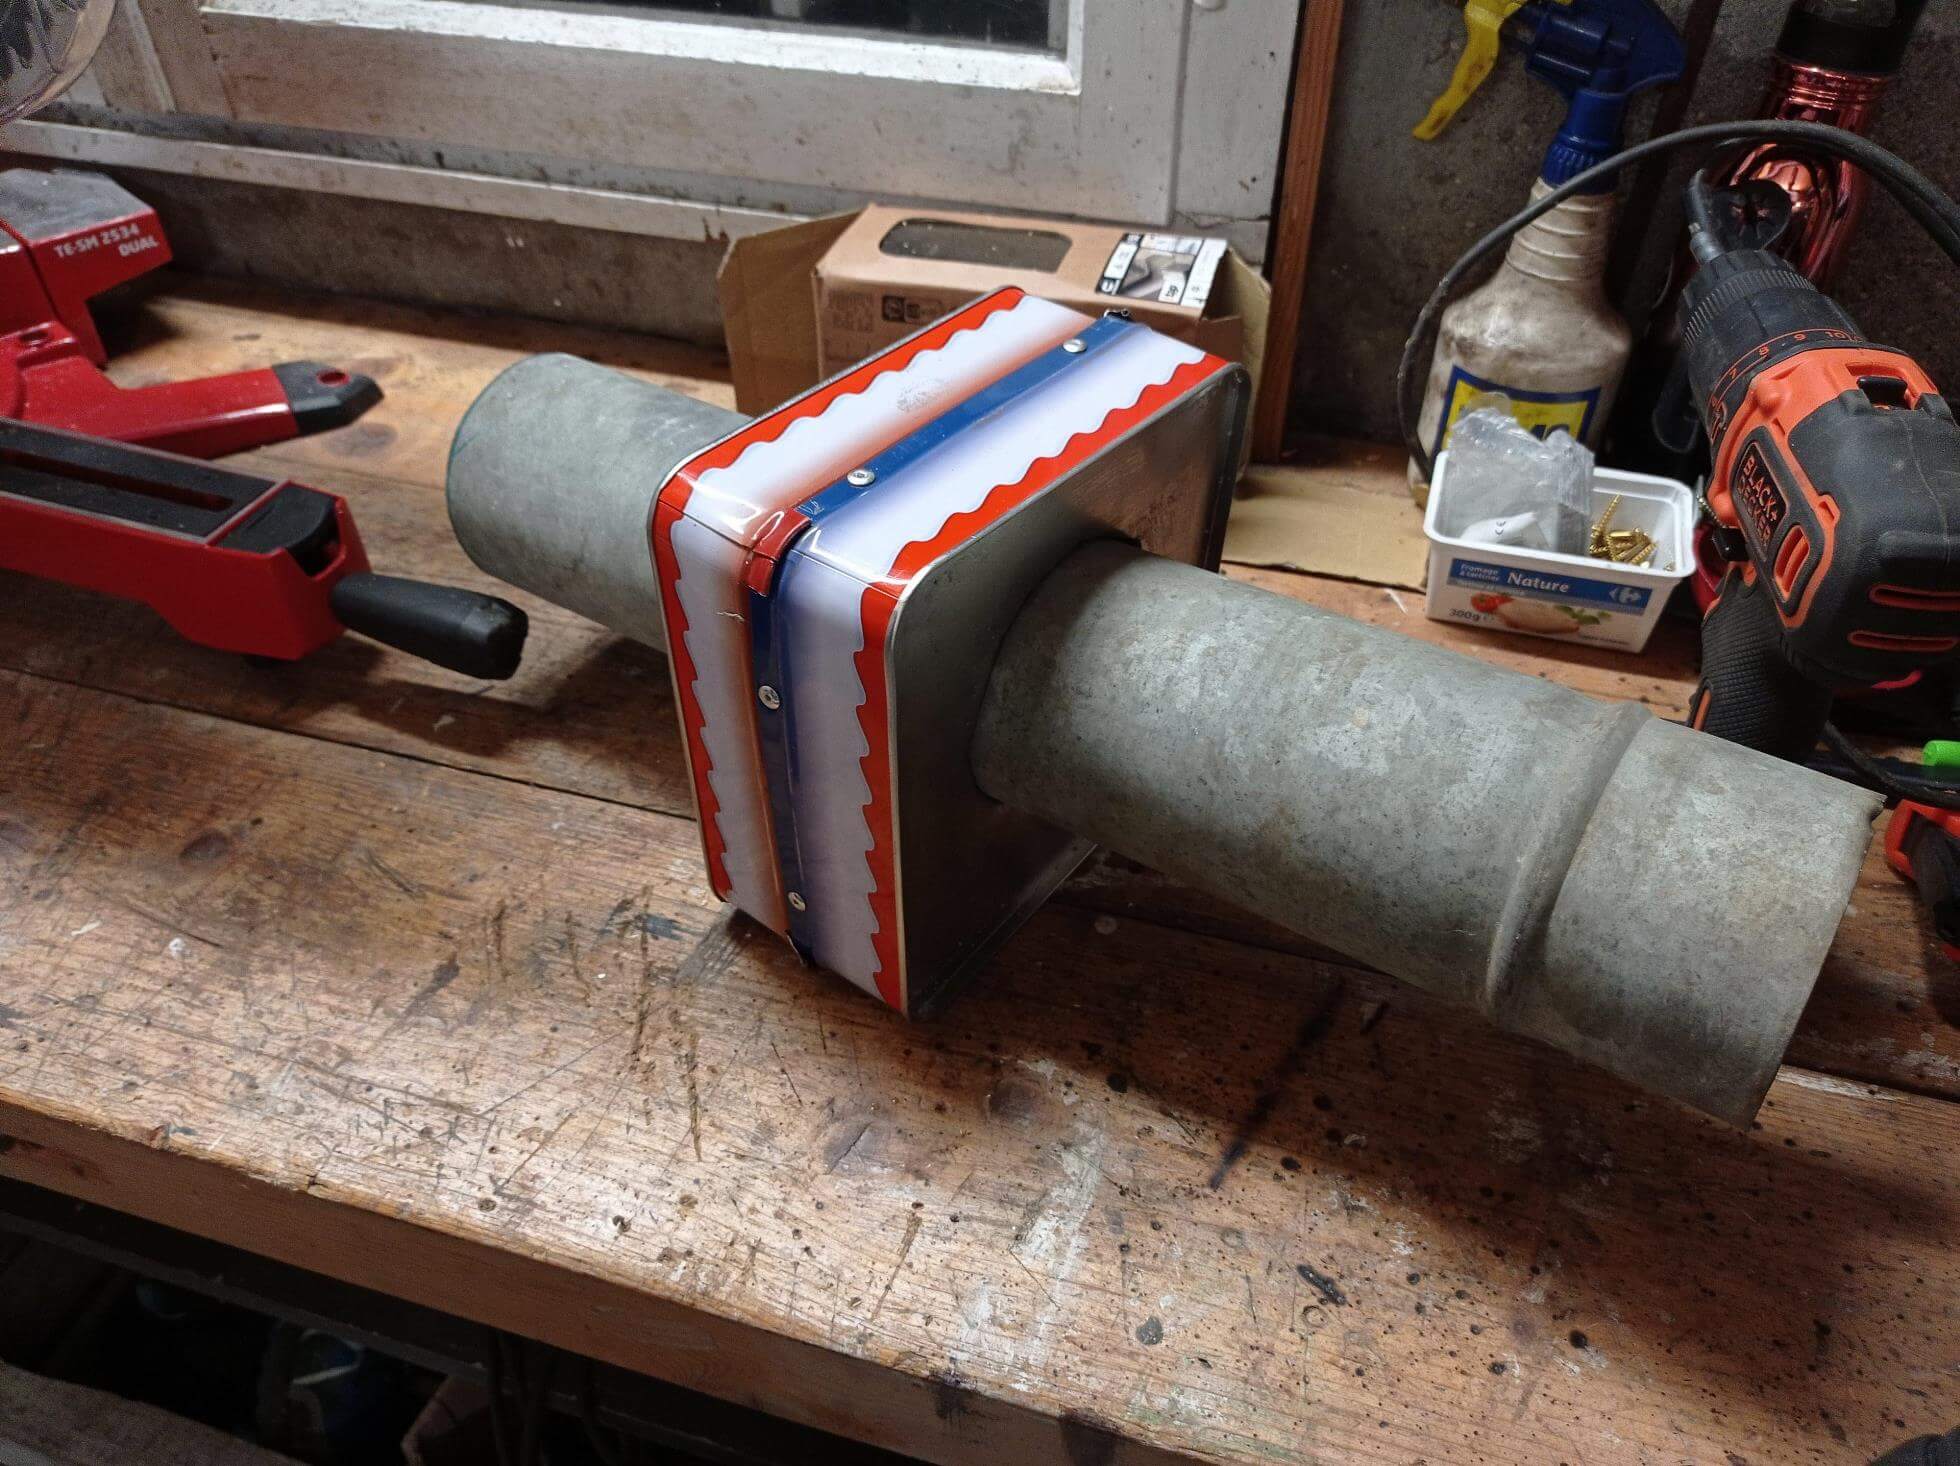

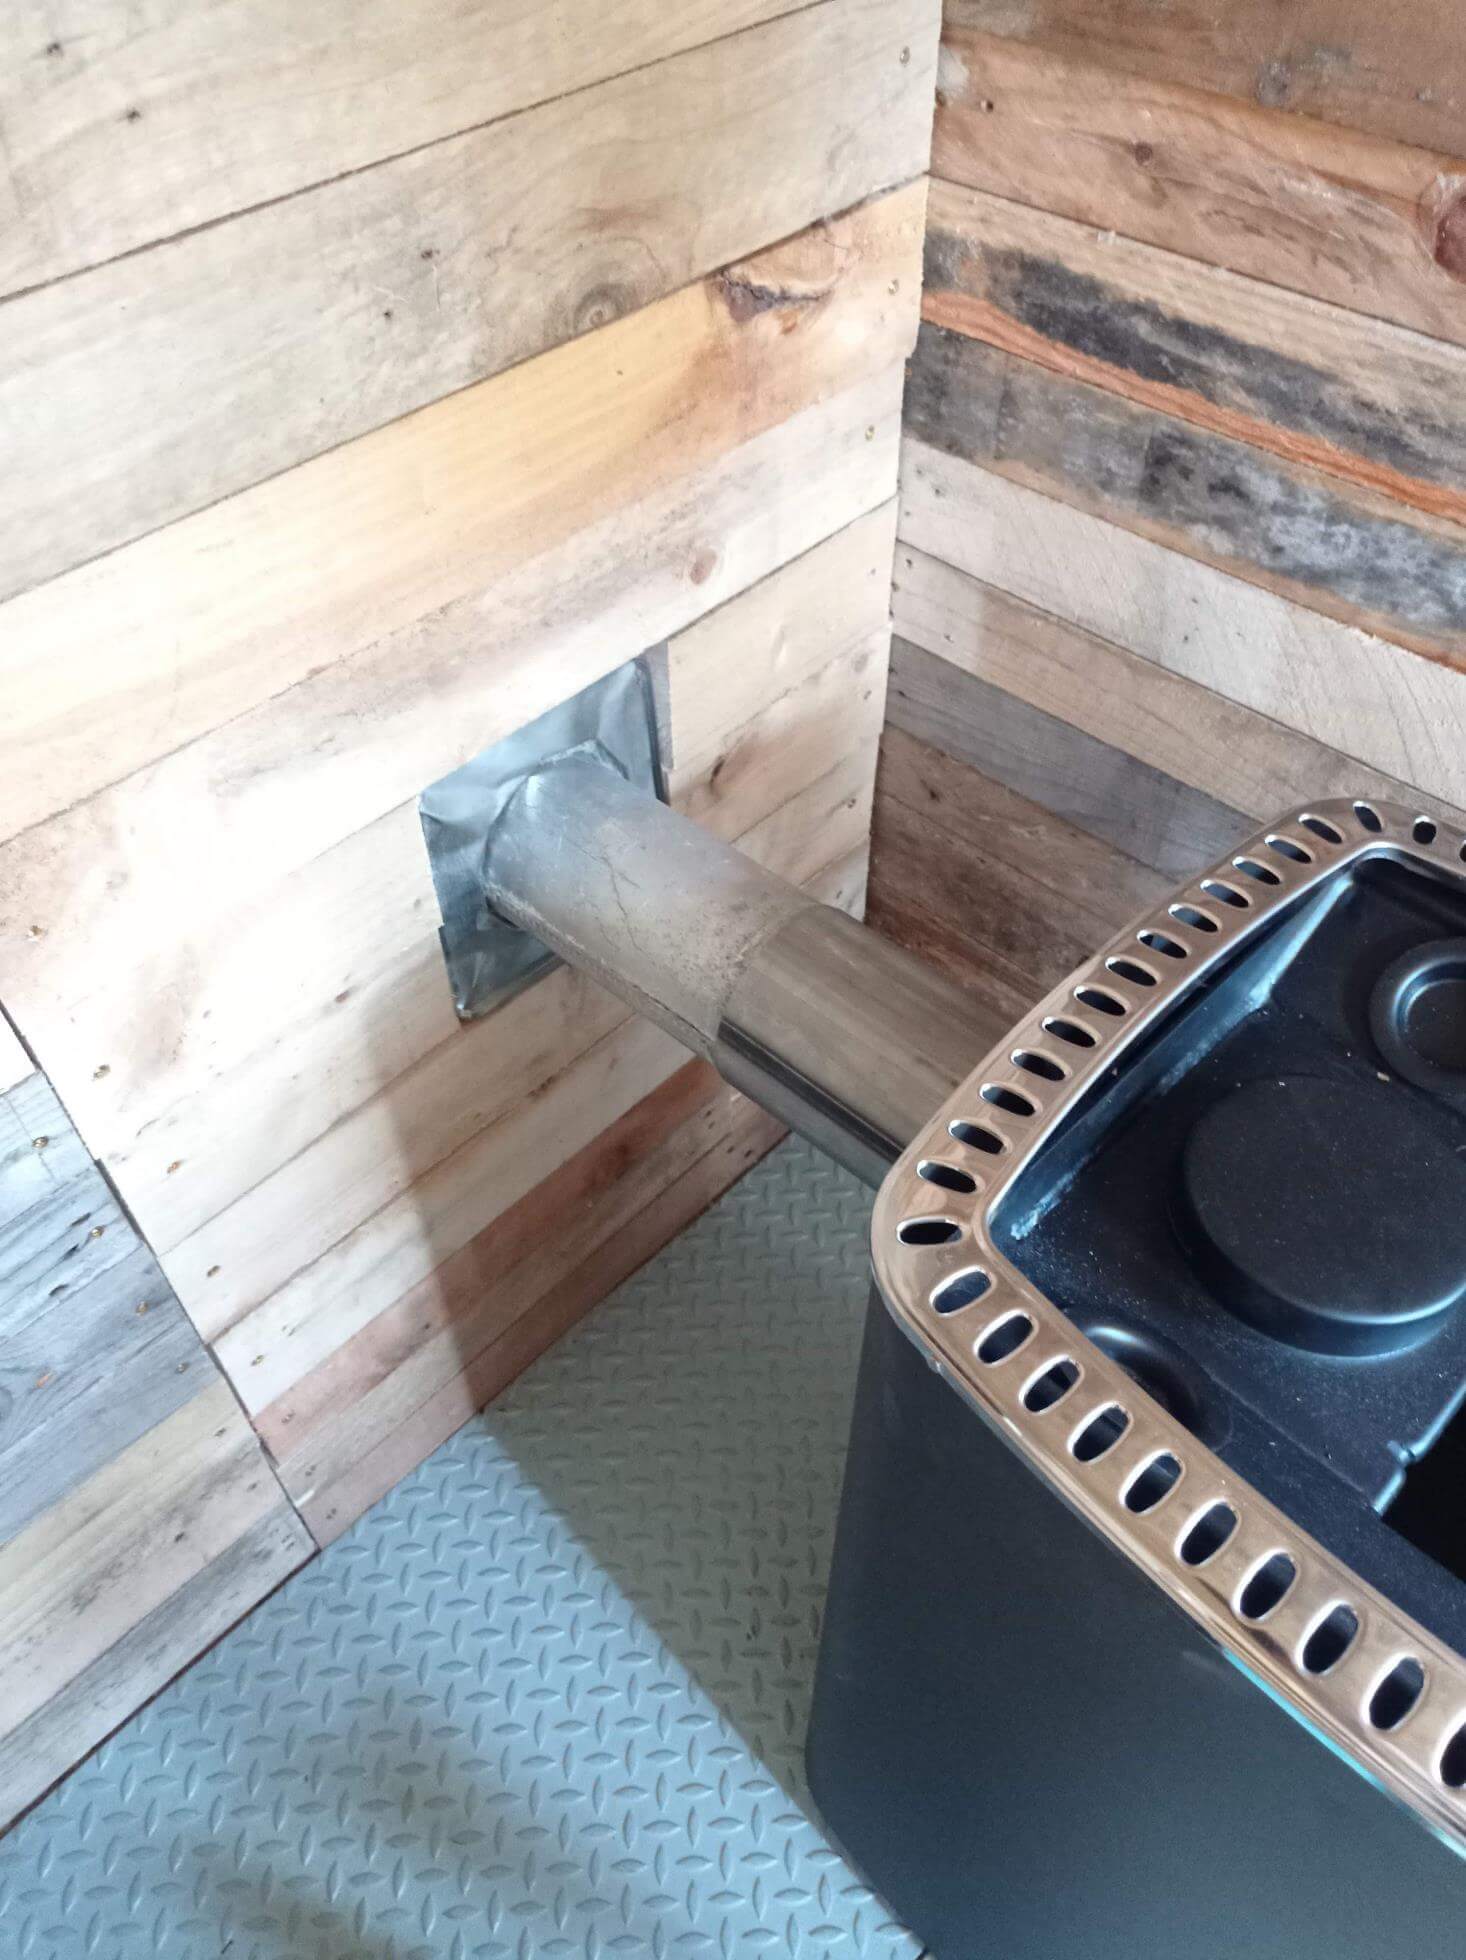
I made a box to protect the wood around the chimney: two metal boxes filled with rock wool. It is important to be careful as the pipes get very hot! So far the sauna hasn’t caught fire, so everything is fine. 😉
Step 7: Water Collector
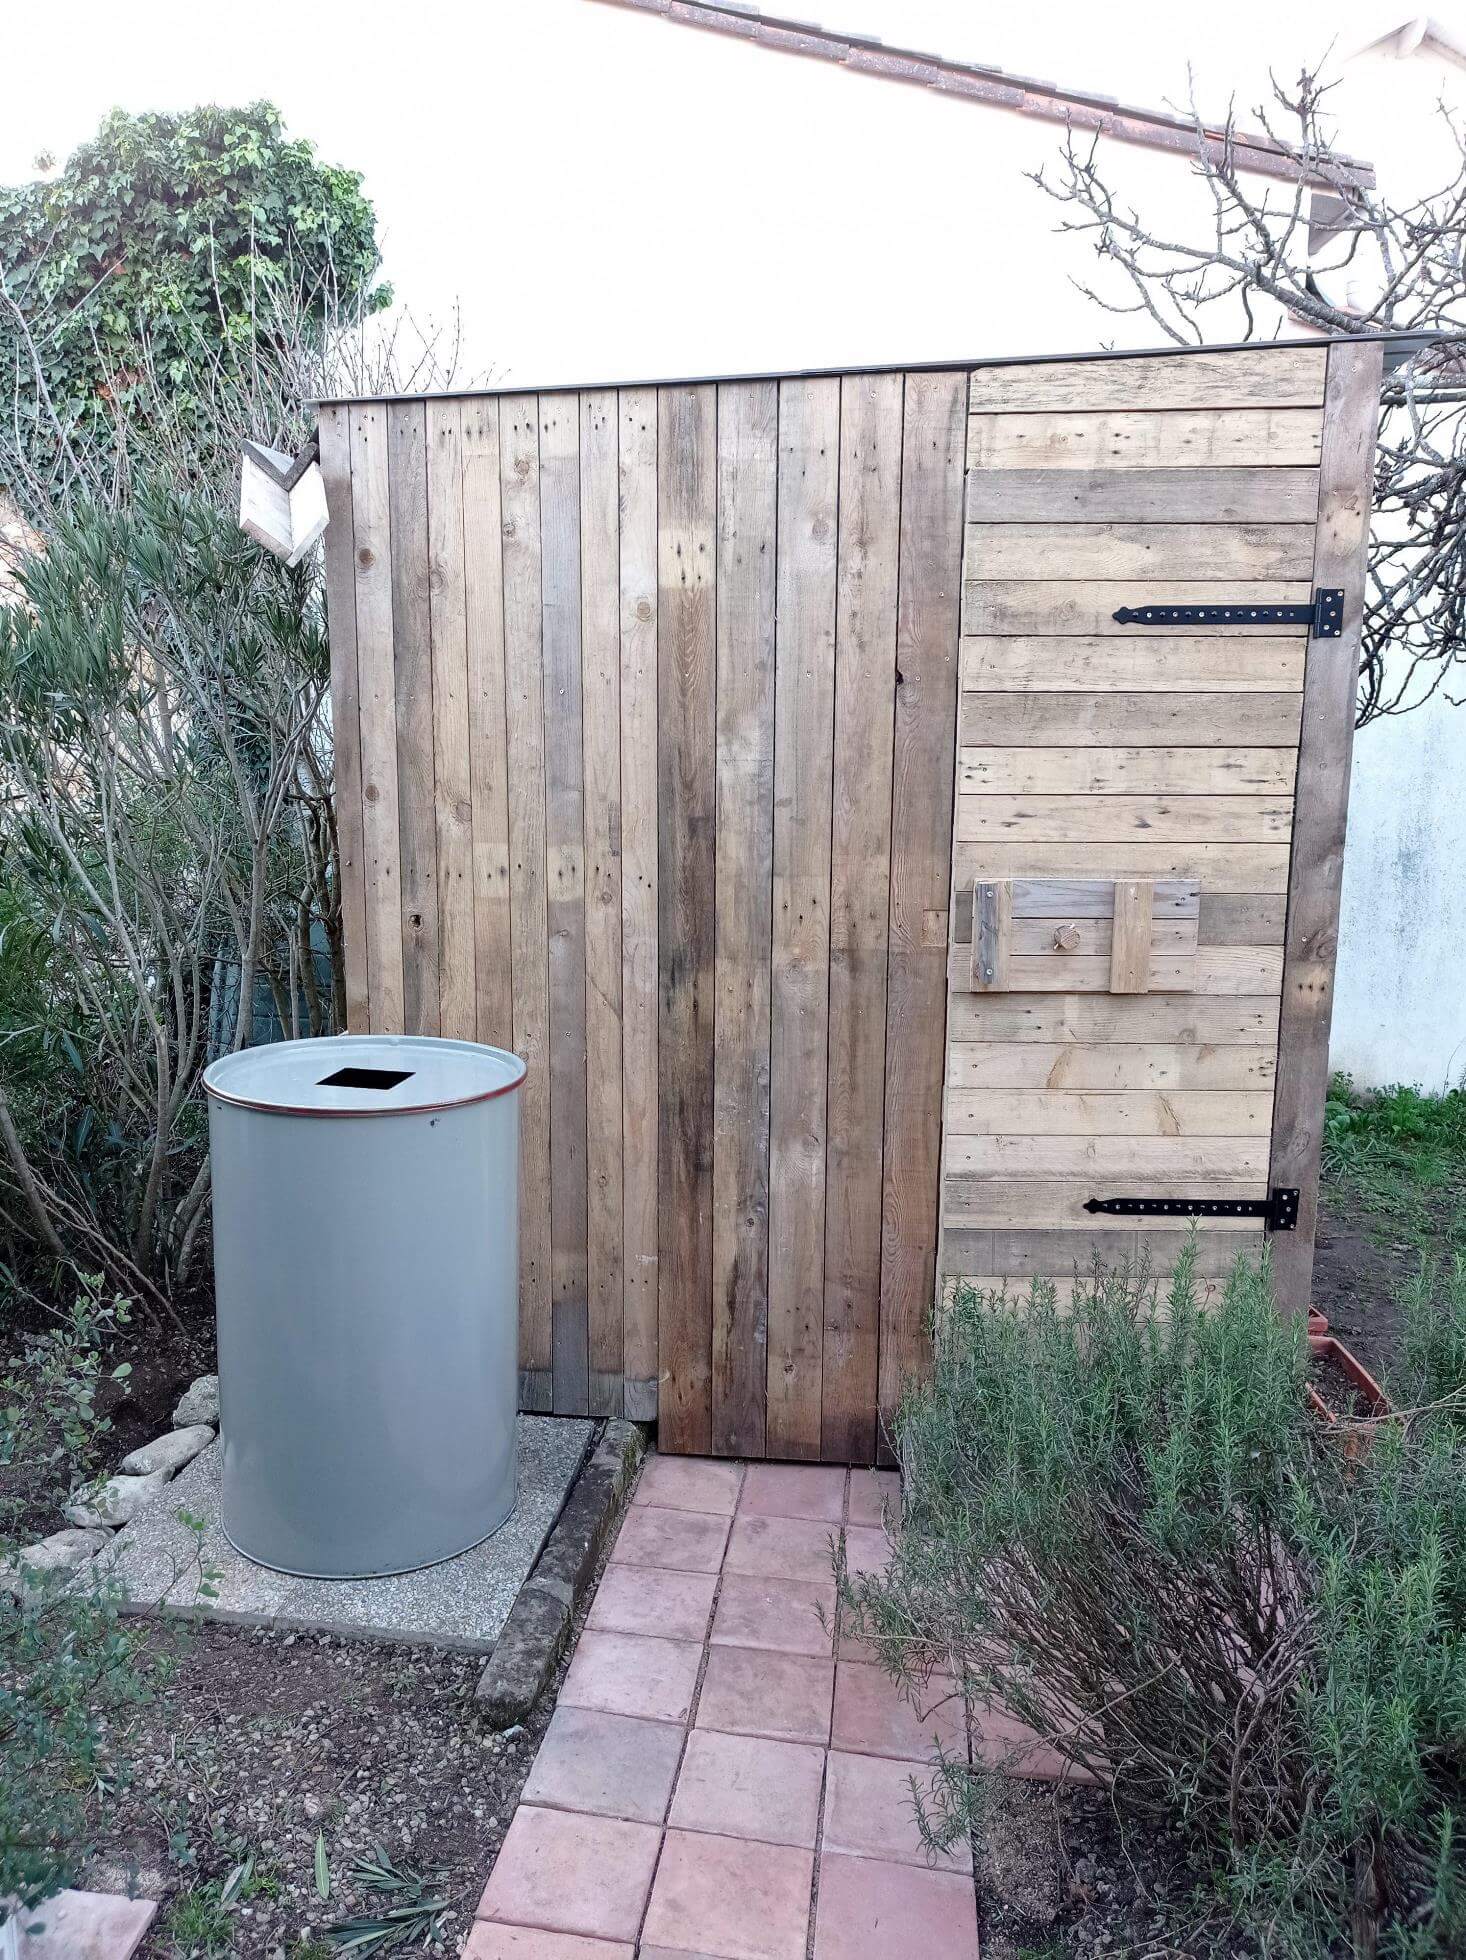
I installed a rain gutter and storage tank. This allows you to refresh yourself after leaving the sauna.
Step 8: Ventilation
Two ventilations at the top and two at the bottom.
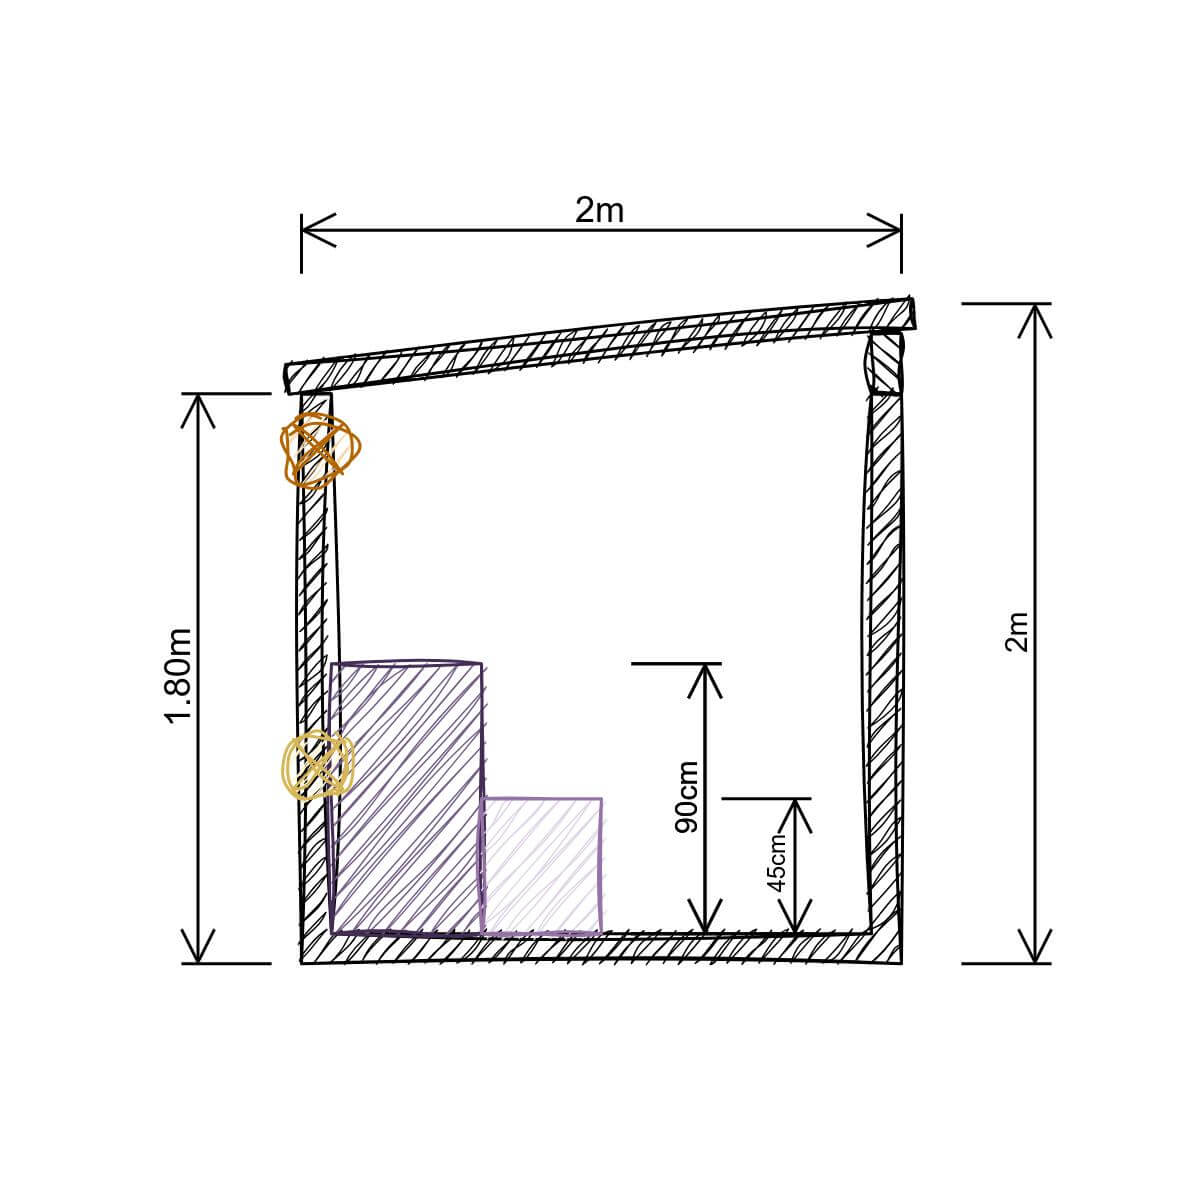
Step 9: Bench
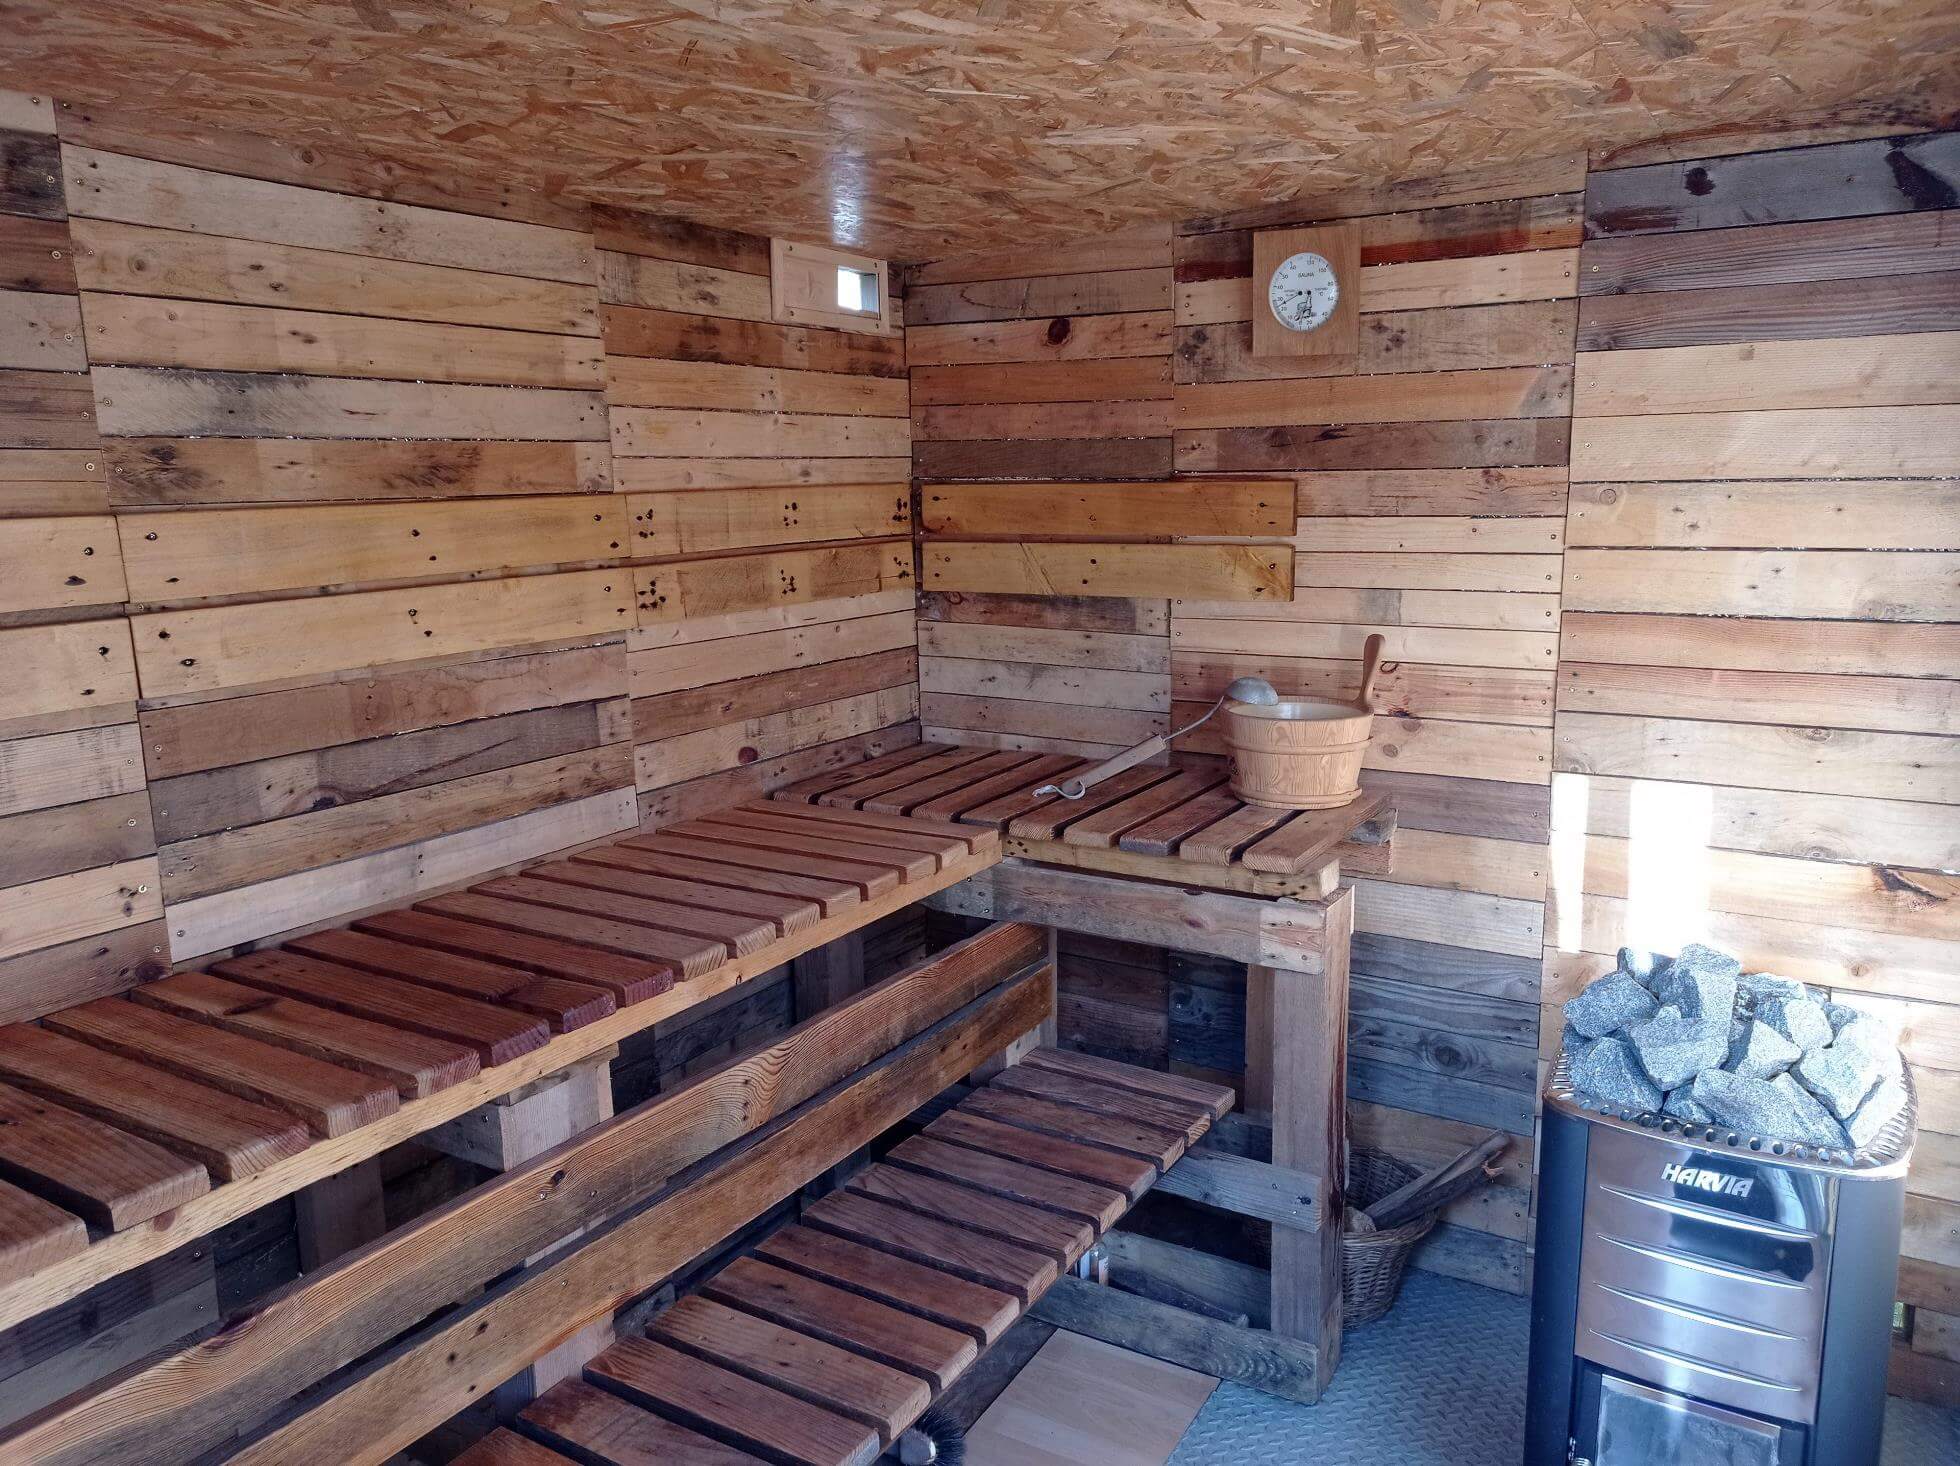
The bench is also made from pallets. All boards were carefully sanded and treated with linseed oil for protection.
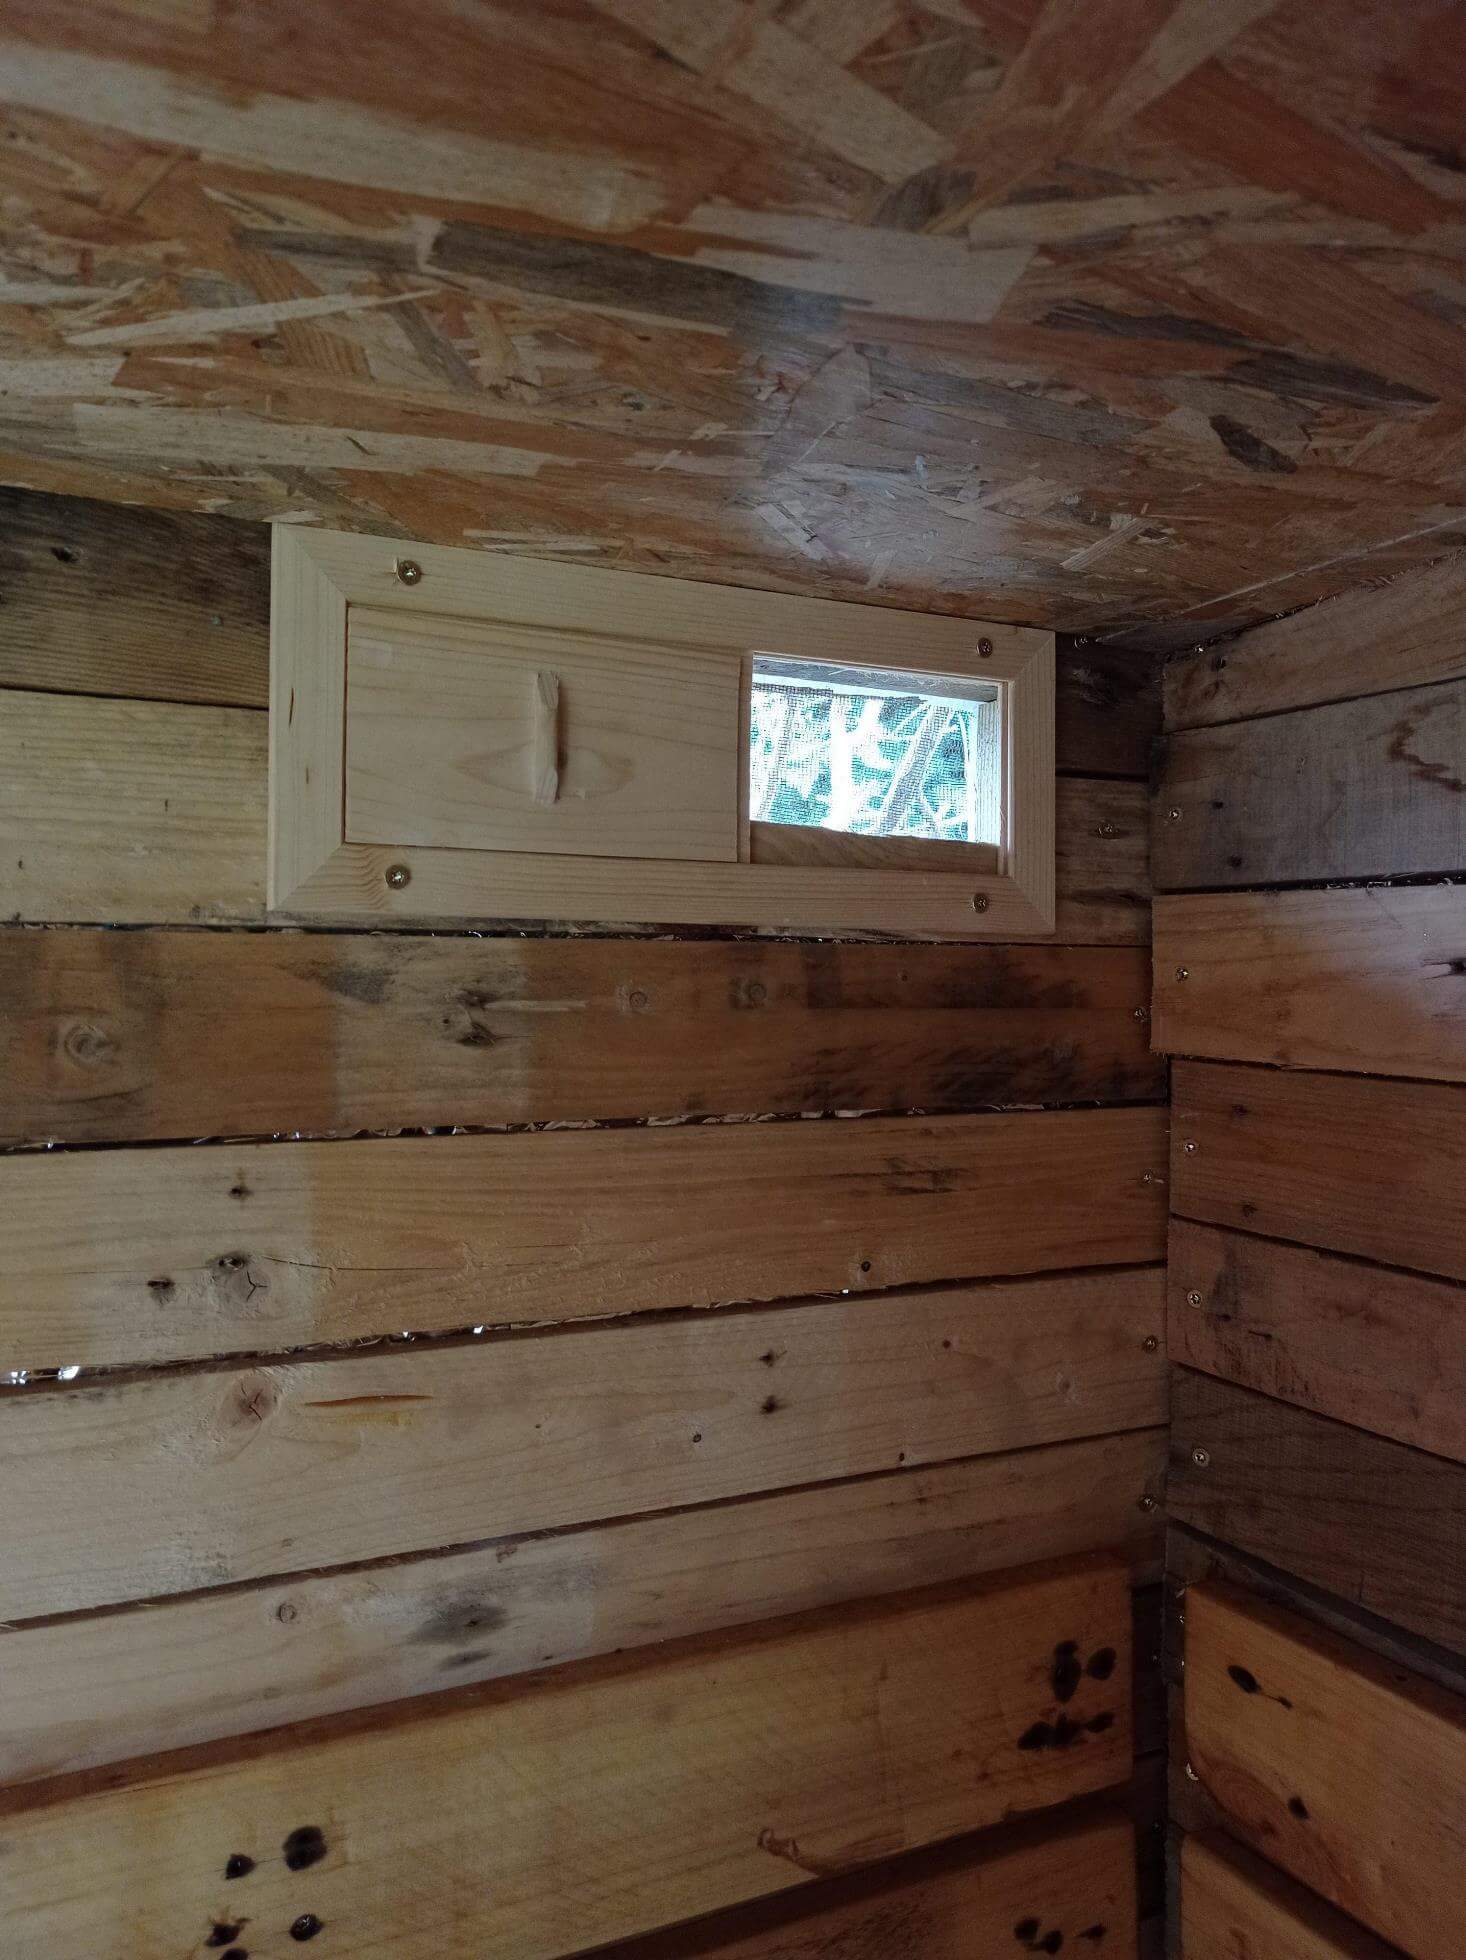
Step 10: Windows
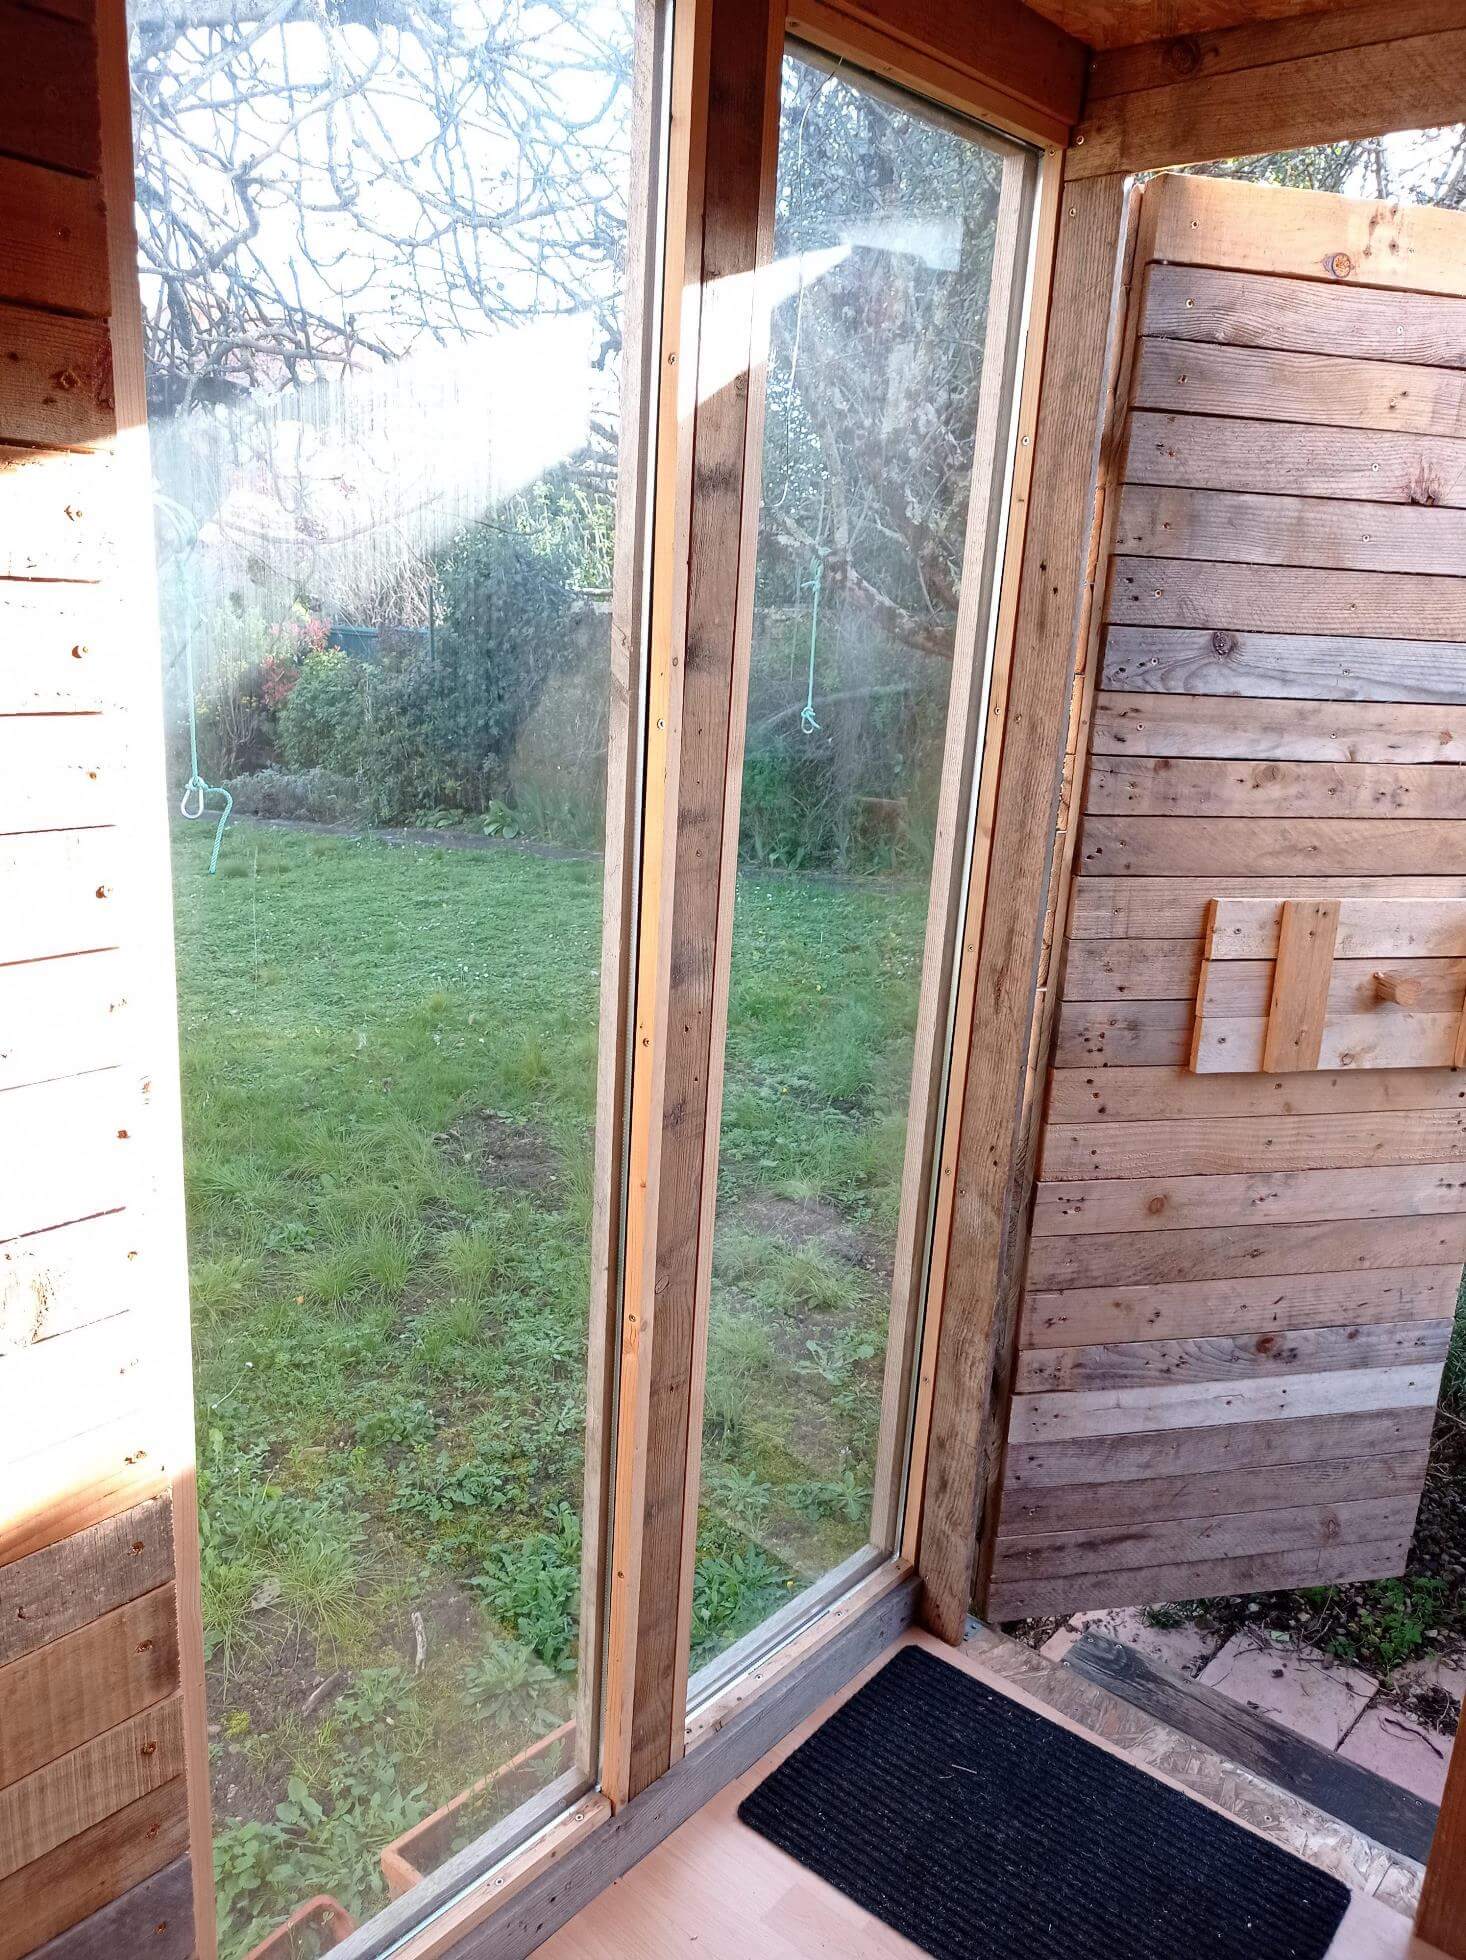
I used wooden slats to install the windows. It is important to leave enough space for the window to move. I fastened one of the windows too tightly and the glass cracked due to the seasonal expansion of the wood. 😢
Step 11: Oven
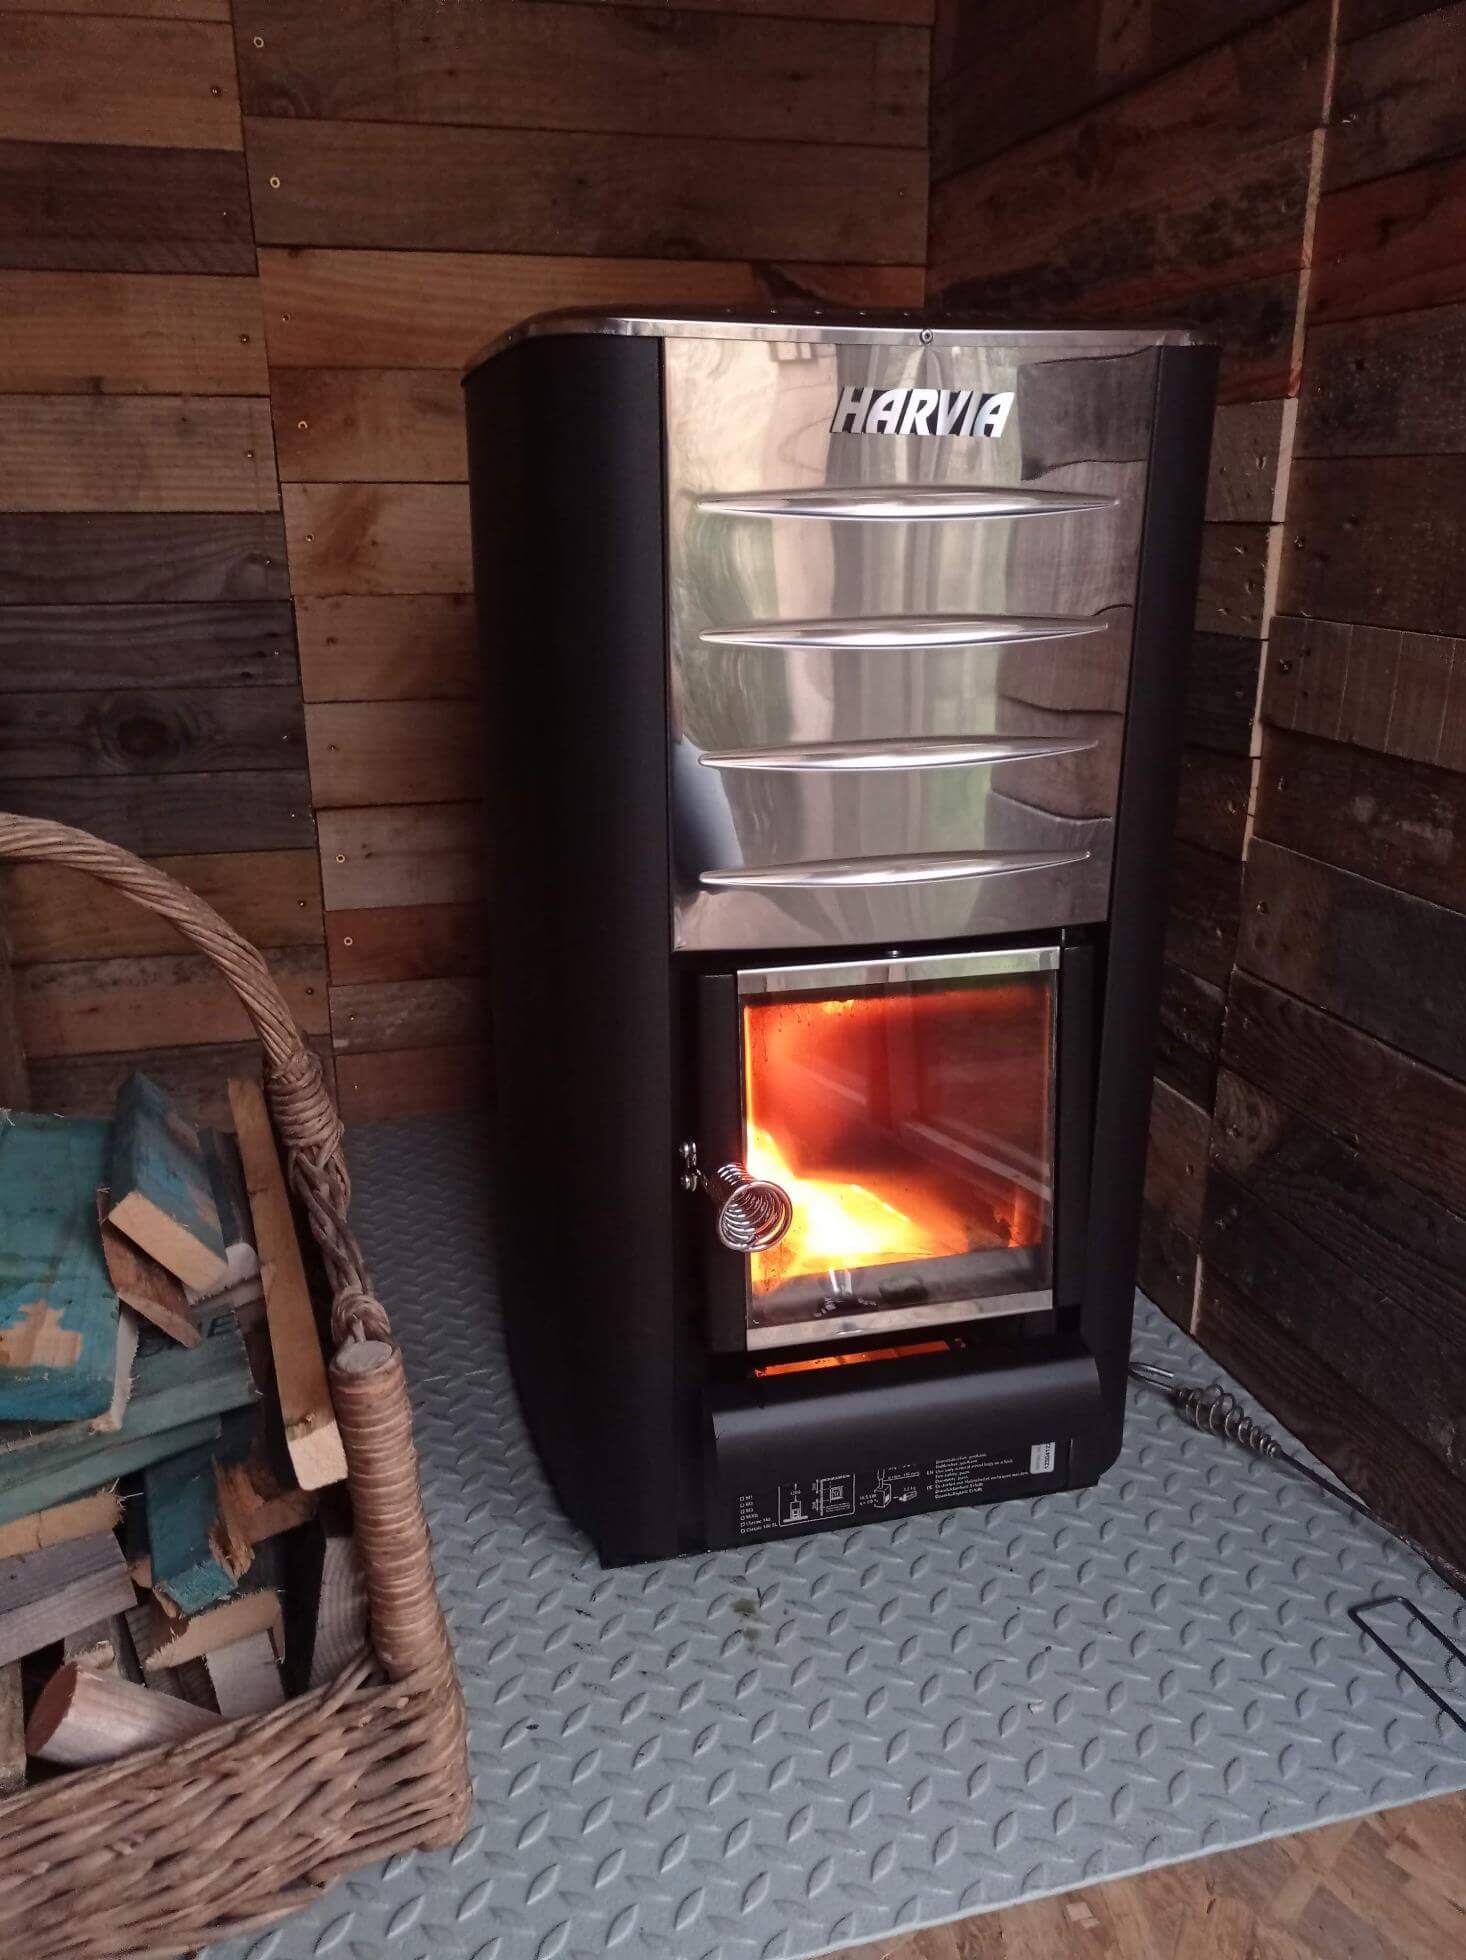
Without a doubt, I needed a wood stove! The process of lighting a fire and enjoying the sight of the flames is priceless. 😊
I first tried an old cast iron stove, but it was ineffective. Such stoves are designed for slow heating, while a sauna requires fast heat. I recommend immediately buying a special sauna stove.
Model: Harvia M3 + stones (€520 shipping from Amazon)
Weight: 45 kg
Power: 13.5 kW
Heating time: 45 to 60 minutes for 9 cu. m (depending on the outside temperature).
I use the “reverse fire” method, where the large wood is placed at the bottom and the wood chips on top. Using the firelighter, I carefully wait 45 minutes, always leaving the ash drawer slightly open for good draft. There is no smoke in the sauna.
Step 12: Enjoy! <3
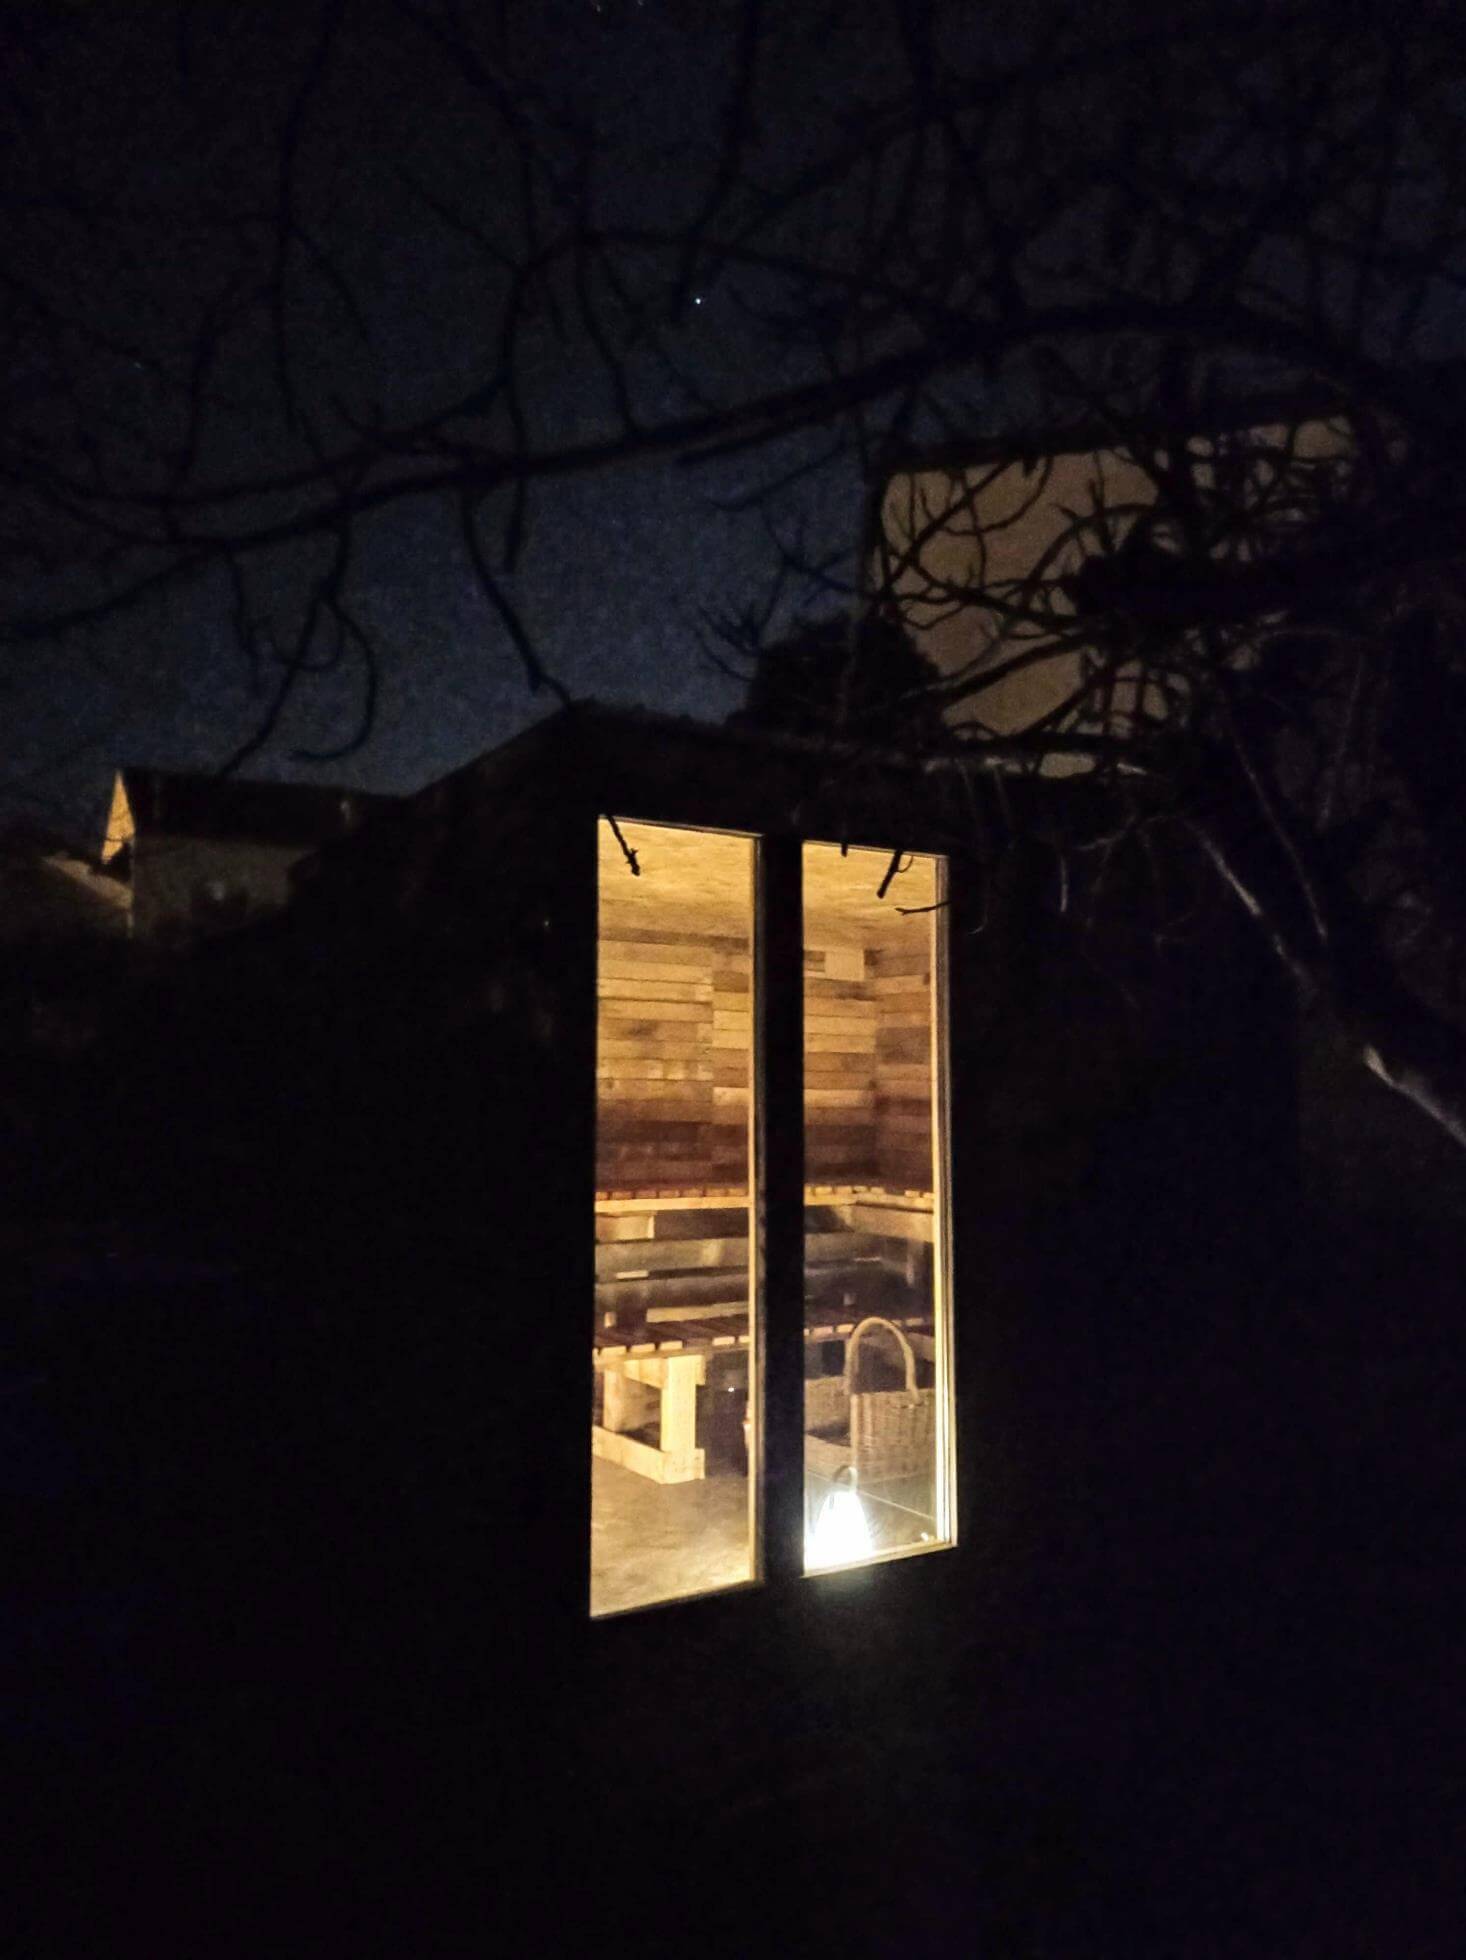
Now every weekend we spend time in the sauna: relax, restore our health and just enjoy nature. Building a sauna with your own hands is not only an interesting experience, but also an excellent opportunity to create a corner of coziness and comfort right in your garden.
FAQ
1. How much does it cost to build such a sauna? The cost varies, but in my case it cost about 1000 euros, including all materials and tools.
2. How long did the construction take? Everything took about a month, provided you had all the necessary tools and materials on hand.
3. Can other materials be used instead of pallets? Certainly! You can use any suitable materials, the main thing is to take into account their resistance to moisture and temperature changes.
4. How to care for the sauna? Check the ventilation regularly, clear the stove of ash and ventilate the sauna after each use.
5. Is it possible to install an electric stove instead of a wood stove? Yes, you can. However, for many people, myself included, the process of lighting a fire is an integral part of the sauna ritual.
FrenchGuy, France
Recommend to read
 “SNOWMOBILE” IN FIVE MINUTES
You can understand the burning desire of the baby who saw for the first time the competition modelers, asking parents to buy or make him a miniature technique, not postponing it for... SAIL ON THE AIRWAVES
Modern rules are open to athletes ample opportunities fast and seaworthy yachts class F5Х. The latest trends of the industry that arose in the design of the high speed of these yachts,...
