Freshly squeezed apple cider is incredibly delicious. It’s very different from store-bought apple juice and much more enjoyable. But, as a rule, such cider is not cheap. However, apples are cheap and plentiful here, so it would be logical to make your own cider press. So my niece Rachel and I decided to build it and create instructions. We both enjoy crafting and sharing ideas. Everything took just a few hours – from the beginning of the project to the first glass of cider. So take a look at what we came up with and try it yourself or improve our design.
Necessary materials
- 5 2×6 boards, 8 feet long (We used reclaimed boards, so some had paint on them. It doesn’t matter because the wood won’t come into contact with the finished cider. We also had boards with rot on one end that needed to be trimmed. Perhaps 4 boards will be enough for you if they are in good condition.)
- Half sheet of ¾ plywood (4 by 4 feet)
- 1 18″ aluminum pizza pan
- 1 x ½” NPT female
- 1 x EMT ½” steel connector
- 1 plastic bucket
- 1 x 3/8 x 6 inch bolt
- 1 x 14″ hydraulic bottle jack
- 1 large pillowcase
Tools
- Miter saw
- Jigsaw
- Plane
- Screwdriver
- Drill
Step 1: Design
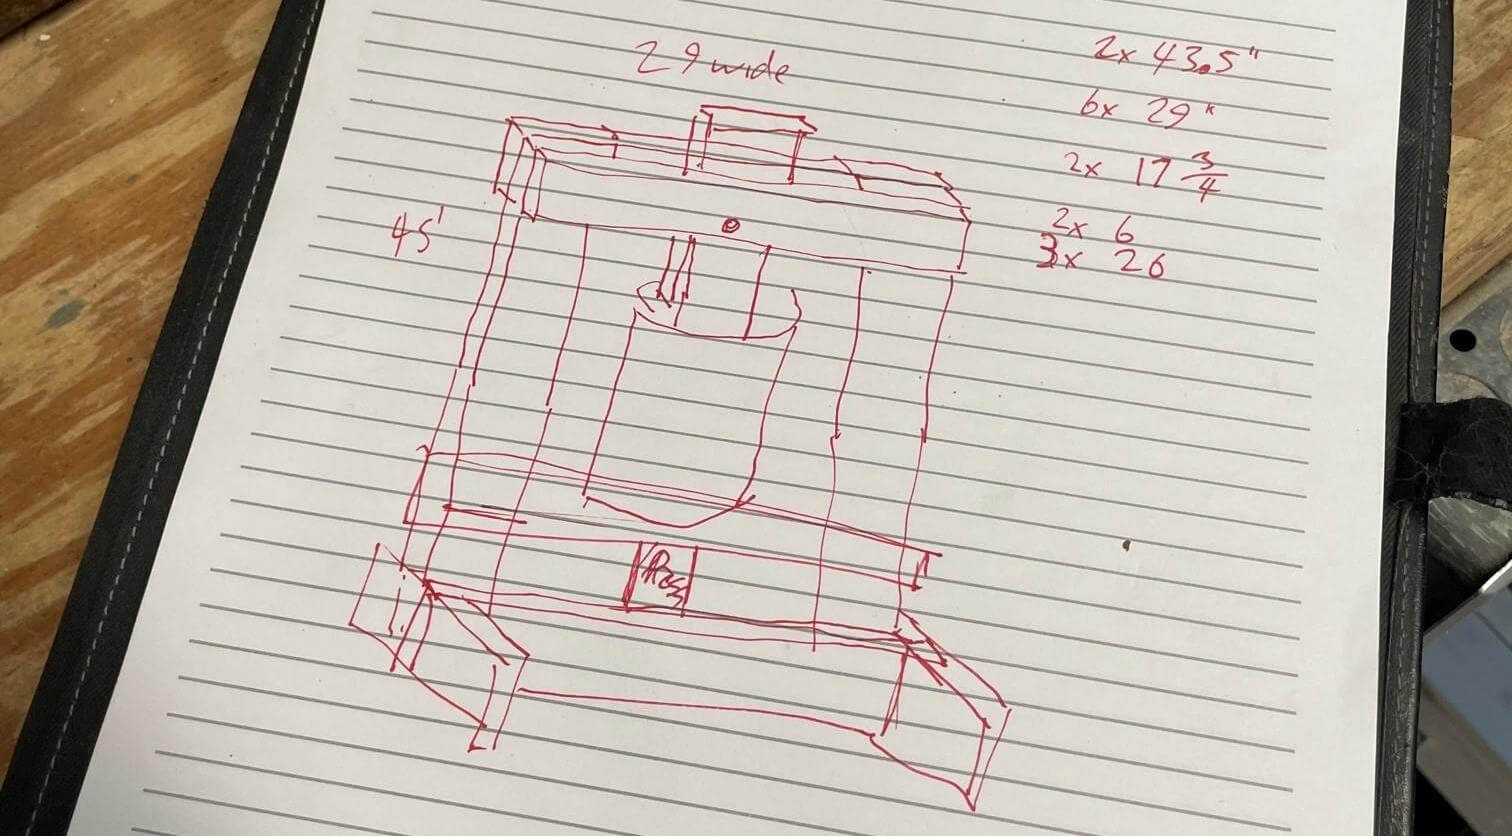
Our goal was to create a press that is simple and easy to use, but also easy to clean and maintain. Most early press designs used a threaded rod to apply pressure from above onto a stationary basket of wooden slats. We wanted to create a hydraulic option, but without using a dirty and oily jack over clean cider. We also wanted the jack to be easy to remove for use on the vehicle and equipment.
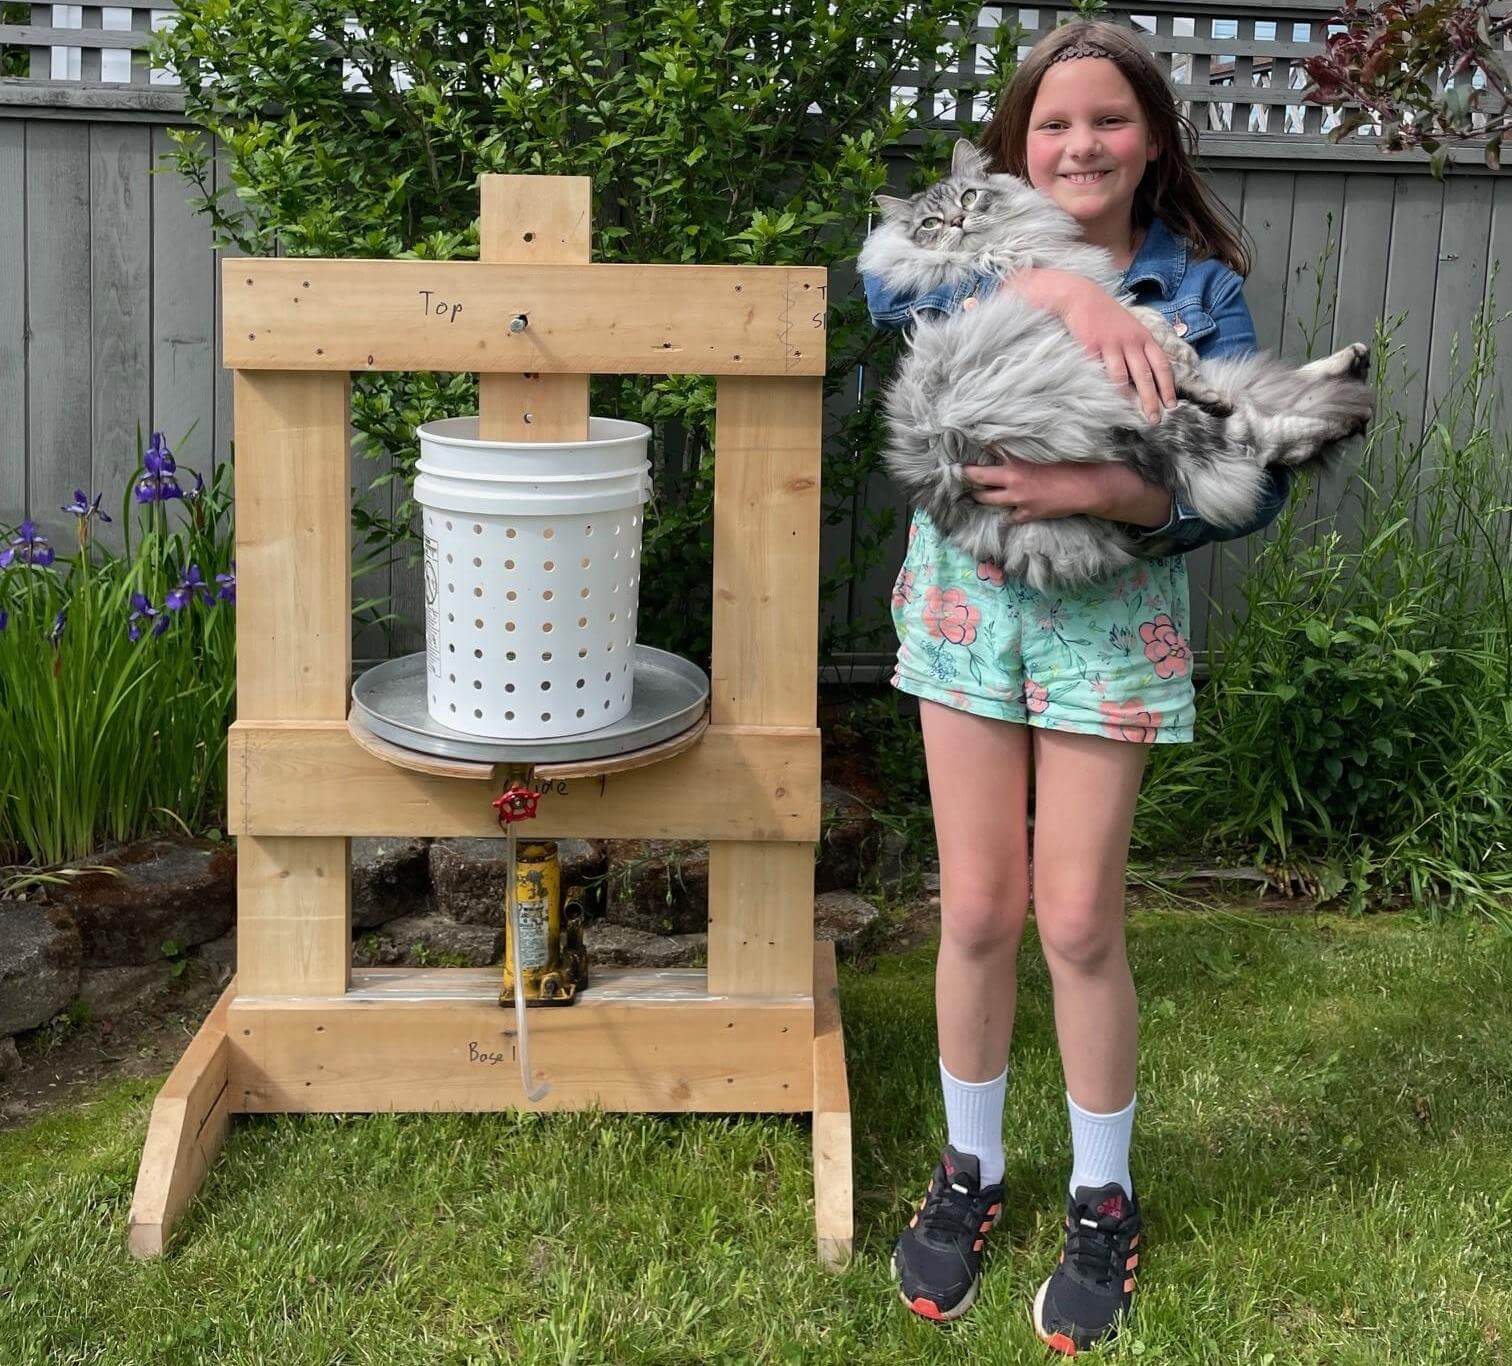
In our version, the rod is fixed at the top, and a moving platform supports our press basket, made from a bucket that rises up to the rod. This is a modification of the basic steel hydraulic presses made by many metal shops, but made of wood and for lighter loads.
Step 2: Marking and cutting wood
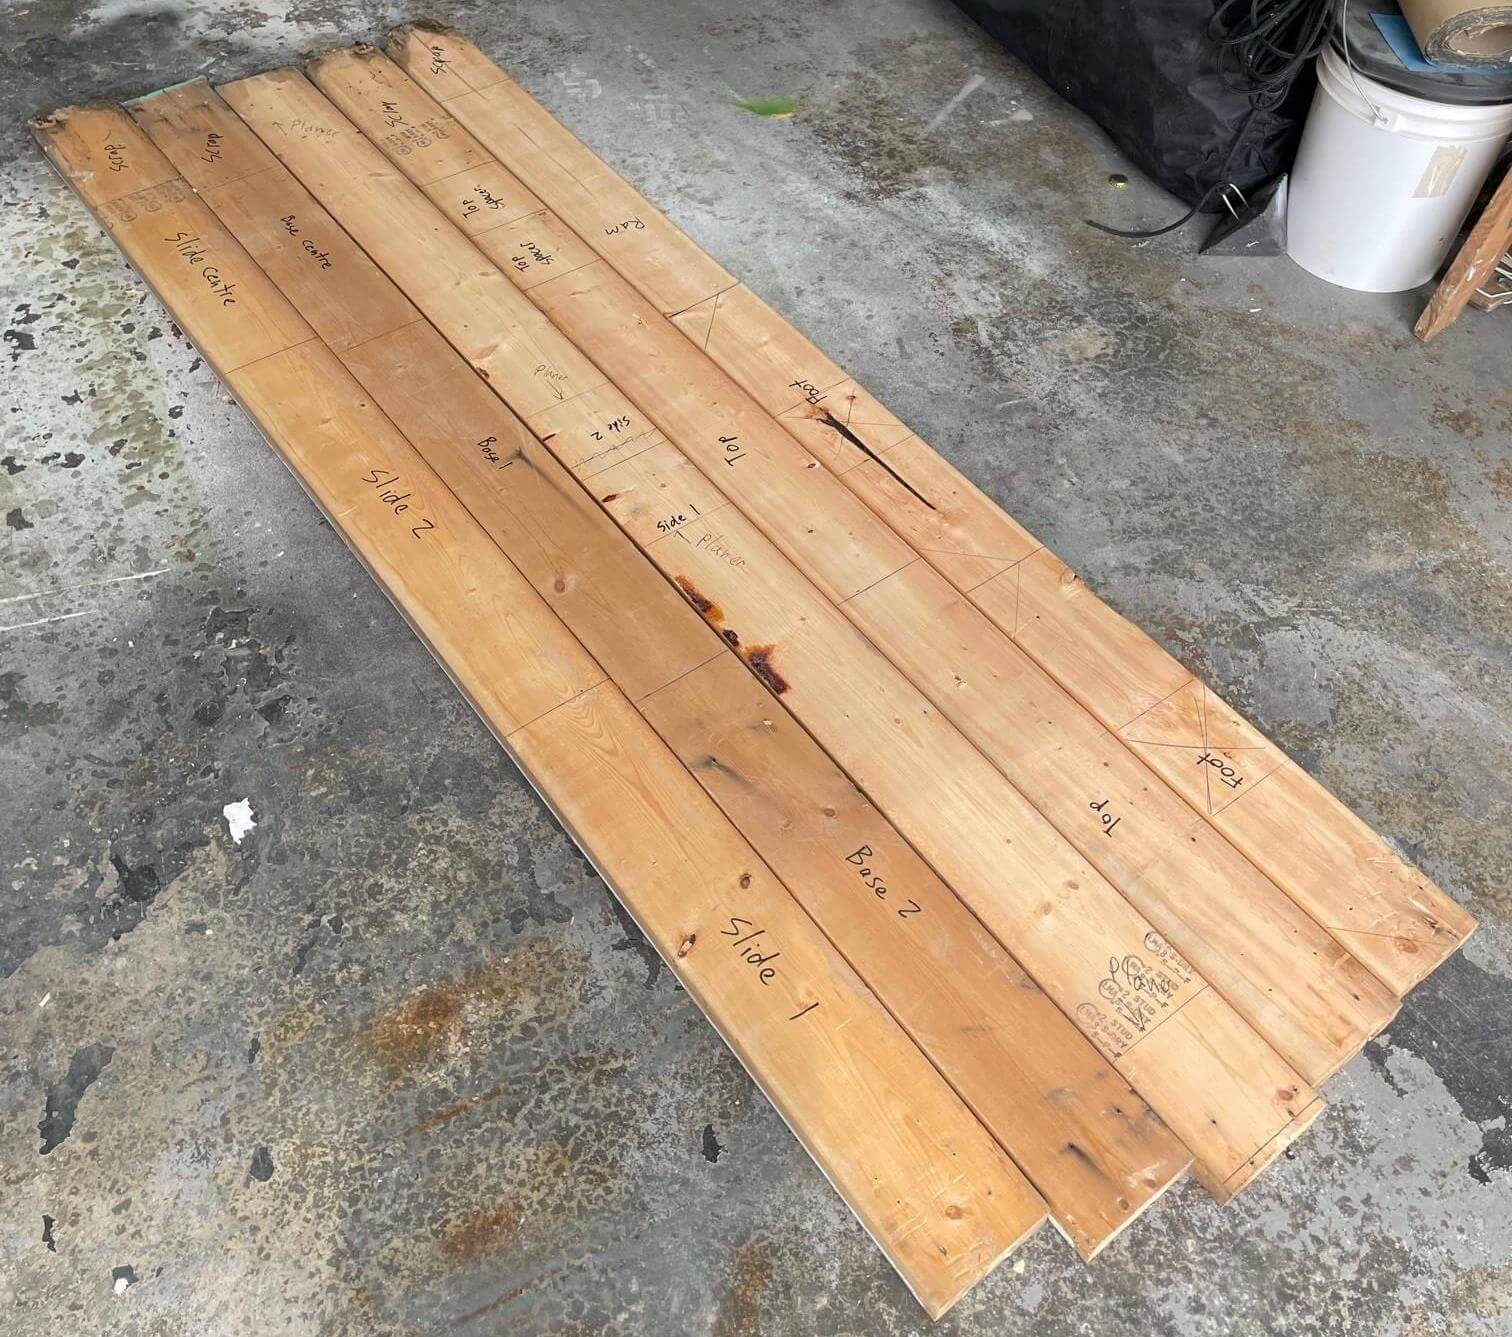
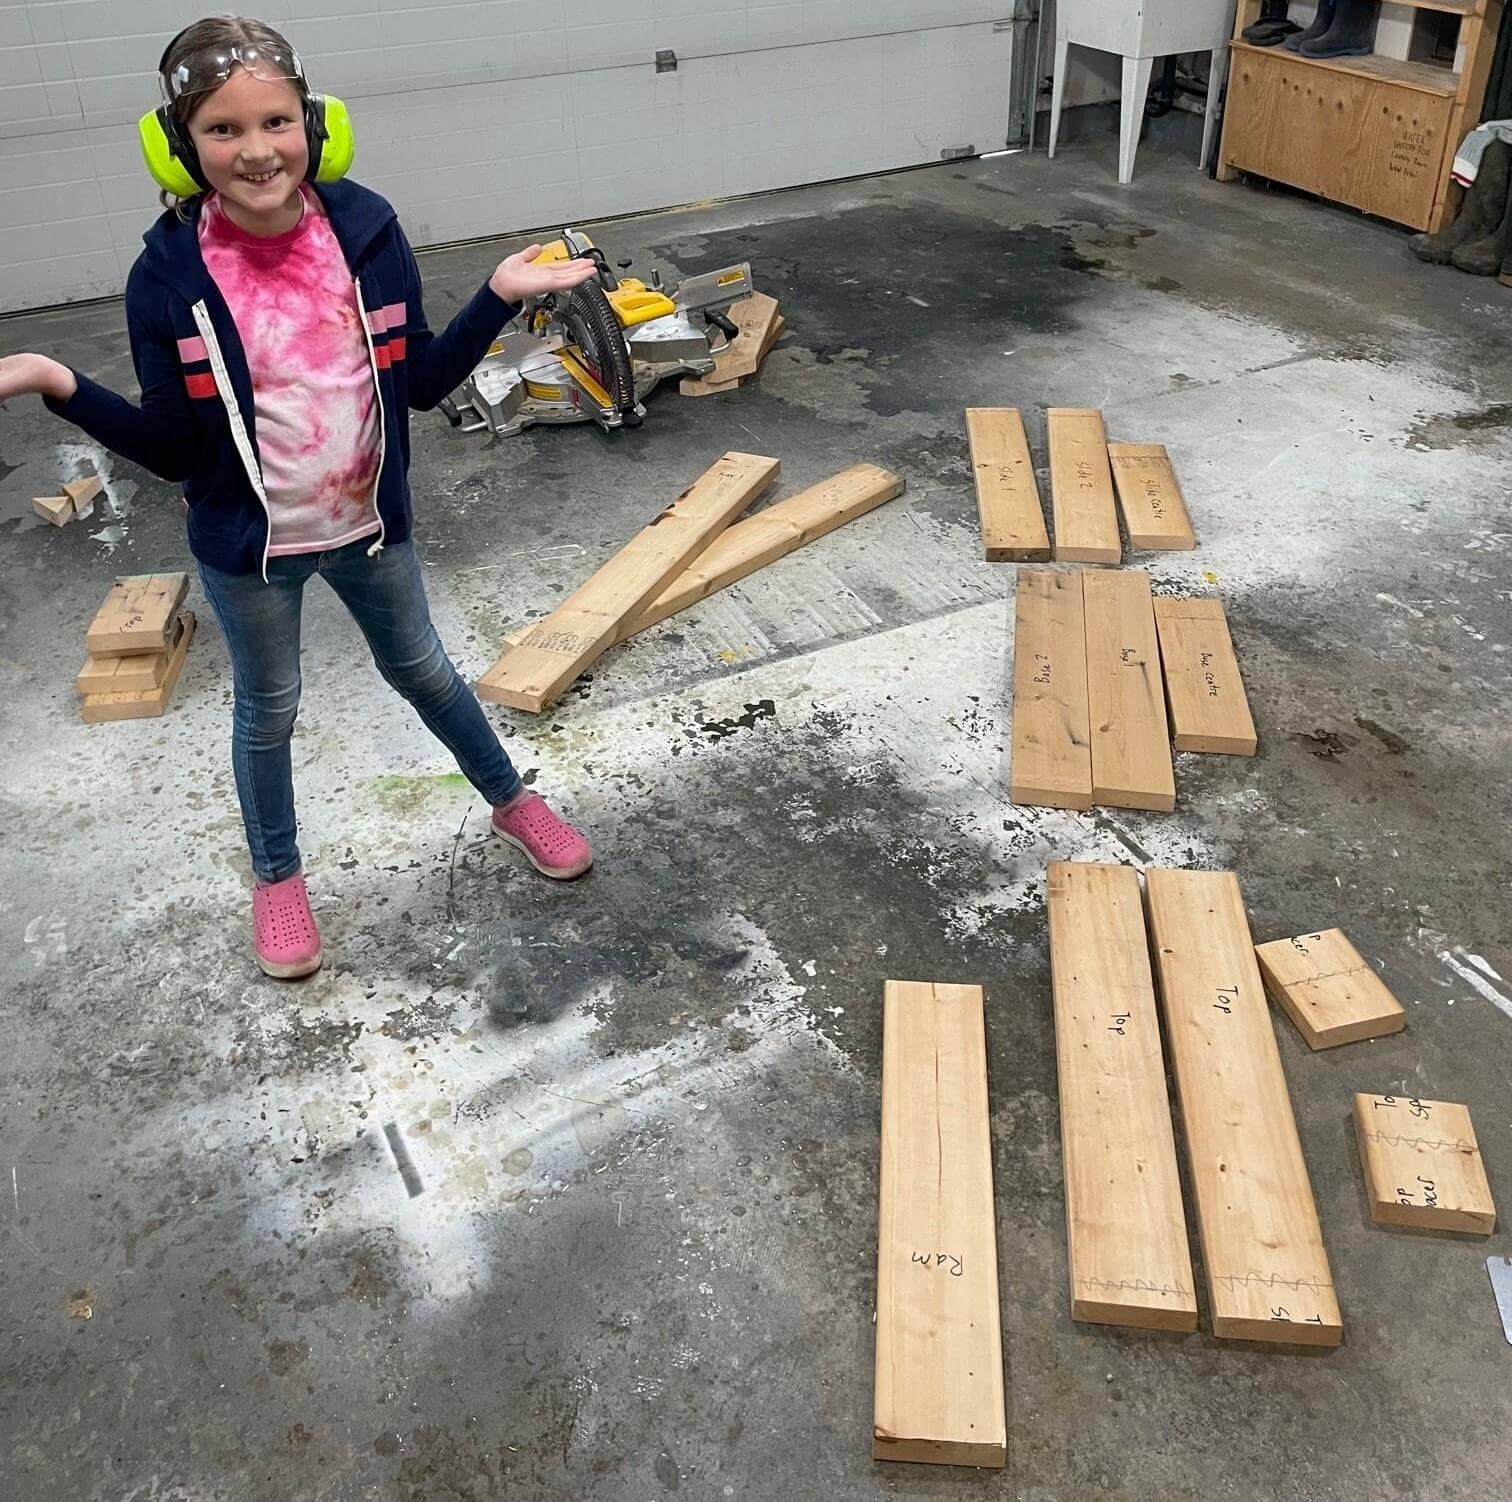
We laid out all the wood on the floor and marked where we would cut each component. We chose a straight grain, no knot board for the stem section as it will withstand the most pressure.
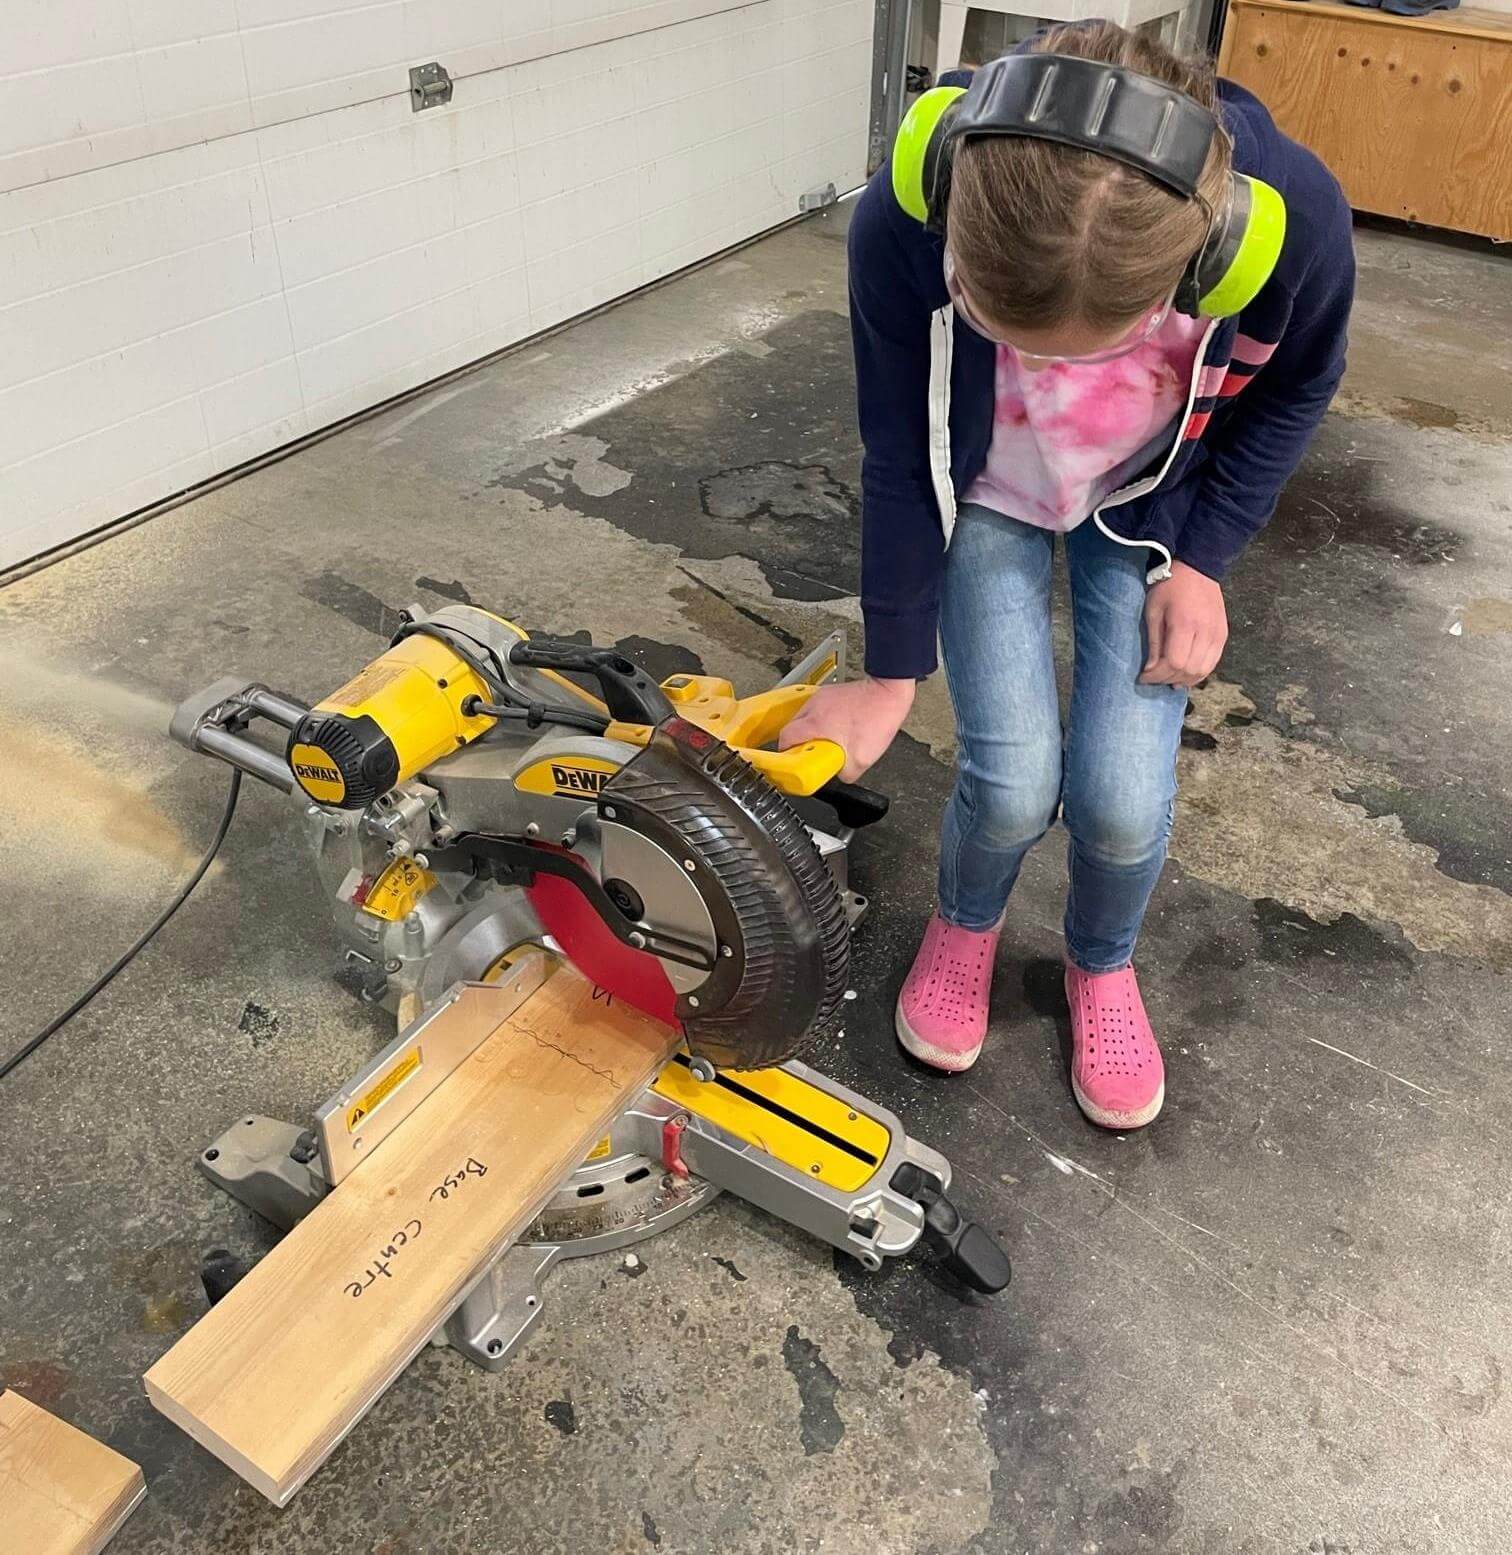
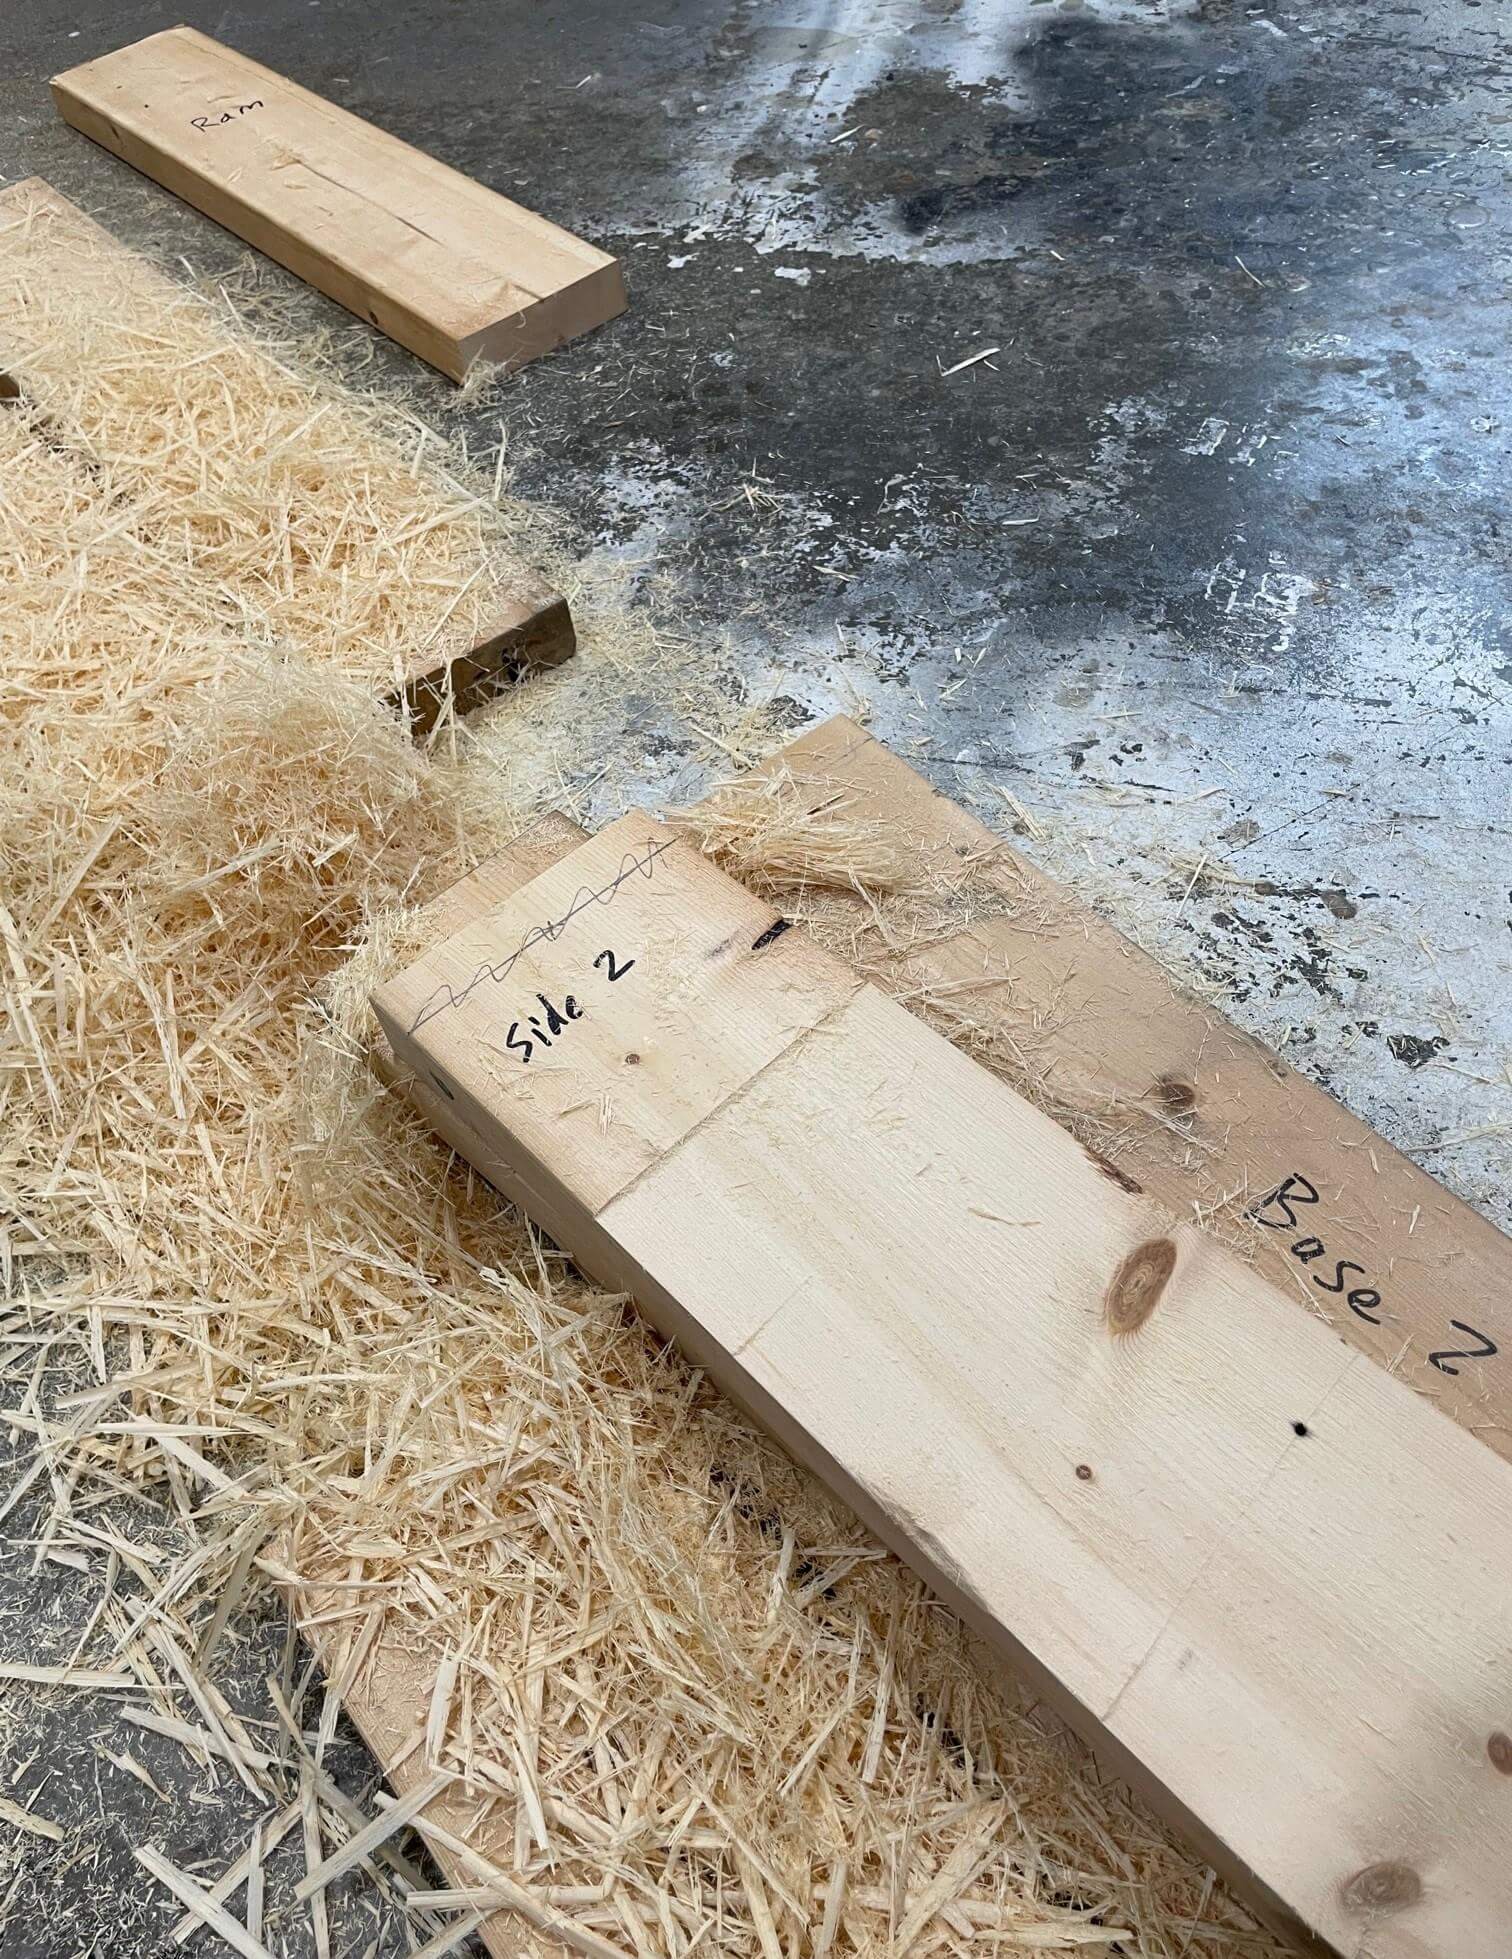
After marking, Rachel cut all the boards on the miter saw. Each piece was marked to help you understand where it would go. To explain this to you, we have labeled each piece with a letter.
Step 3: Cutting the stem and side supports
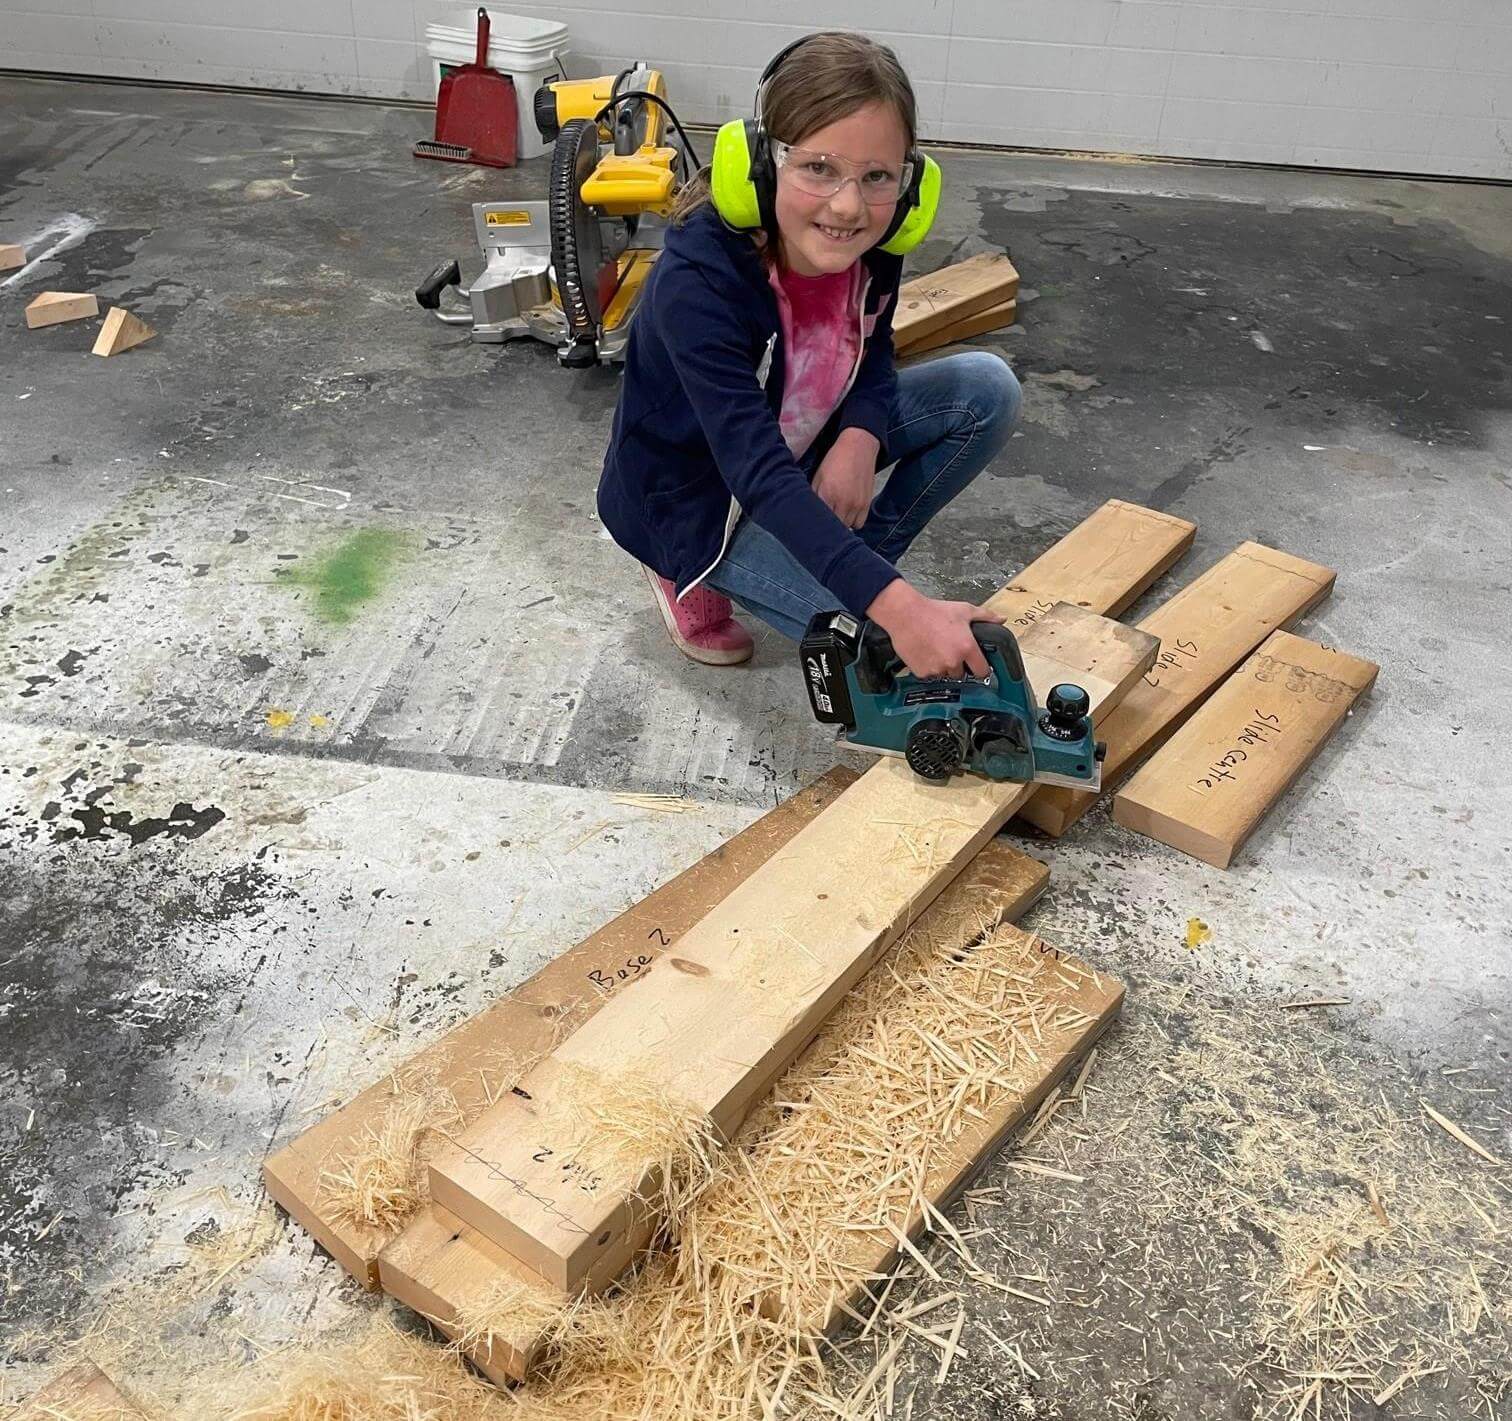

Since the press requires the parts to move without jamming, both the vertical supports and the rod needed to be thinned a little. Rachel used a plane to make them 1/8″ thinner.
Step 4: Assembling the Frame and Sliding Platform
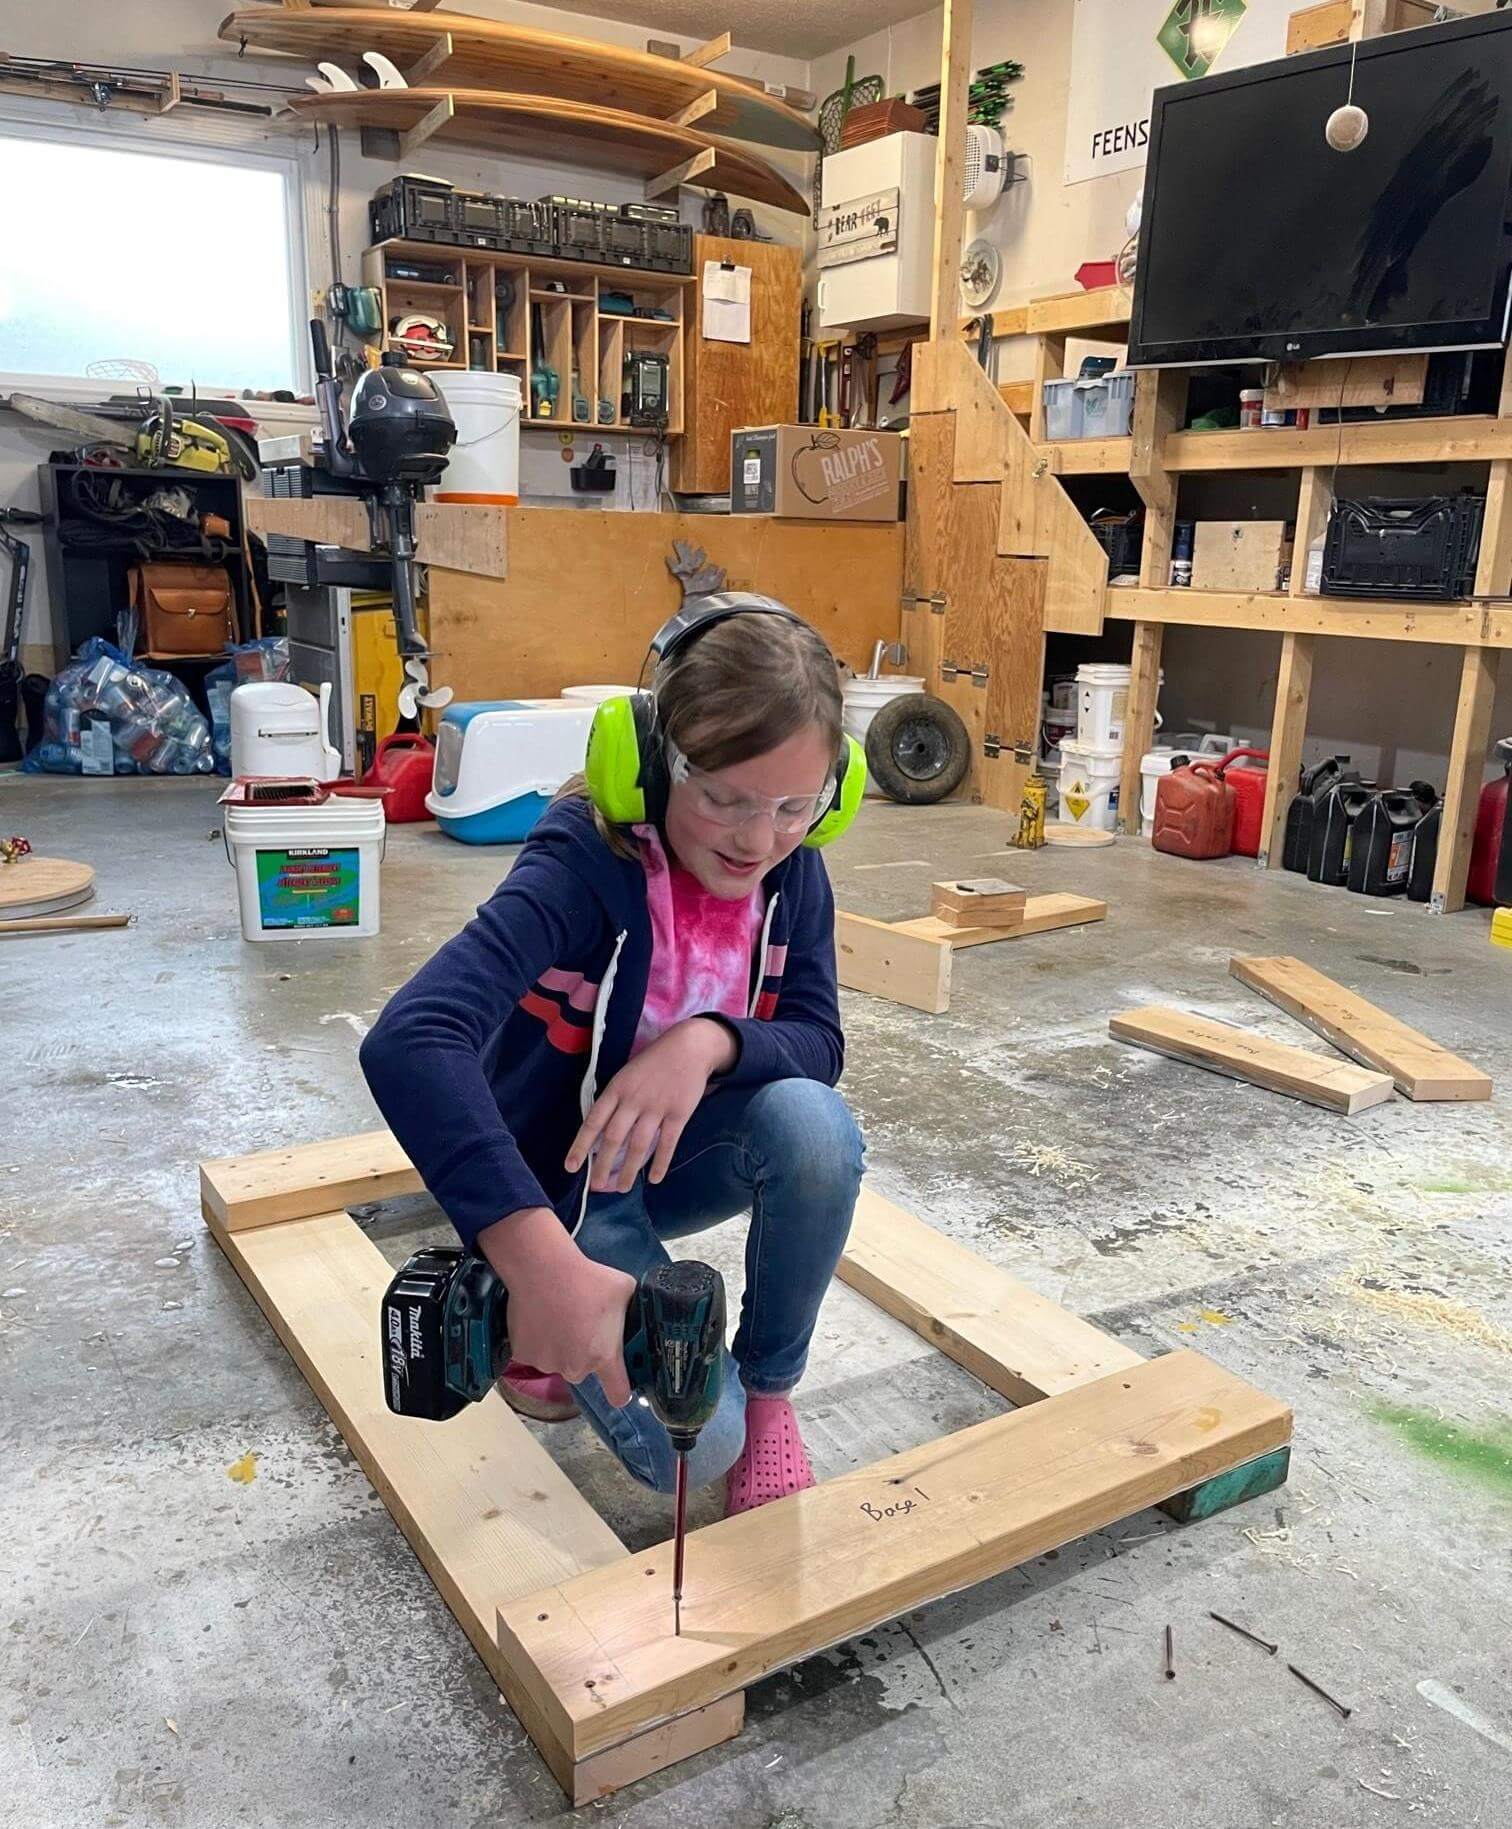


This step must be completed in order. Place the vertical supports and screw the top and bottom frames. Then secure the center piece and rod guides. Platform assembly also includes installation of internal and external supports.
Step 5: Preparing the Supports and Rod Head
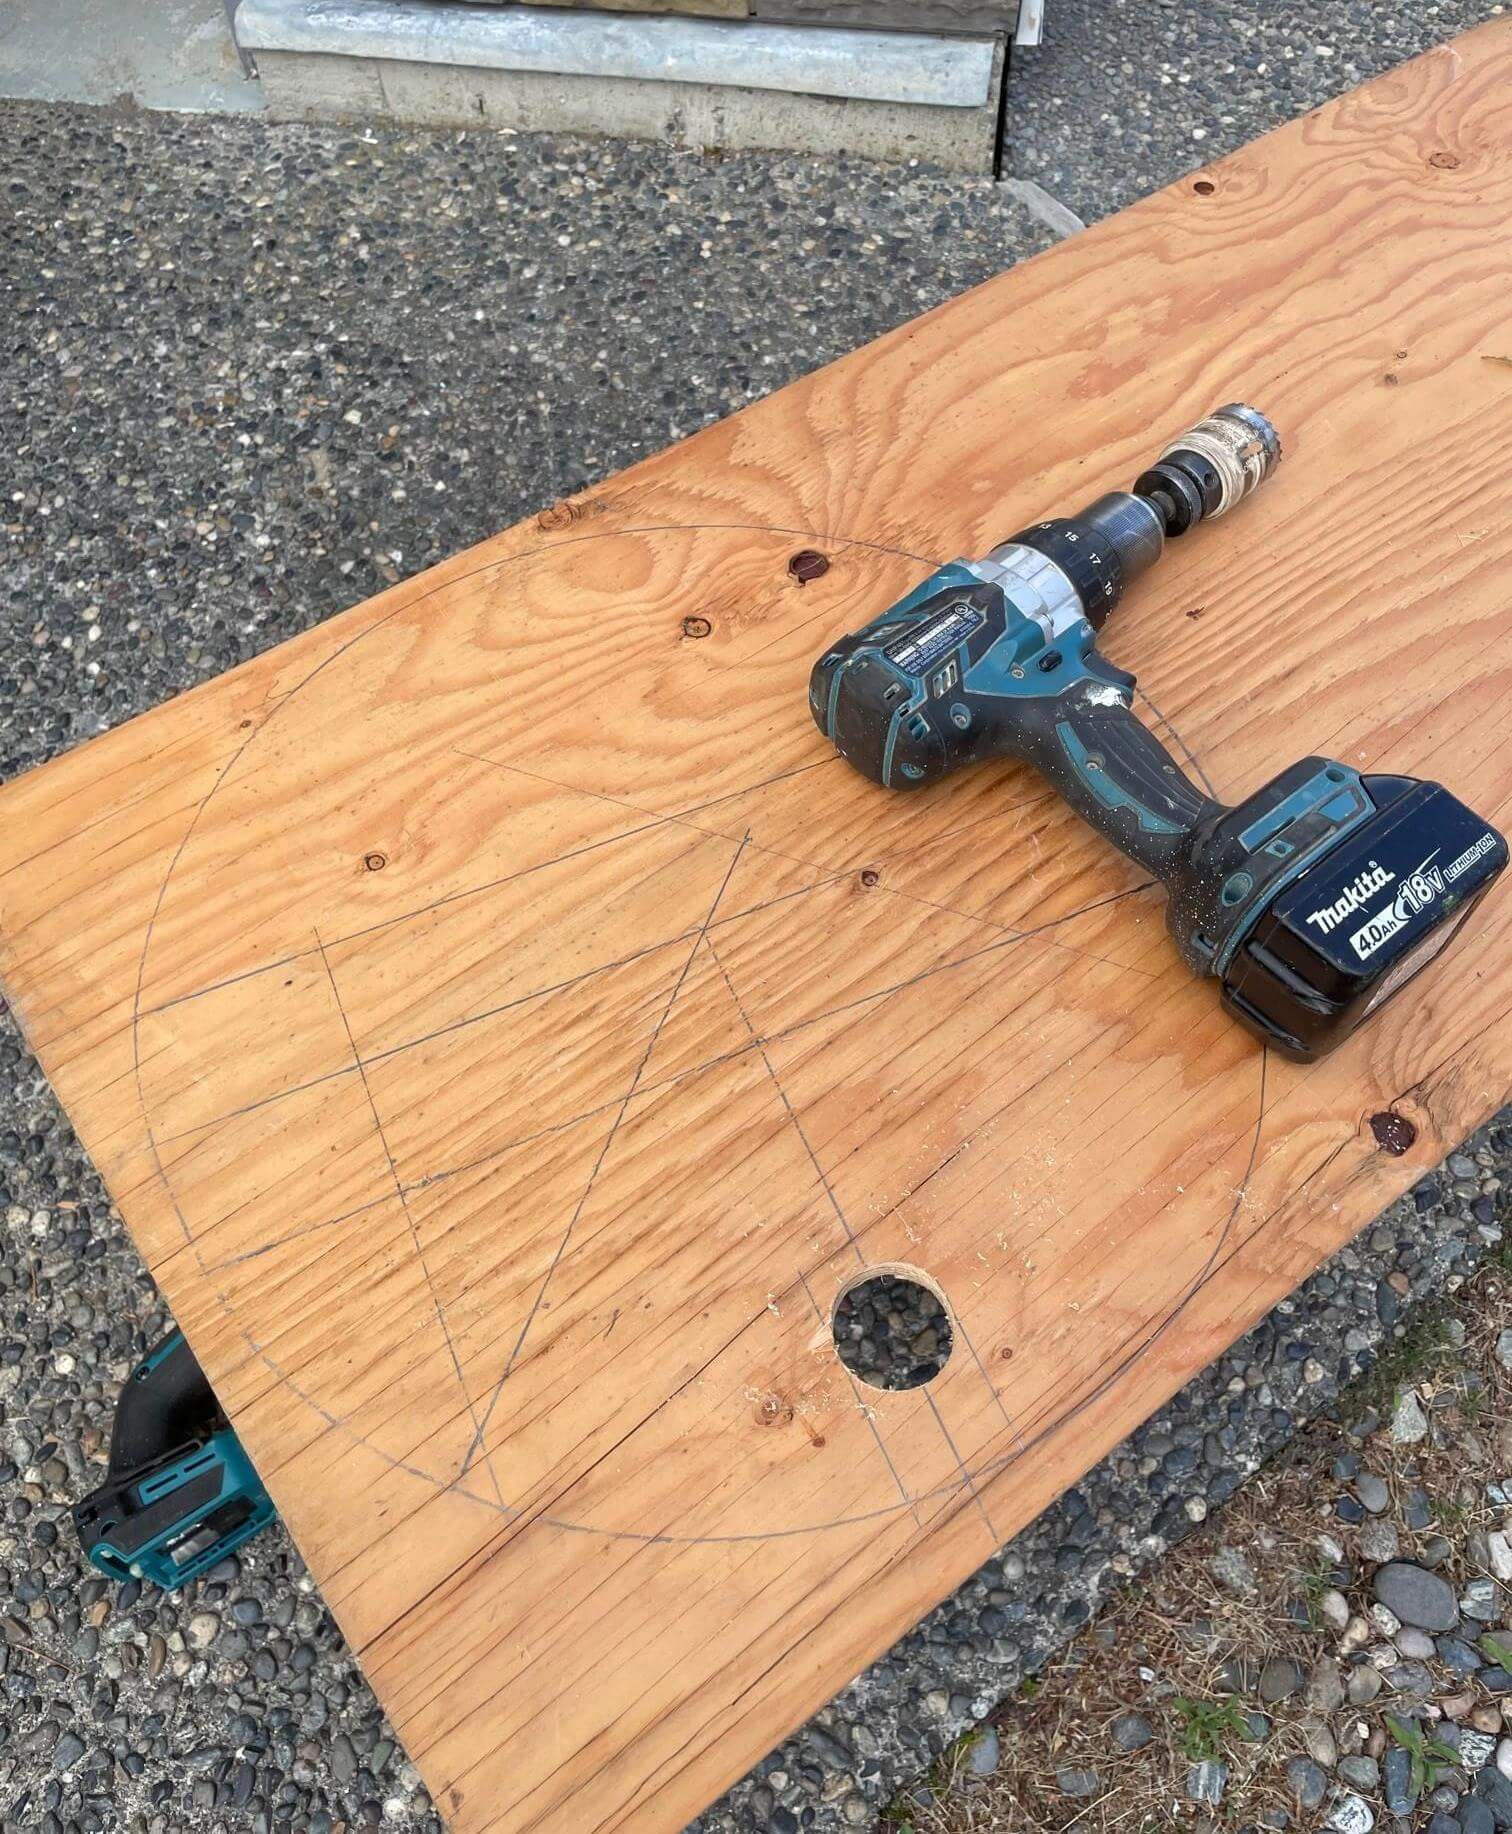
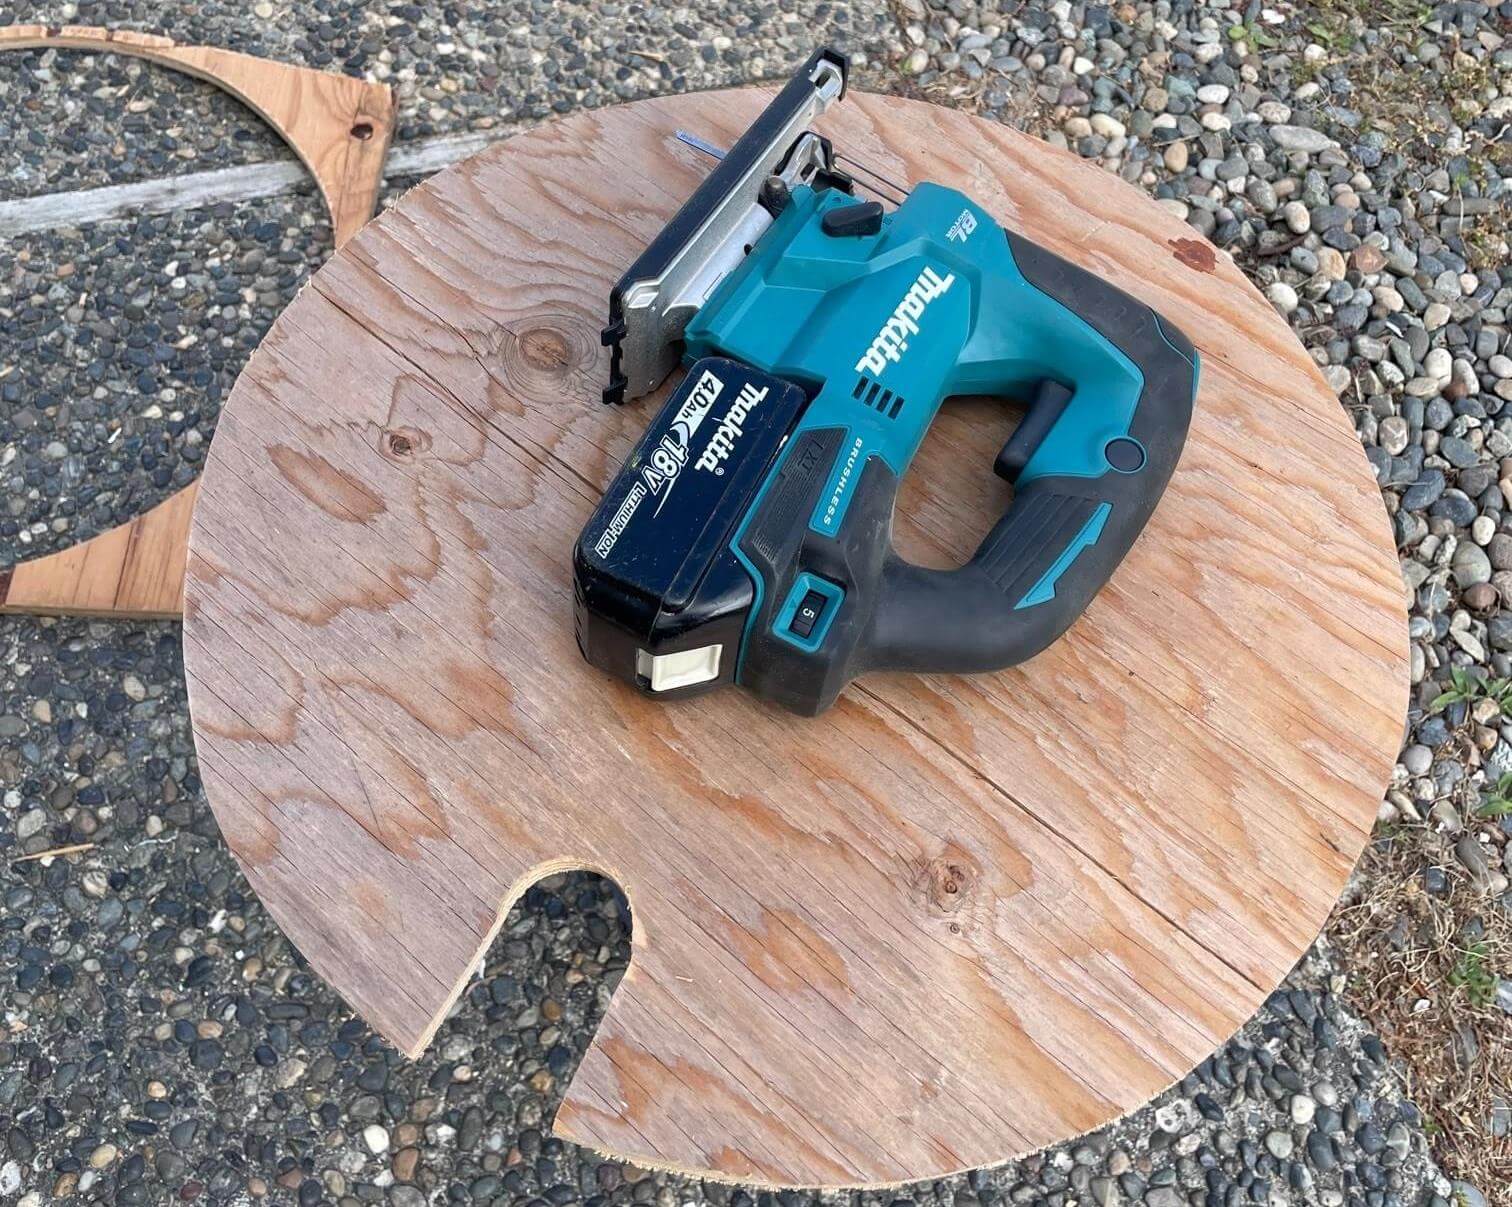
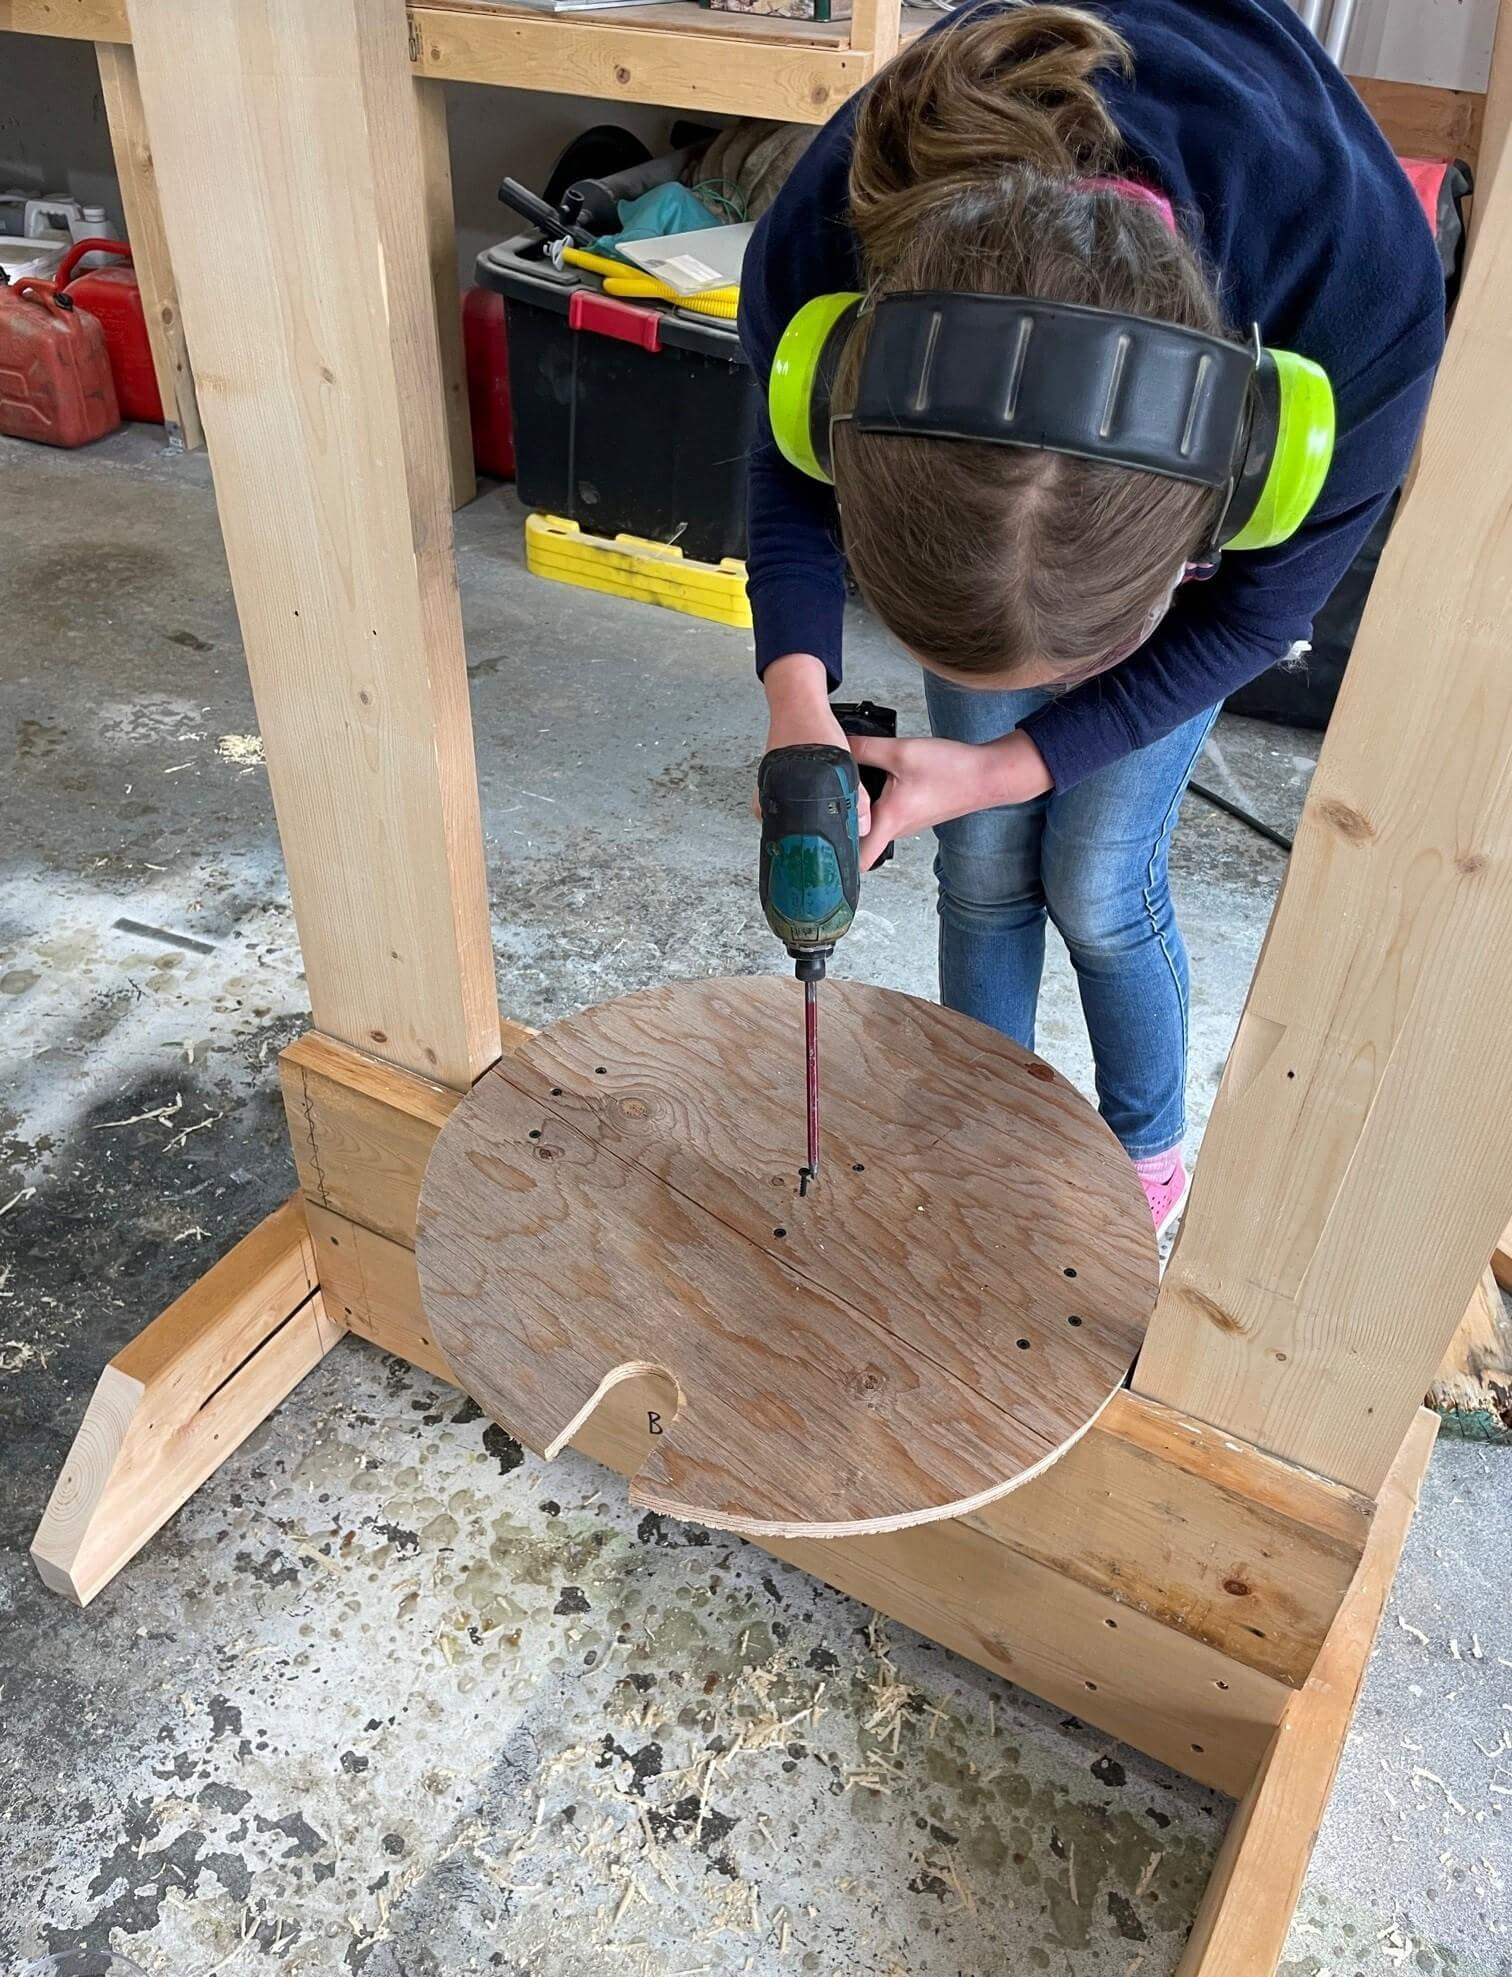
Cut out the supports for the bucket and the stem head from plywood. Make a hole for the tap in the juice tray. Secure all wooden components and test them.
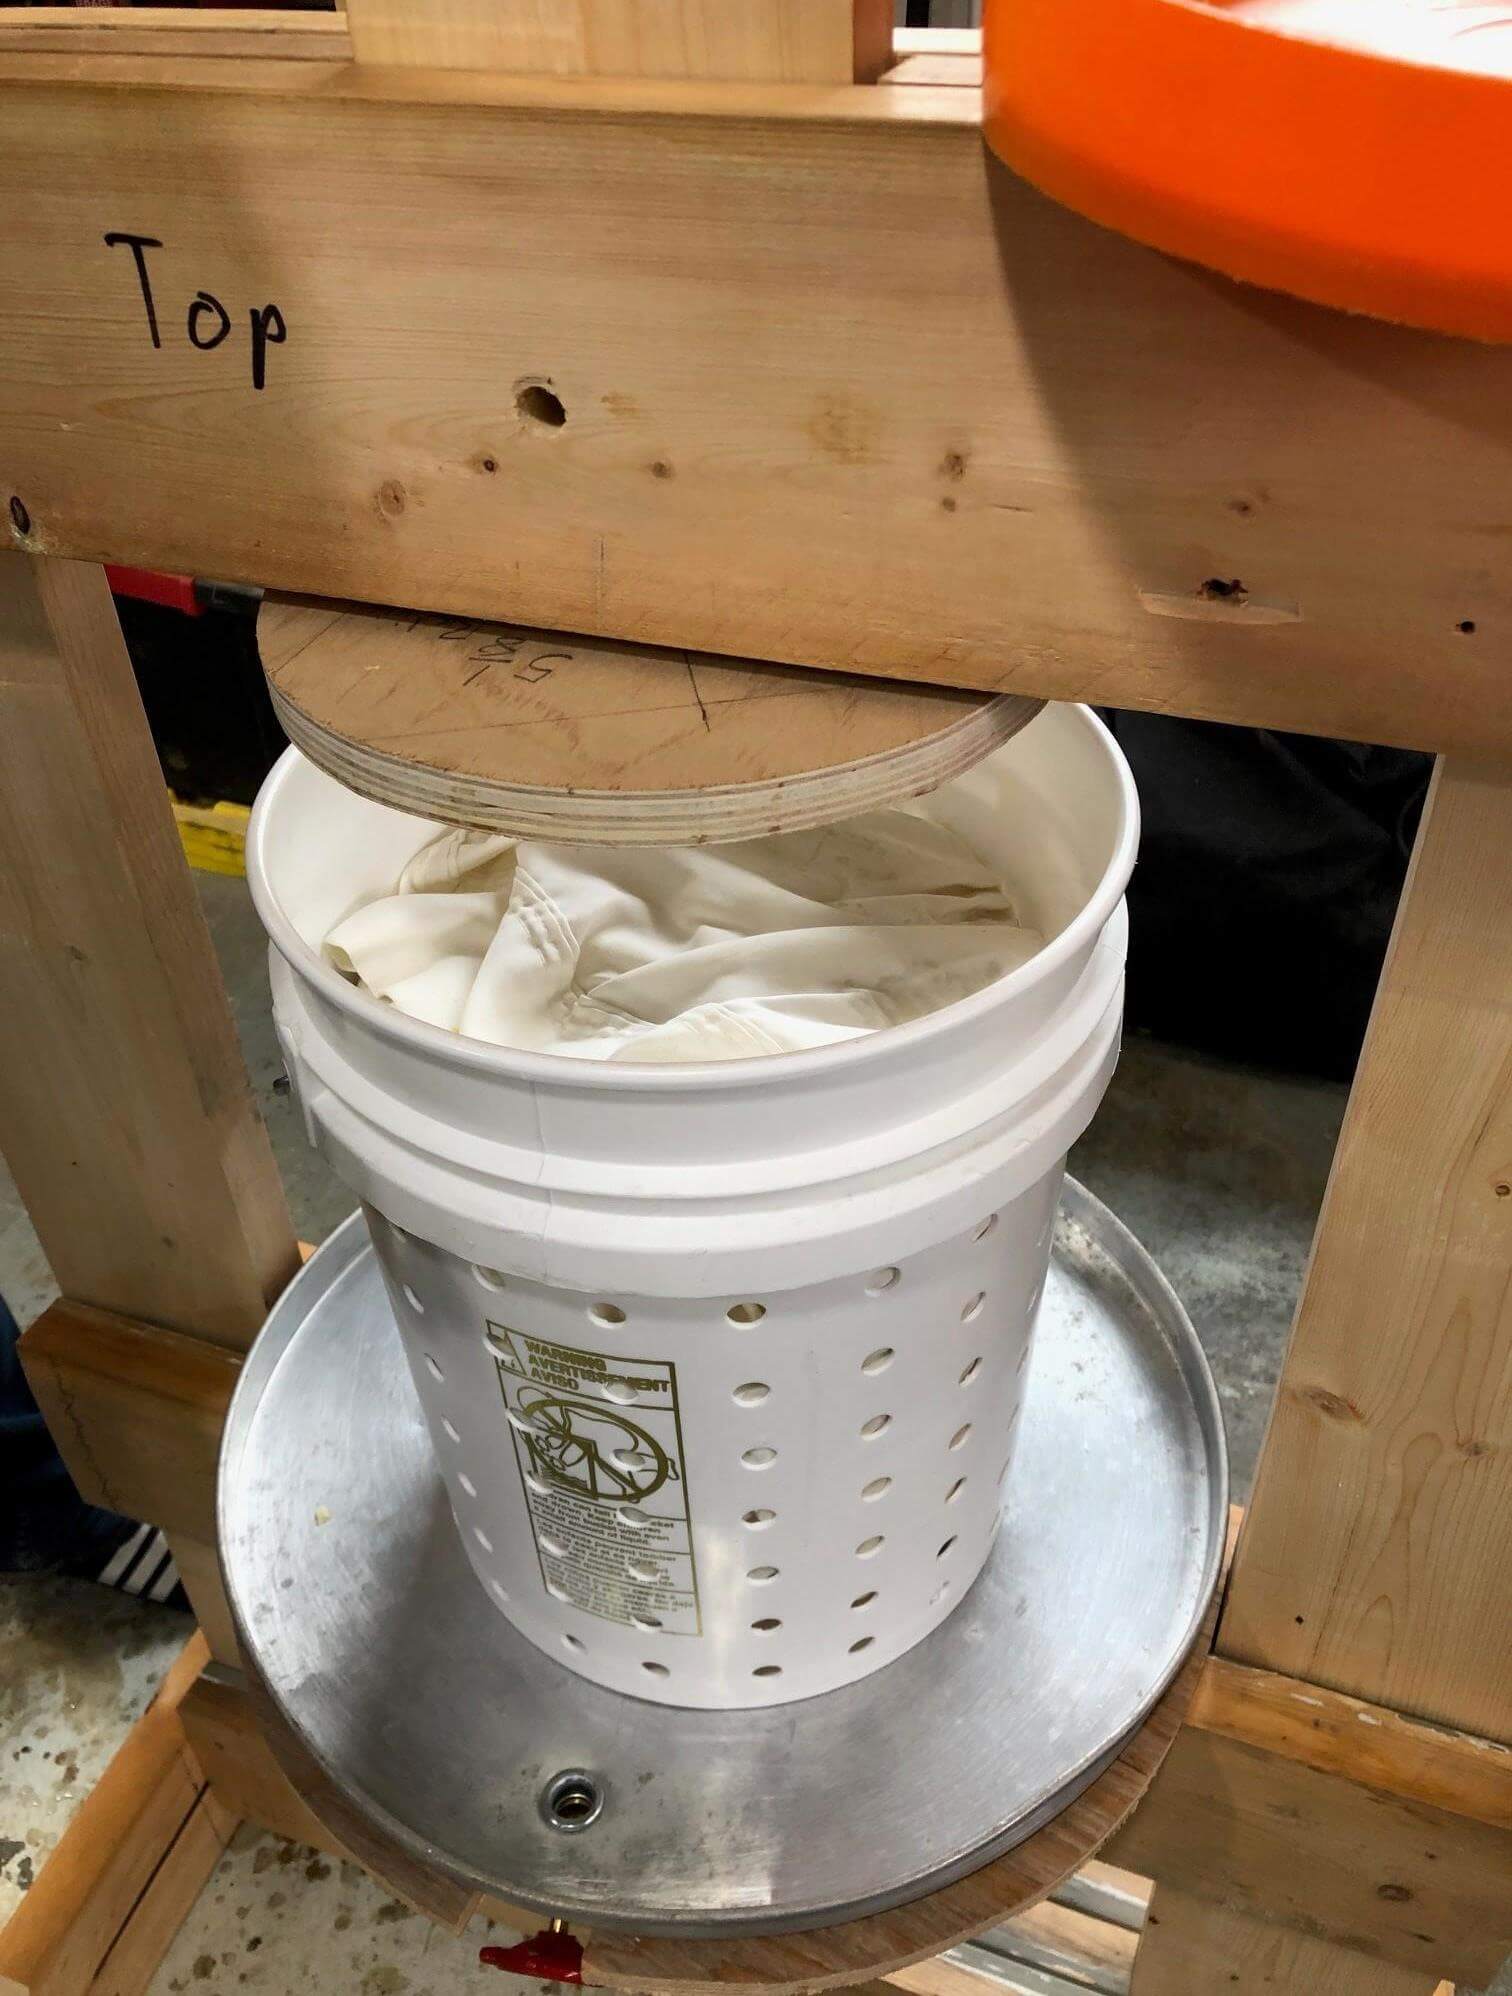
Step 6: Preparing the Bucket for the Abs
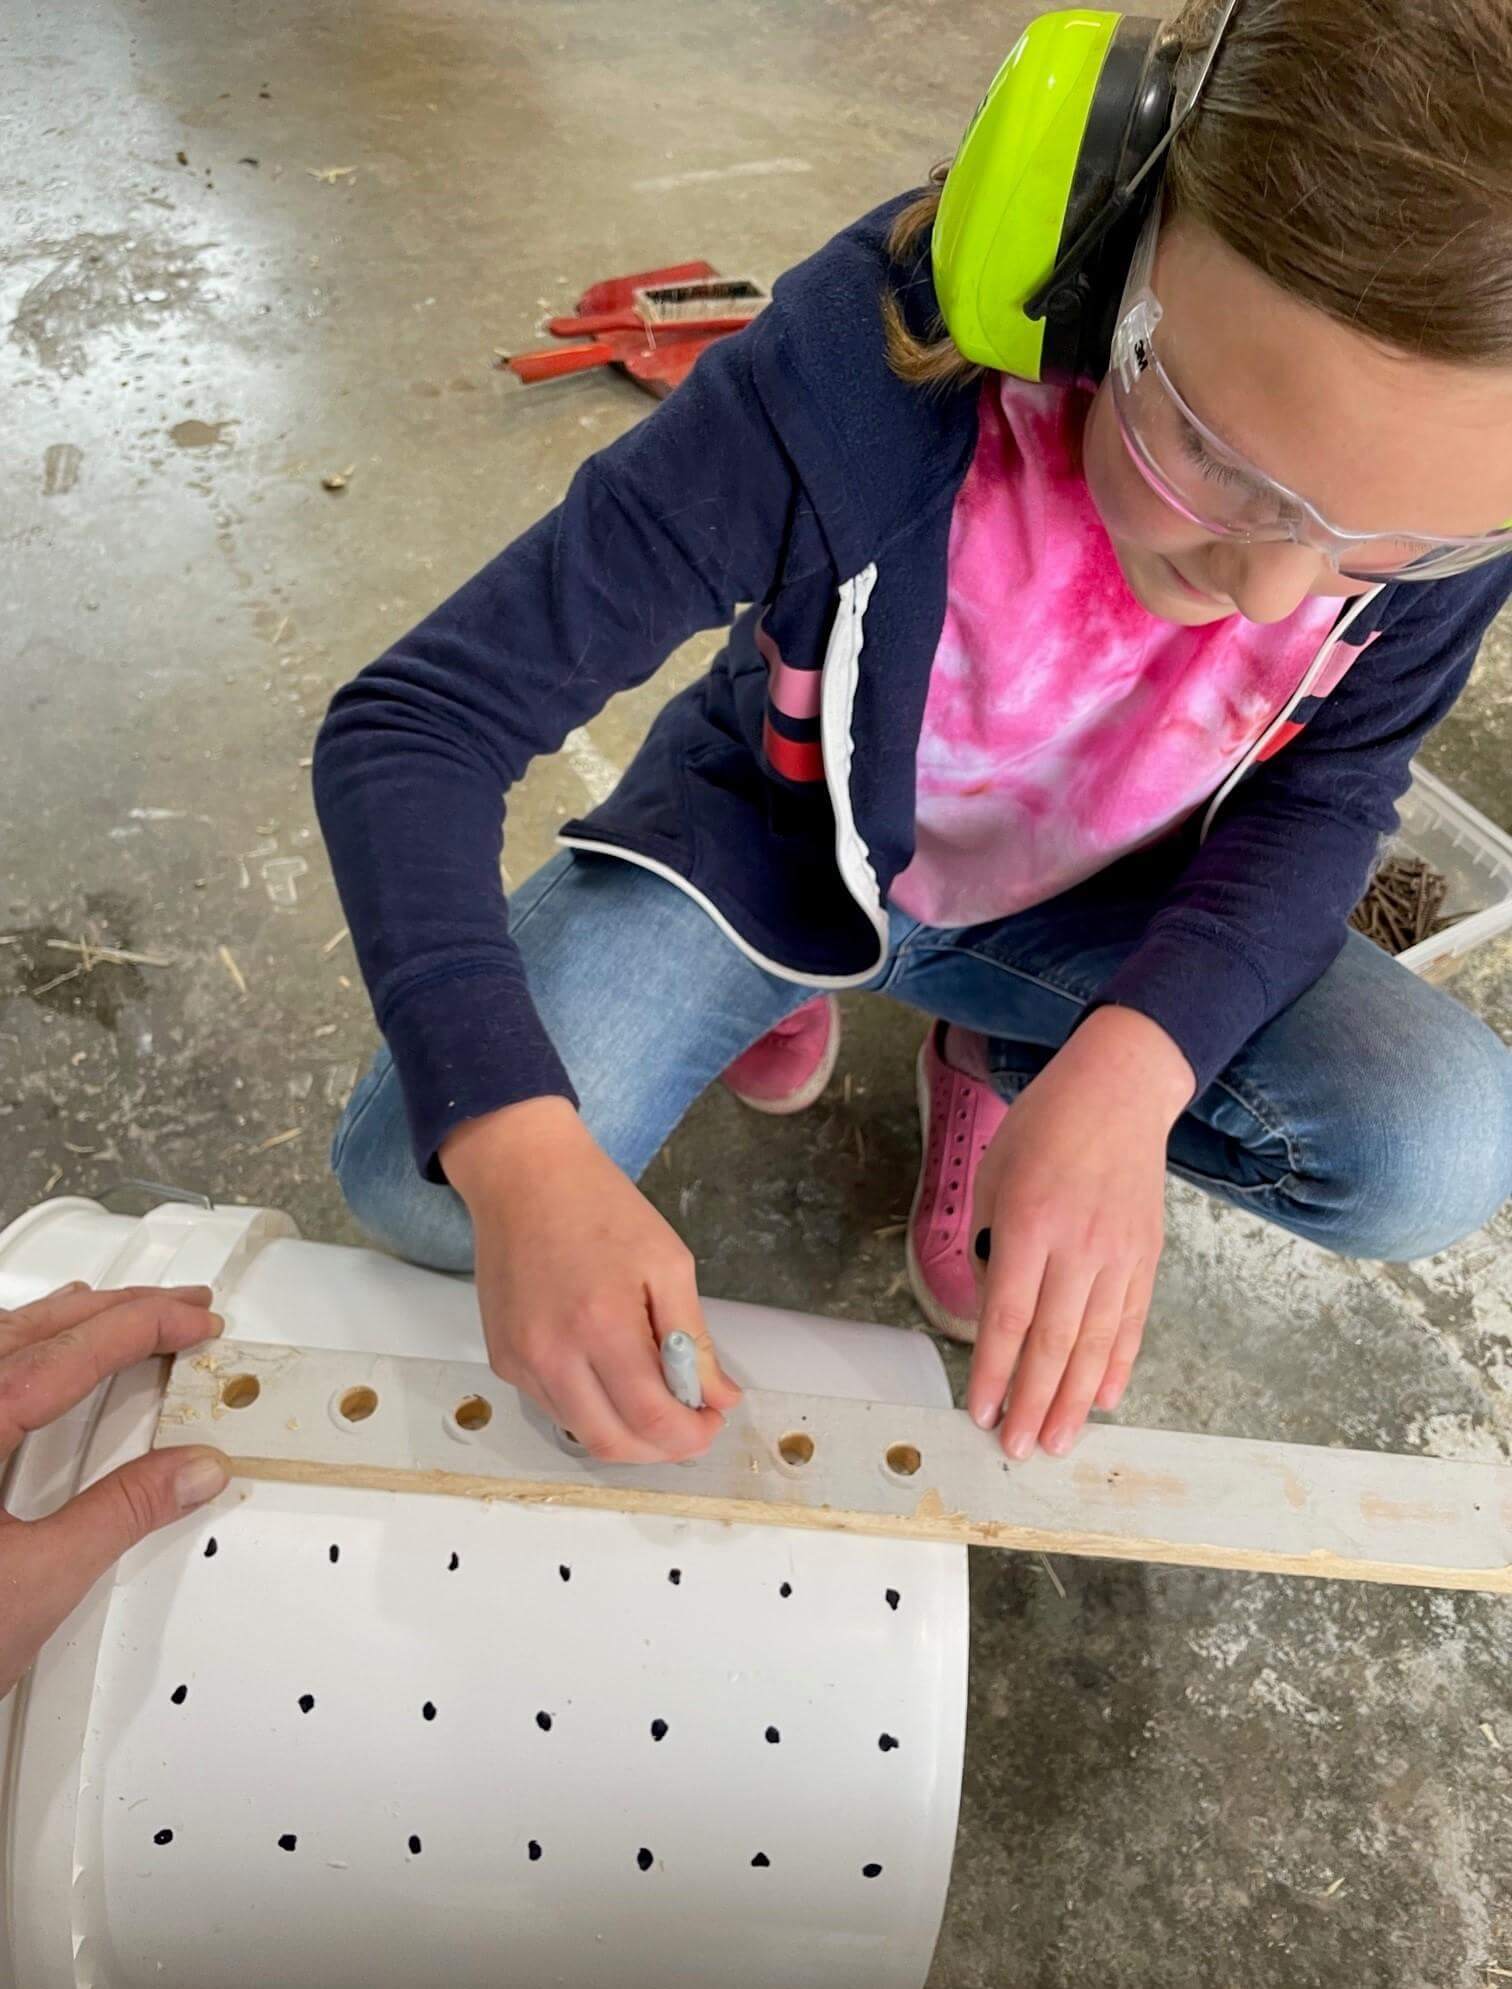
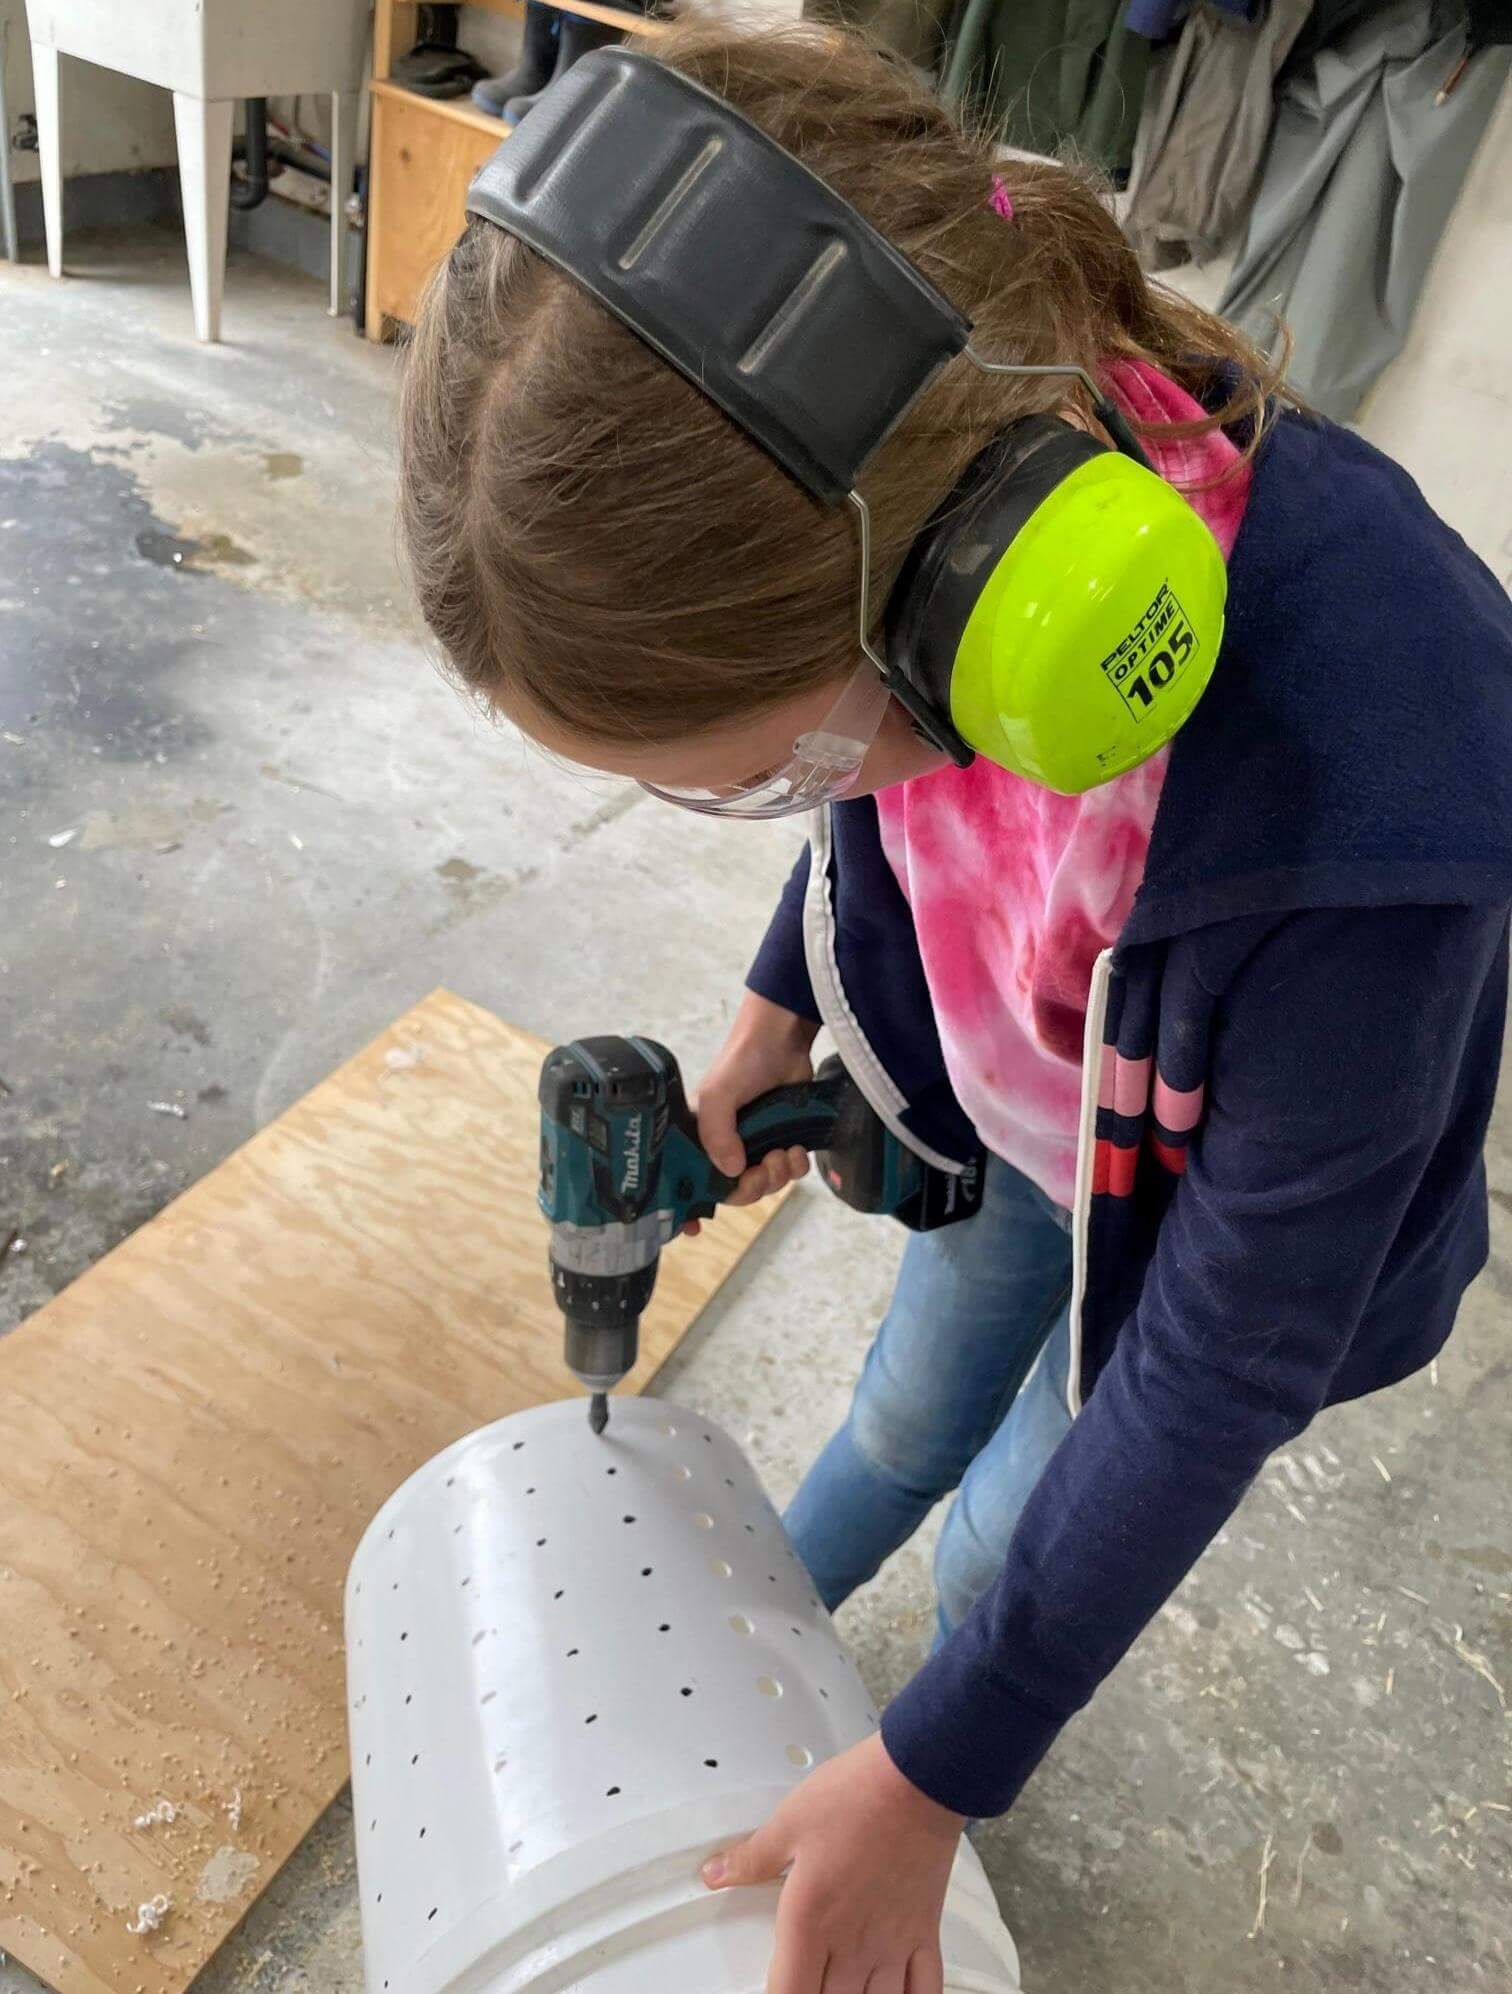
Drill holes in the bucket to let the juice out. Then rinse the bucket thoroughly.
Step 7: Preparing the Juice Tray
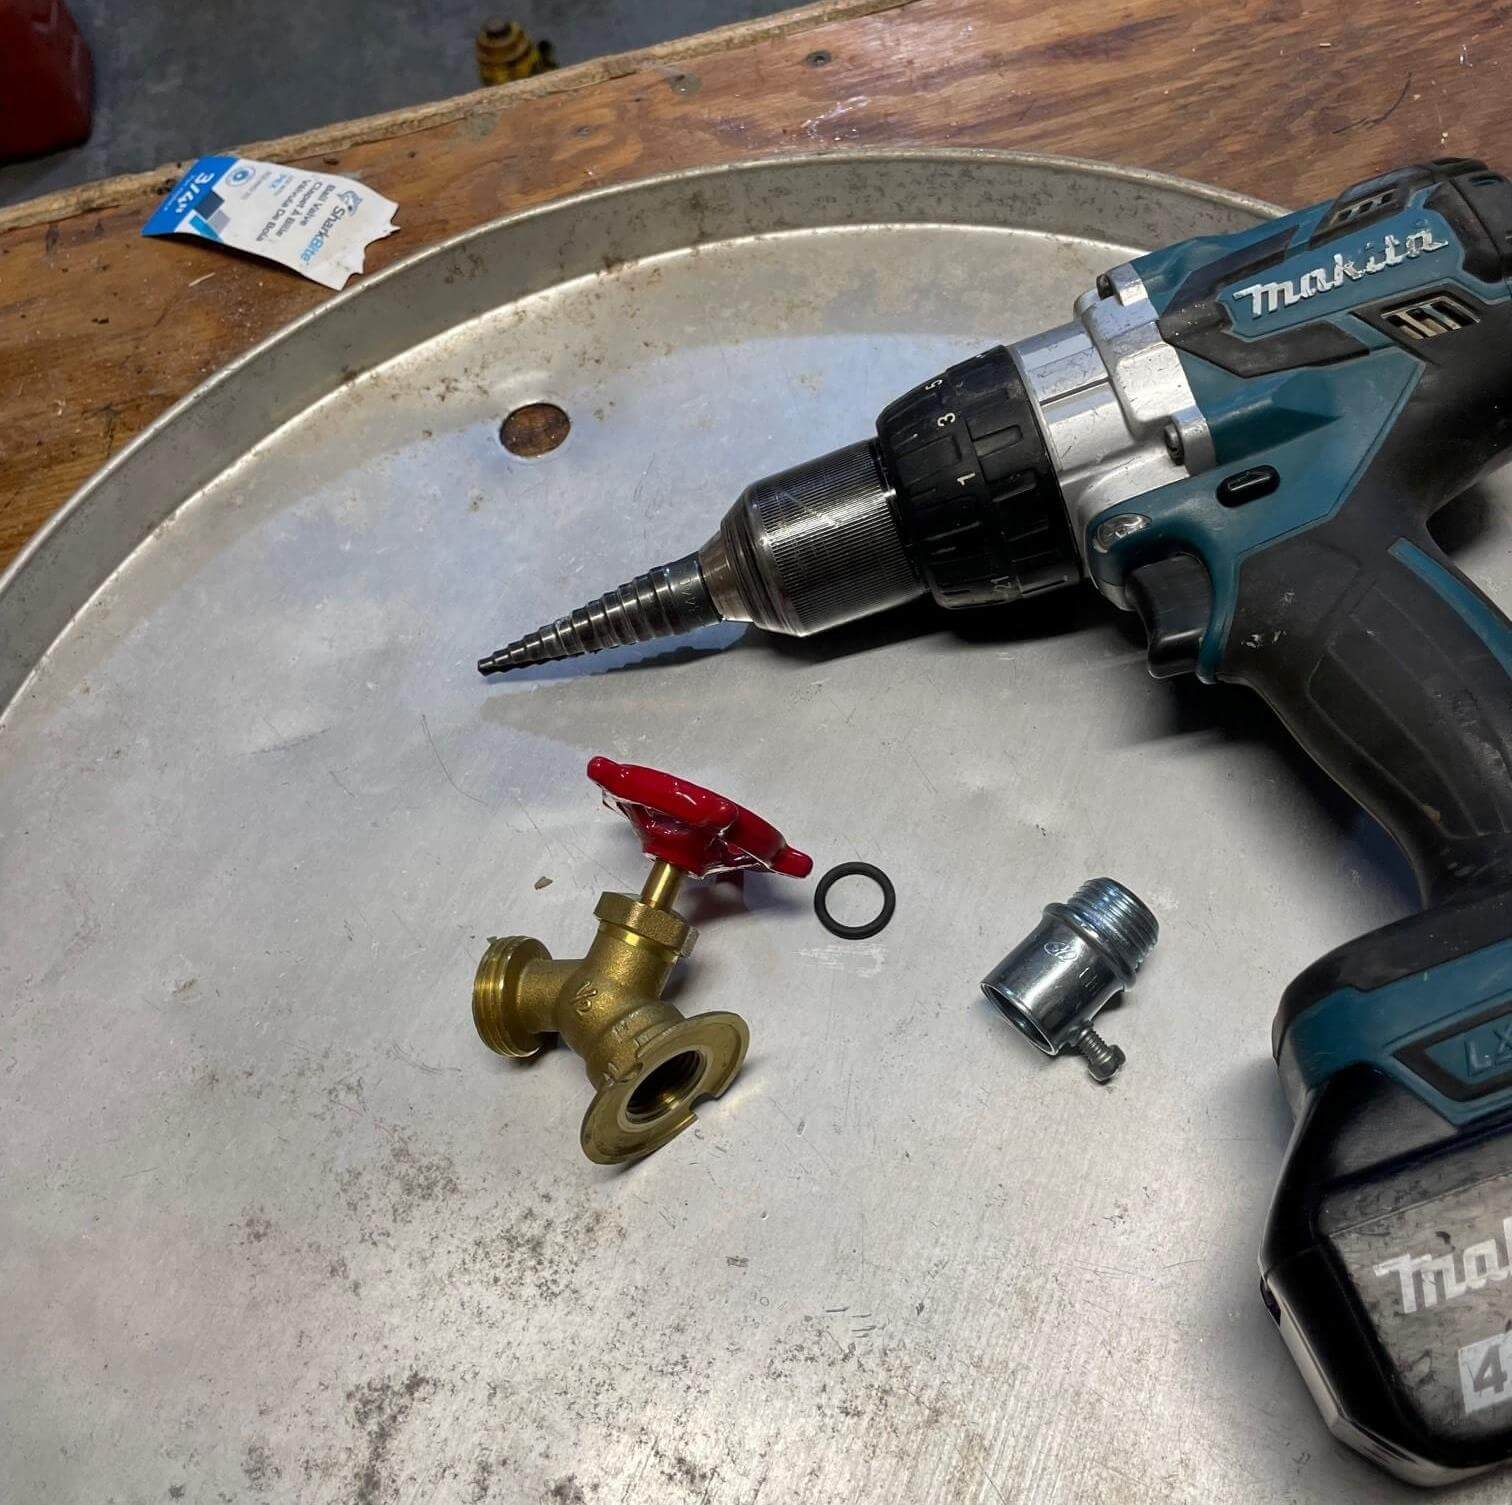
Use a hammer to make a recess in the aluminum pan for the faucet, then drill a hole and install the connector and faucet. Make sure everything is tightly secured.
Step 8: Final Assembly
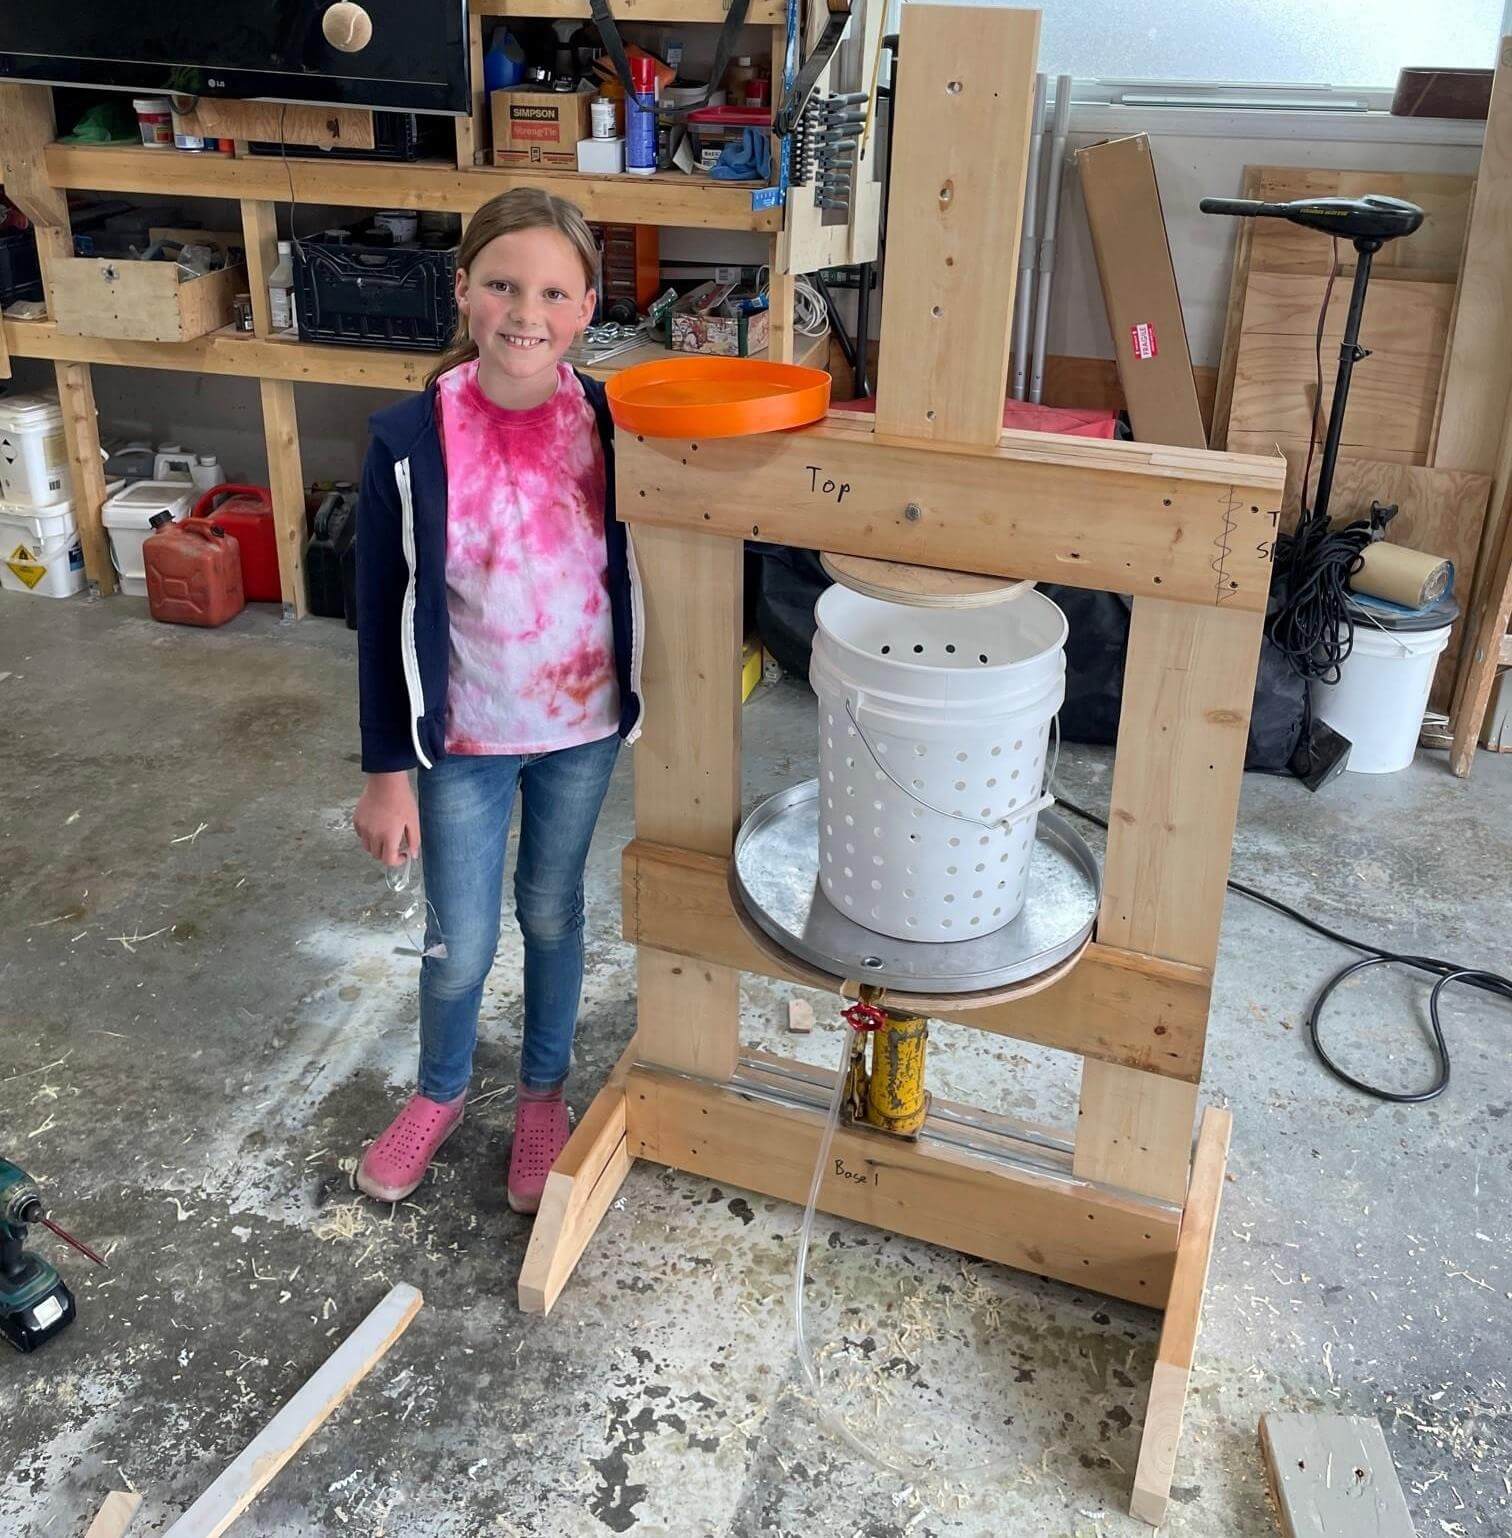
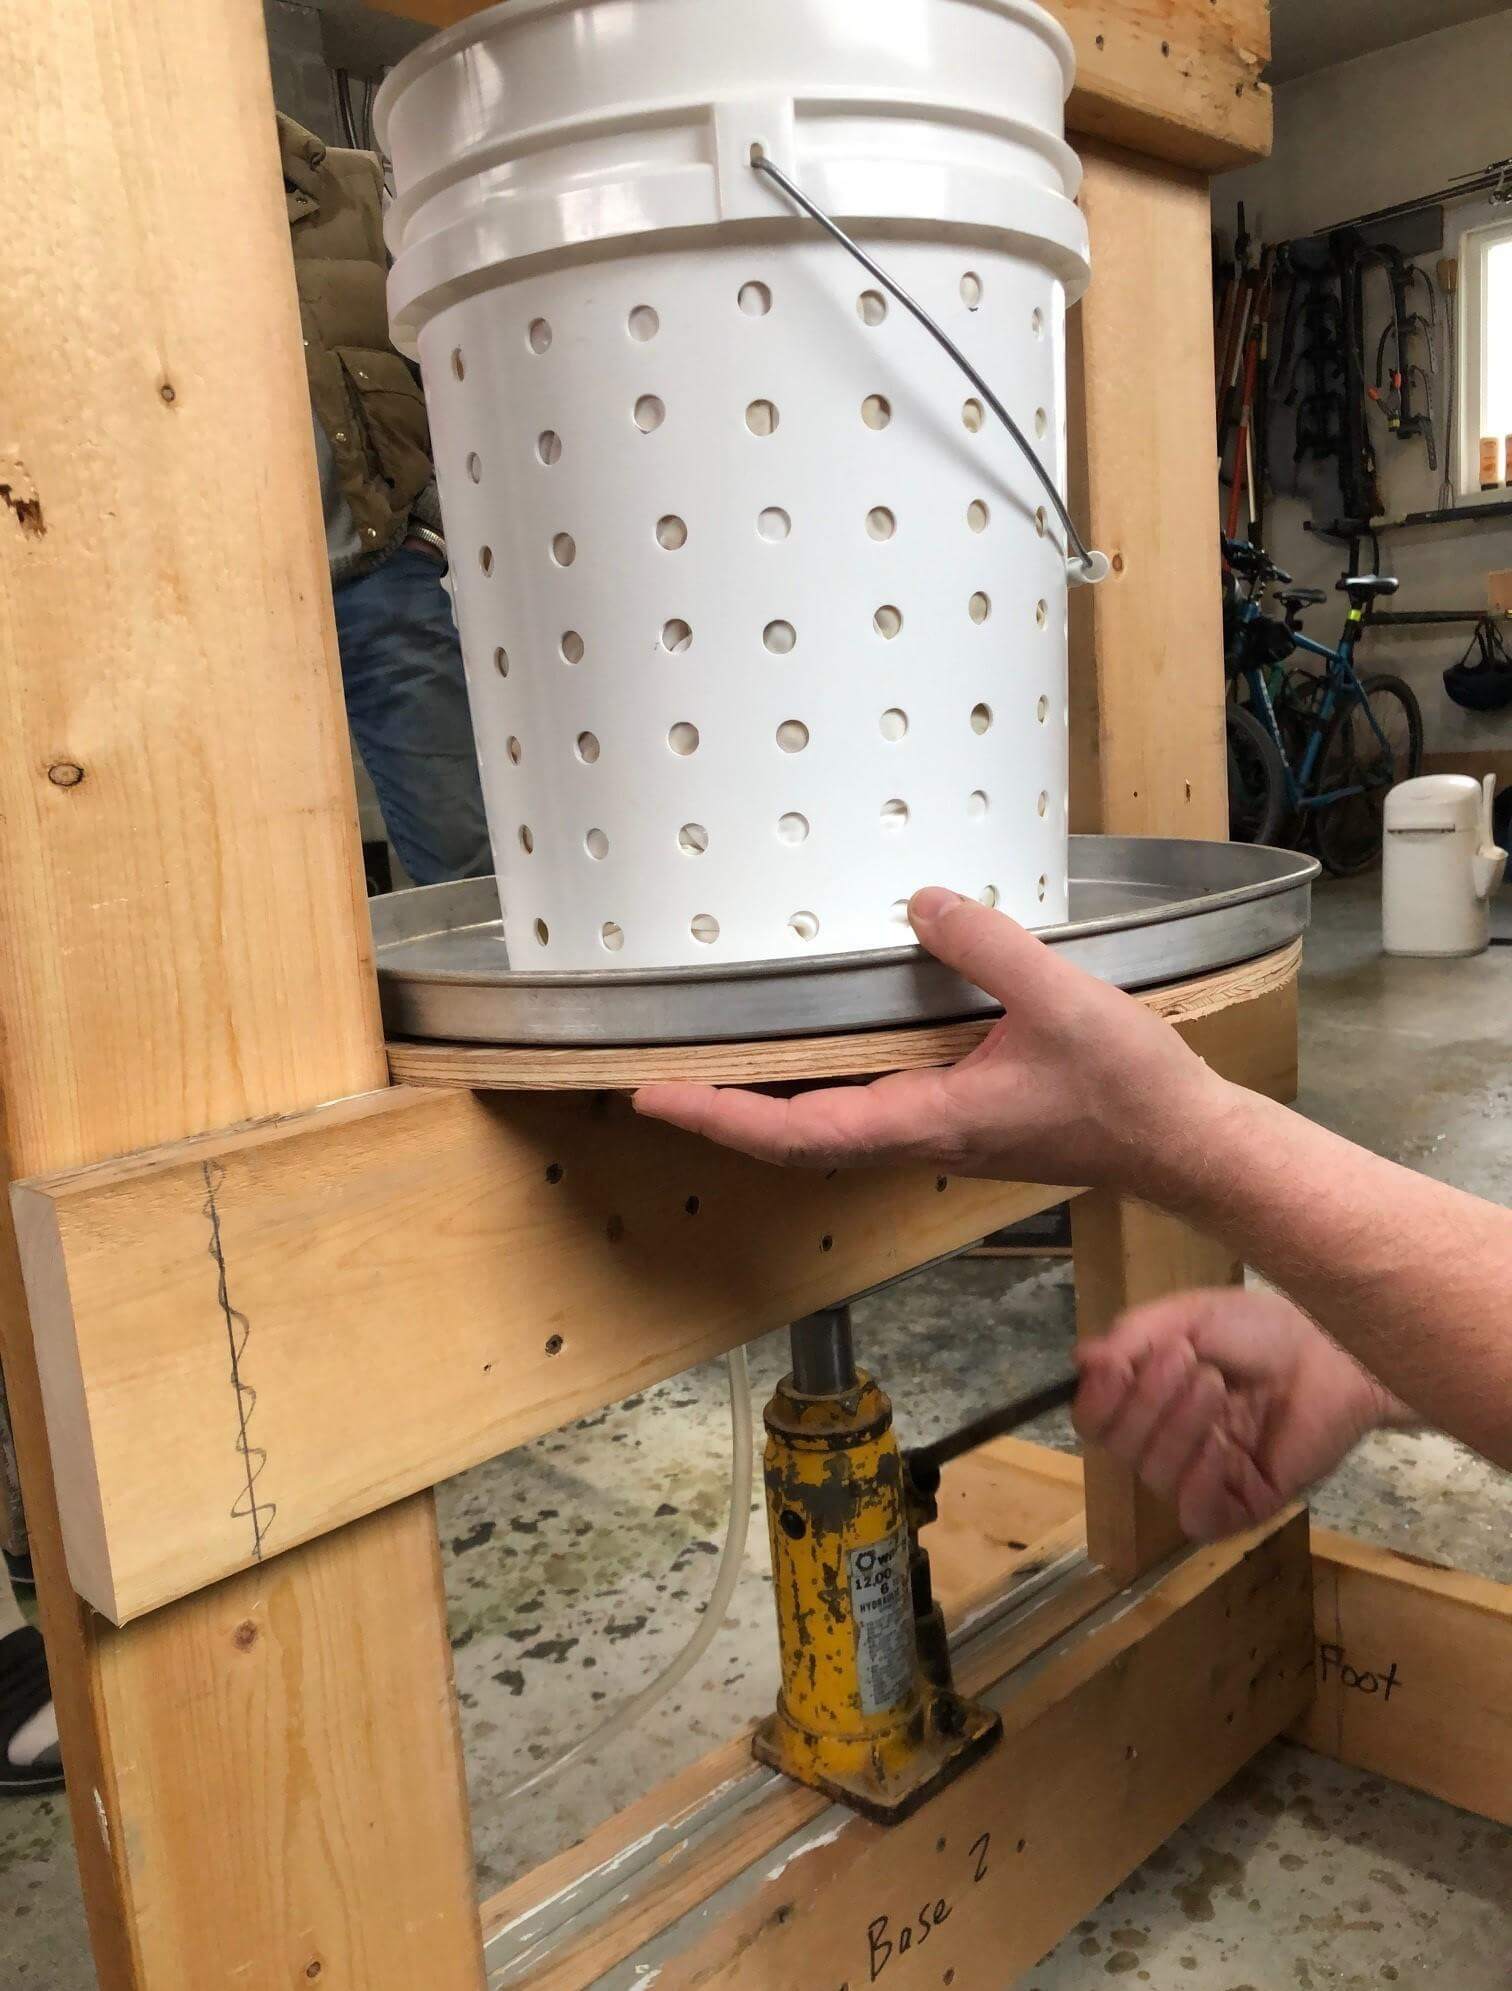
Install the rod and secure it in the upper position. Raise the platform and place a jack under it. Place the tray and bucket in place.
Step 9: Pressing the Cider
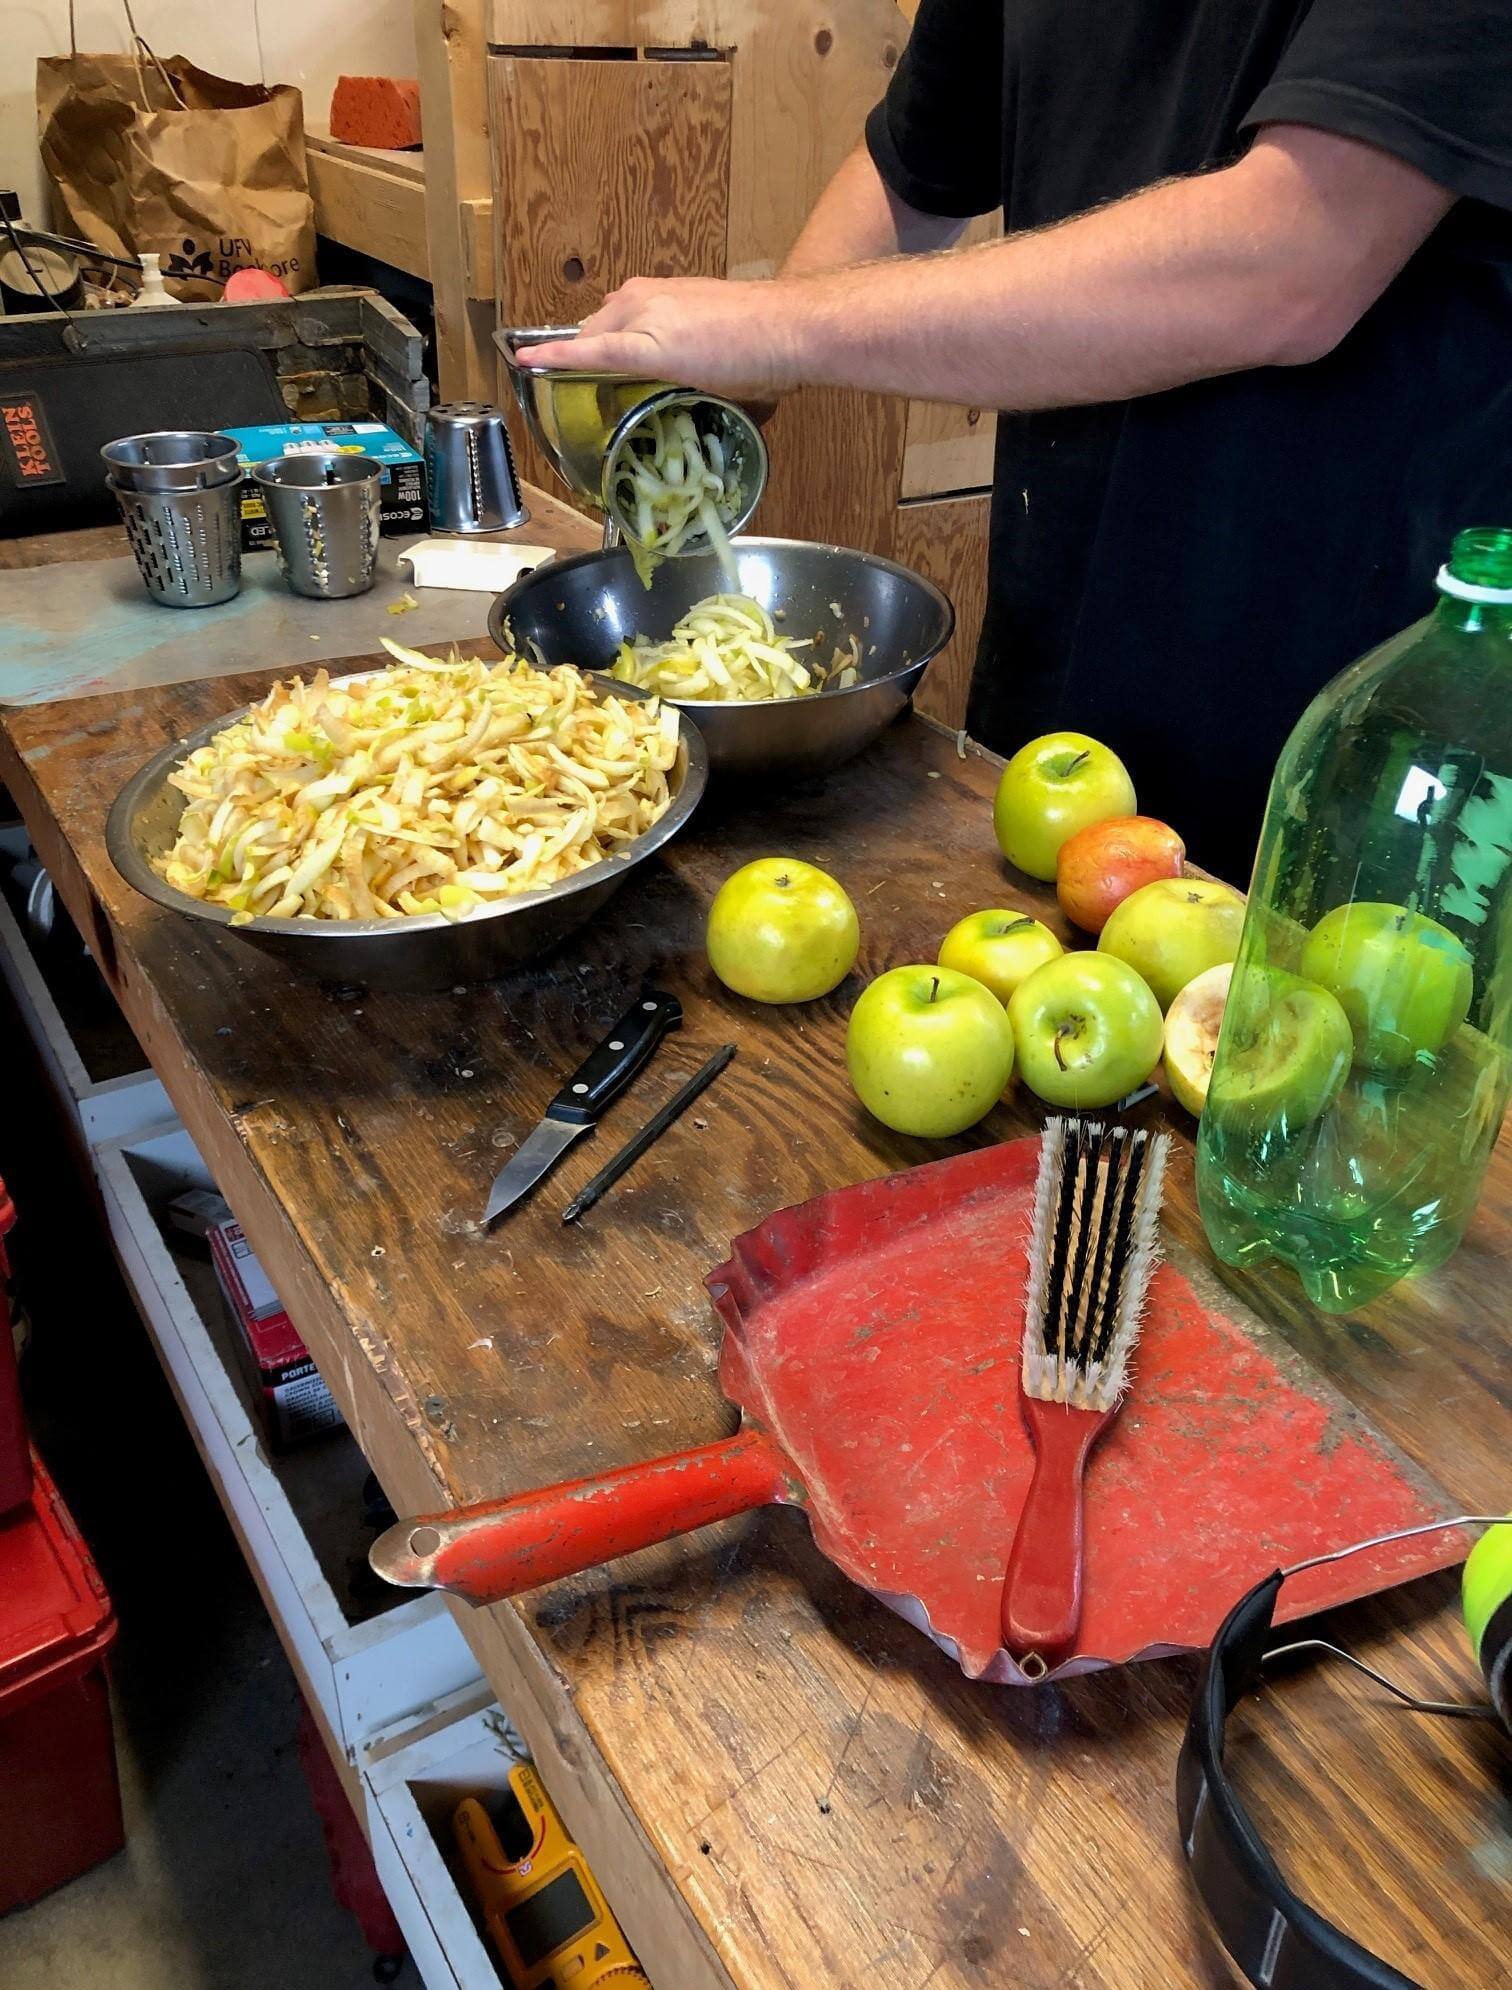
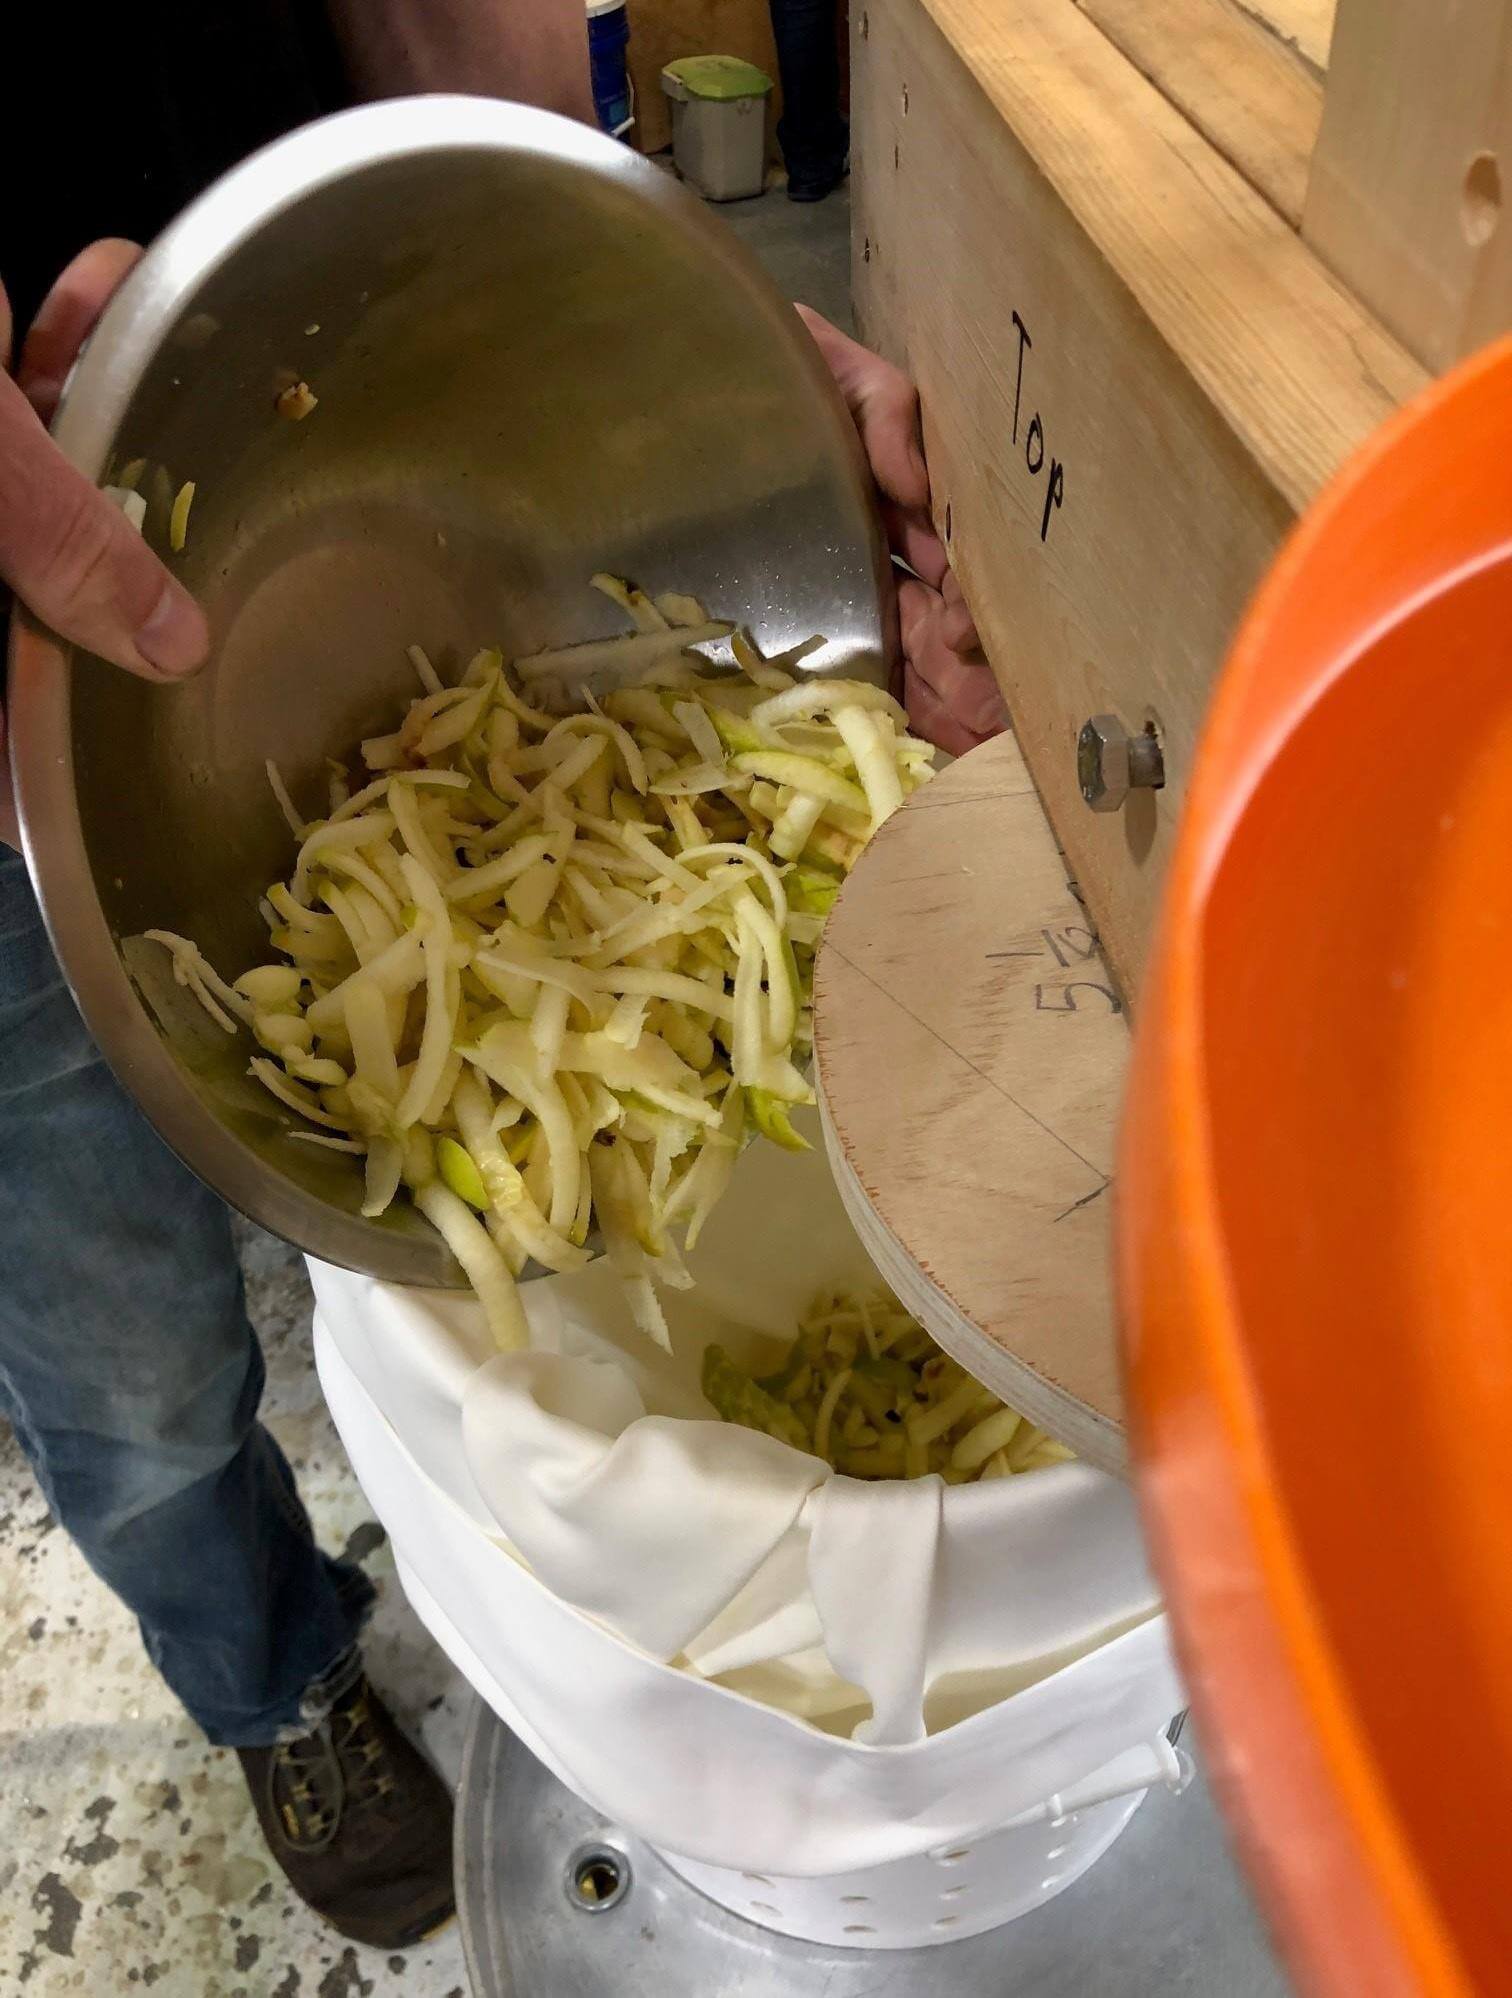
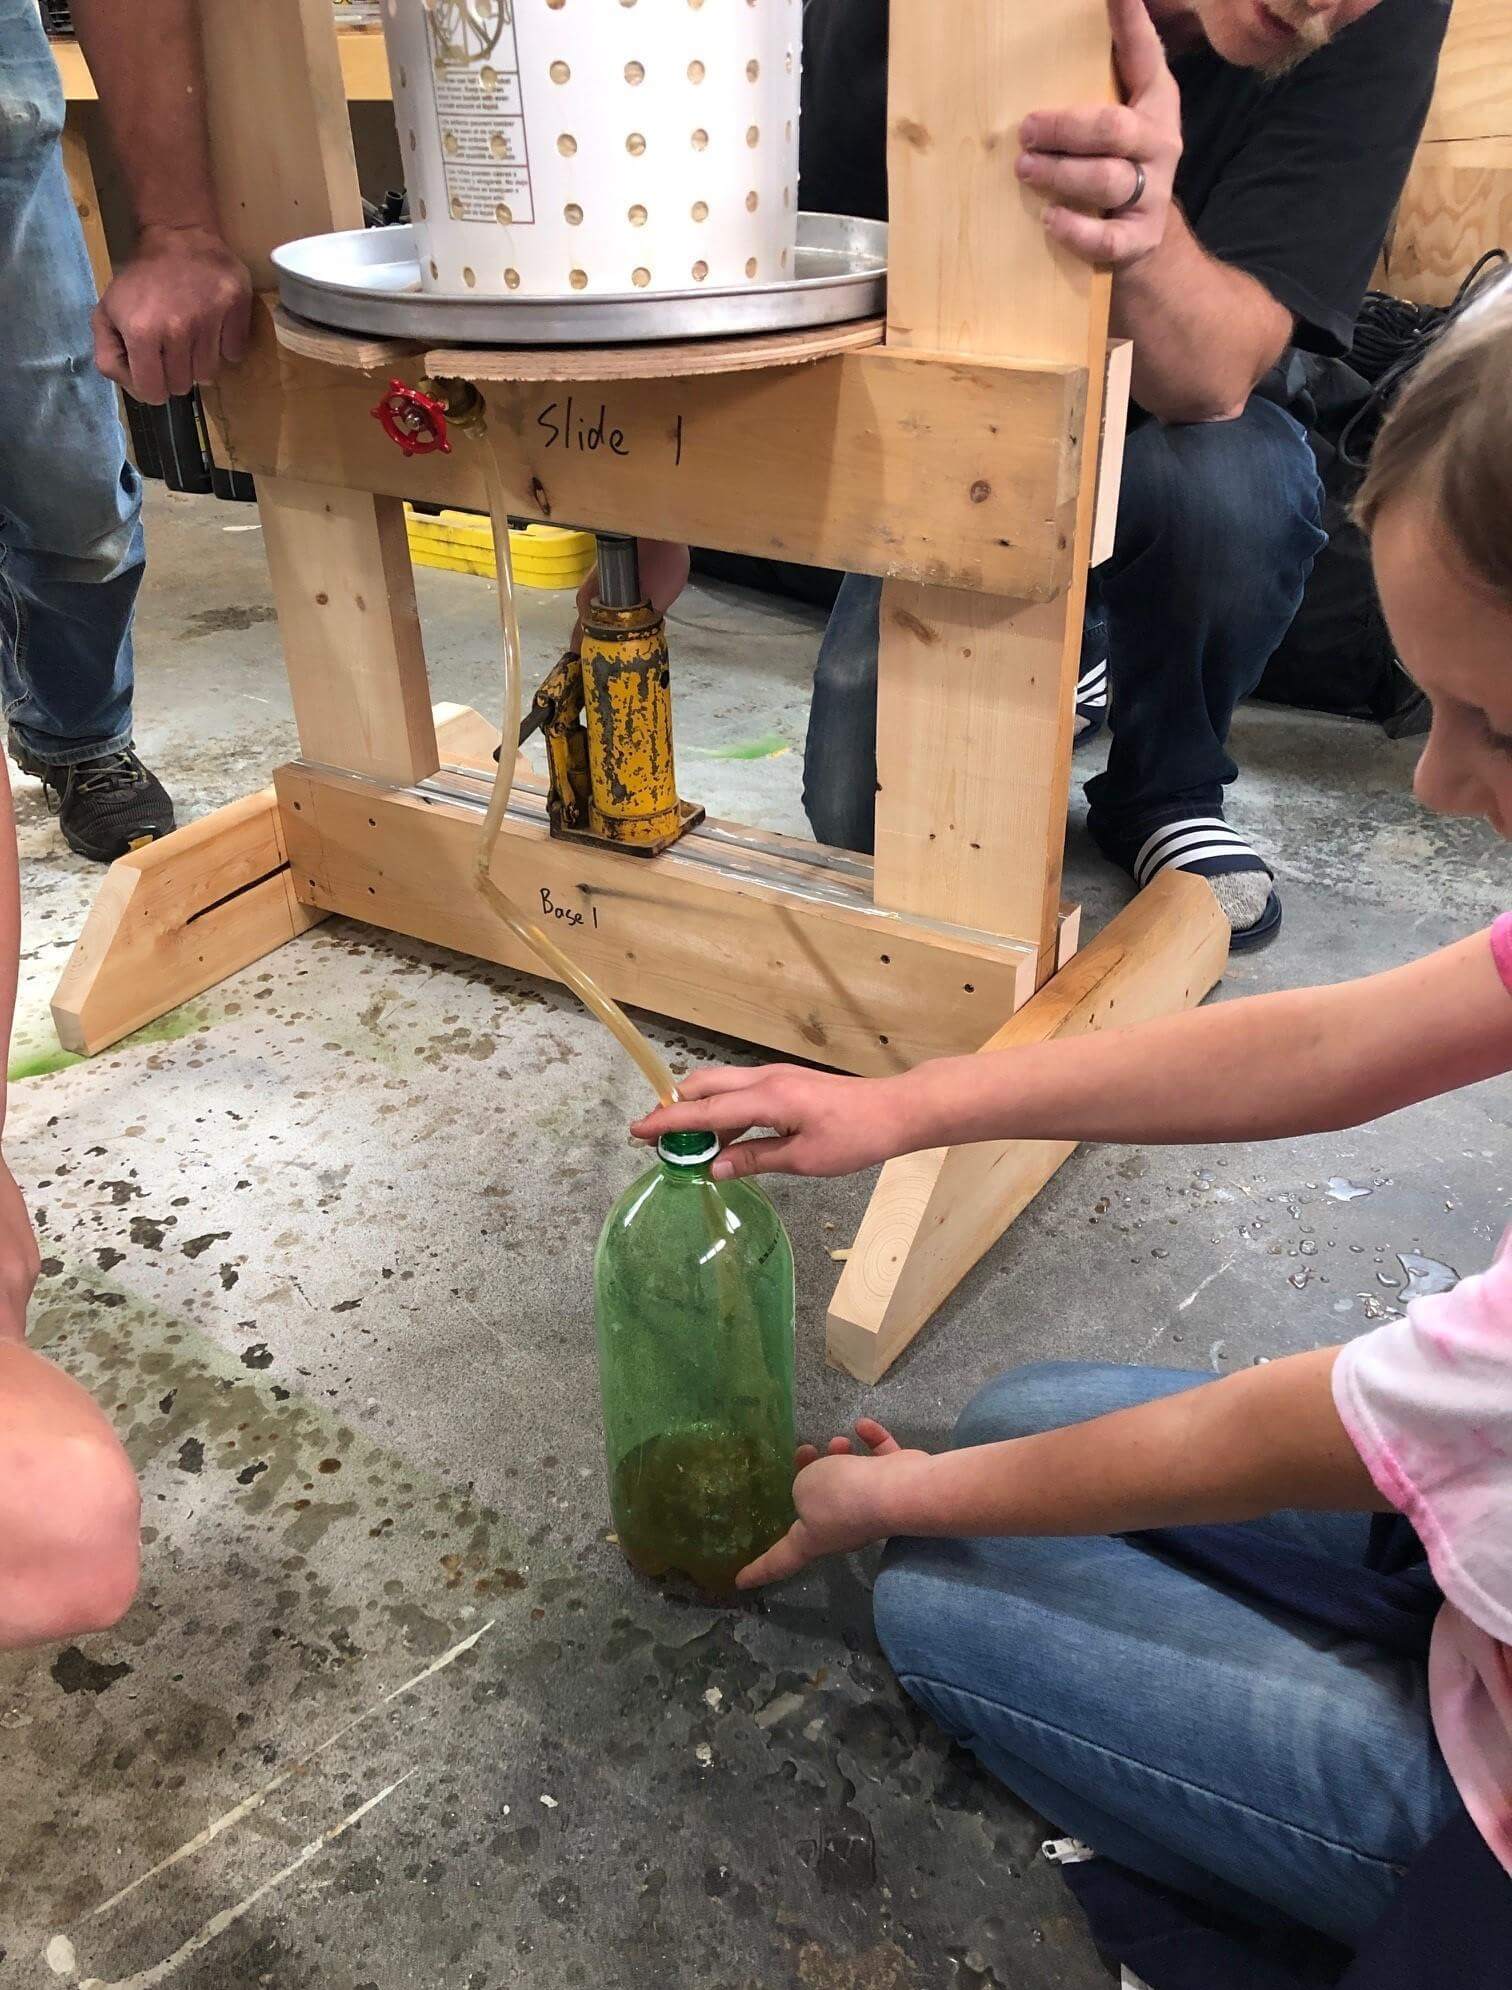
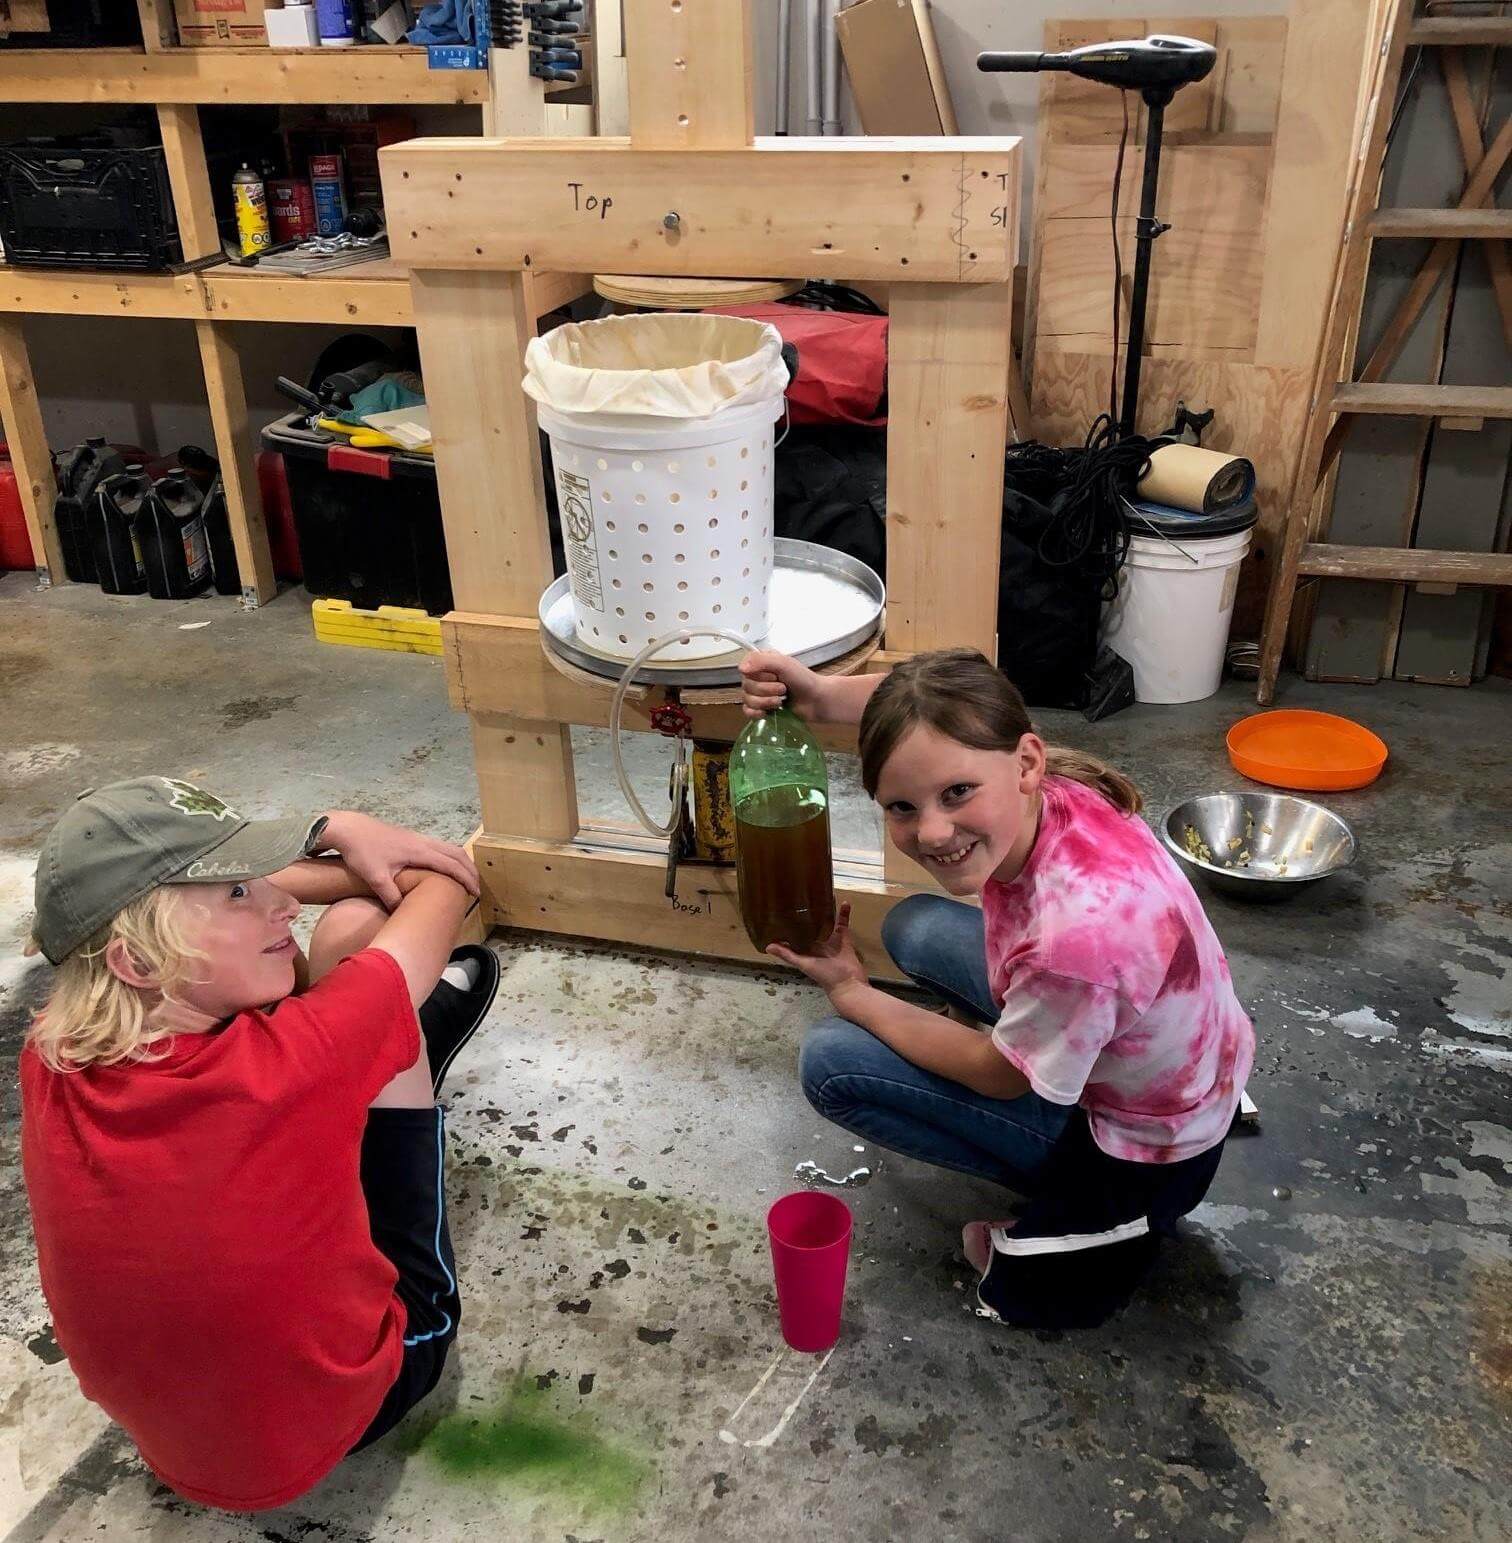
Finally, the most interesting part is pressing the cider. Peel and slice the apples, then puree them to a consistency slightly coarser than applesauce. Place the apples in a filter bag (we used a pillowcase) and place in a bucket. Close the bag and begin the pressing process using a hydraulic jack. The juice will collect in the tray and flow through the tap into the bottles.
We made about 8 quarts of cider from a 30 lb box of apples. Now, with the press ready, we can make cider whenever we want.
Conclusion
Making your own cider press is a fun and rewarding project that will allow you to enjoy fresh cider anytime. Don’t be afraid to experiment and improve our design to make it even more convenient and efficient.
FAQ
1. How to choose apples for cider? Look for apples with a vibrant flavor and juicy flesh. Don’t be afraid to use slightly damaged or substandard fruit – just cut out the damaged areas.
2. Do apples need to be peeled before pressing? Not necessary. You can leave the peels and even the seeds, as they will not end up in the finished cider.
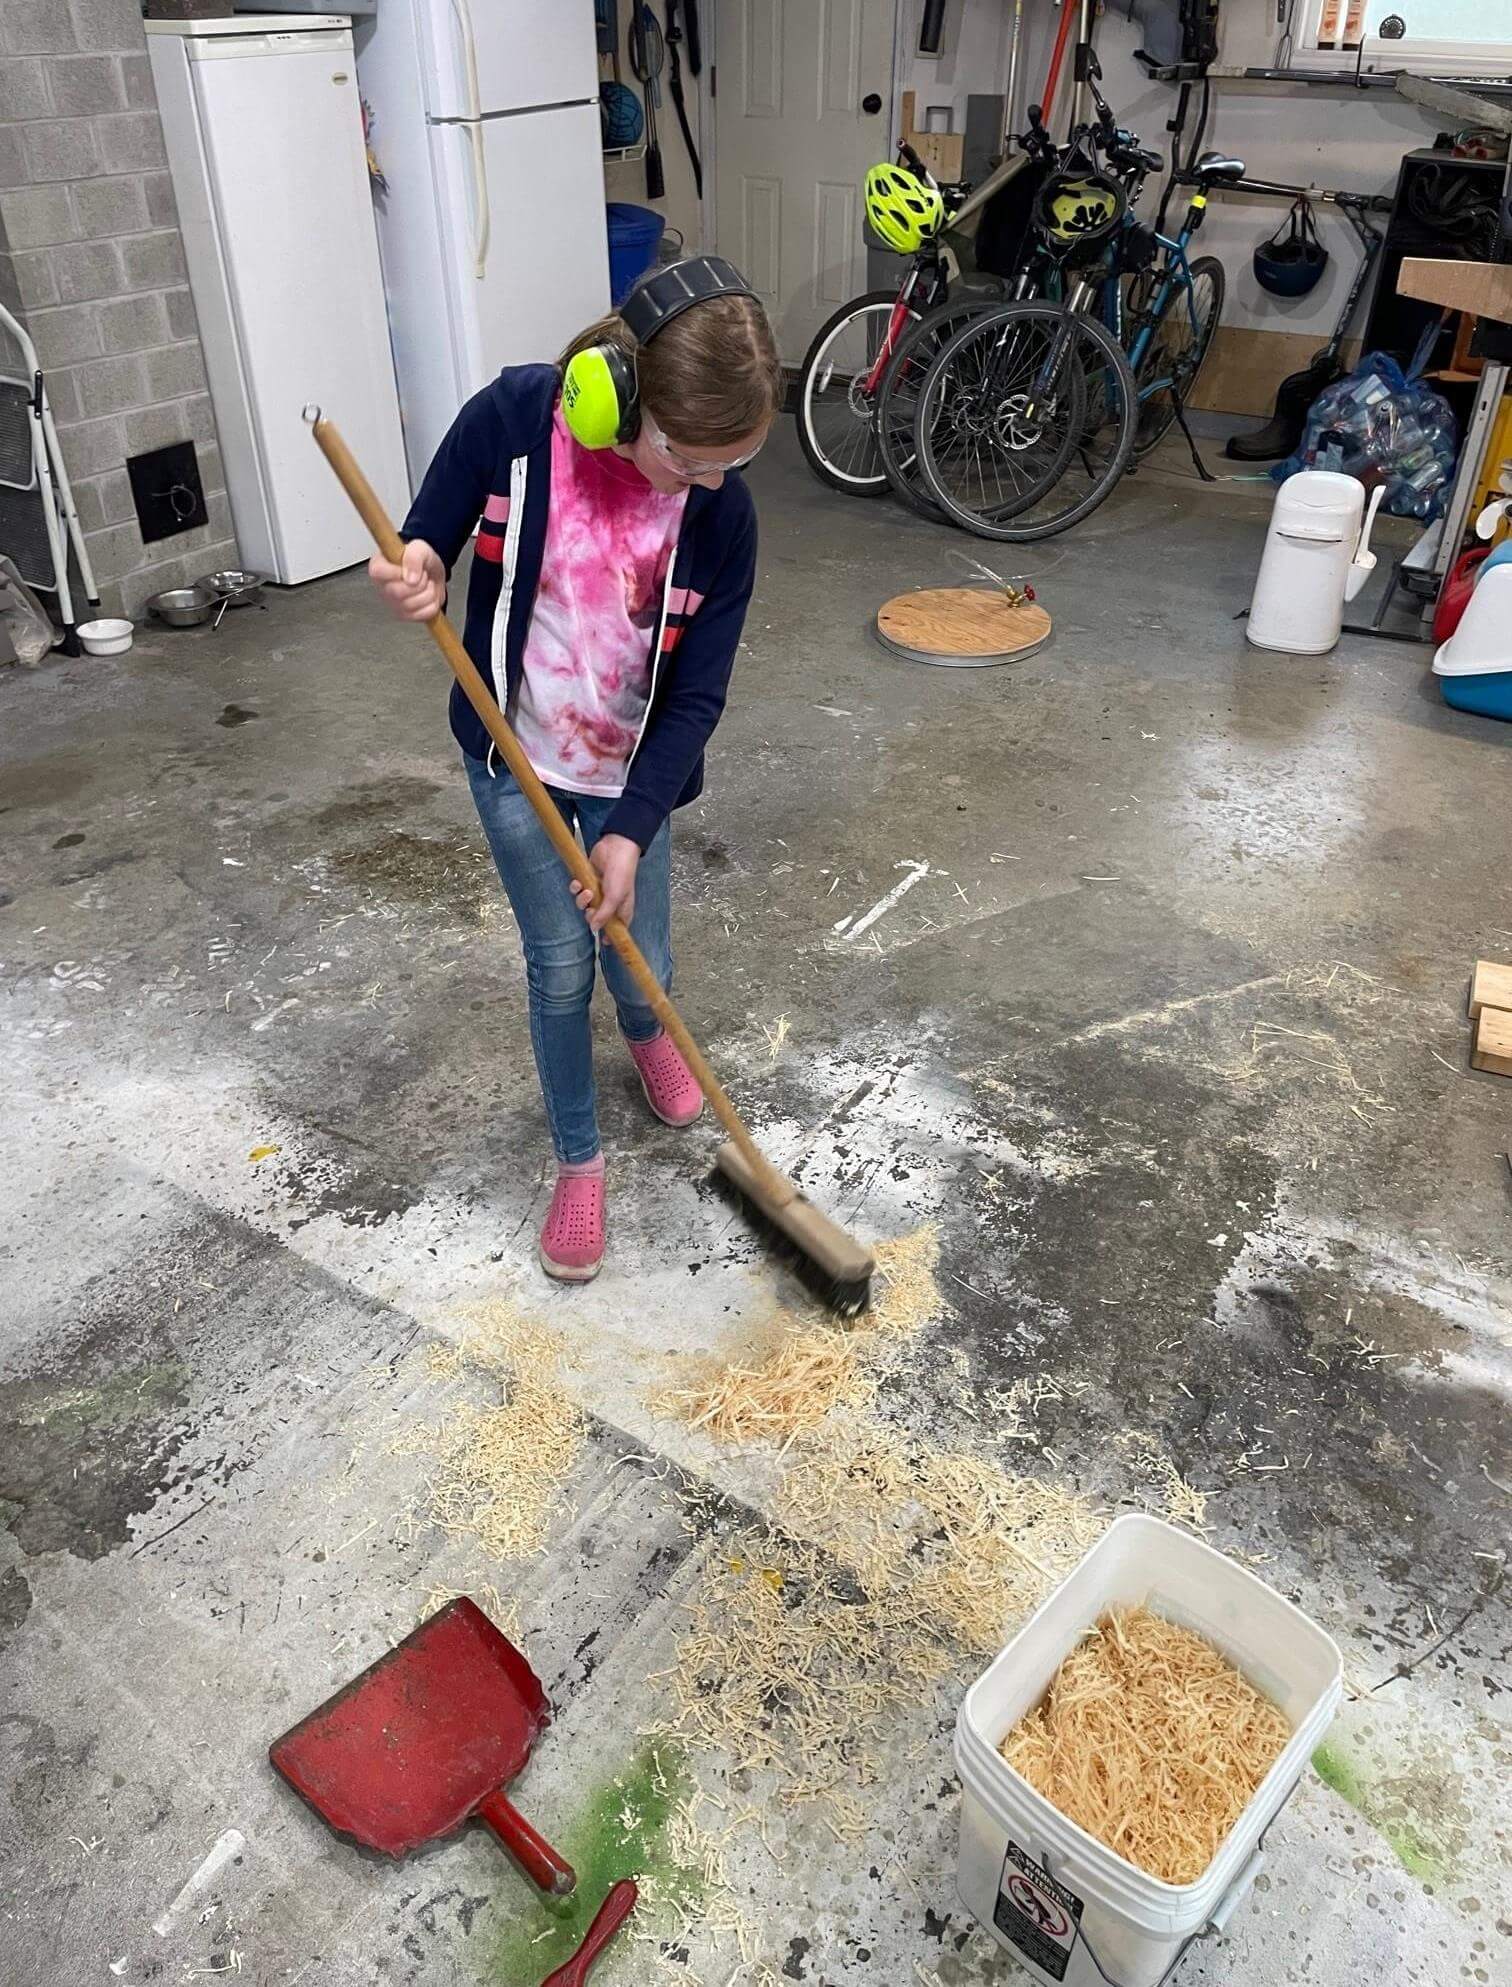
3. How often should you clean your press? The press should be cleaned after each use. This will prevent apple residue from accumulating and ensure a hygienic process.
4. Can the press be used for other fruits? Yes, this press can be used for most juicy fruits such as pears or grapes.
5. How durable is a homemade press? With proper care and storage, the press will serve you for many years. The main thing is to remember to clean and dry it after use.
Rachel and her uncle, Canada
Recommend to read
 AN-2 BIPLANE-SURVIVOR
The first mention of the project landing version of the aircraft, biplane, future of the An-2 is dated 1944. Then his traces are lost and emerge a year later. Then, the proposed biplane... THE MACHINE — TV
The image on the blue screen was perceived undistorted, the viewer must be directly in front of him, not the side. Not by chance we no-no and will deploy this difficult box, if the...
