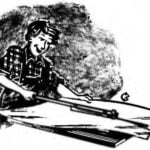
Many rural outbuildings need ventilation. Without it, houses and sheds become damp, cellars and basements get wet, and using an outdoor privy without a fan is, to put it mildly, uncomfortable.
Of course, fitting a toilet or cellar with an electric supply or exhaust fan is not difficult, but many dacha buildings are far from always electrified. But the fan I want to tell readers about does not need mains power — it is driven by… a rotary wind engine.

1 – wind fan; 2 – privy; 3 – vent pipe; 4 – pit
Anyone can build such a device. All of its “mechanics” consist of a rotary wind engine and a 12-bladed fan. Both are mounted on the shaft of a bearing unit made from the hub of a bicycle front wheel. The hub is fastened with M4 bolts and nuts in the centre of a circle cut from 8 mm plywood.
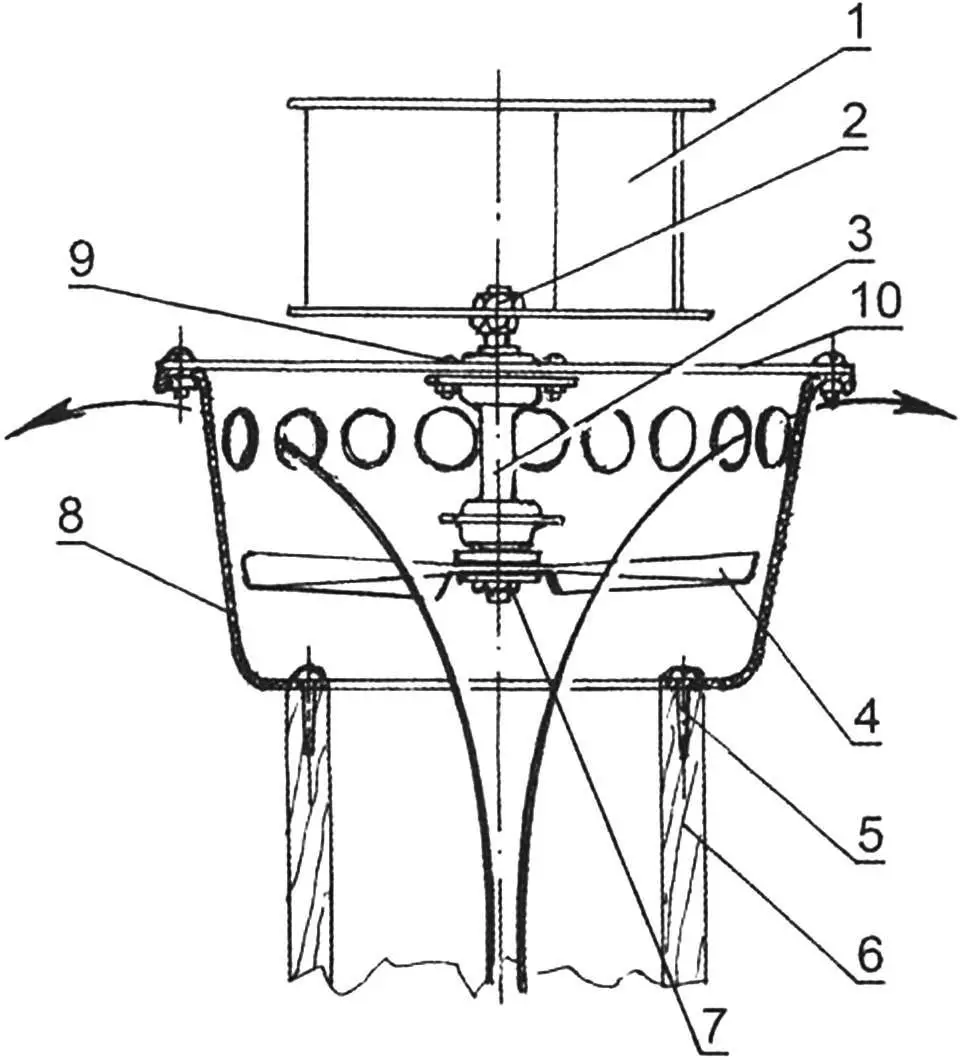
1 – rotary wind engine; 2 – nut securing the wind engine on the shaft; 3 – bearing unit (bicycle front-wheel hub); 4 – fan impeller (steel or duralumin sheet s2); 5 – wood screw fastening the wind fan to the vent pipe (12 pcs.); 6 – vent pipe (square-section box built from s20 boards); 7 – nut securing the fan impeller on the shaft; 8 – receiver (plastic basin); 9 – M5 bolts and nuts fastening the bearing unit to the receiver lid (3 sets); 10 – receiver lid (plywood s8)
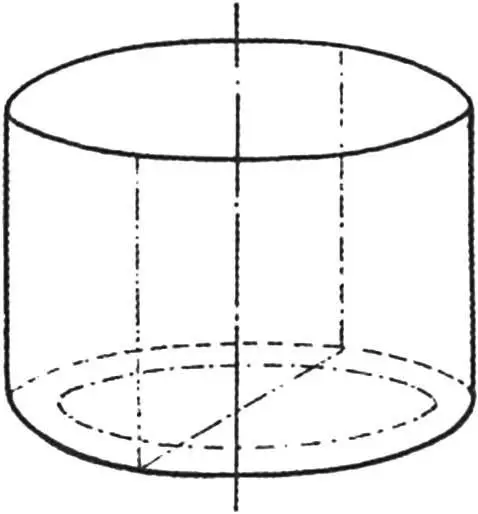
The rotary wind engine is assembled from a pair of half-cylinders and two disks of 6 mm plywood. A good blank for the half-cylinders is an old aluminium pot or bucket. A plastic vessel of suitable size will also work. The pot is cut carefully along a diametral plane and clamped between two plywood disks as shown in the figures.
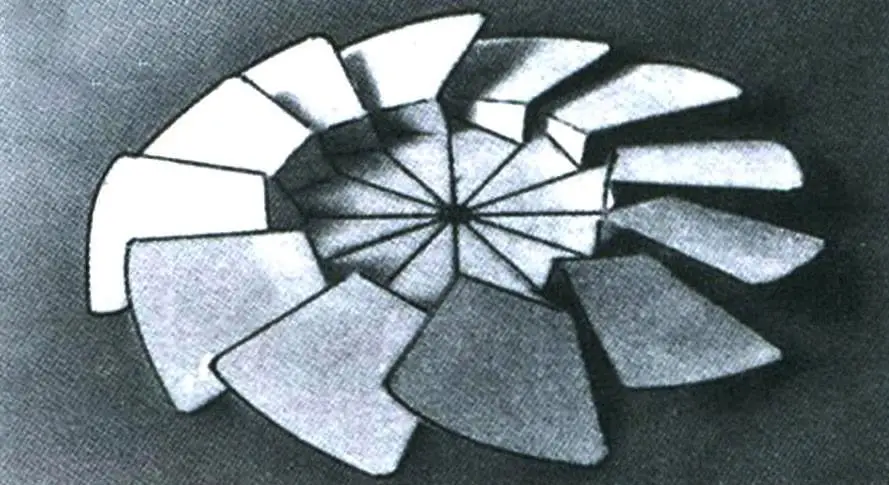
The fan impeller has 12 blades; it can be made from steel or duralumin sheet about 2 mm thick. After making the flat blank, each blade is bent twice as shown in the photo, by about 90°, and the direction of the bend depends on whether you need a supply or an exhaust fan.

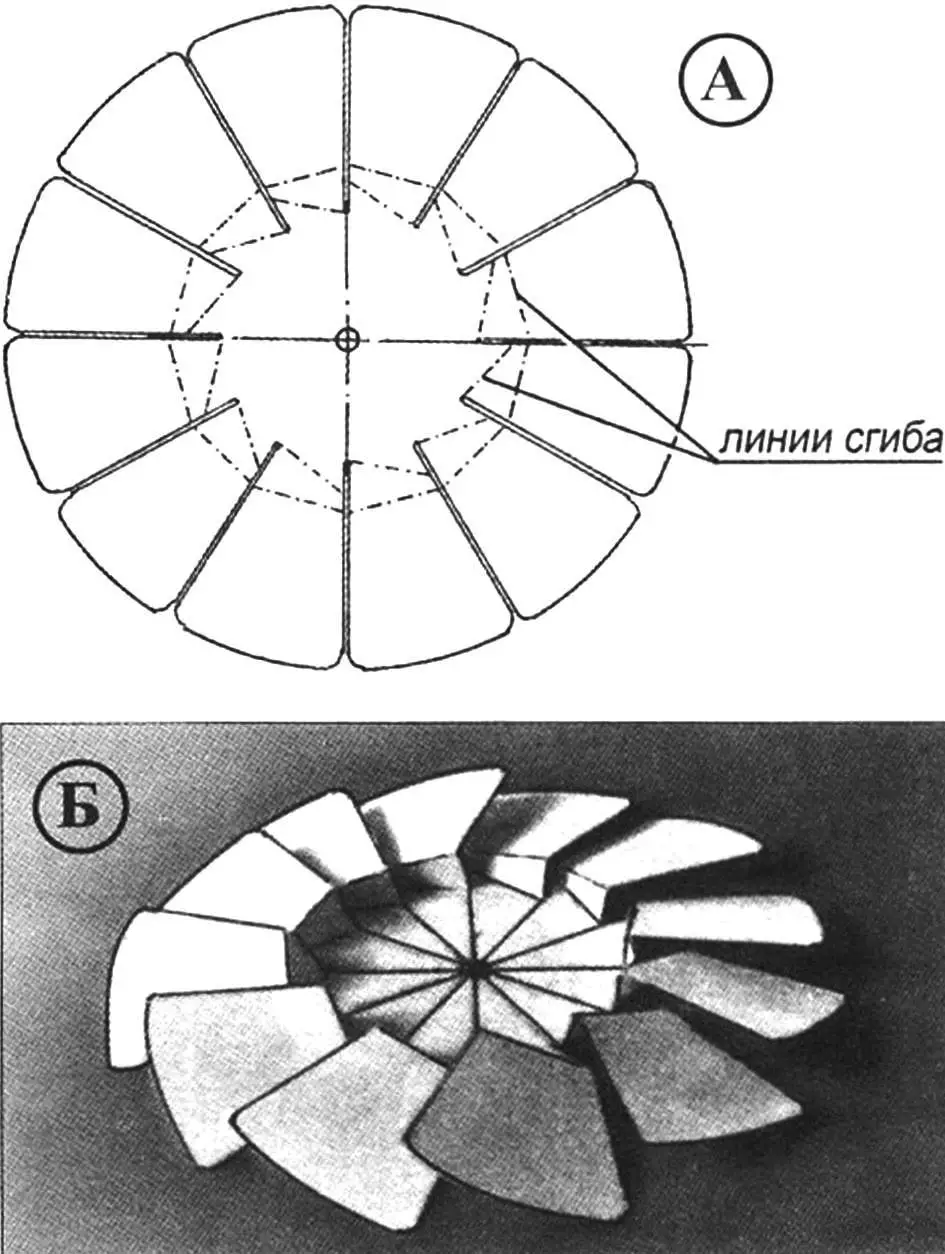
1, 2 – end washers (plywood, s8); 3, 4 – rotor half-cylinders; 5 – angle bracket for joining half-cylinders and washers (6 pcs.); 6 – fastening half-cylinders and washers (M5 bolt with nuts, 12 sets)
The wind fan is mounted on top of a kind of receiver — a small plastic basin with a hole in the bottom for the vent pipe (asbestos-cement or built from boards). In the upper part of the receiver (above the fan impeller), holes are cut for air to exit (or enter).
(A – blank, B – finished impeller)
The finished unit is secured on top of the vent pipe — and it will continuously (and completely free of charge!) ventilate your toilet or cellar.
Modelist-Konstruktor No. 4’2012, I. KHOROSHEVSKY
Recommend to read
 TACTFUL CUTTER
For more than twenty years a reader of "Modeller-designer". Thanks to the magazine made a lot of operational machinery: mini tractor, tillers, circular saw, trevaresse, welding... CANISTER-SURVIVOR
Experienced motorists have long noticed that the cans often "hidatsa" at the bottom corners. To extend the life of canisters, it is recommended to tie the box by rubber bands cut, for...
