A Russian folk tale, “The Fox, the Hare, and the Cock,” tells us: “The fox built herself an icy hut—from snow and ice, and the hare a bast hut—from tough twigs and little boards…”
Still, truthful as fairy tales may be, a hare could not raise an entire hut from such material, because linden bast is bark. According to an old dictionary, “the inner bark of a tree covering the bast layer.” Indeed, bast in Old Rus saw many uses—not only bast shoes and twine, people also laid it on house roofs.
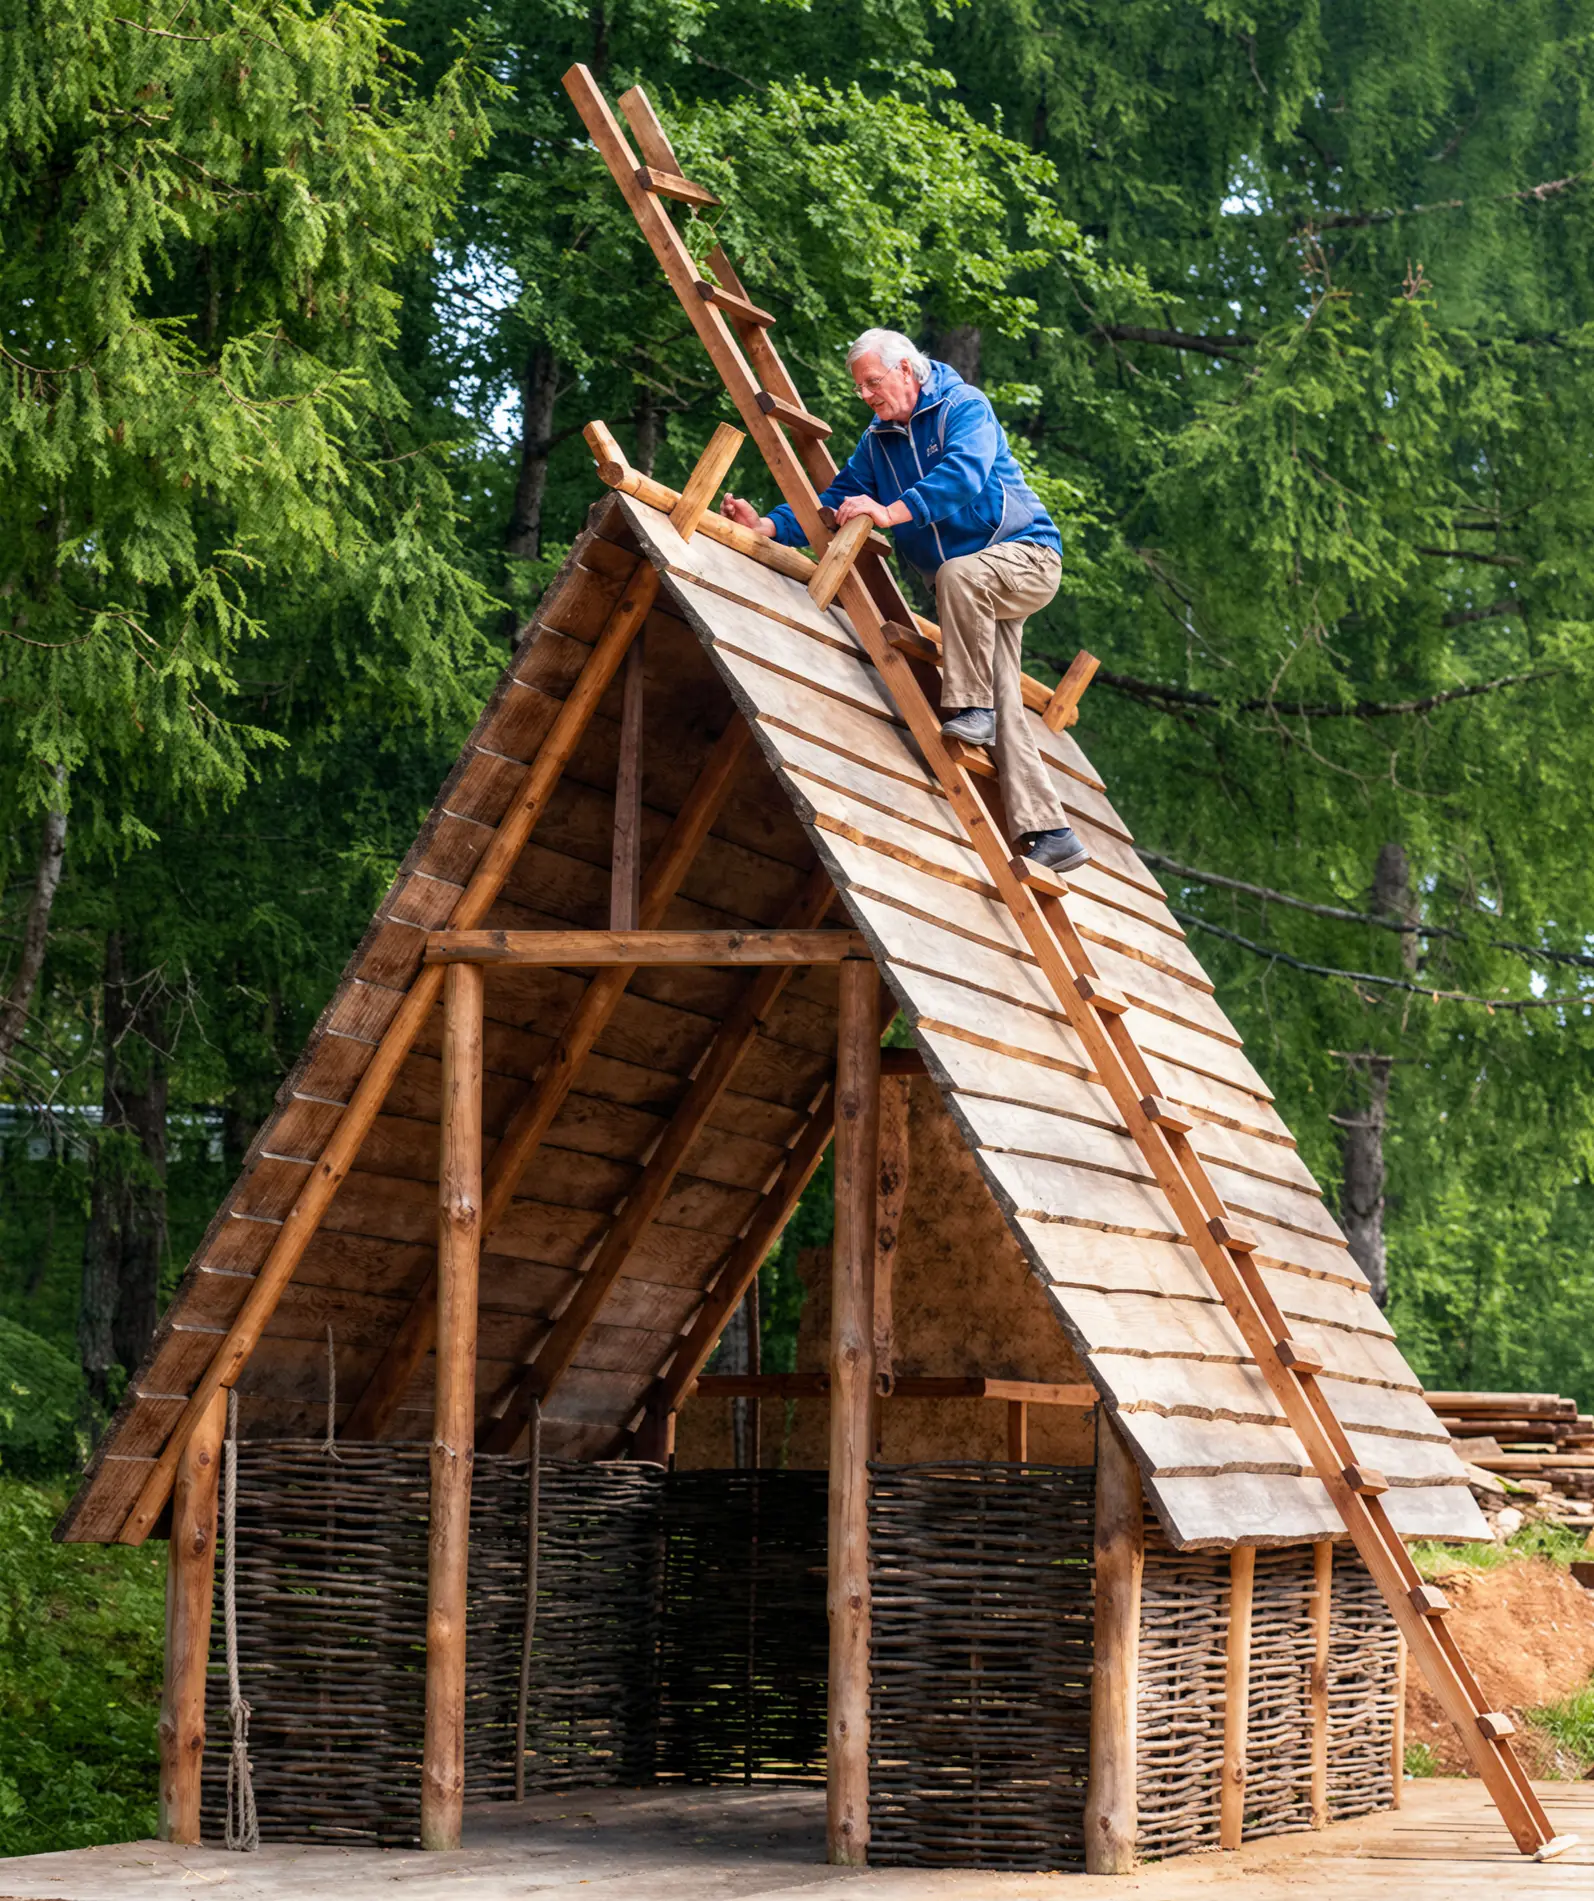
But from “twigs and planks” one could assemble a hut. With a knack for handicraft, anyone can erect a timber A‑frame shelter fairly easily—but from larger pieces: poles, sills/beams (round runners), and boards.
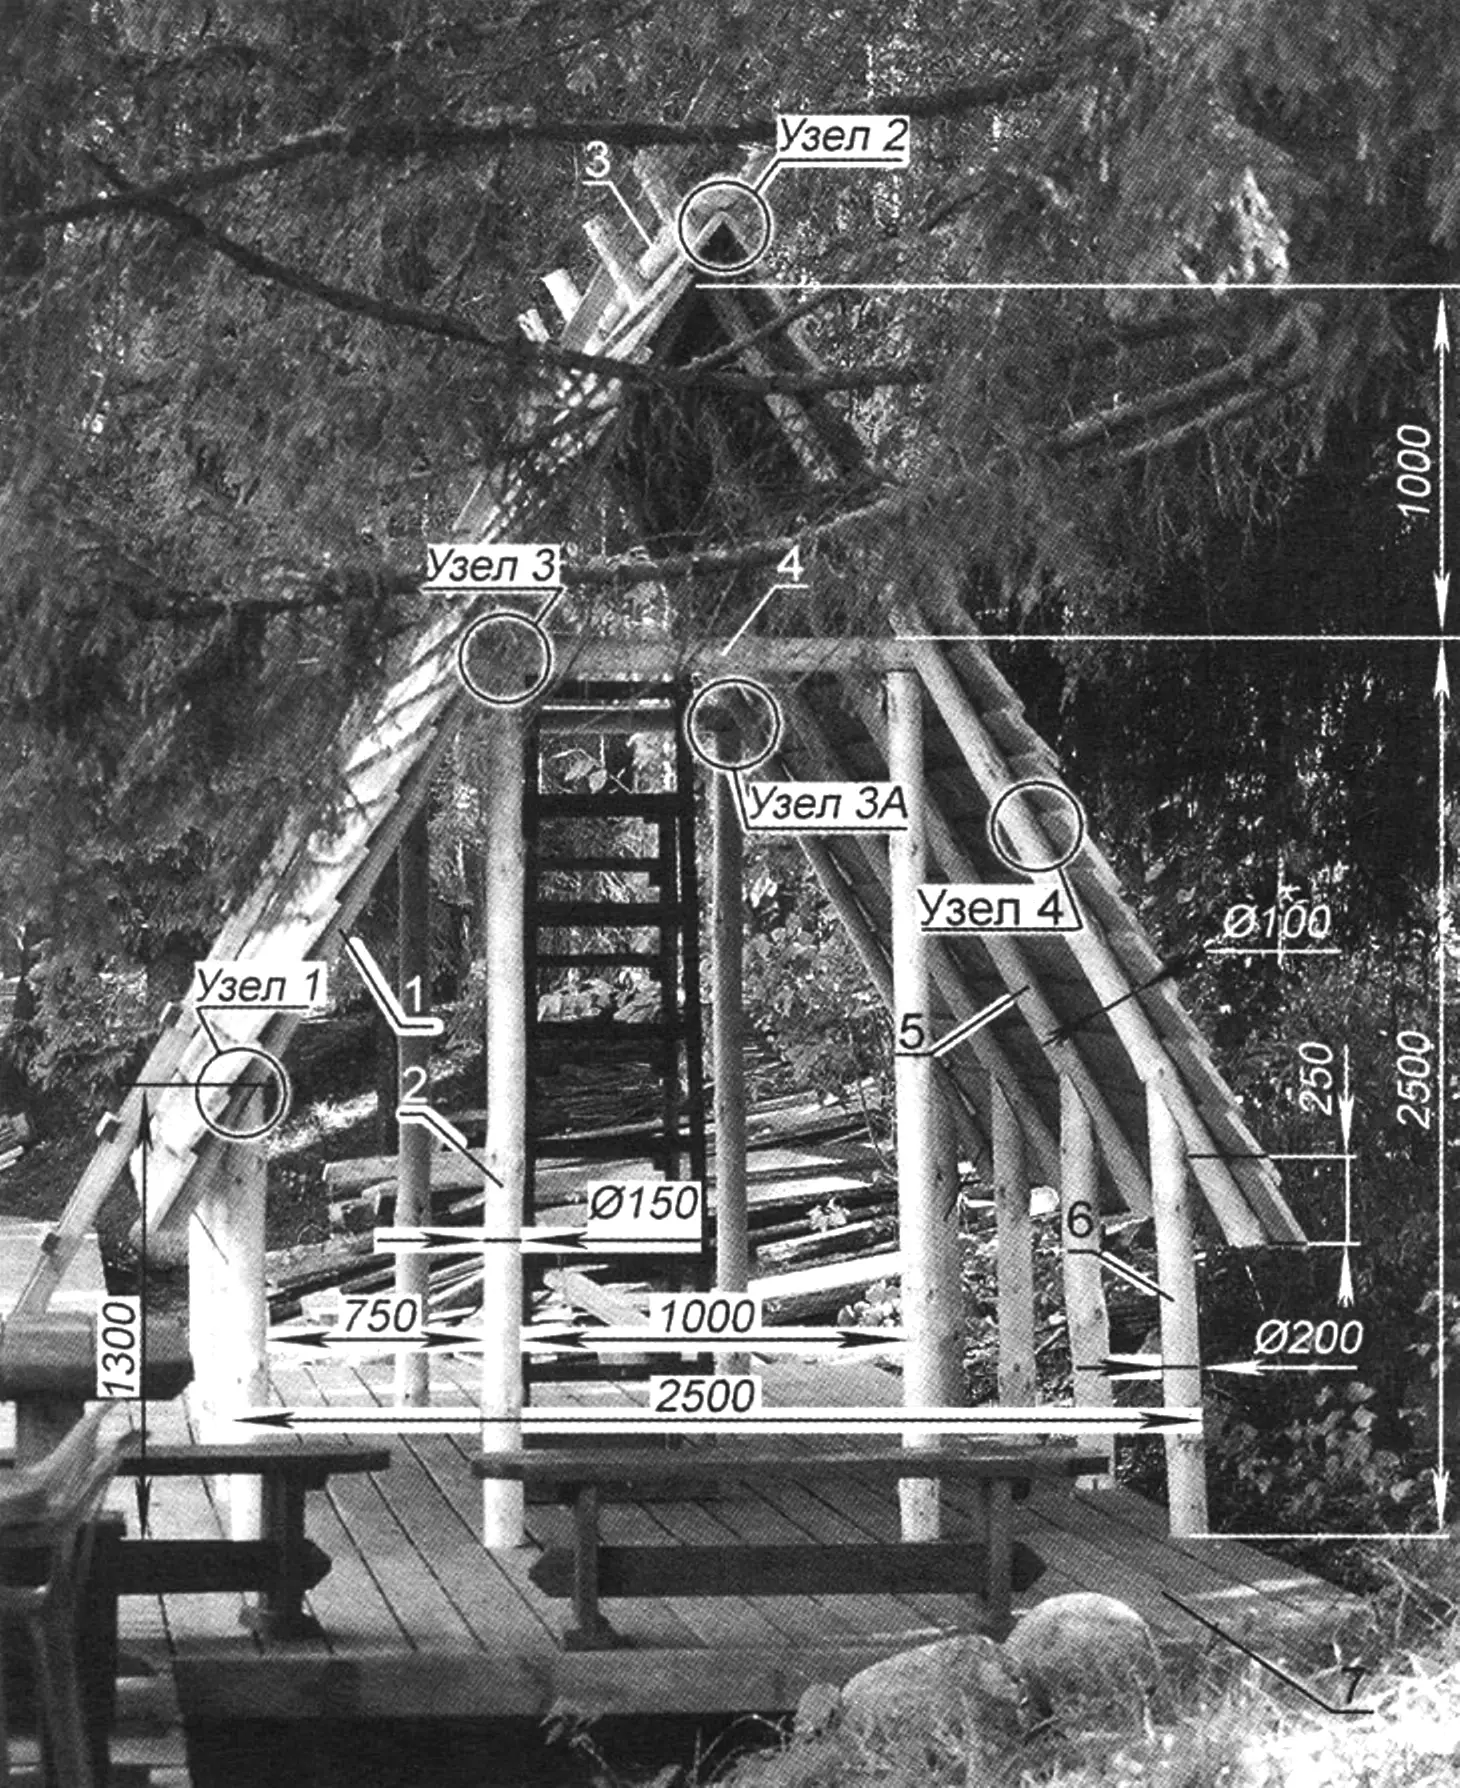
1 — roofing; 2 — principal post; 3 — ridge log (round ridge piece); 4 — ridge beam/transom; 5 — rafter leg; 6 — side post; 7 — decking/floorboards
All framing members — round sill logs Ø100–200 mm; roofing and decking — timber 5000×250×20 mm
Such a shelter can sit on timber decking (7) or simply on bare ground. If decking is used, sturdy unedged boards 15–20 mm thick—even side slabs—may be employed. Boards should match in width with sharp edges planed flush; rough edges splinter quickly. Treat all lumber with primer first, then two coats of oil paint on the outside. Raise decking slightly on transverse sill logs laid on soil. Nail the hut posts down to decking.
When the floor is dirt, level and compact the site. Set posts about 500 mm into the soil. Char bottom ends over a fire or wrap them with roofing felt and plastic film.
Here we examine the decking option.
Construction uses round sill logs previously sanded and hewn, plus boards. Wood may receive antiseptic, e.g. “Pinotex” in whatever color complements the surroundings.
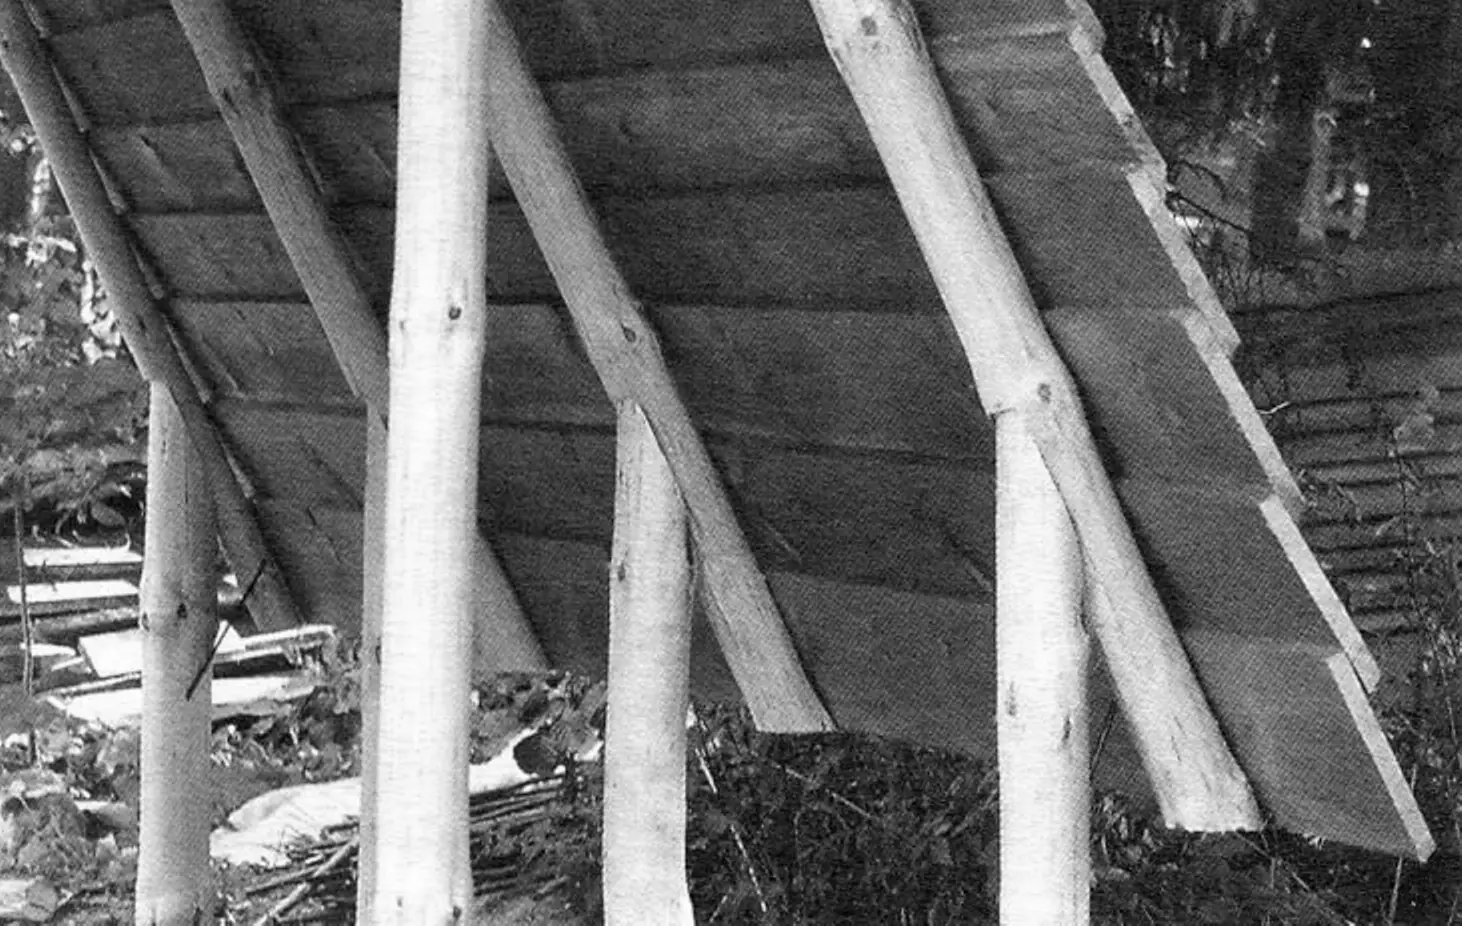
Perimeter posts (6) come from roughly 200 mm‑diameter, 1300 mm‑long logs. Bevel-cut the upper ends with oblique scissors joints (detail 1). Leave lower ends blunt; no bevel needed. Arrange four evenly spaced posts on each wall.
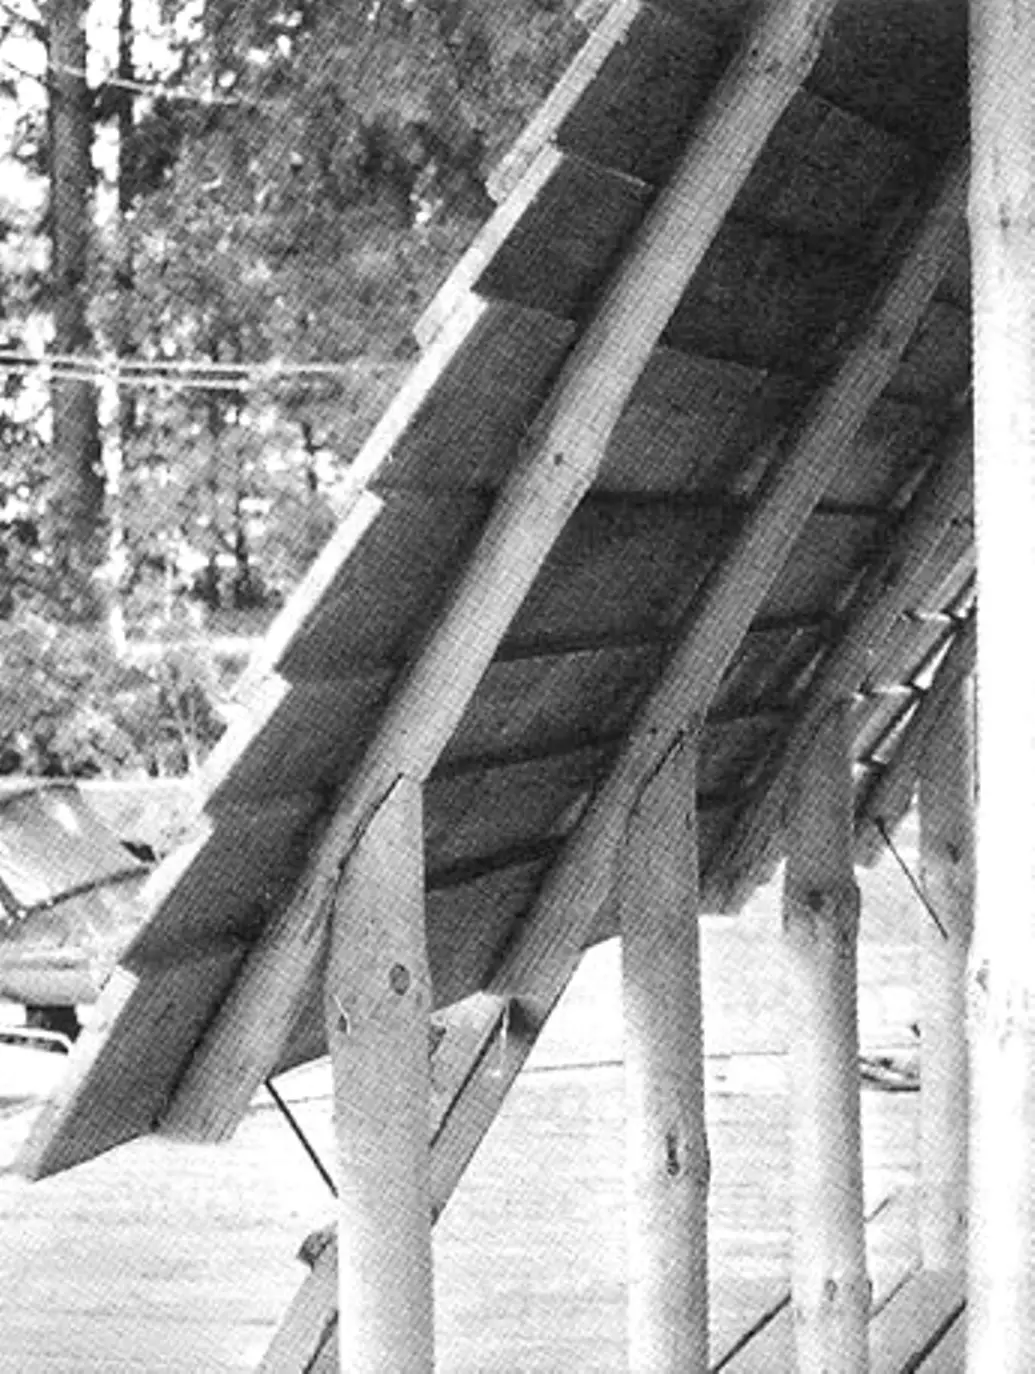
Both gable ends get two bearing posts (2) about 2500 mm tall, ~150 mm in diameter (clear span roughly 1000 mm). Across their tops lays a sill log (4) acting as a transom—it is overlapped butt‑to‑butt—with both scarfed to suit the roof plank pitch (detail 3). Nail posts to decking and beam.
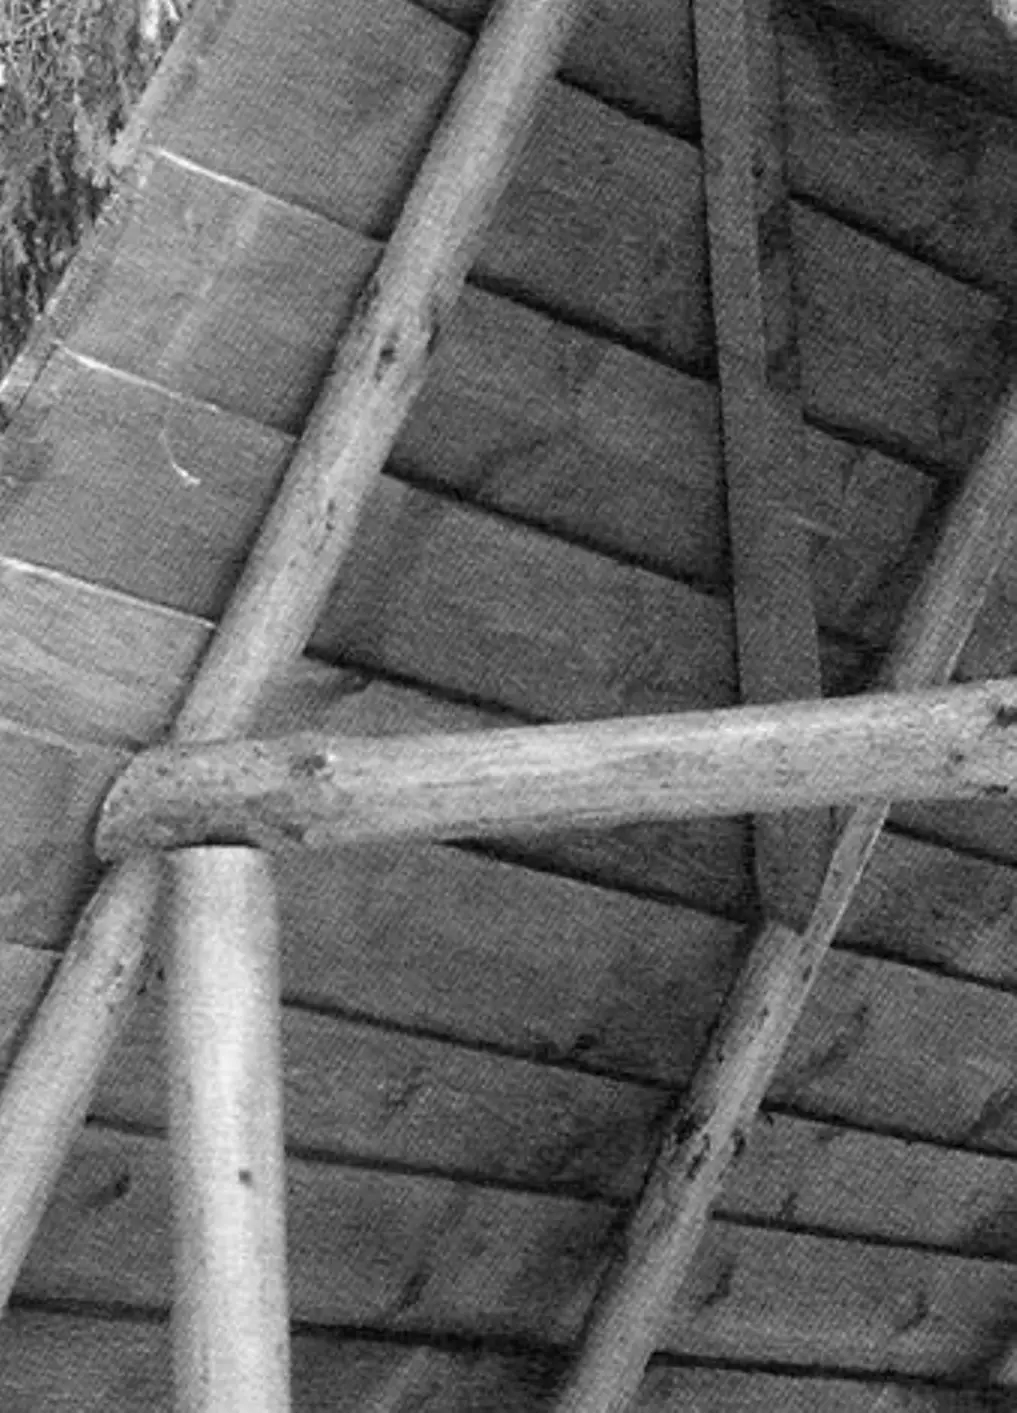
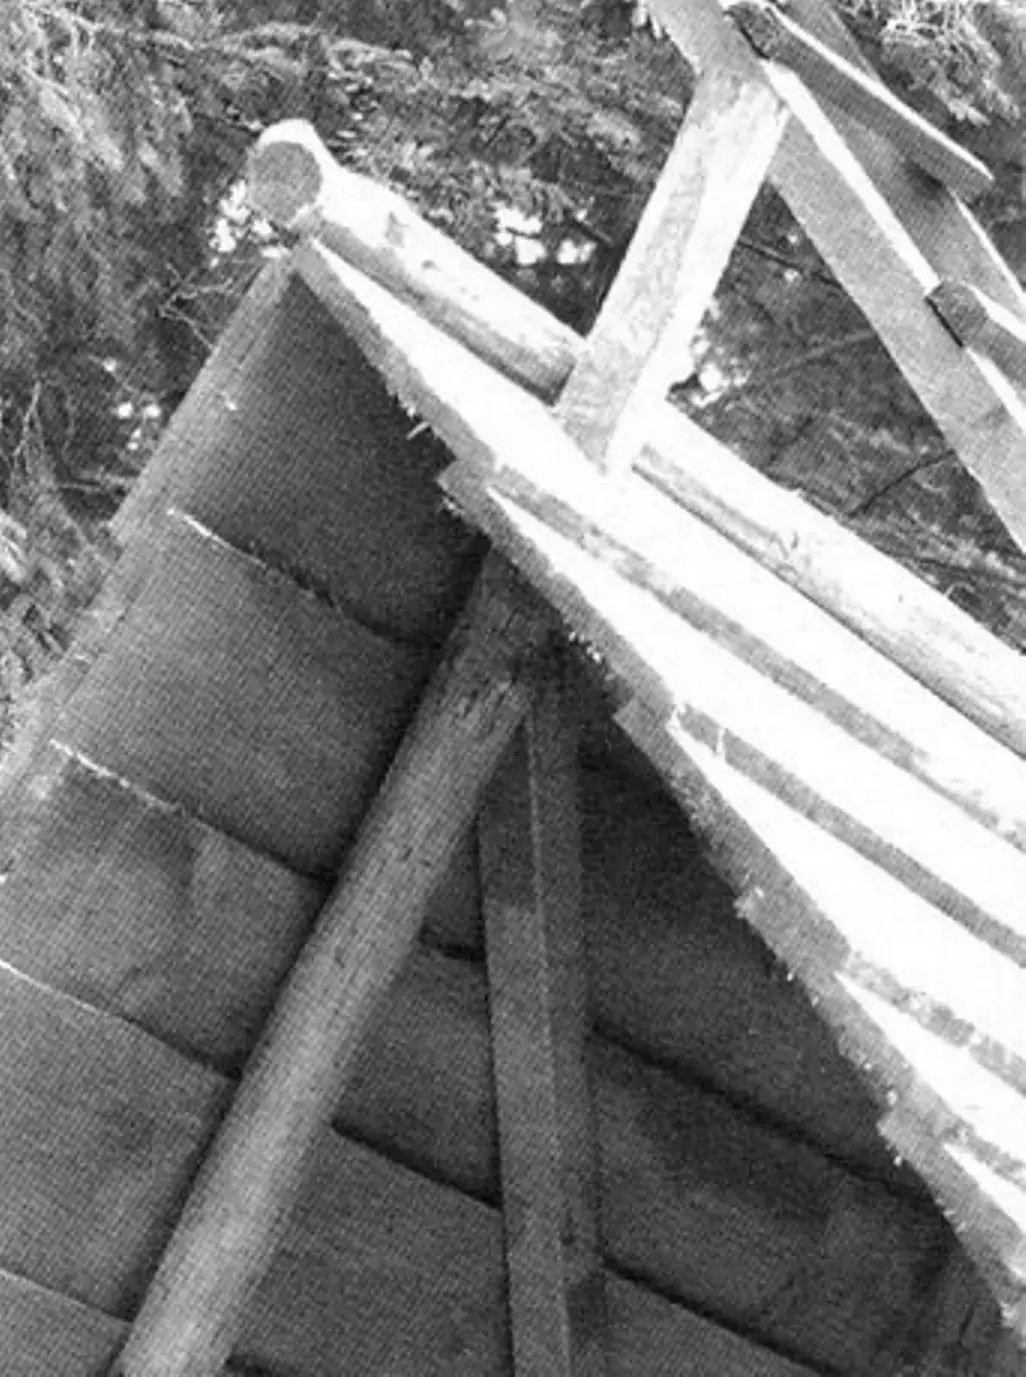
Rafter legs (5)—roof sills/logs—meet the beveled post tops with heavy screws. Along gable façades legs run beside principal posts with diagonal framing screws (“detail ZА”). Tie rafter logs at ridge in half‑lap/halved scarf join; bottoms drop roughly 250 mm below ridge.
Lay roof sheathing (1) from unedged 5000×250 mm boards—20 mm or equivalent 15 mm thick or matching slab stock. Boards run horizontally—upper planks overlap lowers (detail 4). At ridge planks simply touch—a step joint (detail 2) accommodates a Ø100 ridge log (3) tying the entire ridge line. Nail the three‑part assembly—two planks plus ridge log—from both sides butt two angled boards to form dual‑pitch ridge cap shedding rain reliably.
Fasten roof boards to sill logs with nails.
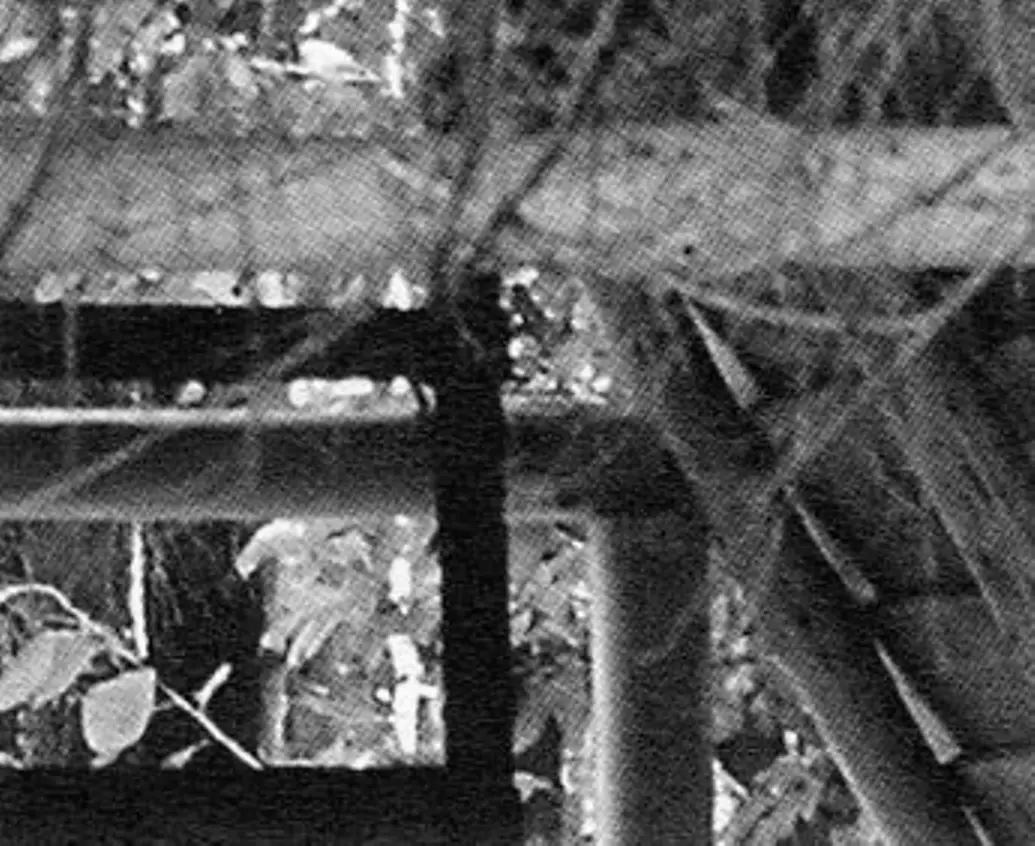
Longitudinal boards may span the beam between principal posts to form a canopy shelf storing gear without cluttering the interior space.
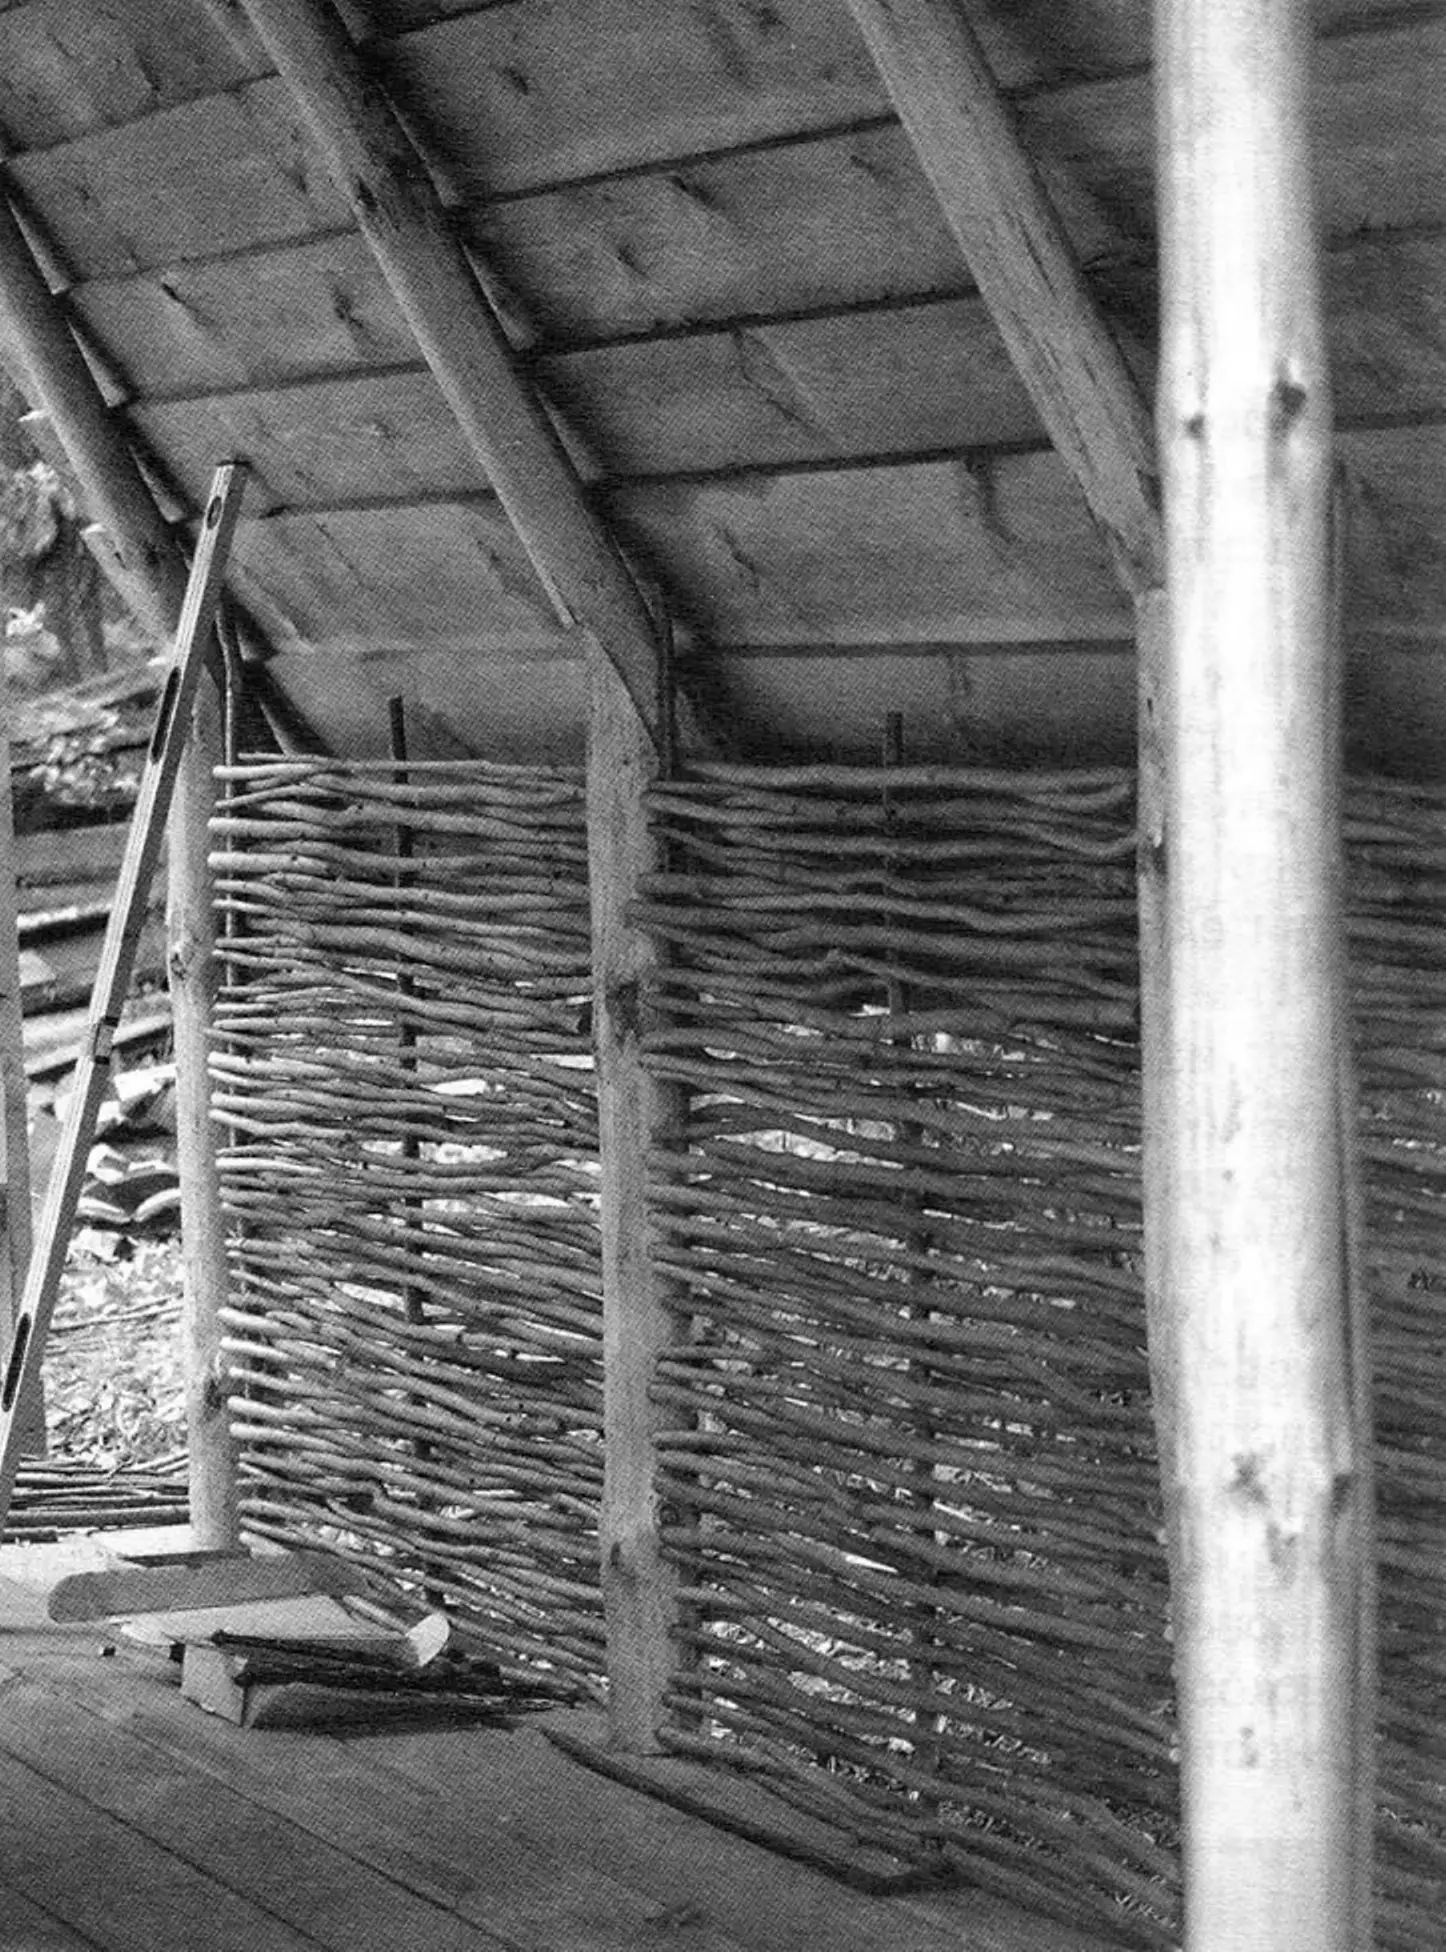
Around the lower hut perimeter weave wattle cladding. Nail short ridge poles midway between perimeter posts beneath the roof. Weave hazel or willow rods ≤10 mm diameter figure‑of‑eight horizontally around each side post snugly—the same suits gable “walls.” Wickerwork adds a finished woodland look.
Scale and volume vary freely—as long as the structural rhythm, detailing, and overall silhouette remain consistent.
Modelist‑Konstruktor No. 2 / 2012, V. Talanov
Recommend to read
 NEITHER OF PELINCE, NOT A SPECK OF DUST
To save yourself from cleaning sawdust, dust after drilling in the wall, before beginning work, secure the paper on the sticky tape just below future openings.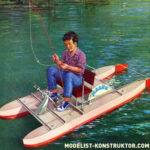 BIKE CATAMARAN “MALEK”
The large family of pedal boats has been replenished with another interesting machine, designed by our reader - engineer G. Ovchinnikov from Dnipro. Ovchinnikov is a car enthusiast....
