On a newly developed country plot, where the water supply problem has not yet been solved, and even on some dacha garden or vegetable plots, there are constant difficulties with watering existing plantings: water has to be carried or transported from shared standpipes, wells, or ponds.
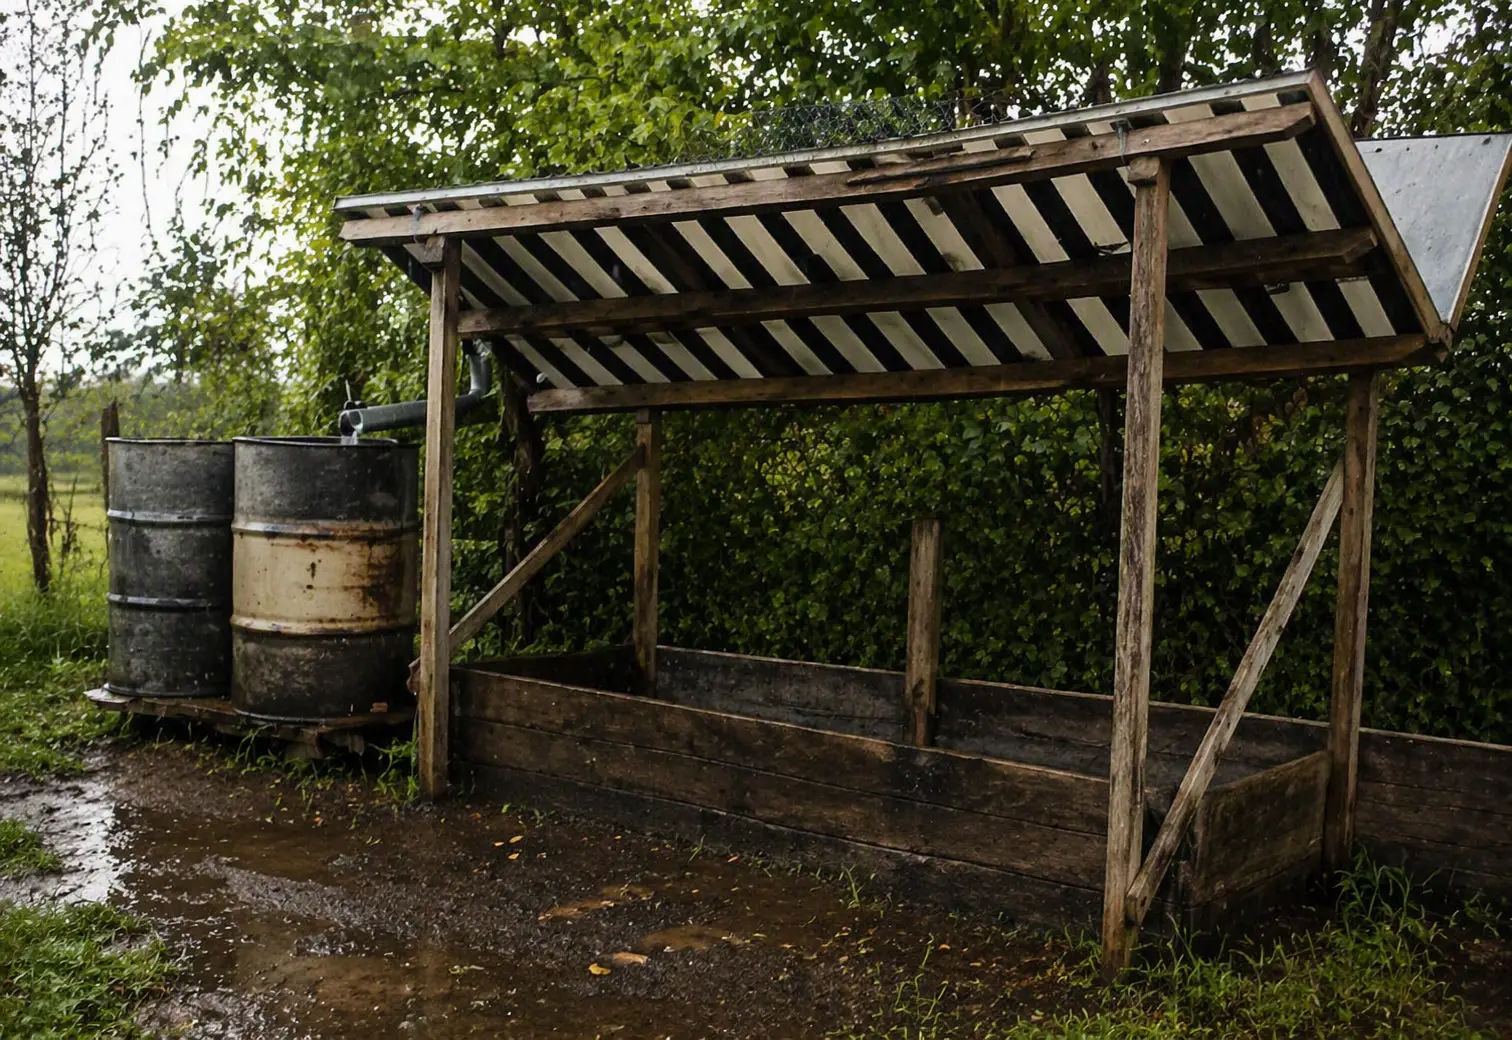
Such chores are especially numerous during dry seasons. However, even in such periods, the long-awaited rain does fall from time to time. But you should not wait for it passively — you should be fully prepared: set up a simple trap for rain streams, as shown here, so that not a single drop that does not fall on the plants is wasted, but ends up in any storage container that preserves precious moisture for later use.

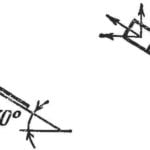
1 — supports (poles or tubes); 2 — storage tank; 3 — gutter; 4 — covering (film); 5 — fasteners (nails); 6 — gasket (sheet metal, linoleum); 7 — longitudinal frame member (bar, rail); 8 — lathing (wooden slats, picket fence); 9 — wire twists
The rain trap shown in the drawings is so simple in design that anyone can build it in just one day, yet it can serve for more than one season. It requires neither a specially allocated area nor any scarce materials: it can modestly fit into any corner of the plot or somewhere by the fence, assembled from whatever happens to be at hand. Therefore, its dimensions will be dictated by the space allocated for it. Structurally, the entire assembly consists of a supporting base, a winged frame-lathing, and film laid on it — the kind used for greenhouses and hotbeds.
Base
It can be any kind, since its only purpose is to support the main collector so that it is higher than the storage tank and slopes toward it. Therefore, the fence itself can serve as a support on one side if the structure adjoins it closely. Otherwise, the base will be poles or tubes driven into the ground (without burying, they will also need reinforcing braces between them for stability).
The height of the base, as already mentioned, will depend on the storage tank on one side and the desired slope on the other.
Frame
It consists of two wings meeting at an angle of about 90 degrees. Each wing is assembled from three longitudinal rails or wooden bars (boards), onto which lathing made of rails, slats, or leftover picket fence is nailed. All frame parts are joined with nails, and the wings are connected at their junction with wire twists.
Water collector
As already mentioned, greenhouse film can serve as the collector sheet, but old linoleum, oilcloth, or any other moisture-resistant material will also do.
The sheet is fastened to the frame with nails, with gaskets of sheet metal or linoleum placed under the nail heads so that the wind does not tear the sheet off the heads.
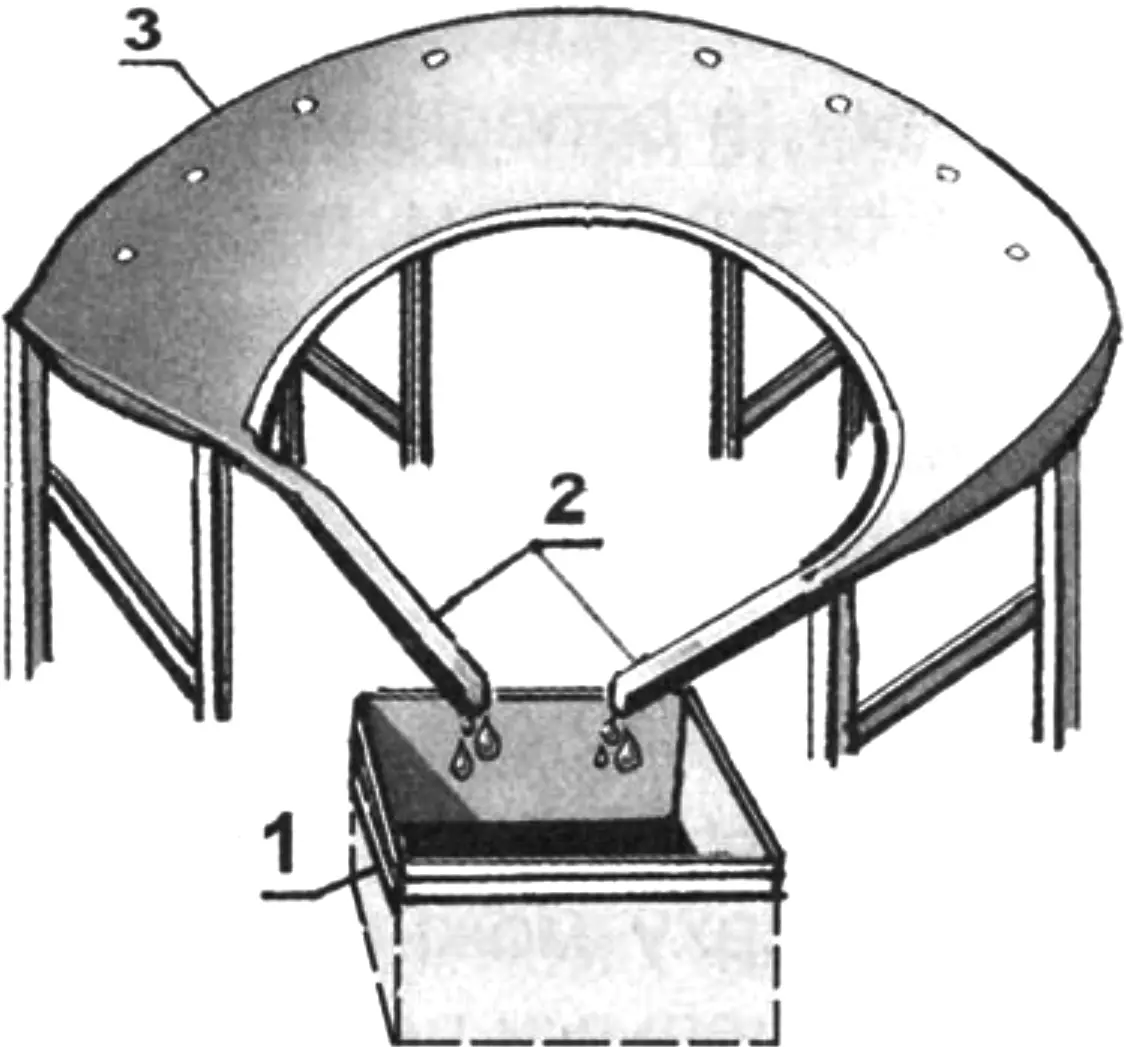
1 — storage tank; 2 — double drain; 3 — arched collector
The sequence for assembling the sheet with the frame is arbitrary. For convenience, for example, before mounting the frame on the supports, half of the collector sheet can be nailed to one wing laid on the ground, and the second half — after the frame is assembled and mounted on the supports. In this case, fastening the remaining part of the sheet is convenient from a stepladder.
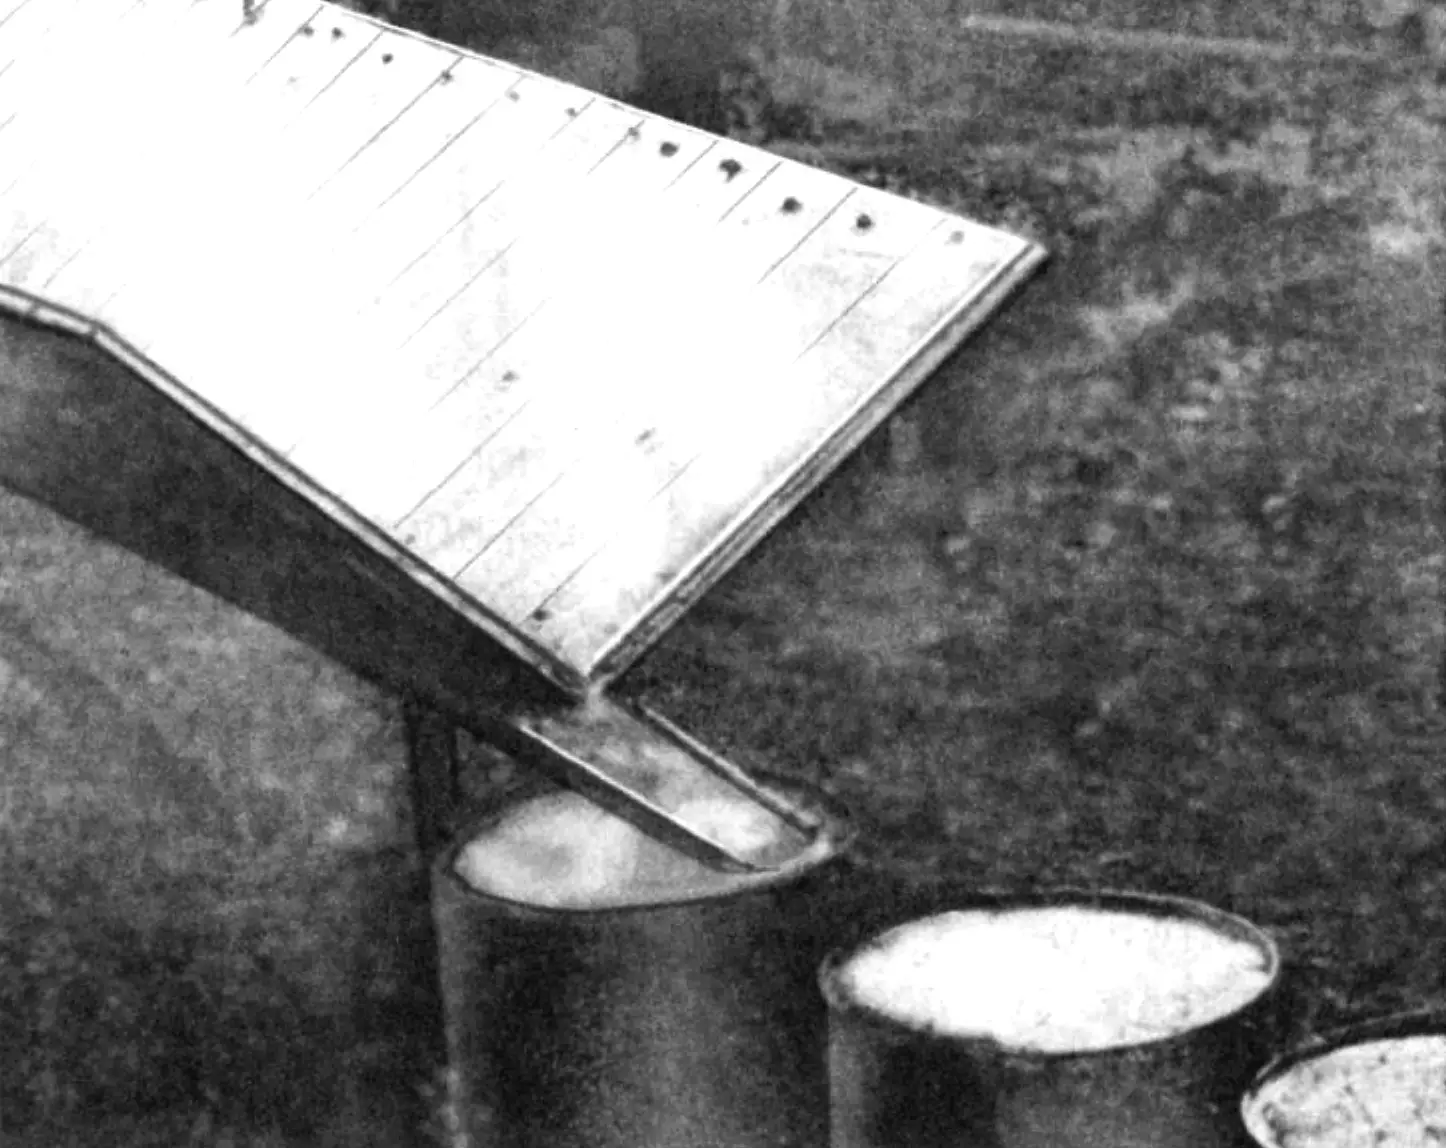
In the corner part of the collector, on the slope side, any gutter-shaped drain — for example, a sheet-metal one — is attached to the lower longitudinal parts of the frame with wire twists. The gutter fastening should allow lengthening or shortening its extension when several storage tanks are used — so that it can reach any of them.
Storage tank
Of course, the most convenient and accessible container is any barrel (preferably a plastic one, as it is less prone to corrosion).

However, it can also be a small dug “well,” the walls of which should be lined with film so that rainwater collected does not seep uselessly into the soil but is preserved longer. For the same reason, any container needs a lid, regardless of material: evaporation will be less in any case.
“Modelist-Konstruktor” No. 7’2009, B. REVSKY
Recommend to read
 NOTRICED IS INTERESTING
The article "He invented nutrit" (1975, No. 5) was very interested in me. I came up with a small improvement schemes nutrida. If the plane of rotation of gears attached to a horizontal... FROM SPANNER — RATCHET
I propose to use a wrench as nidificantes in our time knob to operate the taps and plumbing expansions. This steel hexagon need to make an adapter with a square hole corresponding to the...
