STOVE “HOUSEKEEPER”

OVEN 
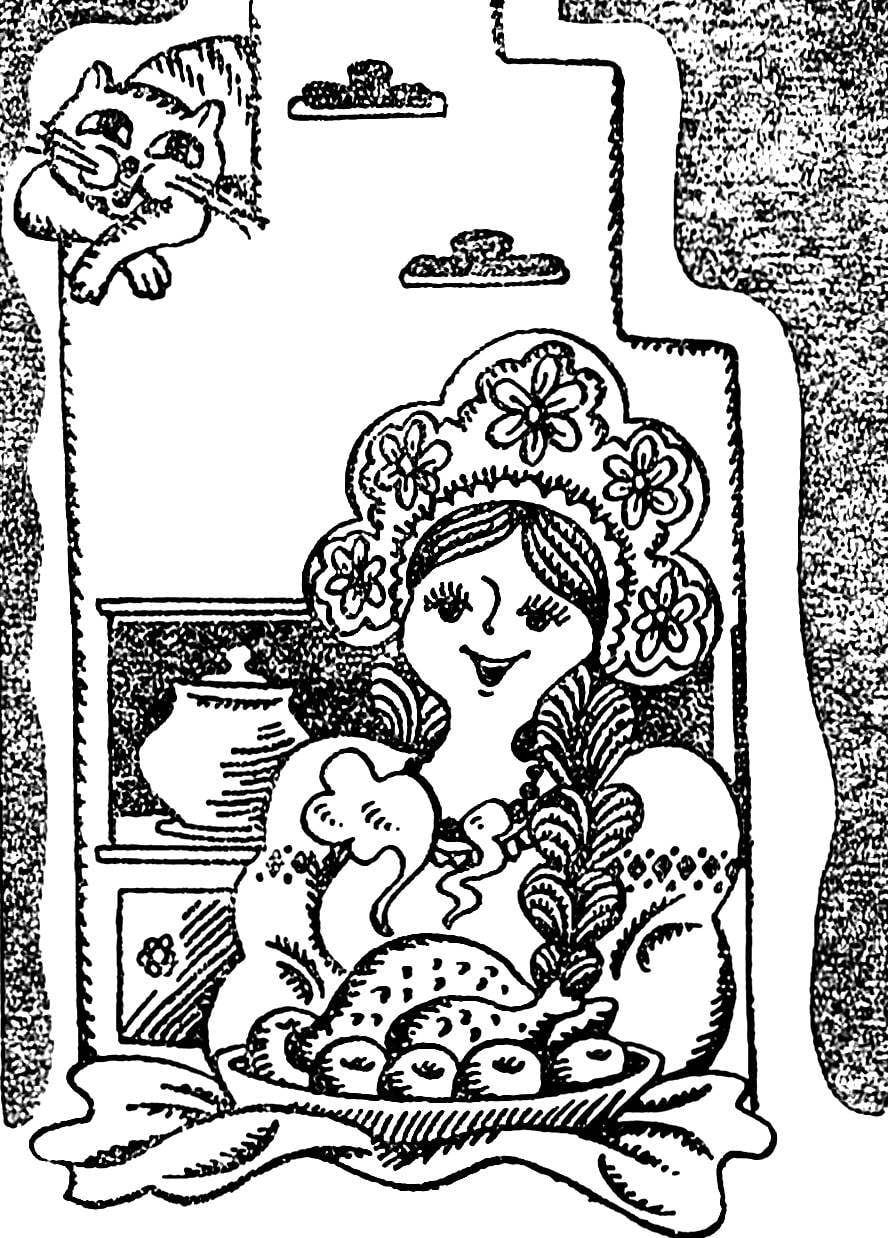
Wonder how good Russian baking! The sweet bread from it, most nourishing soup of it. She and the heat in the house will remain, and herbs for the winter, dried, and pottery, saverchenko on a Potter’s wheel, bring to a merry peal. She and bath, and warm bed. In a word, not a primitive heating device that came to us from ancient times, and as now would tell, a universal unit.
That’s just it takes a miracle-the monster almost half of a peasant’s hut — where here to talk about the cottage or the garden house. And voraciously — one week in the autumn we need to cut, chop Yes, put in stacks of firewood to feed in the cold, his insatiable belly.
 
And therefore as long as there is a Russian stove, born its competitors — in every country, in every area of their fireplaces and “Dutch”, “lobbies” and “Swede”, our Russian furnace Buslaev, Volkova, Podgorodnikov. Each has many merits… and each is not without drawbacks.
 
Probably the adherents of the “classical” Russian stove you will find cons and in the design of the “housekeeper”, the detailed drawing of which is given in these pages.
 
But its advantages — primarily compactness, cheapness of construction and undemanding to quantity and quality of fuel — allow us to recommend oven “housekeeper” to our readers.
 
Oven (Fig. 1) consists of two main parts: the lower podpeca where the heating chamber, and the top — cooking. Its length is 1400, width 890 and height 2240 mm (at the joints of brickwork with a thickness of 5 mm). “Housekeeper” is heated along the entire height from the floor to the pipe. The temperature difference at the top and bottom is only 2-3°.
 
Oven can heat, burning wood and cooking chamber (the crucible), and two fire boxes. If you want to cook food, bake bread, bake kindle as a Russian. Do in the warmer time of the year. In the cold use a large firebox: warms up and then the bottom of the oven, and a cooking chamber. Small firebox serves to otaplivaya furnace, cooking and heating food. Oven can be made with a water-heating box 1. The walls in the heating chamber is changed.
 
In the furnace there are two firebox: 2 small and 3 large with podduvalom and grate bars. Both are located under the hearth and overlap one cast iron 4 stove with two burners. Hot gases are first routed from a small firebox in the big, then into the heating chamber and only out in the cooking. From the large firebox, the hot air is fed directly into the heating chamber. The hearth 6 is open on two sides. To support the masonry peretrubja in the corner, put the metal rack 9. To the bricks of the hearth from the front edge did not stagger and did not drop out, strengthen them by staging a so-called faience 5 length 1200 mm angle steel 25X25X3 mm. the ends of the area vmurovyvayut in the main walls.
Furnace sealed two latches: one serves for closing the ventilation duct 7, and the other flue 8, it is placed in the pipe. The brow of the cooking chamber is closed by a valve 10 from a roofing steel, for convenience, it is equipped with a handle.
 
The ventilation channel 11 begins in the upper part of the hearth — of peretrubja. Through it from the hearth removed all smells from the stove, and partially ventilated the room itself.
 
The heating chamber is divided into two sections by a brick partition 12 (sections a — A and b — B). First laid out columns of bricks (three rows), and then a solid wall. This leaves the three Windows, or podvirki 13, size 120X210 mm (sections B — B and d — G). Hot gases from the large firebox first fall to the first section of the heating chamber, heats it up and, after a break, rush through podvirki the second section, given the heat and her, and thence through the opening 14 in the bottom of the cooking chamber located at the rear of walls, into the chamber 15 (sections b — B and A — A). The hole in the bottom has a width of 70 mm and a length of the entire width of the cooking chamber.
 
Heating the cooking chamber, the hot gases and smoke are directed to its front and through the four holes of the body (size 70X120 mm) fly in the collecting channel and from there into the pipe.
 
Not to stesyvat bricks to toe in masonry arch cooking chamber, the first side is laid with a slope inside the chamber; the space between the brick and the masonry wall fill glinobeton (cross section g — G). Glinobit — it is very thick clay, zameshennaya with sand or small crushed stone brick (clay). Often gravel is laid first pressed into clay. The space between the arch and the walls close up of brickwork with brick trimming or laying out the walls, fill glinobeton (section b — B).
 
The set cooking chamber preferably shallow: a better under heat. But when loading perekrashu furnace 17 and he bursting of the side wall, so under heel arch you have to go from steel strips with a width of 25 and a thickness of 2 mm or wire Ø 6 mm, thread washers and nuts. A dome roof is more durable, but also under his heel to put a better connection.
 
To increase the mass of the heating chamber, and therefore store more heat, the bricks are laid in the wall across; thus, part of the masonry will be in a half-brick, part — whole.
 
Recall that the inner surface of the channels should be as aligned depends on the quality of traction.
 
On sections it is seen that the under or bottom, of the cooking chamber 18 is laid out in two brick flatwise, that is, thickness up to 140 mm, without installing any backfill. It relies on the partition. When you want to cook food on the hearth, to warm the cooking chamber heat like a regular Russian stove. To bake bread under a pre-purified. If a large flood firebox, put the dishes in the cooking chamber or on the stove. Small firebox, note, less demanding on the quality of the fuel is burned away, and though more actively.
 
Fig. 1. Oven
Fig. 1. Oven “housekeeper” (A — General view, B — front view; cross section of this reduction):
1 — a hot water box, 2 — small firebox with podduvalom, 3 — large firebox with podduvalom, 4 — hob cooker, 5 — faience-tying, 6 — perch 7 — the valve of ventilation channel 8 — the valve of the chimney, 9 — front peretrubja, 10 — valve, 11 — ventilation duct, 12 — brick wall, 13 — Podgorski, 14 — hole in the floor, 15 — a cooking chamber, 16 — mud substrate, 17 — closed 18 — under the cooking chamber.
 
Preparation of a clay solution. The strength of the masonry chimney depends on the correct choice of the density of the solution: it needs to be of normal fat. Usually recommended to add one part clay to two or three parts of sand. However, this method does not always lead to desired results because the quality of the clay from different deposits varies. To find the optimal proportions.
 
Designed for use clay measure (e.g., glass) into five equal portions. First don’t mix. In the second add sand — tenth of the glass (or half a Cup, here and further in brackets the amounts for clearly fat clay). In the third — quarter of a Cup (Cup), fourth three-fourths (half Cup), in the fifth — a full glass (two glasses). Adding water, the solution adjusted to density of sour cream, mix thoroughly with a spatula and see how it sticks to the mortar. If the blade is coated with a thin layer of the solution is skinny, heavily covered with fat, and if after thorough mixing, the formed separate clusters — normal of proportions come in the future. The sand was pre-screened through a metal mesh with a mesh not larger than 3X3 mm. the Prepared solution also preferably pass through the mesh. The density must be such that it is easily squeezed out from under the brick under the pressure of your hand. With such a consistency are well filled joints, they will be tight and thin, from 3 to 5 mm.
 
Brick also requires some training. Dry pellets too quickly absorb water from the mortar, which reduces the strength of masonry. Therefore, it is desirable to wet — rinsing, and high-quality bricks to soak until the not yet released all the air and they are filled with moisture.
 
Foundation. To “housekeeper” has served reliably for a long time, it should be under lay, suglobov into the soil not less than 500-600 mm, massive base of rubble stone or concrete. And the sole it should be 50— 100mm wider than the main body, and the last 50 mm wider than the dimensions of the furnace. The bottom of the pit must be compacted with a heavy tamper. In dry soil, it is acceptable to laying the Foundation of good brick on lime or lime-cement mortar. Waterproofing (2-3 layers of roofing felt or pergamina) fit for 2-3 rows to the ground, which, in turn, starts in 2-3 rows below the floor level. This clutch still belongs to the Foundation. With its floor level at the base with a ruler and try square draw a contour of the first number of the actual chimney masonry; length 1400, width 890 mm.
 
The first row of the masonry chimney (Fig. 2). The outside laid out from the whole and the middle is filled with broken bricks.
 
Second row. Here laid the two bricks (a, b) for columns under partition, left window (in) four cleansing, as well as bottom part are large firebox with surfaced in order to facilitate the shoveling of ash, the front brick (g).
 
Third row. It installs a blower door (a) large firebox and door cleansing is the ash pit (b) small fire (the doors purges not shown).
 
Fourth row. Installing the blower door (b) small firebox. Overlap brick-doors cleansing. If you choose not to install the doors before the end of a laying leave them open. At the last stage of the calculation, remove them through the remaining solution and fill the bricks so that their edges slightly protrude from the plane of the walls of the furnace: now they will be easy to find when you need a new Shoe.
 
Fifth row. Columns of stacked brick walls, which is attached castle (a) in the walls of the furnace. The arch blew a large firebox tapers to install the grates, and the door blew overlaps with a brick.
 
Under the partition remain three holes-Podgorski size 120Х210 mm each. Through them of hot gases from the first section of the heating chamber leads to a second section (Ref. 13 B — B and d — G).
 
Fig. 2. Masonry series (porjadovki).
The sixth row. Fit and overlap bricks to the grate both fire boxes; front and rear bricks small firebox stesyvajut that the fuel itself is pushed on the grate and burned — that’s why it is suitable even raw wood.
 
The seventh row. Set door large firebox is small firebox (a).
 
The eighth row. Mounted the small door of the firebox. From the large firebox in the side of the barrier extends a horizontal channel (a): this would provide uniform heating throughout the height.
 
The ninth row. The horizontal channel is narrowed by overhanging him with bricks. Partition becomes wider than the overlap of the prepared canal.
 
The tenth row. Laid the first layer of the floor, overlapping the horizontal channel and the partition. The back wall remains a gap (Ref. 14 b — B and A — A) width 70 and a length of 650 mm.
 
The eleventh row. Overlap the doors of the fire boxes. Laying a second layer of the floor, the gap persists.
 
Twelfth row. On a thin layer of mortar is placed in the cast-iron stove with burners. The outer rows from the front and side plates are made of faience, that is, strengthens the bottom of the hearth.
 
The thirteenth and fourteenth rows are similar: there is an extensive bandaging of seams.
 
The fifteenth row. Masonry for side walls of the sealed connections (a) wire with washers and nuts or strip steel, with threaded shanks. Brow to simplify not formed arched and rectangular shape (height and width 400 420 mm), with overlapping strip steel 10X40X850 mm. Wall above the cooking chamber is thick as a brick, hewn off below (see A — A).
 
The sixteenth row. First is the overlap of the brow and the brickwork, and then put a when (a) the width of the furnace. On three sides of the cooking chamber is placed in the second row of bricks without stesyvanija.
 
The seventeenth row. After laying the brick are the same as in the 15th row. Of strip steel arranged in the base (a) under peretrube that in the corner is supported by round steel rod Ø 16 mm (not thinner) or the corresponding pipe. Steel strip stacked in done in the brick socket.
 
Eighteenth row. Starts laying the arch cooking chamber based on the released bricks the 16th row (see g — G). Brick of the first row is tilted inside the camera, what under it is laid a thick layer glinobit or mortar from the gravel (see b — B, 16). Bricks (b) anterior and lateral walls of peretrubja placed on sheets.
 
In the first row should be laid for the arch cooking chamber bricks leave openings of width 70 and a length of 120 mm.
 
Nineteenth row. Holes (b) are stored.
 
The twentieth number. It formed a collecting channel (b), and peretrube (a) tapers from 250 mm in the previous row up to 180 mm. Wall peretrubja on the right side of the furnace is secured by a lock.
 
Twenty-first row. Precast channel is given the desired shape (a), and about peretrubja laid a ventilation channel (b) cross-section 70X250 mm for exhaust odors from the stove and the furnace assembled in peretrube.
 
Twenty-second row. A collecting channel is reduced, the front brick stesyvaja on the cone. The vent takes a rectangular shape cross-section 120X190 mm.
 
Twenty-third row. The vent is a square.
 
Twenty-fourth row. It over the vent channel is placed the valve 7 (see Fig. 1).
 
Twenty-fifth and twenty-sixth series. Here a collecting channel is narrowed, is formed with a smoke channel.
 
Twenty-seventh row. Over the flue duct is mounted the valve 8.
 
Twenty-eighth row. Smoke vents are combined in the horizontal (a), similar to the letter G.
 
Twenty-ninth row. On the combined channel are placed two steel strips — the basis for the ceiling ventilation shaft.
 
Thirtieth, thirty-first, thirty-second series. Over the vent trunk built up three layers of bricks, which meets fire protection requirements. The chimney is a hole with a cross section 120X260 mm.
 
Thirty-third row. It begins with the laying of the pipe with a thickness of one brick, and a total of five bricks, or “Paterik” channel 130X260 mm.
 
Thirty-fourth row. This clutch is up to the ceiling, then there is a “fuzz” with a wall thickness of a half brick, on four rows above the attic subfloor. You can continue the laying or use of asbestos, ceramic or steel pipe of suitable internal cross-section, but not necessarily is lined with fireproof materials to the roof in clay mortar, and the roof on the cement.
 
Materials for masonry stoves housekeeper.
Materials for masonry stove “housekeeper”.
* Fire boxes inside desirable to lay refractory brick.
** Can be replaced with boxes from a roofing steel.
*** Use a flat steel 25X2 mm.
Oven “housekeeper” can perform the role of the heater. For this it close with a small firebox, it is easy to build a kind of boiler — water-heating box made of galvanized steel or other metal, if necessary, tinned on the inner planes. The scheme of its embedment in masonry is shown in figure 3 (only those rows, which undergo changes in comparison with is shown in figure 2).
 
Fig. 3. Masonry rows with a water-heating box.
Fig. 3. Masonry rows with a water-heating box:
1 — a hot water box, 2 — channel, 3 — steel strip.
 
Better not to mount the box itself, and the case for it from thicker metal then the capacity will be need to extract from the furnace, and the case will work as a supplementary heating chamber. In the diagram, the fifth row shows that on the left from a water-heating device 1 is retained by the additional channel 2 for the passage of gases that were heated simultaneously from both sides. In the diagram, the eighth row is visible additional steel band 3, which prevents the compression of the water compartment stackable bricks on him next series.
 
After completion of the masonry of the furnace, especially soaked in water brick, it should be dried naturally by 10-12 days by opening all valves, dampers and doors. Then, an additional drying dry fuel in small portions 3-4 times a day until the oven is not dry. Only then can you begin to use it with the full tab of the fuel.
 
A. SHEPELEV, civil engineer

Recommend to read

  • “CLAMP” THE BINDING“CLAMP” THE BINDING
    This files most often prescribed magazines sutured, piercing a few hole and tie them with lace. Offer a more simple method, take two identical slats on the size of the log the drilled...
  • POLYETHYLENE COVERPOLYETHYLENE COVER
    From the lids for mayonnaise-tion jars and milk bottles can be cut uplotnitelya strip — polyethylene sufficiently elastic material. And cut the rim of the lid — ready clamp for rubber...