THE YAK-3

YAK-3
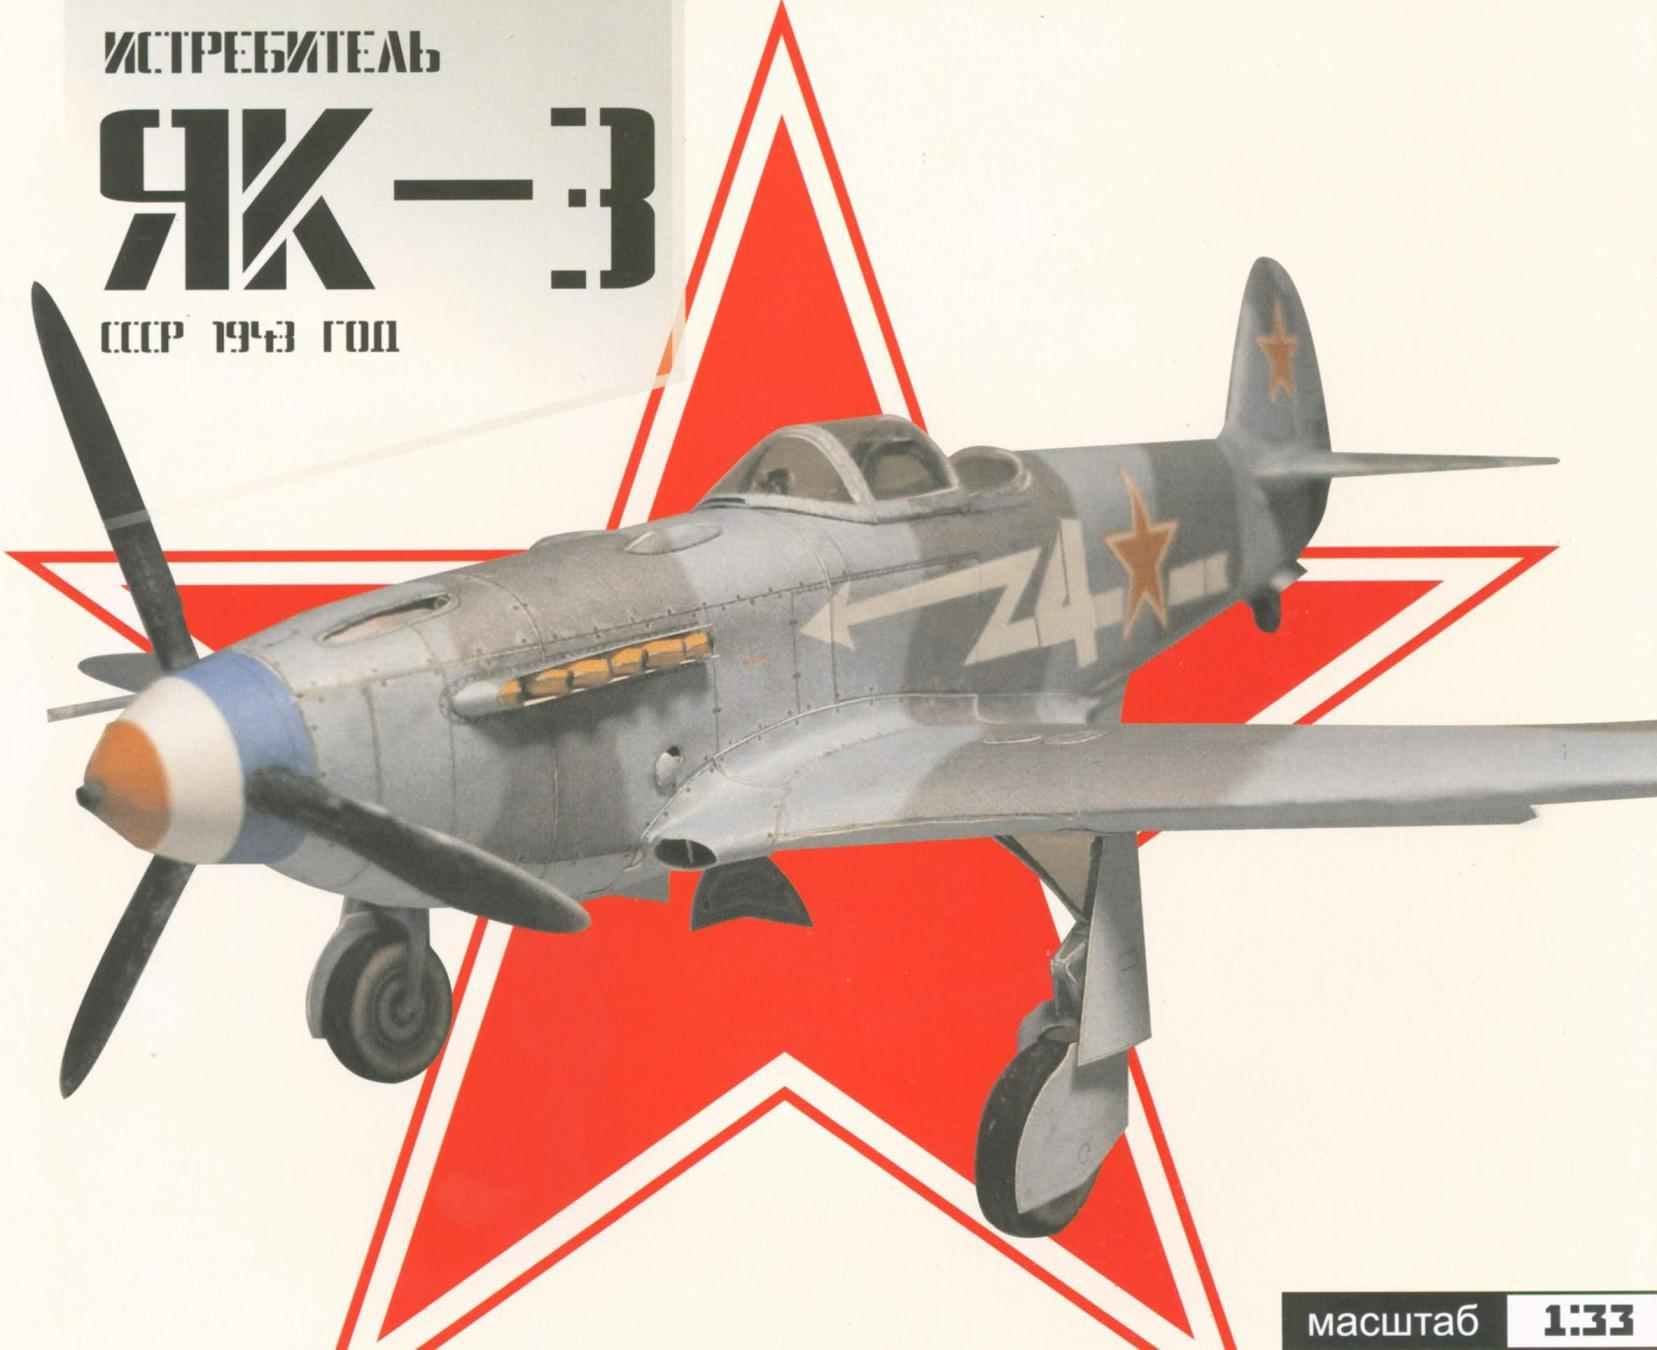
THE YAK-3. Scale model 1:33.

Proposed to build a paper model-copy of the Yak-3, which fought pilot regiment “Normandie-Niemen” post-graduate student face of the Brand in December 1944. Of the tools and materials you will need: cardboard, about 1 mm thick (you can use a box from under the Shoe, etc.), wire 0.5-1 mm (and staples), Mylar, or p/e film (for the transparent parts of the canopy) a few wooden toothpicks or matchsticks, scissors, sharp knife or razor blade, awl, ruler, a few clothespins, a small sheet of sandpaper medium grain, white glue (best score) or other for bonding paper.


The main condition is good quality of the final form of the model is precision and deliberation in the Assembly. Carefully cutting out the parts of the model and intelligently using the glue, you will achieve success. Assembly is easy, if you adhere to the following instructions. Details should be cut strictly on the contour prior to Assembly to give them the necessary form of “dry”.


Before you start, choose the version of the final form of the model: with transparent or non-transparent canopy, retracted or extended landing gear. Carefully review the Assembly diagram and read the instructions. Don’t cut out all the parts at once. The parts circled in dotted line on the page should be glued onto cardboard, dry them well and then cut. Icon of scissors indicates that the indicated portion of the part need to be cut or notched. Items with letter L after the number is necessary to stick to the left in the direction of flight of the aircraft, and with R on the right. Recommend frames, spars and ribs are cut at the outside edge, before gluing, lightly processed their face with sandpaper. Place the bend on the outside you can push the blunt side of a knife. The details are well glued together, if they press clothespins. The Assembly sequence may be different from the recommended.


YAK-3The Assembly of the fuselage start with the bow. Details 7 you must give the proper curved shape, prokatov her over the edge of the table and pushing through a space fold. In the same way the treat other curved surface. Glue this detail (see figure 4). In the frames 21 and 22 make a hole for the shaft screw. The frames 22 and 23 align and glue, det. 7A and 7B, respectively so that they are tight, but no interference took place in children.7. Roll into a tube det. 4 and inside for strength, glue a toothpick. Glue all together in Fig. 4. Prior to this, insert in bulkhead 22 children.4 Next, according to Fig.5 glue the top to this node children. 9. Give the necessary form det. 12. Glue it into a ring using children.12A. Connect the frames 27 and 28 (Fig. 4). Obkleyte their children.7-12A and 7-12B so that they are tight, but no interference took place in front on the flight part children. 12. Glue them to a strip of paper 2-3 mm spoke. Similarly assemble the tail section of the fuselage (det. 14,14 A, 15,33,14-of 15.34), spinner (det. 1,2,3,18,19,20,1-2,2-3) according to Fig.1. If you make the model with landing gear in detail. 15 should be cut away marked hole, and before Assembly, attach the assembled children. 44. Also in children. 15 need to cut from two sides, the grooves for the spars of the stabilizer. Give the necessary form det. 13, 16 and glue together. If you will be making a model with transparent canopy of the film in detail. 13 must be done is indicated by hatching neckline. YAK-3Please note that det. 16 pasted color inside and outside det. 13 front 2 mm rear 1 mm. on top Until dry section of the fuselage, assemble the Central part and the cockpit according to Fig.7 and 10. To do this, assemble the frame from parts 29, 30,31, caissons 38,40,41 glue and assemble all the parts according to Fig. 7. Note that det. 49 should be slightly bent (Fig.1) and after gluing should be 1 mm to be on top for the edge det. 45. If you make the model with landing gear and landing flap, then collect niches main landing (Fig.2), the rear inner part of the wing and the flap(Fig.E). Glue the casings 42,43, and collect the Central part according to Fig. 10. Back to the bow. Connect det. 12 and 7. Assemble the frame of children.24,25,26 and glue on top. Giving the proper curved shape, children. 10, glue it on top of the frame. Then set the barrels of the guns (Fig 1, 5). Glue on top of det. 8. Connect det. 13 and 14, combining the rustic line and the border side of the room. Assemble the fuselage and empennage in Fig. 10.

YAK-3Glue the intakes of the cooler children. 103,104,105 and stick to niches main landing gear gluing the seams to the outside. Glue in ring det. 106. Fig. 11 stick to her children. 108,109. Please note that det. 108 stick the coloured side on the inside. In the end det. 106 insert det. 114. Glue to the bottom of the fuselage. Glue children.115 children.110 and position according to figure 11. Collect water radiator 111 and glue on top of det. 106 and 110. If you do model released with landing flap, it works. 94 need to do the cutouts (Fig.11). Join the parts of the wing in Fig. 11. Bottom between the wing and water radiator stick det. 98 (Fig.12), and det. 106 det. 132 and 133. Wing fairings приклей7е guided by Fig. 12. Assembly exhaust pipes 137,138, 136 fairings and children. 134 shown in Fig. 13. Cup seat 59, back 57,58, bulletproof glass 69,70,71,72, 73 Broneslavovich, seatbelts of 60.61 going according to Fig.8. Collect all of the cabin according to Fig. 14. Det. 70,68,122,125,128 can be made of transparent film. The canopy pilot is going in the following way. To det. 122,125,128 from within stick children. 123,126,129 respectively. Glue the lamp to the fuselage: first the hood, then rear, and at the end of sliding. Under the rear part of the skids stick lamp det 131.


Assemble the landing gear, keeping the corners and glue them into place according to Fig. 16,17. Assembly of the ailerons and elevators and the same is visible in Fig.1. Assembly of the rudder is similar. KDE.85 bottom stick det.84. Inside: glue the caisson 83 and glue children. 85 on the axis of symmetry, giving it the desired shape. Glue the propeller blades in Fig. 3. Glue them to a coke and the whole unit glue to the axis 4. 17: glue the gun to the bow of the Coca. Glue on top of the fuselage of the children. 135, wing det. 160,161. Completes Assembly of the bonding surfaces, LDPE det. 162, ANO children. 160 and landing flaps, guided by Fig. 15. The finished model can be coated with a thin layer of clear varnish or PVA glue.


We wish You a successful Assembly and enjoyment of the result.


The materials to build a model AIRPLANE YAK-3 (download)

Recommend to read

  • VEGETABLE HARVESTERVEGETABLE HARVESTER
    Cultivation of land, planting (or seeding) of crops, care for them — it is not only troublesome, but also difficult. Even those who got a dacha, or garden vegetable garden so that you...
  • DIVIDE INTO THREE PARTSDIVIDE INTO THREE PARTS
    It is known that most of the screws ships — lobed, And consequently, when playing them on-models necessary to accurately mark the three holes on the propeller hub, placing their centers...