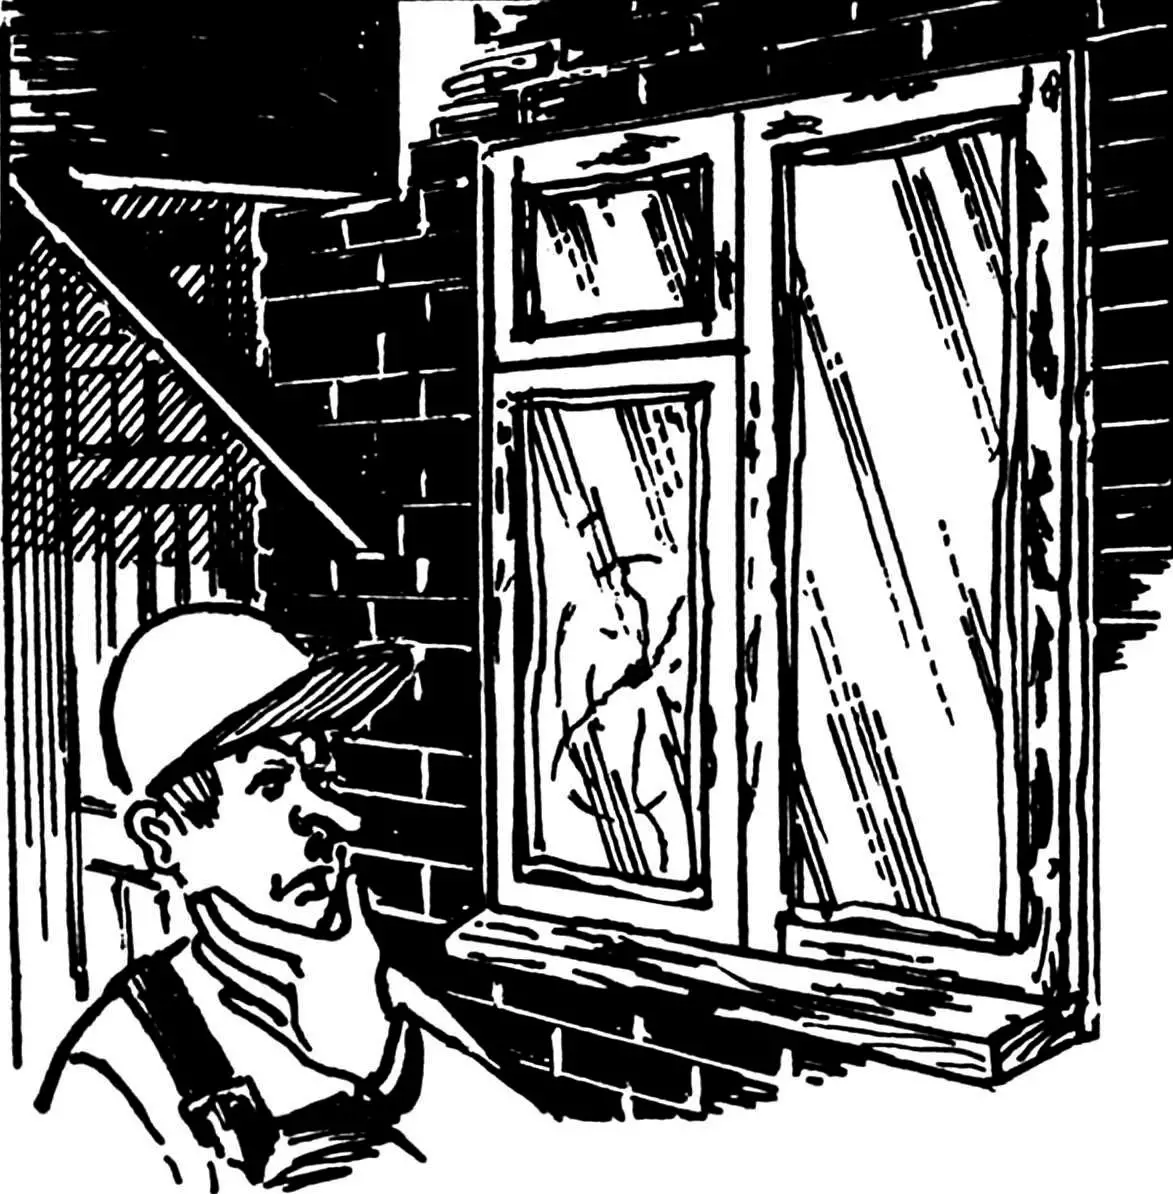
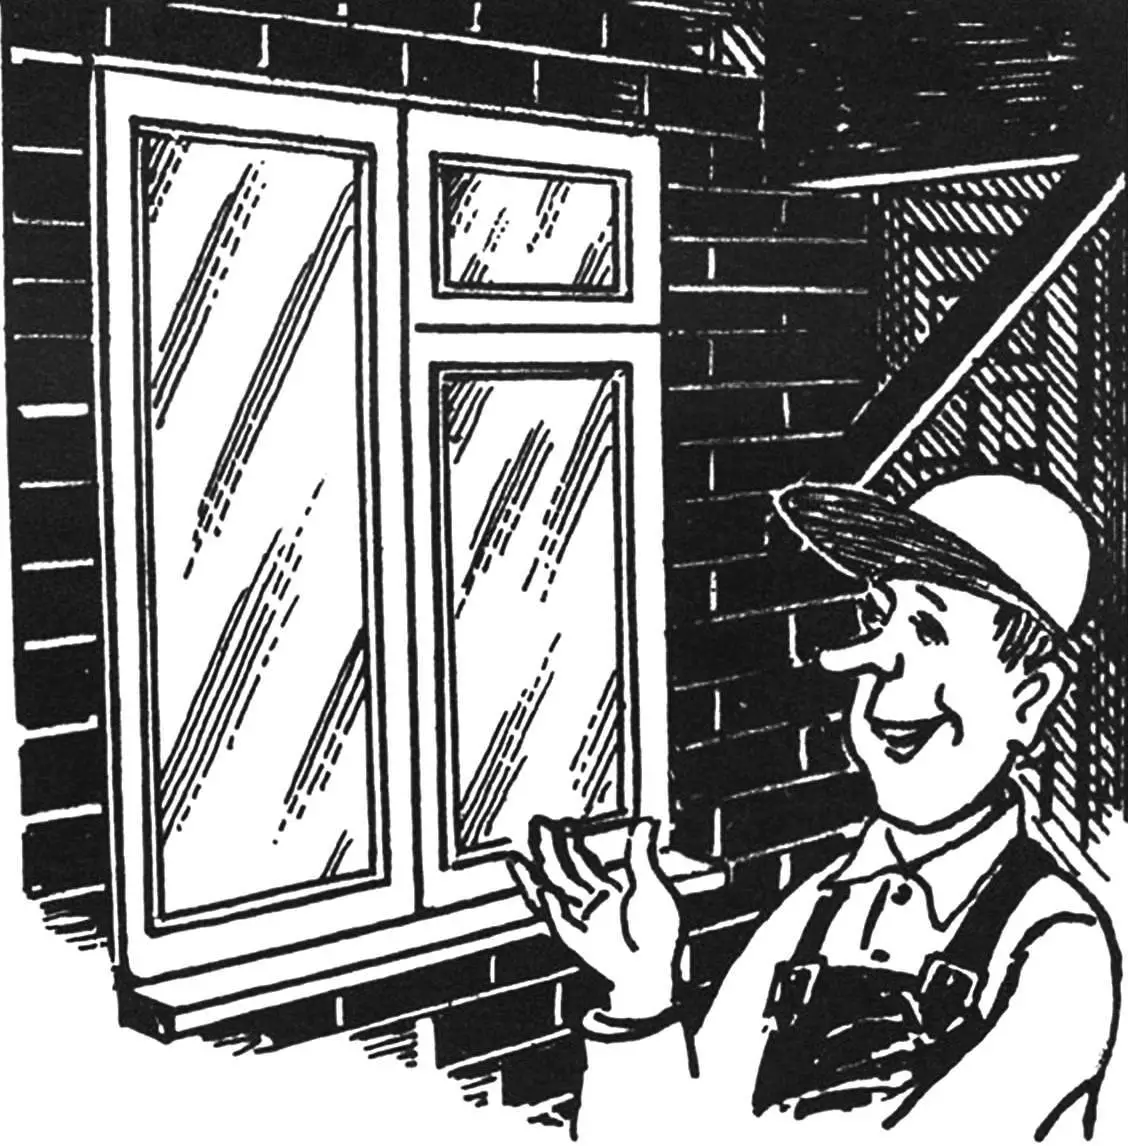
In city apartments, country houses, and garden cottages, wooden window frames periodically require refurbishment and painting, and glass needs sealing or replacement if cracked or broken. All of this can be easily done on your own by following the suggested recommendations (based on materials from foreign publications).
If the paint on a window has peeled or blistered in places, don’t rush to repaint it right away—first prepare the surface. First of all, carefully scrape off all defective areas with a sharp metal spatula (putty knife) or knife to remove peeling or flaking sections of old paint (Fig.1A). Clean these areas with sandpaper, then treat them with linseed oil using a paintbrush (B).
After allowing the surface to dry slightly, level it with putty, applying it in an even, thin layer with a rubber or metal spatula (C). Let the puttied areas dry, then sand them with sandpaper on a wooden block (D).
After cleaning the treated surfaces of dust, paint (E) with zinc or titanium oil-based white paint, preferably in several coats, with intermediate drying for the time recommended on the paint package.
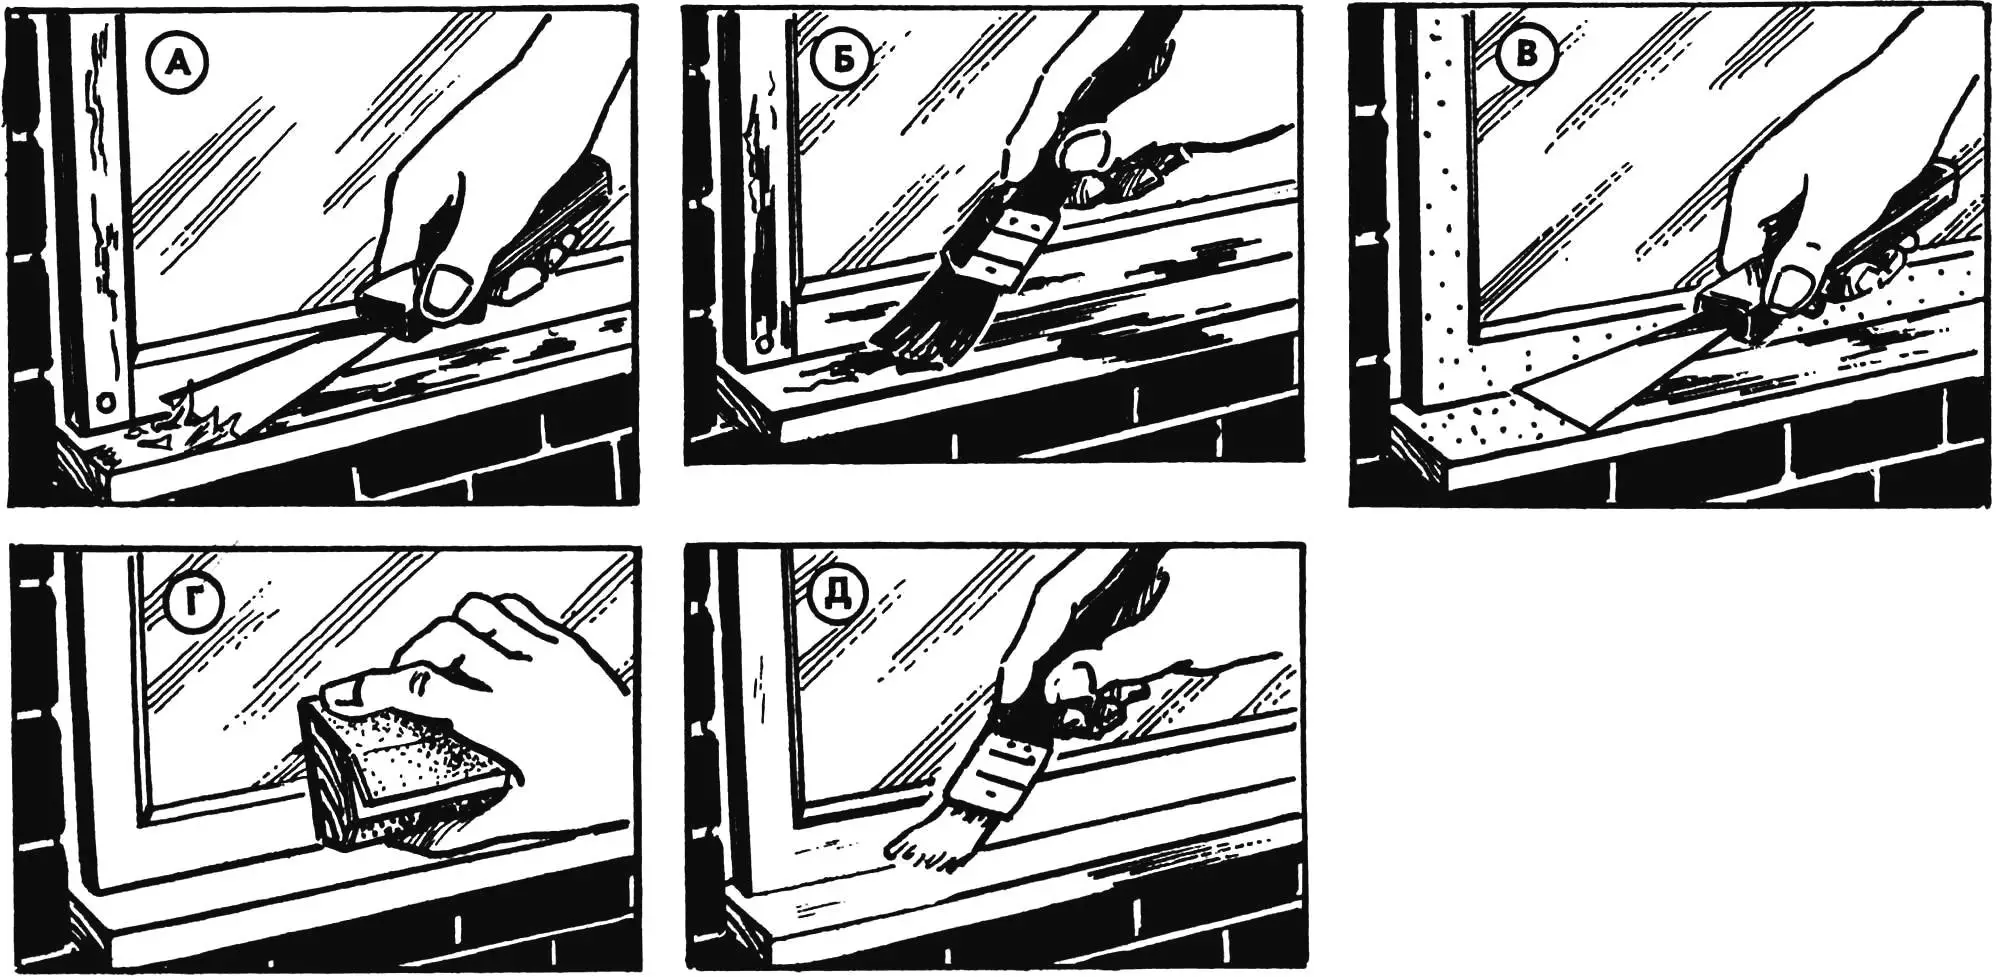
A — scraping off peeling paint with a spatula; B — treating protected areas with linseed oil; C — puttying irregularities on frame surfaces; D — sanding puttied areas; E — final painting of prepared frame surfaces
If the glass in a window is broken, replace it before painting the frame. It’s better to purchase ready-made glass cut to the window size than to risk cutting it yourself. However, if you still need to reduce its size with a glass cutter, do this on a flat table using a ruler, guiding the glass cutter with light pressure so that a “thin” crackling sound is heard. Carefully break off the cut portion at the edge of the table (Fig.2A) with pliers to avoid injuring your hand. It’s fine if the cut strip doesn’t break off completely—small remaining pieces can be “crushed” with the notches of the glass cutter or the same pliers, then cleaned with an abrasive block (B).
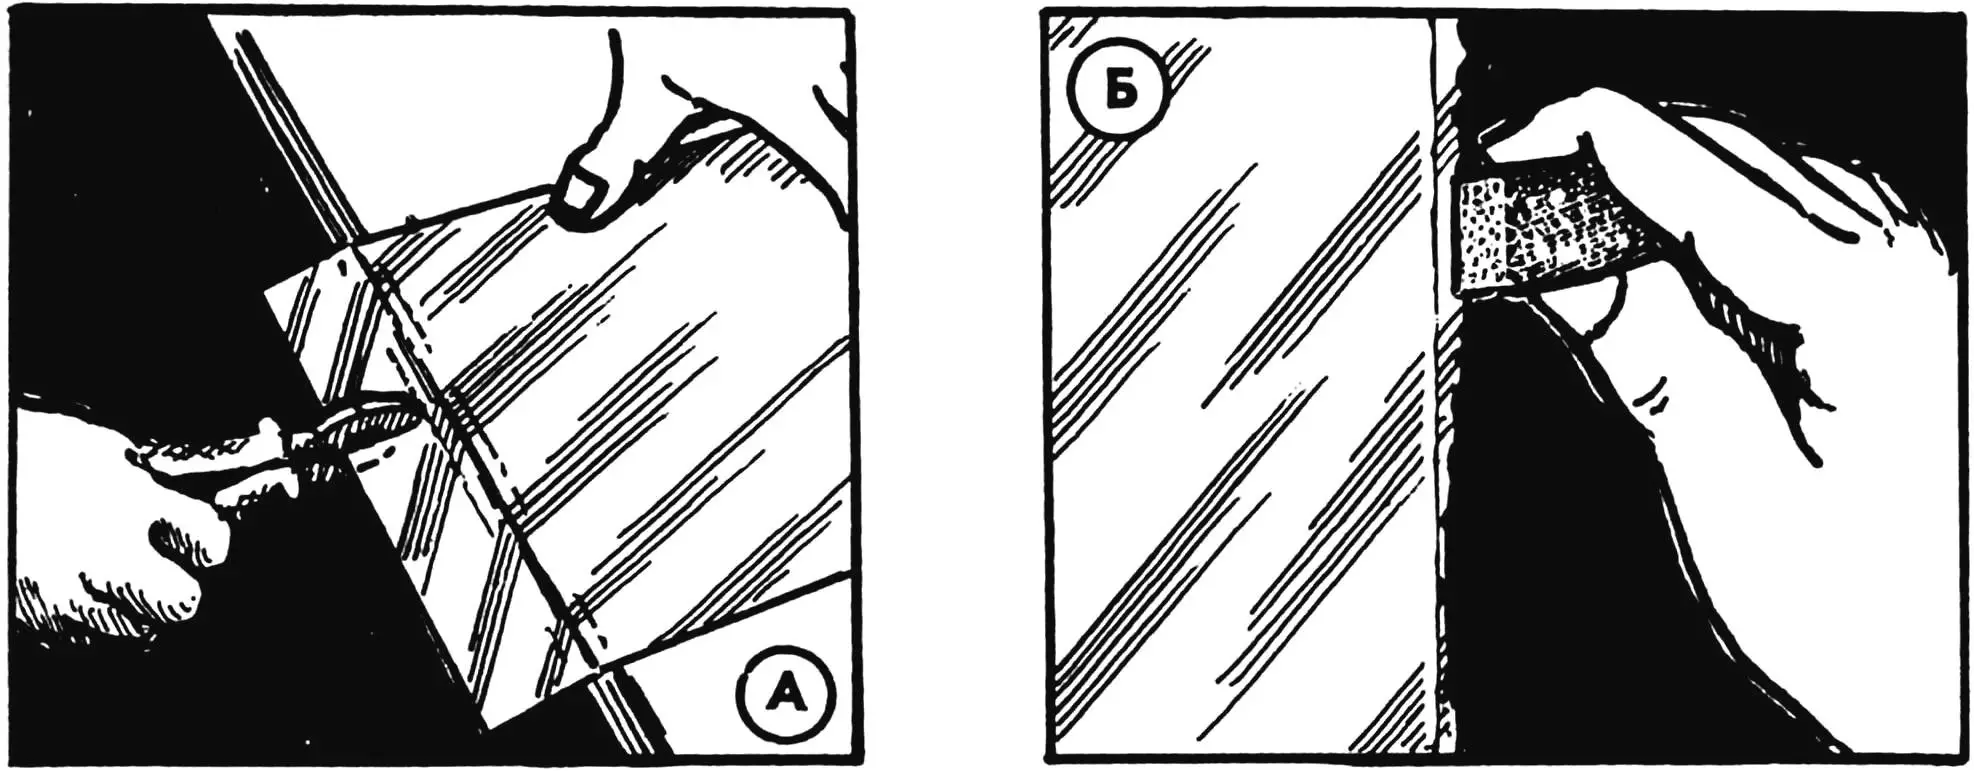
A — breaking off the cut piece; B — cleaning the edge with a sanding stone
Carefully insert the glass into the frame and secure it using one of two methods: with nails or thin strips—glazing beads.
For the first method, there are special glazing nails in the shape of a right triangle. They are driven in with a light hammer (Fig.3A) or the edge of a wide chisel. In this case, the triangular nail should press against the glass not with its flat side, but only with its edge—the “leg” (Fig.3C): then when driving it in, it will press the glass against the frame. Regular small nails, however, should be driven in with movements along the glass (otherwise it will crack).
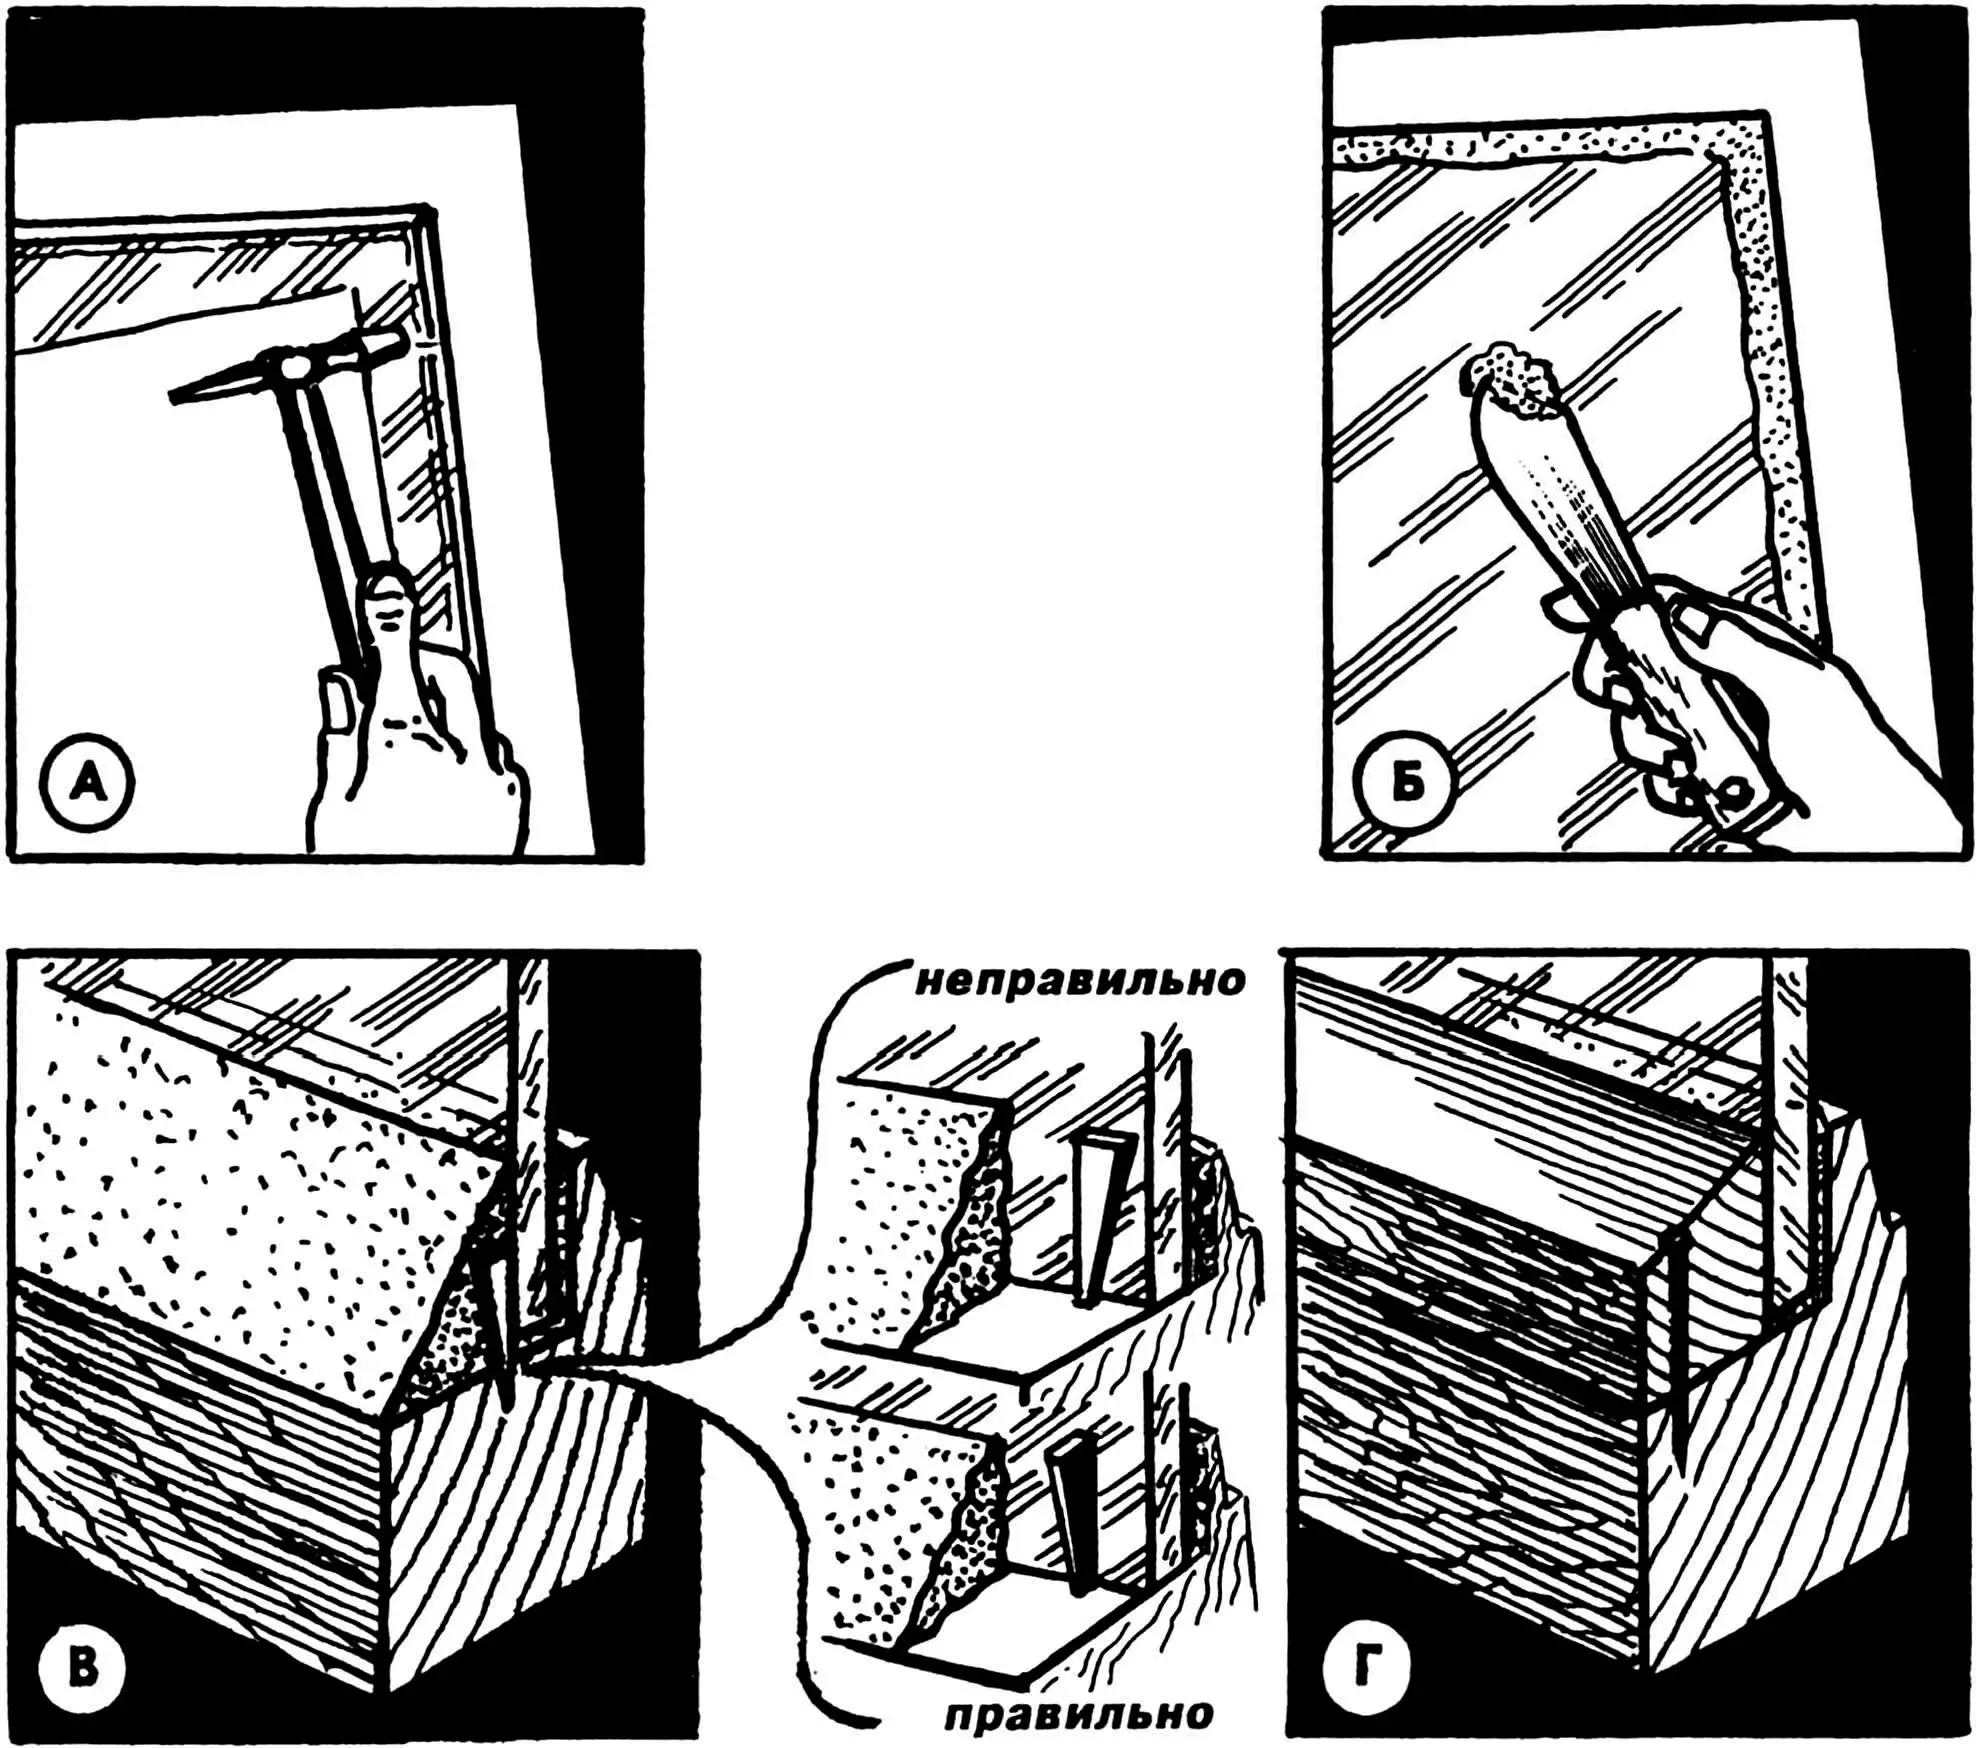
A — driving in nails; B — applying putty; C — correct glass installation; D — securing with glazing beads
After securing the glass, apply putty to its edges with a knife blade (Fig.3B) or a wide chisel. For better sealing, the glass can be placed on a thin layer of putty previously applied to the frame. Do the same when securing the glass with the second method—glazing beads. Press the thin strips firmly against the glass and nail them in with regular small nails (Fig.3D).
It remains to carefully putty the glazing beads—and you can paint the frame. To prevent the glass from getting dirty during this, stick a protective strip of paper moistened with soapy water onto it.
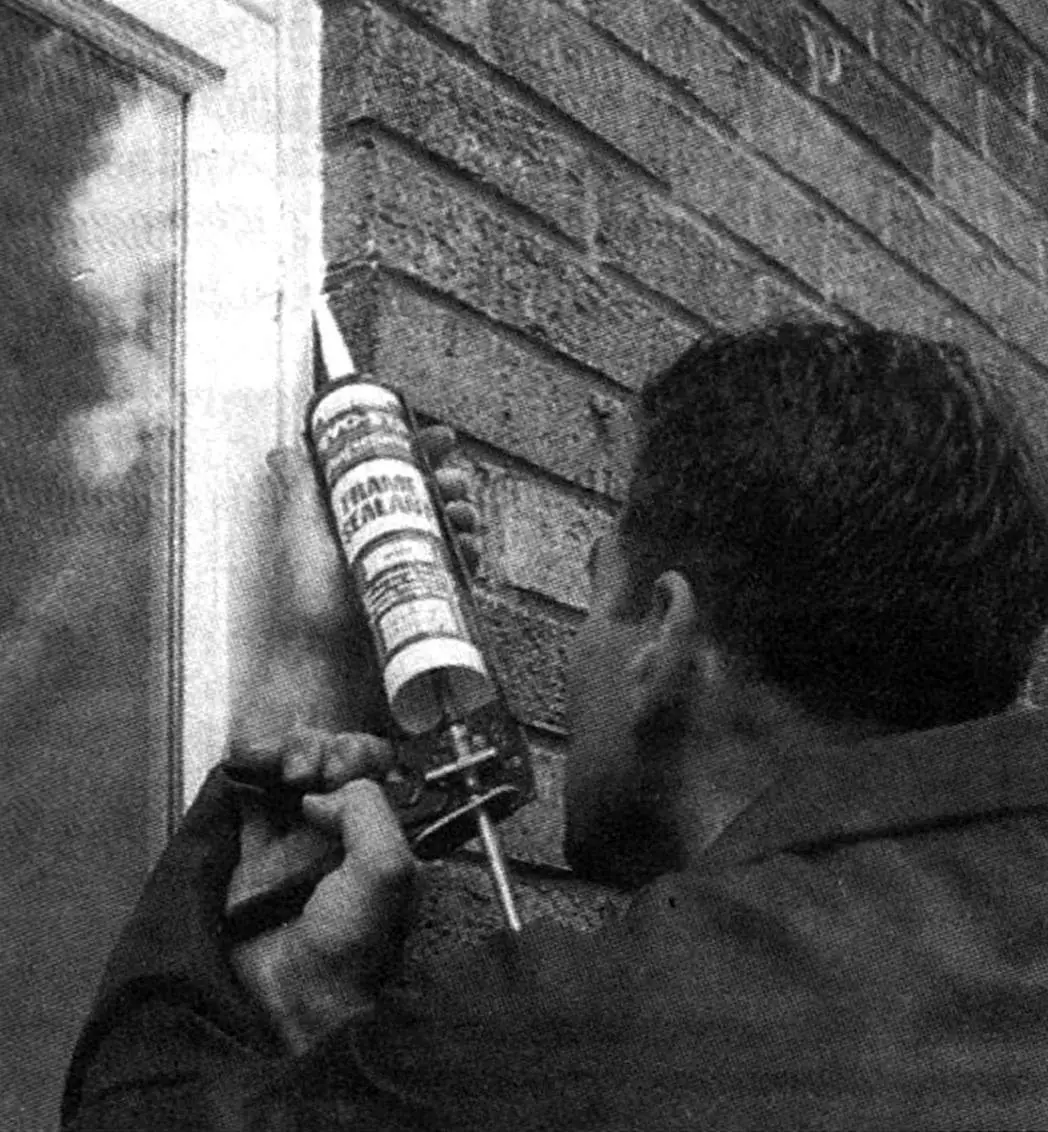
The final operation is restoring the sealing of the window frame box (Fig.4).
Recommend to read
 THE BOILER STILL SERVE
Miniature appliance with which it is so easy to boil a Cup of water, is an enviable longevity However this applies only to the heating, the metallic parts of the device. As for the... FURNITURE A “DESIGNER”
As soon as we hear the word "designer" as we have before us the first thing to appear beloved by many children children designers, which are so interesting to collect machines, tools,...
