
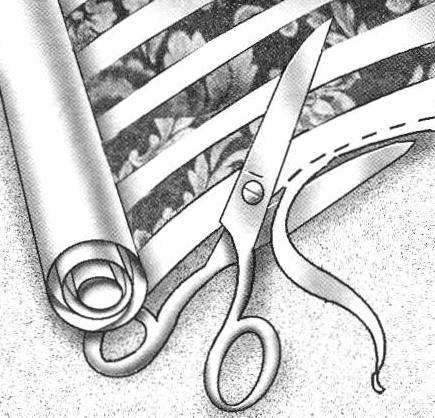
 So, ended walking through the shops in search of the desired colors of the future outfit for the walls of your home; purchased after consultation with the sellers the required number of rolls and packs of glue you would have to start wallpapering. However, where better to begin this work?
Fig.1. Experienced masters advise not to neglect the preliminary layout of the verticals on the walls — this ensures the successful execution of all subsequent transactions without distortions and alterations because of crookedly glued panels.
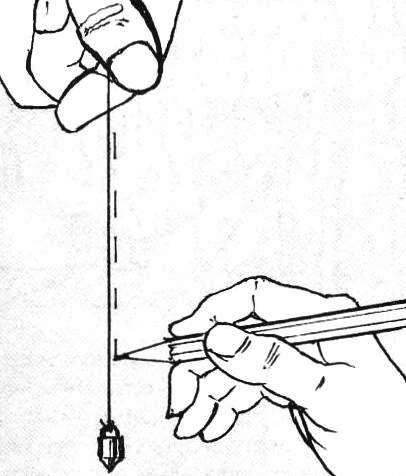
For applying such labels just need the cord with a weight on the end of da pencil. Often enough to do it before you label the first panel, the rest will become equal to each other.
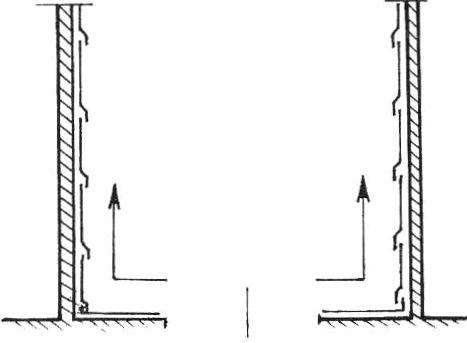
Fig.2. It is also important to consider the sequence of wallpapering. Properly you need to keep it from the window: then the joints of panels, especially if the latter were stuck to the overlap, will be less noticeable, since it will give the let thread, but shadows.
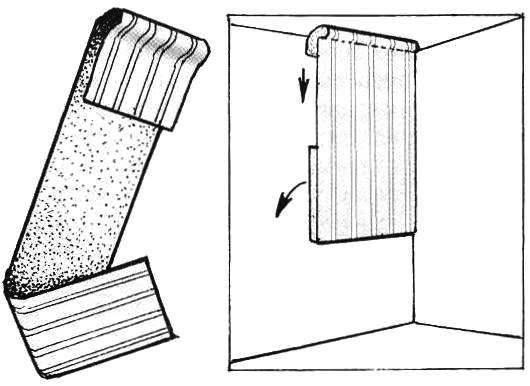
Fig.3. Usually for pasting of walls need two people to lift the panel smeared with glue, to raise it to the ceiling, holding free bottom until you are aligned vertical and is pressed to the wall the top edge of the Wallpaper. However, experienced craftsmen handle it alone — the folding of the cloth at the ends of the glued side and then carefully turning them, lifting to the wall (with the ladder or stool).