The problem of rational use of living space in modern apartments often apologize for the pun rests on the angle: it is here that often lies untapped reserve of space and it is here that there are a variety of options for filling it out. One of the suggestions of this solution has offered its readers the magazine “Burda”: this is a multifunctional corner wardrobe. At first glance it may seem that in the corner is just a cupboard with a mirror. However, bedside table unusual triangular — shape, and the mirror attached on the shield, closing the angle on her, and covered with the same Wallpaper as the walls, whereby the angle becomes invisible. Above the mirror are two wooden turntables.
If they turn the shield drops: it is connected with a bedside table with a piano hinge. In the process of lowering of the shield will begin to move and mirror, wooden panel which is connected to the shield too with a piano hinge. Dropping the shield turns into a table, and the mirror panel becomes the supporting “leg”. Behind them opened a corner space will appear in the form of a multi-tiered rack of triangular shelves; same hidden doors and cupboards. Essentially, the entire structure is built in original corner cupboard, which can be quite varied: from the area of the pupil or student to a work place to practice Amateur radio, cutting and sewing, FOTODELO, modeling. In this case bulky or heavy equipment it is easy to arrange down in the bedside table, and a variety of auxiliary parts and pieces on the shelves. At the bottom of them is a mesh storage compartment, which should be during the job at hand.

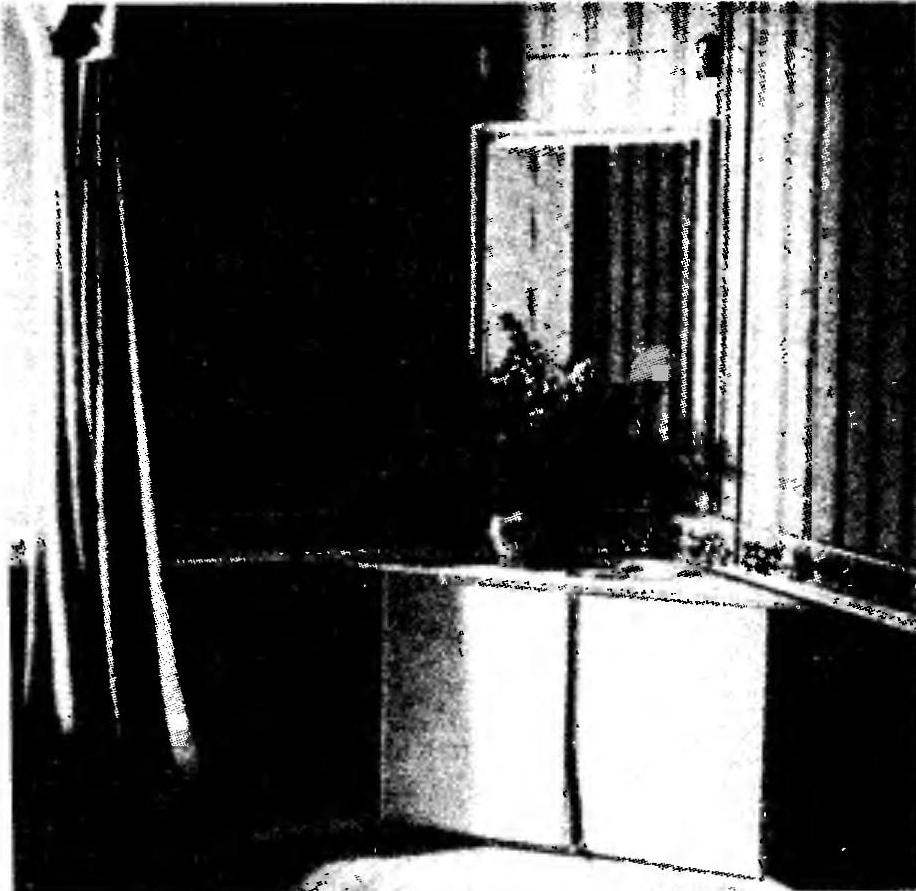 The problem of rational use of living space in modern apartments often apologize for the pun rests on the angle: it is here that often lies untapped reserve of space and it is here that there are a variety of options for filling it out. One of the suggestions of this solution has offered its readers the magazine “Burda”: this is a multifunctional corner wardrobe. At first glance it may seem that in the corner is just a cupboard with a mirror. However, bedside table unusual triangular — shape, and the mirror attached on the shield, closing the angle on her, and covered with the same Wallpaper as the walls, whereby the angle becomes invisible. Above the mirror are two wooden turntables.