
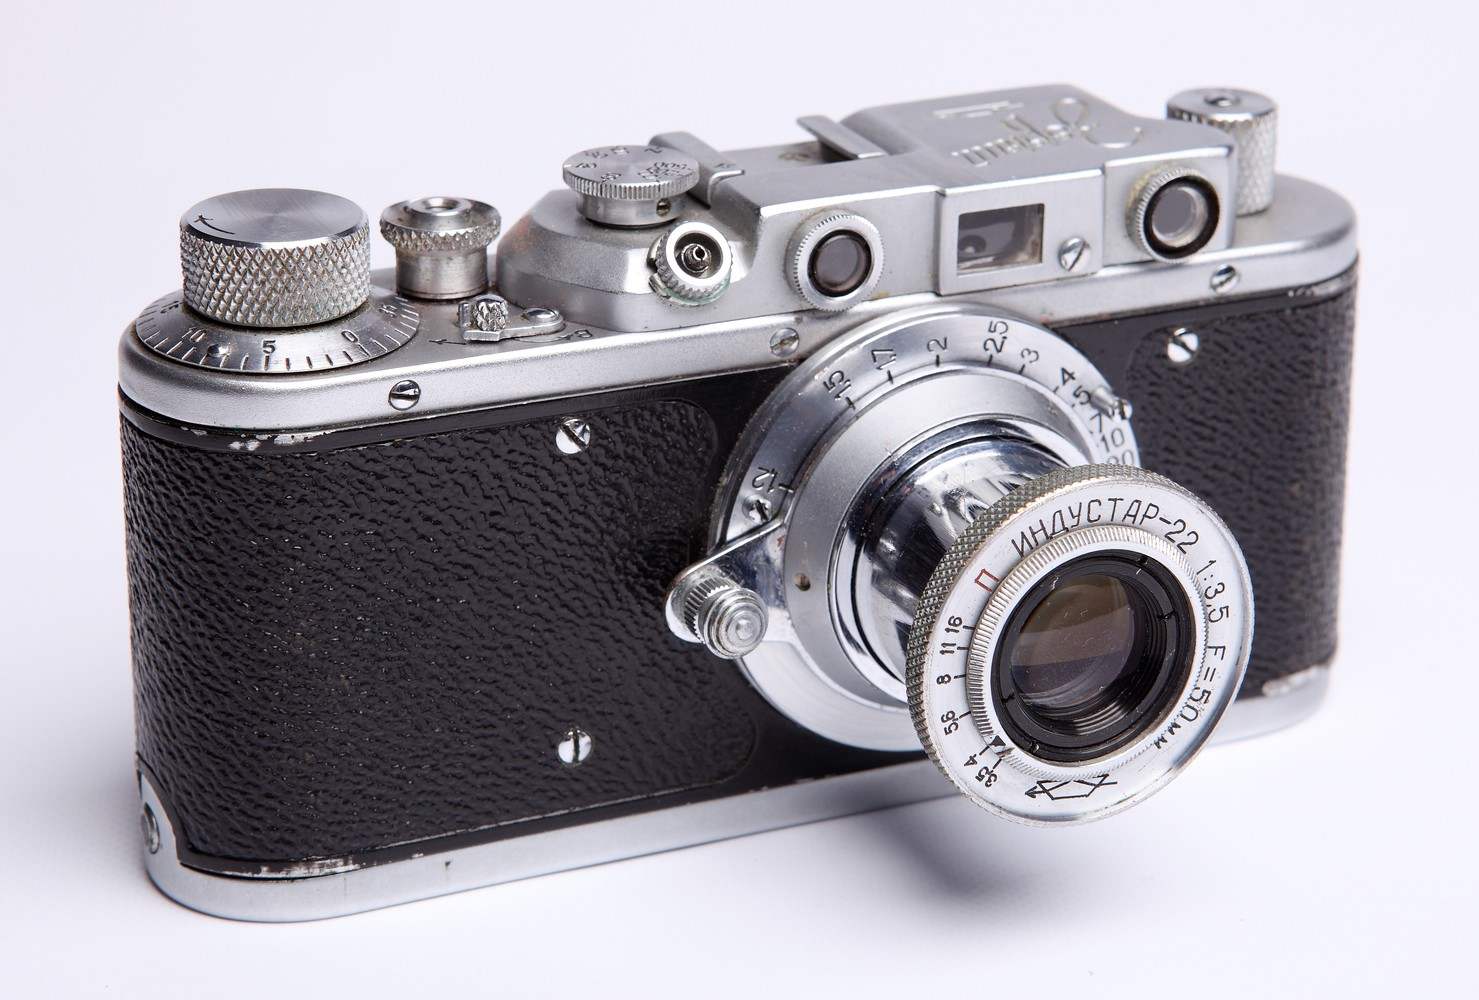
 These cameras were the most common and popular not only among Amateurs, but also professional reporters, but many faithfully serve and still.
To resolve this or other faults do not have to go to the Studio — many of them resolve on their own, without any special tools: you just need two small screwdrivers, small knife and pliers. This, of course, is not about serious damage, and those that are most often encountered in the practice of the photographer and do not require expert knowledge for their solution: the author’s recommendations M. Yakovlev was counting them accessible even for young technicians.
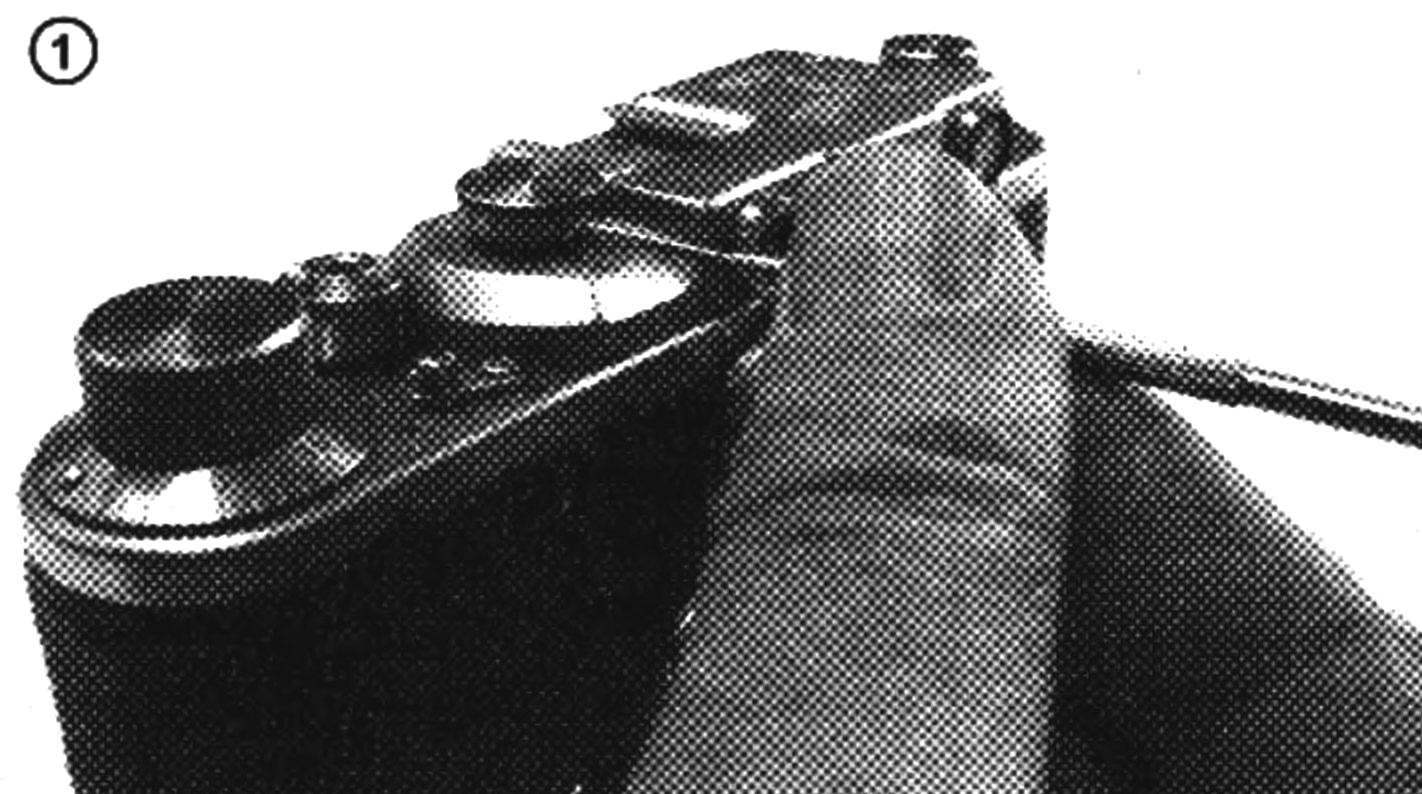
1. The camera stopped working installation head of shutter speeds. It’s loose, popping up from the nest and knocks the speed
Yeah to resolve the problem, take the small screwdriver. Unscrew the locking screw (photo 1), turn those until the limb cocking the shutter and Unscrew the installation head speeds. After removing it. you will see in the center detent velocity screw with a wide head, which presses on its base on the detent spring (photo 2).
Now take a screwdriver or pocket knife. pre-sharpened tip. to coincide with the slot (narrow slot for the screwdriver) the screw head, and wrap the last tightly until it stops (photo 3).
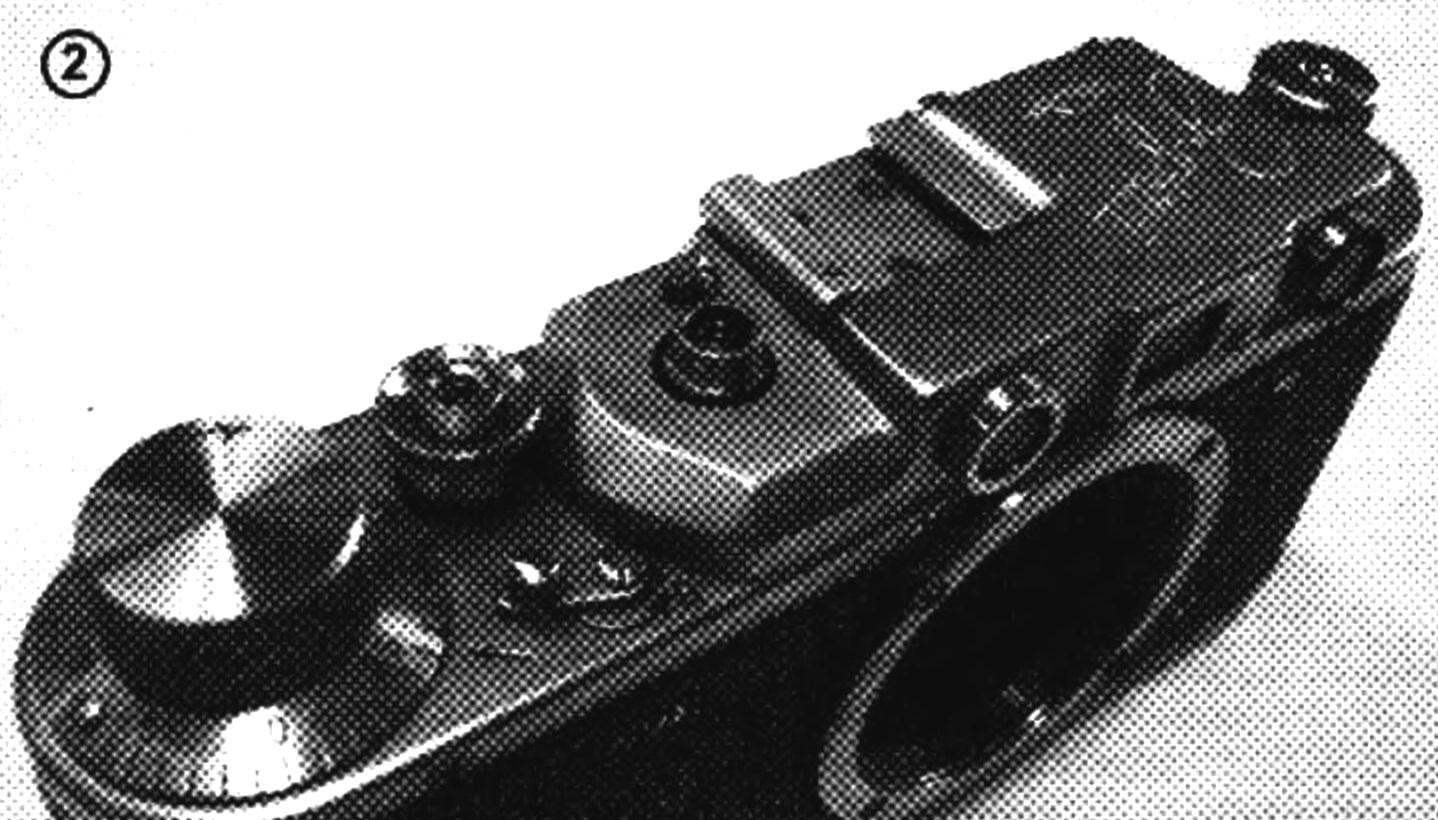
After this operation, screw the back head speeds and raising it consistently find a position in which pressing the shutter release button the shutter remains open. Then lower button again wind the shutter and set the head speed to dash in front of the sign “Z” as indicated by the arrow shown PA the brackets for the detachable viewfinder or flash.
Now carefully, so as not to spoil the slot and not slip setting, tighten locking screw. The fault is corrected.
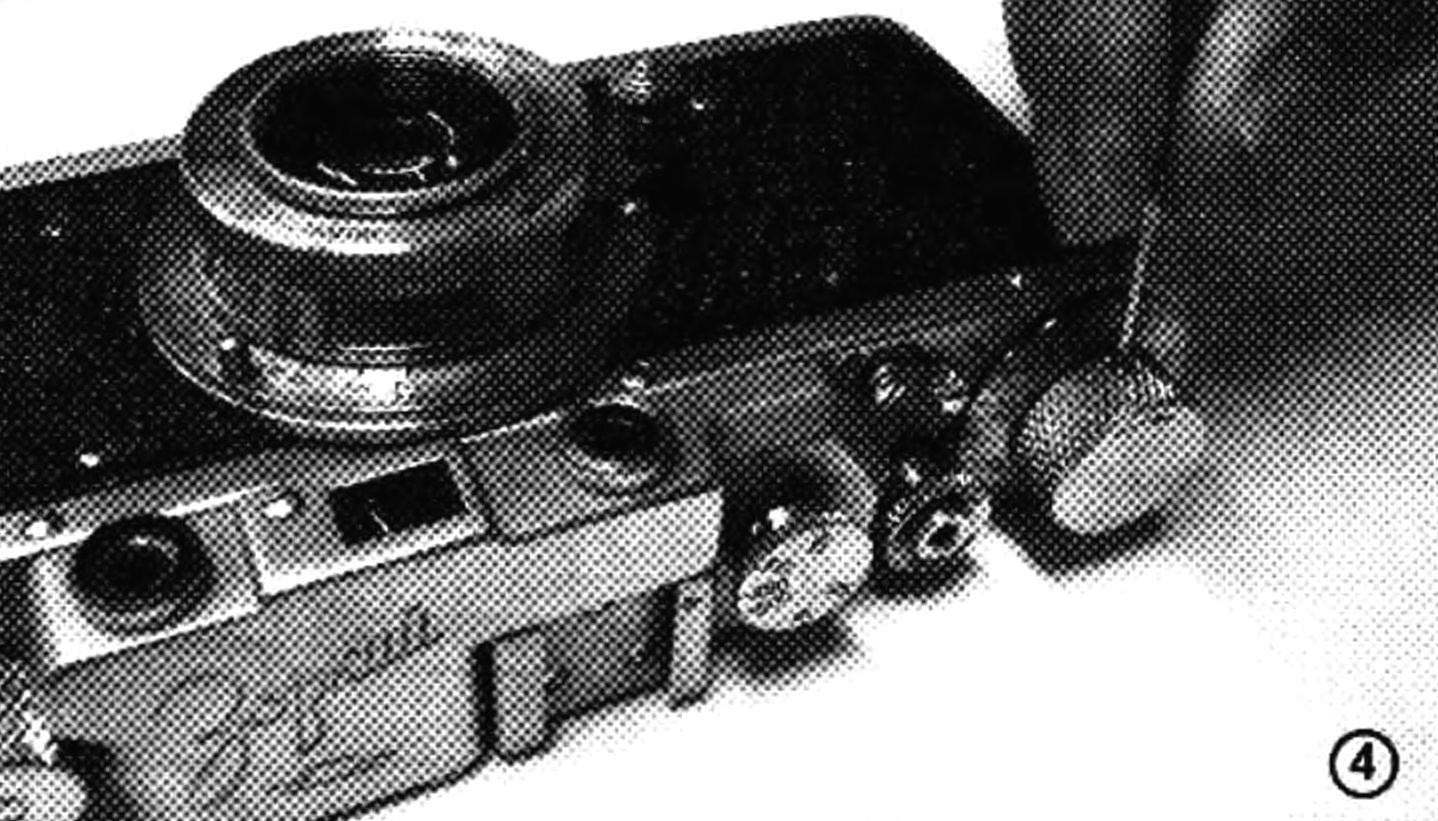
2. Stopped working the frame counter: rotates the disk confused the order of accounts
On the cylindrical surface of the limb (pen) factory shutter has a locking screw (photo 4). Gently Unscrew it, after having set the shutter. Unscrew completely the limb, twisting it counterclockwise (to lower the chamber lid must not be removed). After removing the limb, on the bottom you will see the bent steel ring of wire (photo 5).
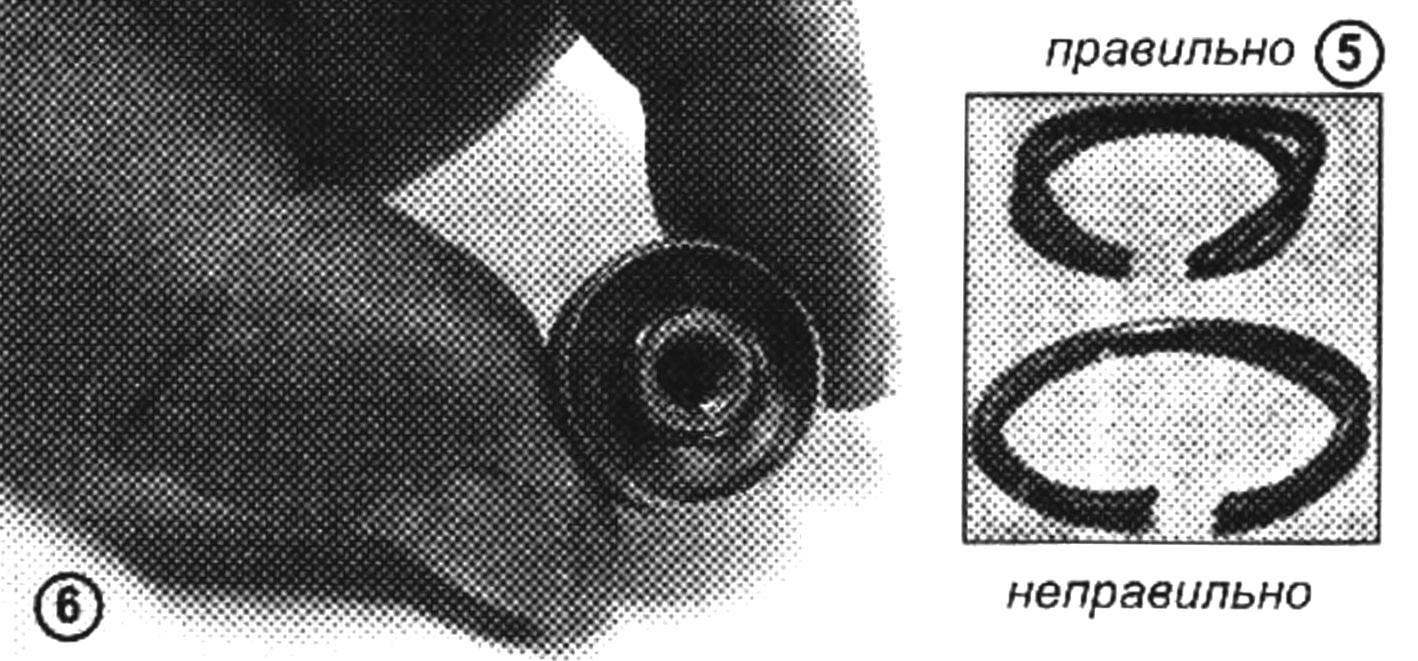
Remove it and Flex more for the same curvature (photo 6). After this install the ring back into the groove and screw on its place the limb. Next, with the same accuracy cat Nita firmly locking screw. The meter will work fine, just showing the number of shots.
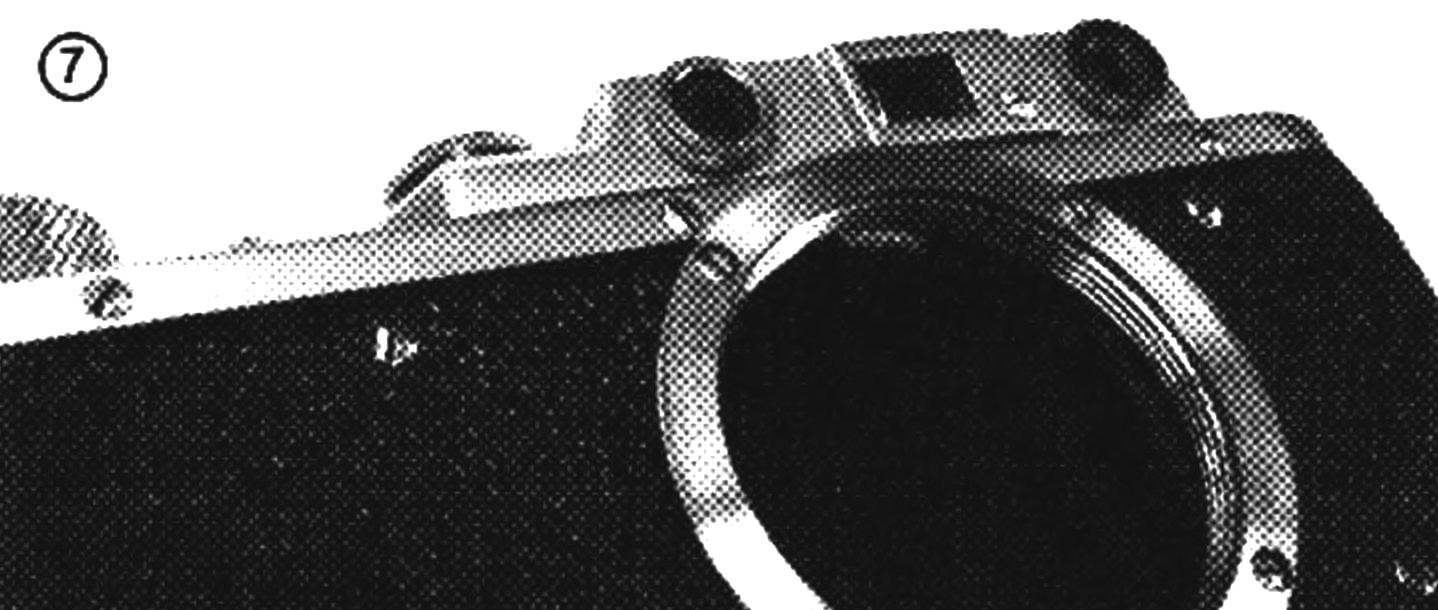
3. My rangefinder, and it is impossible to determine the distance to the subject
To find the fault first of all you must Unscrew the lens and check the rangefinder Cam (photo 7). If it turns out that he has been deviated in direction, you need to correct the following.
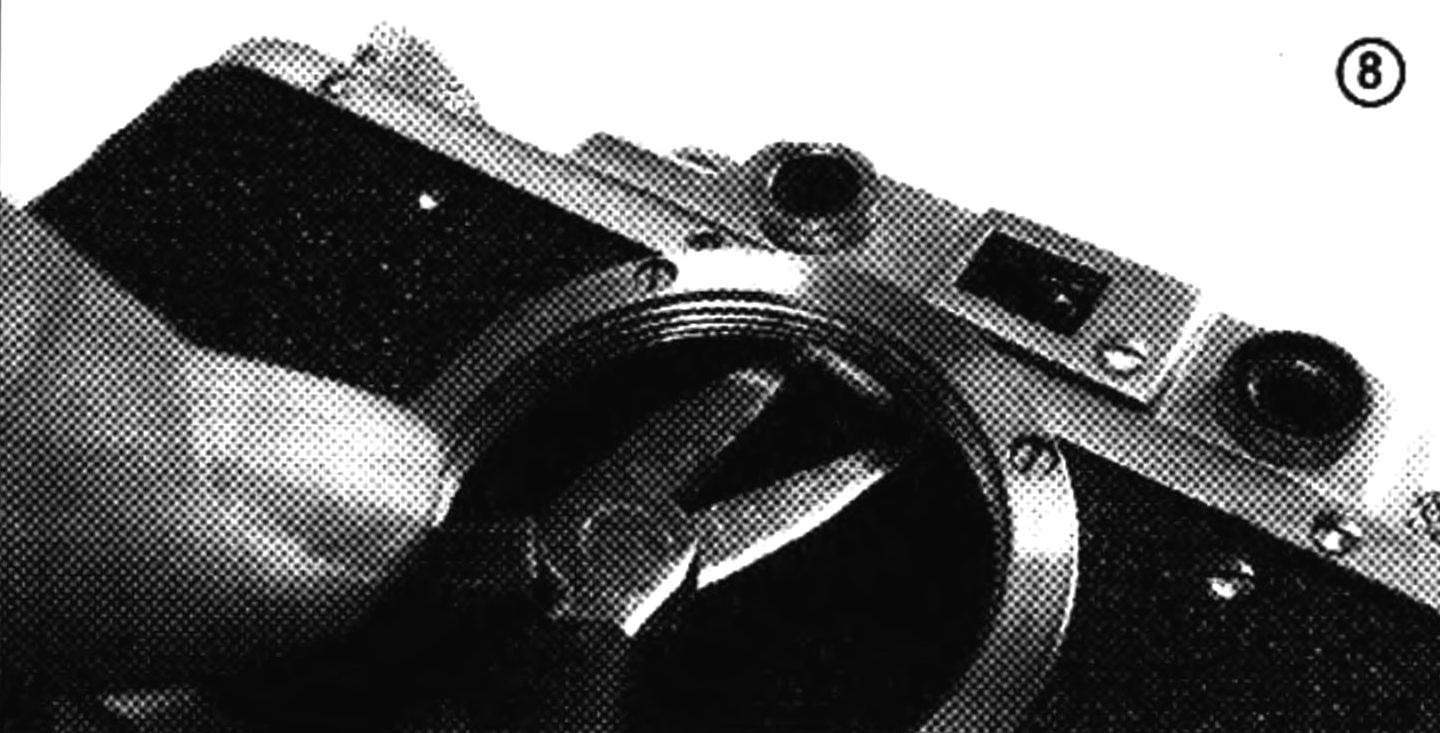
Take cord length of four meters, tie a brightly lit object and pull up to the machine (or just Vyberte distance of four meters between the camera and the object). Removing the lens, carefully, with pliers turn the Cam (photo 8) to vertical position (a short distance), after removing 1.5 turns and the locking screw, if any, in the plane of the Cam. Then by screwing the lens into the camera. install measure square footage on the four feet and check the alignment of the rangefinder.
If you fail thus to achieve full alignment, the alignment of the rangefinder performed by the retaining screw.
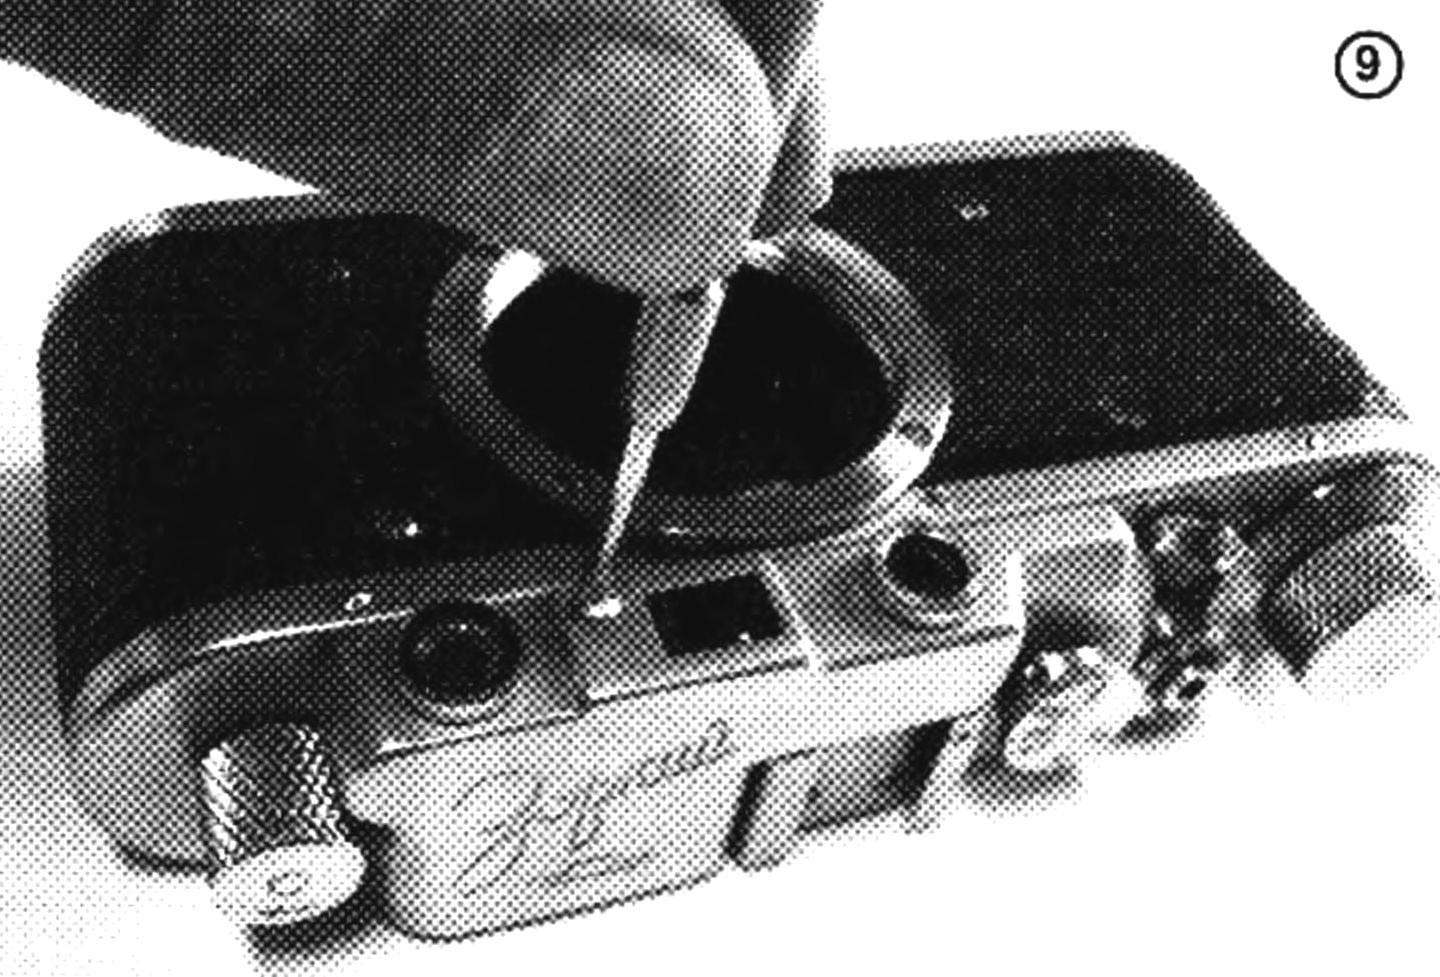
Removing the screw (photo 9) in the hole insert the screwdriver so subtle that it fell into the slot. Install the same distance and the same testimony to the PA scale and PA pointing to the same object, rotate the screwdriver in either direction until, until it is aligned horizontally, the image in the rangefinder. Such adjustment, of course, cannot be considered definitive, as it requires special conditions, tools, great skill and knowledge. But a way out was found, and you can feel confident to take photographs, especially if several diafragmirovanija lens. You can buy Fujifilm Instax wide 300 on the website.
Can happen the fault and this order: the tip on the focus alignment in the rangefinder no, it seemed off. In this case, remove the lens and press the lever of the rangefinder. You will notice that it is not returned back, like sticking in the down position.
To eliminate such a malfunction, press the index finger on the rangefinder Cam of the lever and moving it up and down until then, until the movement will not be free — it’s easy to feel when you release the lever after you bring him all the way down under the action of the spring it needs to return itself. In such operations it is necessary to try fie to move the Cam with its eccentric axis, if it is not fixed stopper.
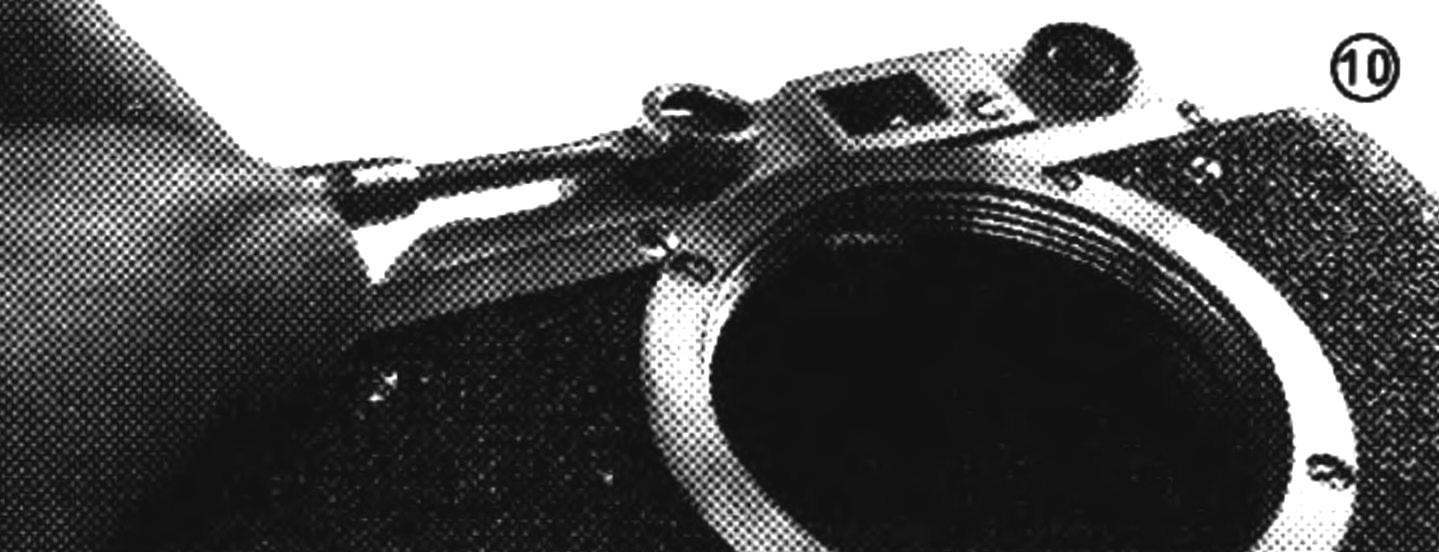
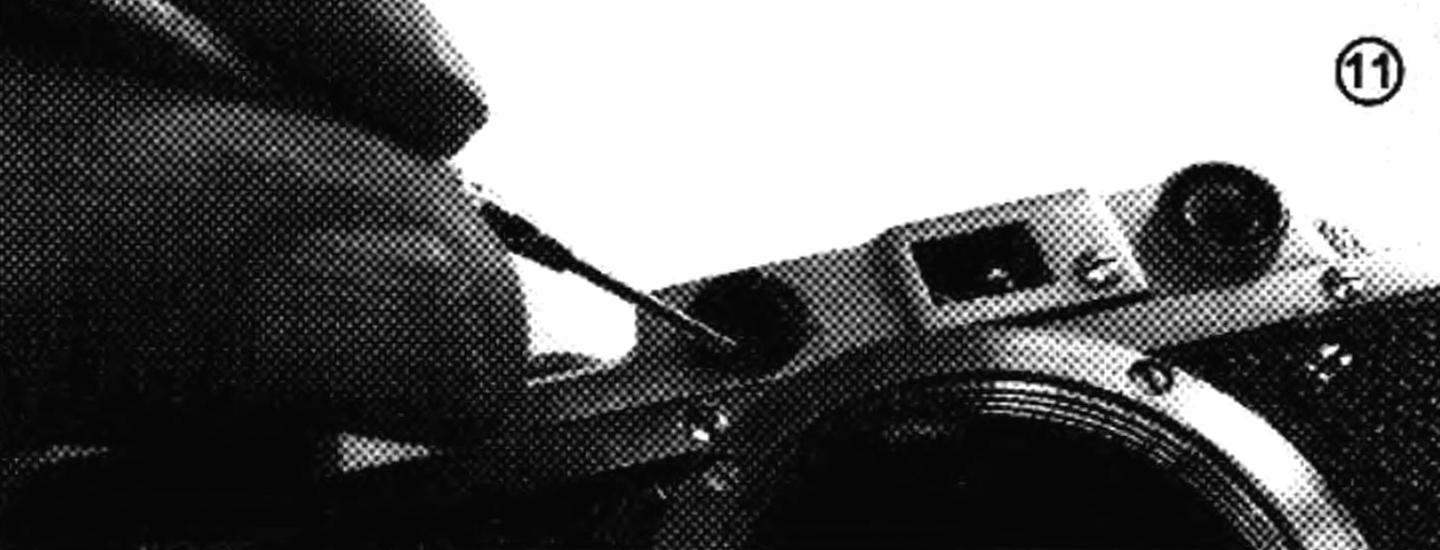
Often in practice the Amateur is found the fault of the meter, leading to double vision vertically (one over the other). It is eliminated in the following way: Unscrew, if possible, a decorative ring. If you cannot do this, then the trim ring, into the slot of the rim of the wedge, insert a thin screwdriver (photo 10 and 11) and turn the wedge a little in one direction or another. Then look at the meter and make a tip on a brightly lit point. If ghosting while moving closer. arrive so until then, until the subject will merge into one. If, on the contrary, the double vision is increased still further, the clip turn the other way until then, until it disappears.
(To be continued)
Recommend to read
 A CHAIR WITH A SECRET
Durable, reliable, sustainable, it gives the impression of a powerfully built all-in-one monolith. But it is worth a little bit more pressure towards each other the upper cross member of... ANGLE? PLEASE!
In most cases, the part is placed on the machine perpendicular to the processing tool. A simple device created by Odessa innovator, Tandit, provides a fast and secure workpiece at any...
