Building this sauna is not too difficult. It retains heat perfectly, is bright and spacious inside, and steaming here is much more enjoyable than in the well-known tourist steam room made from a regular tent. Over many years of use, this little bathhouse has proven itself in the best possible way.
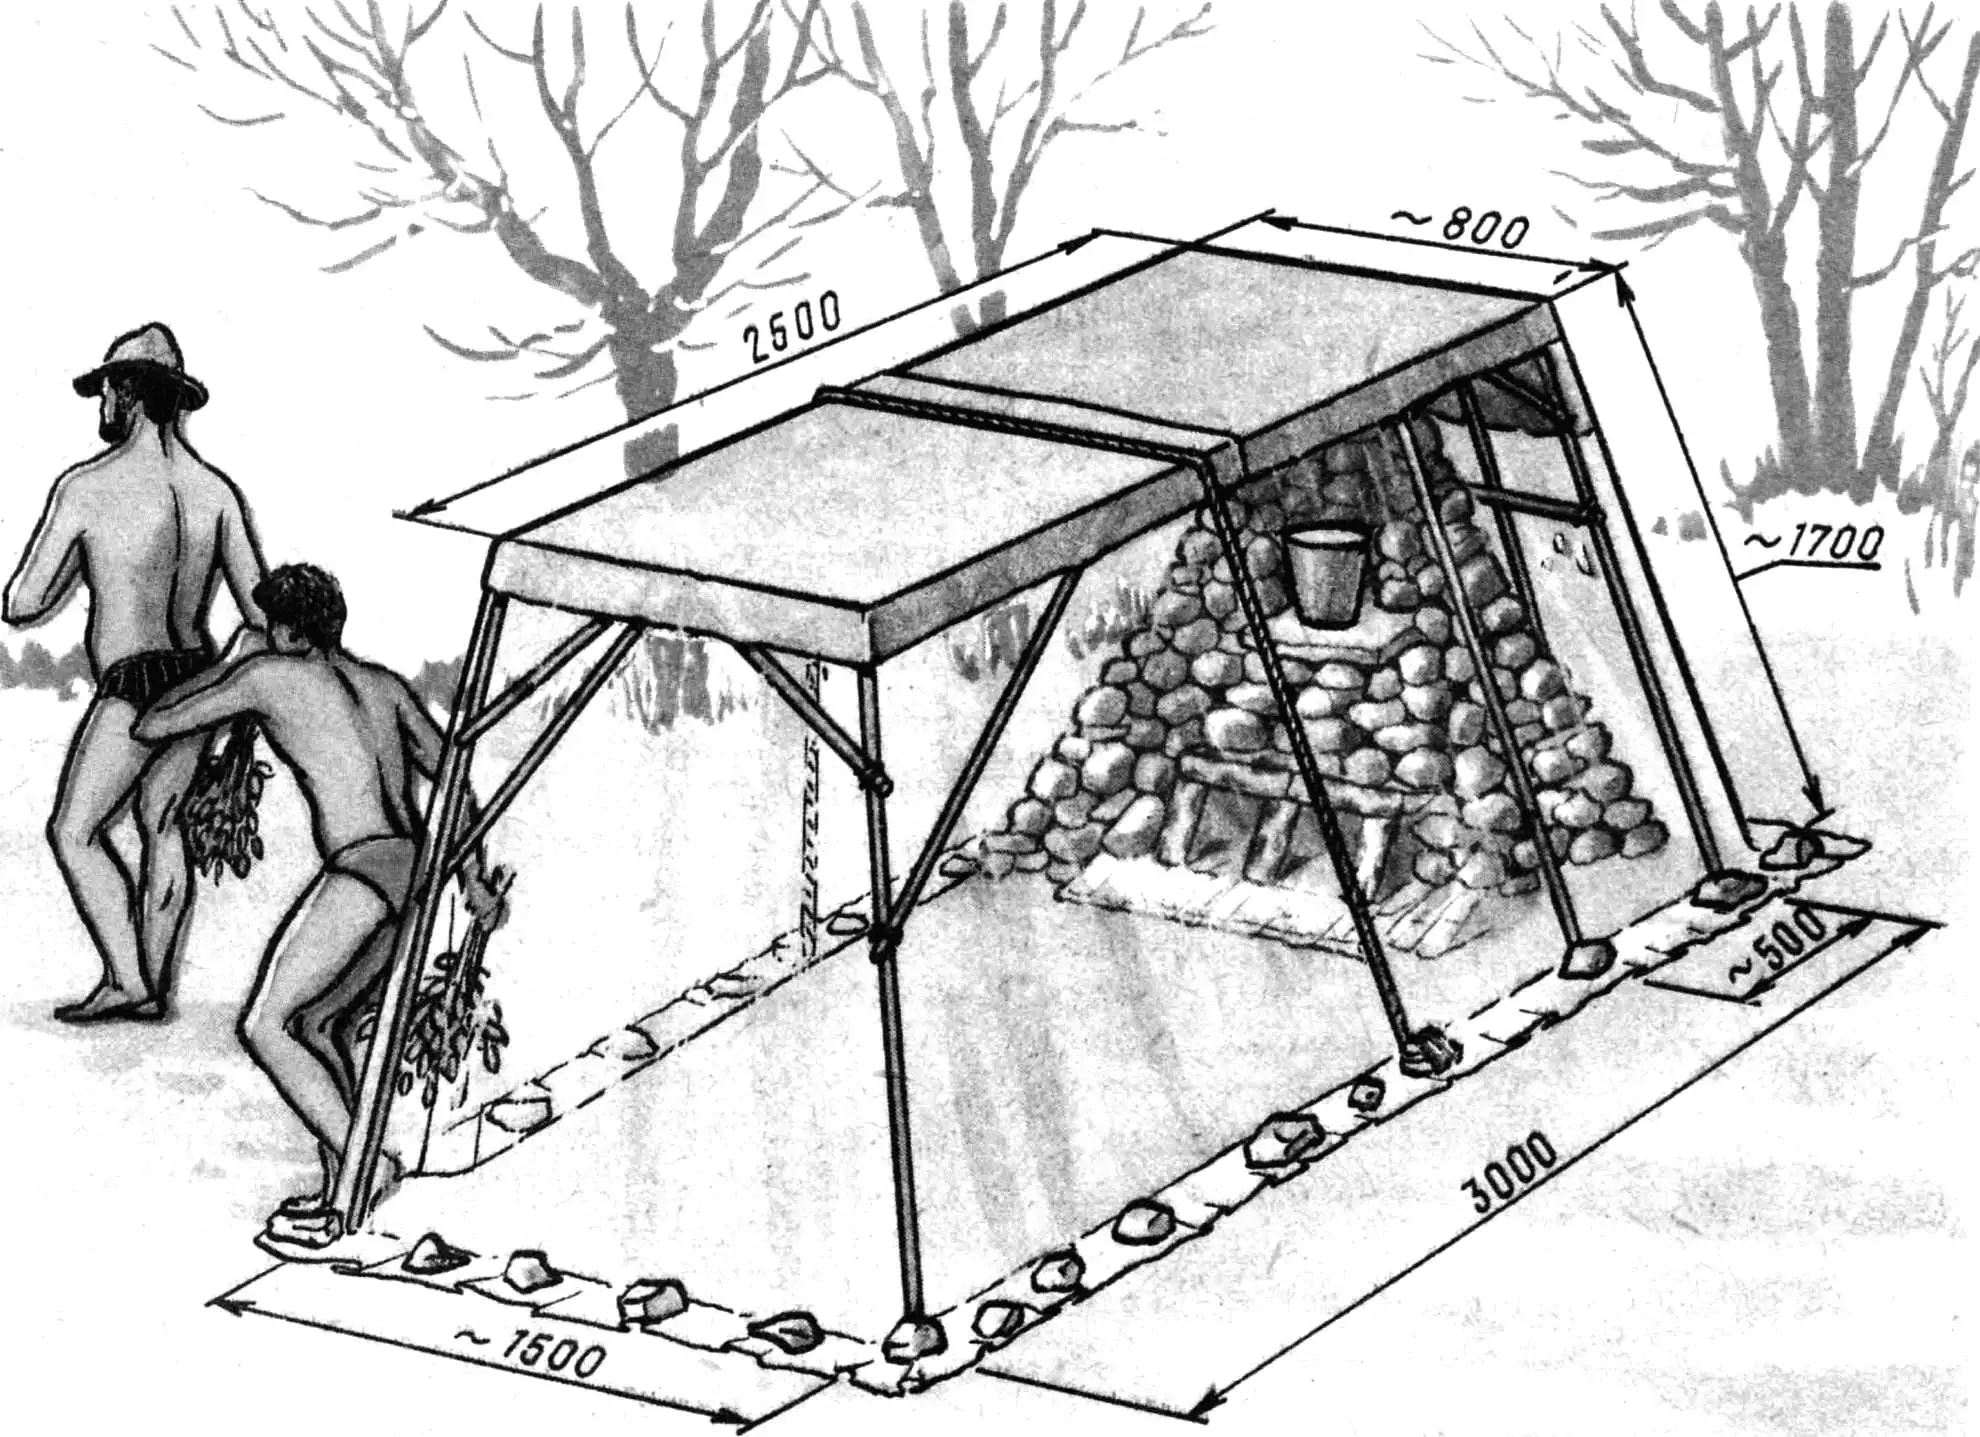
To make such a sauna, buy two polyethylene tent tarps measuring 3×5 m from a sporting goods store, cut a piece of fabric about 1.5×3 m in size, and also prepare ropes for connecting the frame elements. As for the boulders for the stove and poles — the future frame — they are selected on site.
The construction of the sauna begins with the stove. This is the most labor-intensive and responsible part of the work. On the bank of a river or another body of water where materials for the stove can be found, choose a flat area about 2×2 m in size. On one side of this area, lay out a square with a one-meter side from flat stones — this will be the foundation. Place elongated rectangular boulders as the side walls of the fireboxes, keeping them 20…30 cm apart. Their length should be 40…50 cm and height 30…40 cm. Finding such slabs is not easy, so the firebox walls can be made from smaller boulders. This is actually better — gaps between the stones will create better conditions for burning and heating the stove. On top of these boulders, place stone slabs so that there is an opening above the central part of the fireboxes (something like a chimney) through which the flames will rise into the upper part of the stove. The next layers of stones are also laid with a central opening left. The construction is topped with a small slab covering the central opening. This is where you can place cookware for heating water. The finished stove should have a conical shape and be 40…50 cm below the sauna’s ceiling. During the stove’s construction, the rear openings of the fireboxes are closed with boulders. Experience shows that the best results come from building the stove with two fireboxes.
So, the stove is ready. Now you need to light a fire in the fireboxes and keep it burning for 2…3 hours. Keep in mind that during the first heating, some stones will crack. This happens when moisture inside them turns into steam and bursts them. Even though this usually occurs inside the stove, it is still necessary to be careful.
The sauna frame is tied together at the same time as the stove is being built, although it can also be done during the heating process.
The stove is fenced off with additional posts so that the tarp does not touch it. The frame elements are tied with ropes. Wire is not suitable for this purpose because it heats up too much and melts the film. The frame should have no knots or sharp protrusions that can easily pierce the heated film.
When the stove is sufficiently heated, remove the ash from the fireboxes and pour water over any remaining embers. Wash off the ash and dust from the stove with a small amount of water. A fabric cover (you can also use raincoats or other clothing) is thrown over the frame to protect the film from the heat of the stove and prevent it from being damaged by the frame. Then, both polyethylene tarps are stretched over the frame. Their edges are pressed down with stones; in the overlap area, ensure the edges overlap by 30…40 cm. This area is secured with a rope thrown over the frame, with weights (small stones) tied to its ends. The sauna is also equipped with a kind of door — a lowered tarp with a slightly larger film overhang than on the side walls. Even in a not fully closed sauna, the air heats up very quickly. The only thing left is to get a birch whisk. The sauna can hold 3…4 people at the same time, and a single heating of the stove is enough for 10—15 people to enjoy a good steam.
Of course, it is most practical to set up such a sauna where you often or for long periods rest. A well-made frame and stove will serve you for more than one season — from spring to autumn. During your next vacation, you will only need to heat the stove and cover the frame with a tarp.
A. KOLODKO, Lviv
Recommend to read
 SIMPLE, BUT EFFECTIVE
Somehow I came across the article "Vitamin Jack" ("M-K" № 7, 1985), where the author writes that in the procurement of juices crushes apples with a wooden mallet in a small barrel. I...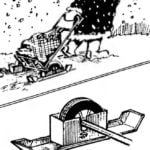 TRUCK WINTER SHOES
Always see during winter time old lady with difficulty dragged through the snow their shopping carts with products, and wheel trucks get stuck in the snow. I propose by analogy with the...
