The front of the chassis and suspension of the current collector explanation is not required. You need to highlight just some elements of the current collector and its amortization.
The plastic housing of the current collector is mounted pivotally in the node, which is a platform with soldered half of a clothing button. The hole for the pivot is drilled in the finished knot. Brushes attached to the body of the thin copper wire. Important detail — light spring, located on the axis of swing of the fork of the current collector. Its purpose is to provide a reliable contact of the brushes with tire tracks. Adjusting the spring force and the bending shape of the shoulders of the sleeve, to achieve satisfactory performance of the collector Assembly with minimal friction losses in a pair of “brush bus” and while maintaining sufficient load on the front axle (the model should not ride on the same rear wheels). A long coil spring fork, the front end attached to the body of the current collector, helps copy “to grab the track after skidding rear axle. Its elasticity is chosen empirically. But under significant tension of the restoring moment is too large, as a rule, this leads to a sharp wobbling on the track and release the model with the track.
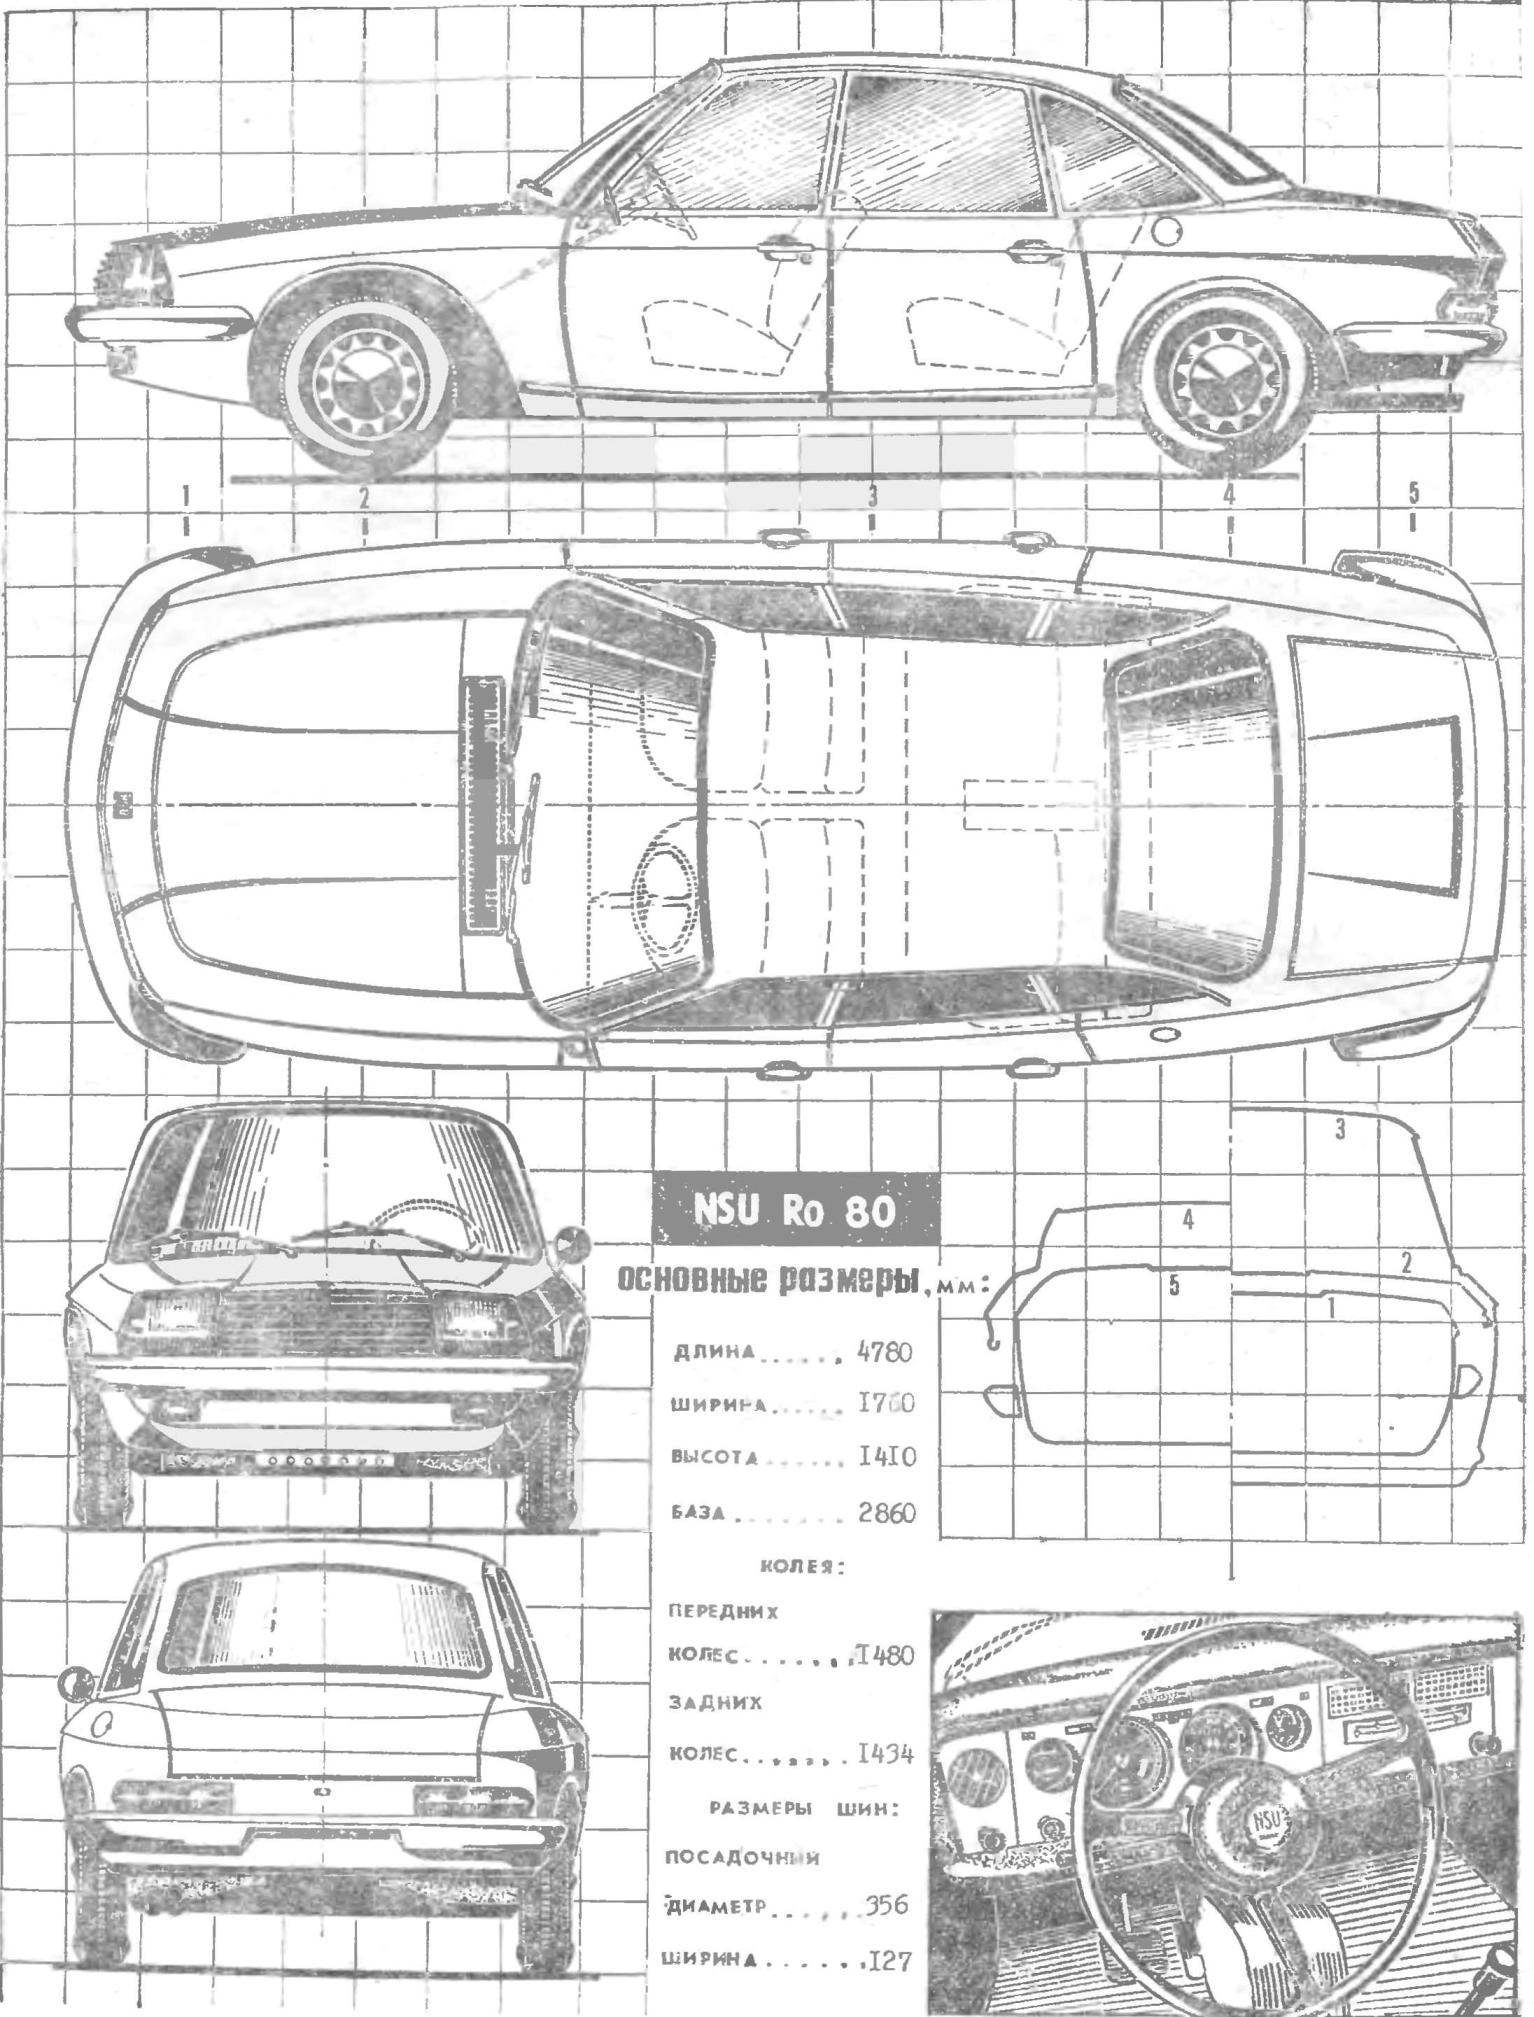
Passenger car NSU Ro-80. For 1 : 24 scale the dimensions of the cells 10X10 mm.
Having finished work for the Assembly of chassis, drive it without the body on the highway at high speeds. When shocks to identify soldering defects. Strengthening weak areas with additional solder, you can begin installing the body. In it the foam part you need to seal the wooden box with studs. The chassis is put on it the reference sites and clamped with nuts. Back mount falls, and the leading axle is sprung by elasticity of the longitudinal bars of the frame. The gap between the housing and the rear wheels may at the time of arrival when congestion disappear. Get rid of freezes possible by removing the extra foam or by installing pads under the supporting platform of the chassis.
The car for the engine. In the mid 60-ies appeared the engine, which promised a revolution in the automotive industry. It was a rotary engine, was developed by designer Wakelam. Tests showed that it consumes a little fuel, unpretentious quality, and size is less than regular gasoline. However, in those years, high hopes, pinned on the “Wankel” is the name assigned to the new type of engine, did not materialize. For operation with such a unit was established only a few cars built in relatively small series. Among them Ro-80 West by the NSO.
Designers, feel free to use on your new brainchild of the rotary engine, managed to achieve the harmonious unity of all units. This helped unusual approach to design. Not the “Wankel” was adapted to the car, but on the contrary, the car was created for this motor. A specially designed semi-automatic transmission, disc brakes, independent suspension. Designers managed to design the body with good aerodynamics. Rounded front and a relatively narrow rear portion has led the air resistance is 30% smaller than other machines of this class. Small size of the “Wankel” has allowed to lower the hood line, the view improved, the contours of the body acquired a more rapid shape.
The cars were of different colors — black, cherry, chocolate, white, light gray, blue.
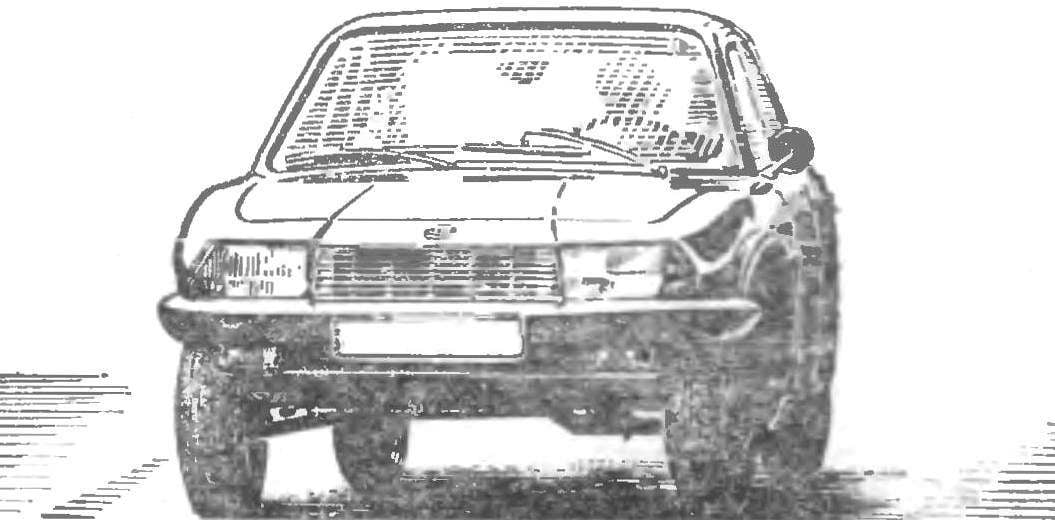
Outside they had a lot of chrome parts: conical wheel covers, bumpers, exhaust pipes, door handles and locks, grille, wipers, lower molding, door mirrors and window frames. Glazed interior colorless. The turn signal indicators light orange. Svatopluk, who continued the line of the bonnet, slightly recessed and enclosed in a thin chrome frame. Colorless glass sidelights are vertical the risks and also enclosed in a chrome frame, they are recessed into the body of the car under the bumper. Rear Svatopluk invoice. The color of light from the center to the periphery: yellow, red, white. The interface of svatopluka with the body there is a thin chrome frame. On the bonnet — Nickel plated brand companies in the blue box. The wheels are gray.
The principle of formation of the body of Ro-80 “the third volume above the first” has withstood the test of time and is widely used in modern cars. But the Ro-80 has not won great popularity. The reason? The vagaries of exploitation “Wankel”. Promelkom a bright star in the showrooms, Ro-80 did not become a mass car, although issued from time to time for fans of automotive Exotica.
 For the first time this model has established itself in the open championship of Rostov-on-don in 1982. Representing syut Tushino district of Moscow Dima Gajewski managed to bypass with a little Ro-80 all the opponents and won first place. Key to his success was not only a high skill of driving a high-speed microcosm of the intricate track, but also the correct choice of prototype, a competent design of body and chassis model. About the model D. Gaevskogo says the head of the circle, which involved the winner of the championship, — V. Nikolaichuk.