And suddenly I have to abandon the pointer! Then what? Put on tank patch! Better to look for another solution.
Let’s try to start from control panel. It is desirable that the dial had hour type. This means that you will need tonic gear — how else to transmit the rotation angle of 99°? Besides, the gear ratio of such a pair must be at least five units, that is, the bevel gear ka lever should be larger in diameter. Yes, through the neck of the tank it all inside it will not push… Is to abandon this scheme!
The fuel gauge for motorcycle:
1 — protective glass, 2 — spacer, 3 — hand, 4 — scale, 5 — sleeve, 6 — rubber gasket 7 — shell gas tank, 8 — washer, 9 — nut, 10, the Central gear 11 — gear shaft, 12 — notched, 13 — bracket-plug, 14 — the lever of a float 15 — float (a plastic bottle).
And that, in fact, makes use of a conical couple. Not easy to take the spur gear off any toy with a spring plant and to make the toothed sector, which is a part of castle gear!
The fuel gauge was quite easy, and besides, when mounting the tank remained almost untouched — it was securelevels only one hole. All the details of the mechanism I’m cut from a sheet of brass, but would fit and aluminum. The only chiseled detail of the Central bushing, and it is in principle possible to replace the tube, which is threaded or drilled along the axis of the bolt.
Let not bother you lack the drawing dimensions depend on the parameters of the Central gear. A few tips on making gear sector. You start out by cutting the workpiece along the contour, and then, causing the arc mm layer of clay, roll it to the Central gear. Places prints nutriveda, then needle files are cut teeth. Their height must be larger than that of the Central six. Now we have to carefully bend each tooth at 90°. Ate pre-Assembly mutually break in the gears, ensuring smooth engagement, without jamming and backlash.
A few words about the calibration of an instrument. Will aleite on the cupboard pointer sheet of paper and using liter jars, fill the tank, marking with a pencil the position of the arrow. After finishing this procedure, move the graduations on the sawed plastic scale.
I. SERGEEV, engineer
Recommend to read
 Office Screen
If there is no separate children's room in the apartment, organizing a workspace for a schoolchild is not so simple, and even more so if there are two students in the family. However, even...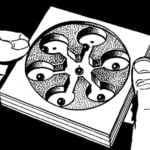 GOLF… ON THE PALM
One who has seen how you play in real Golf, involuntarily amazed at the skill of the players, uhitryaetsya exact impact bits to send a small ball through a huge grass field as close as...
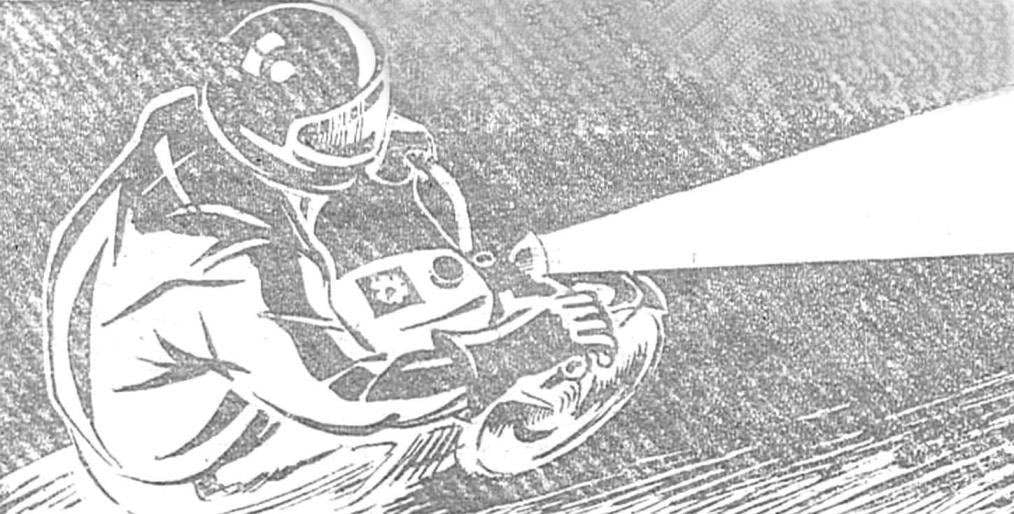
 The motor “cut” suddenly, unexpectedly. Include prasu “flasher”, I pulled over to the side. The sudden failure of the engine of the motorcycle has a simple explanation: ran out of fuel. And it seemed that fuel would be enough to the nearest gas station. To avoid mistakes in the future, decided to make a simple device to determine the amount of fuel in the tank, without looking at him.