
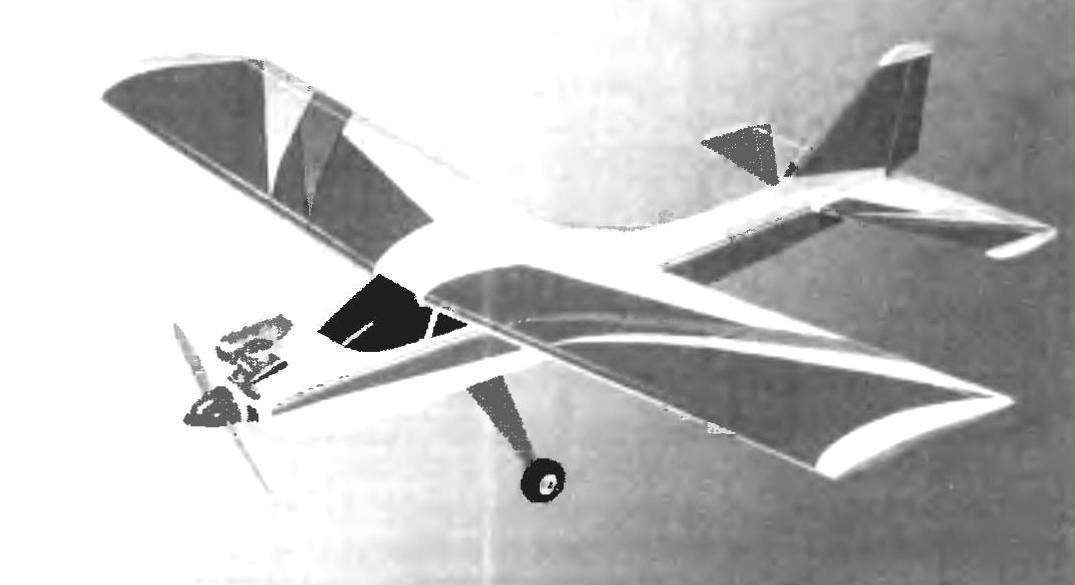
 Simple radio-controlled model aircraft. Considered to be the creation of radio controlled model aircraft — the inheritance of true craftsmen-modelers. Many also think that a good RC-model to do at home is almost impossible There is also a view that it is easier and cheaper to buy original parts kit and assemble the model, developed by professionals to fly which is guaranteed to be decent.
However, practice shows that a well-flying model can be done even in the kitchen there is a will and at least minimal experience in creating flying models. Time on its creation will leave not so much the cost of the homemade product is significantly less than the price of a kit of parts from the store.
So, let’s start To work you will need a couple sharp knives, a miniature “model aircraft” planer, jig saw and sandpaper of different grits. Materials — 1-mm plywood, balsa plate with a thickness of 1, 3 and 6 mm. you Can certainly do without the balsa, using for example a light saw, but in this case it is necessary to recalculate the thickness of the security elements according to their density and strength.
Work it is best to start with the wing Assembly. The design is very simple — it is rectangular with a constant profile along the span without angle “V”. For those who had the opportunity to do patterned wings cord models, in this work will not practically nothing new, Nothing except profiling the wide front edge.
After harvesting rib edges, the butts and the walls of the longitudinal panels and sewing the center section of the frame is going on the simplest slipway (flat Board), all of its elements are fixed with pins. After that, all the joints of the spilled epoxy glue, slightly diluted with acetone will make Sure that the frame wing had no twist to remove it will be possible only until the glue retains plasticity.

The geometric scheme of training for RC model airplane
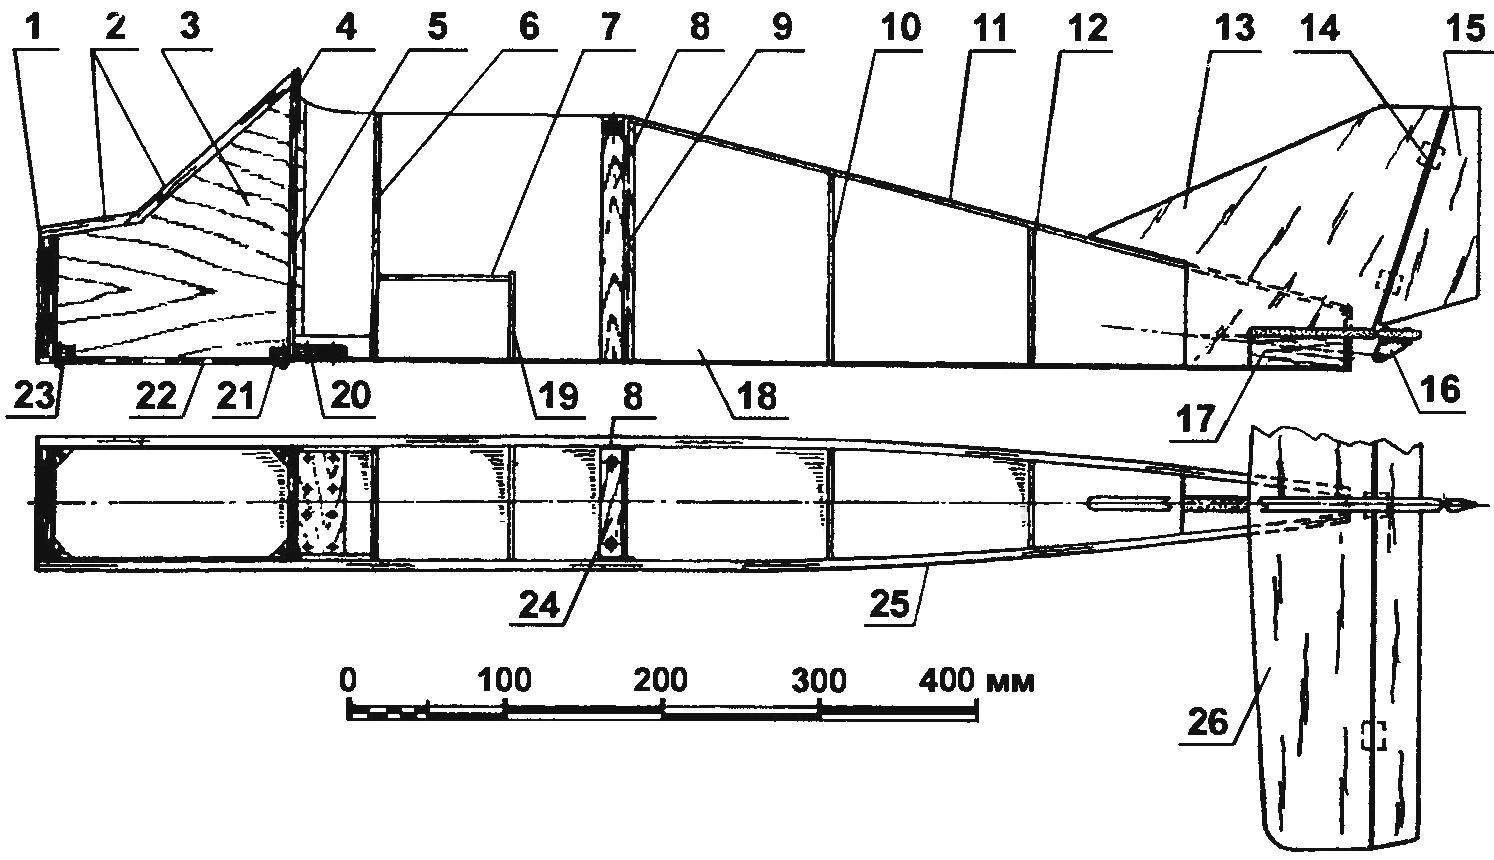
The fuselage of the model (the planned projection of the upper cladding is not shown):
1 — frame No. 1 (switching from plywood s8); 2 — covering the front part (balsa plate s5); 3 — strengthening the front part (plywood, s1,2); 4 — reinforcement of bulkhead (plywood s1); 5 — frame № 2 (plywood s3); 6,19— Board support servos (plywood s3); 7 fee servos (plywood s3); 8 — strengthening (plywood s1); 9 — frame № 3 (plywood s3); 10 — frame № 4 (balsa, s3); 11 —covering the top of the fuselage (balsa plate s3); 12 — frame № 5 (balsa, plate, s3); 13 — keel (balsa plate s6); 14 — loop type Termik; 15— rudder (balsa plate s6); 16 — pylon rudder (aluminum, s2); 17 — tail boss (balsa); 18 — sheathing the lower part of the fuselage (plywood s1); 20 — pole spring chassis (plywood s10); 21 — Klondike (plywood s8); 22 hatch cover (plywood s3); 23 — self-tapping screw Ø3; 24 — rear wing support (plywood s10); a 25 sidewall of the fuselage (balsa plate s5); 26 — horizontal tail
After curing epoxy resin glue panel, sewing the center section and all other parts, and then using a miniature plane profiled front edge of the wing. Finally, the frame Marquesa (aligned) — to do this you need a tool consisting of a flat plank with glued on her skin.
The finished wing is fitted by a Mylar film (the technology of this process has been repeatedly described in the journal “modelist-Konstruktor”) film or Monocote. It should be noted that a wing of this design, the trim is running, it perceives the stresses resulting from twisting of the wing. Accordingly, the rigidity of the LM should be high enough.
The fuselage is simple. However, this simplicity is achieved by the massive use of balsa, but now, according to the brochures of the model shops, to get not so difficult.
The sides of the fuselage represent the balsa plate with a thickness of 5 mm on top of the fuselage sewn 3-mm plates, and the bottom is 1 mm plywood (the ply direction perpendicular to the longitudinal axis of the model). The first (power, motor) frame cut from 8mm plywood, although much more reliable detail is obtained from 6-mm plywood, laminated both sides with 1 mm plywood or 1-mm fiberglass. Frames middle part of the fuselage (second, third and fourth) is from 3 mm plywood, and the frames of the tail section cut from a 3 mm balsa plate.
Work on the production of the fuselage begins with the preparation of the sidewalls and plywood frames. Then they stick sewing of the bow, increased by a fourth frame and the strengthening bar under the spring mounts to the chassis, and also through the 1-mm plywood is enhanced by the upper part of the second frame in the area of the holes for pin fixation wing
Pre-Assembly of the fuselage was already well-established when you build the wing technology is made using safety pins and clothes pegs. For tightening of the sidewalls in the rear it is recommended to use strips of cross section not less than 10×10 mm — they are in pairs located on each side of the fuselage vertically, each pair opposite one of the frames, and then these rails on the top and bottom are pulled together the rubber harnesses.
After posting the control rods (it is desirable to use a model “bodeni”) all joints assembled thus shed of the fuselage with epoxy glue (it is also preferably slightly diluted with acetone). The finished fuselage vyshkurivaetsya film and is covered with Monocote.
Vertical and horizontal tail carved from balsa plates with the thickness of 5-6 mm. the installation Angle of the stabilizer is zero degrees. Hinge the elevators and rudder is done using loops such as “thermals”.
Spring chassis is cut from sheet duralumin D16T with a thickness of 3 mm; the width of the spring at the wheel is 15 mm, the fuselage is 40 mm. Wheel type “thermals” with a diameter of 80 mm, but, in principle, fit and plastic wheels with rubber tyres from children’s toys.
The model can be operated with engine capacity of 6,5—7,0 cm3 — for example, motor O. S. MAX 40 or even domestic “rainbow 7”. However, the latter without significant improvements not recommended — before installing it on the model will have to eliminate significant vibration of the engine, and also bring to mind radiolaboratory, and this without experience on fine-tuning model engines very difficult to do.
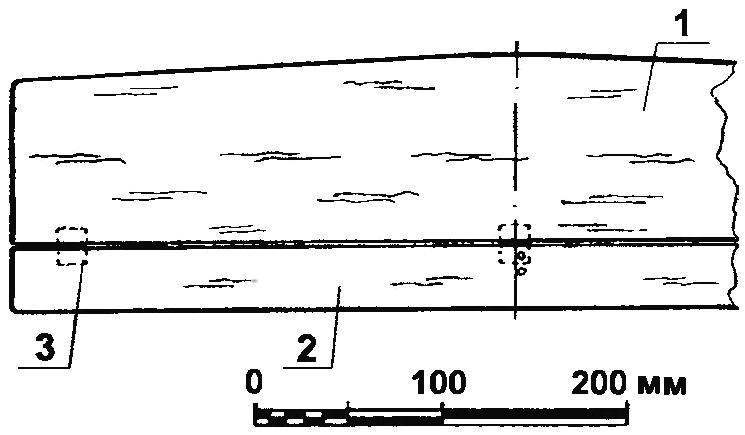
Horizontal tail:
1 — stabilizer (balsa plate s6); 2 — Elevator (balsa plate s6); 3 — loop type Termik
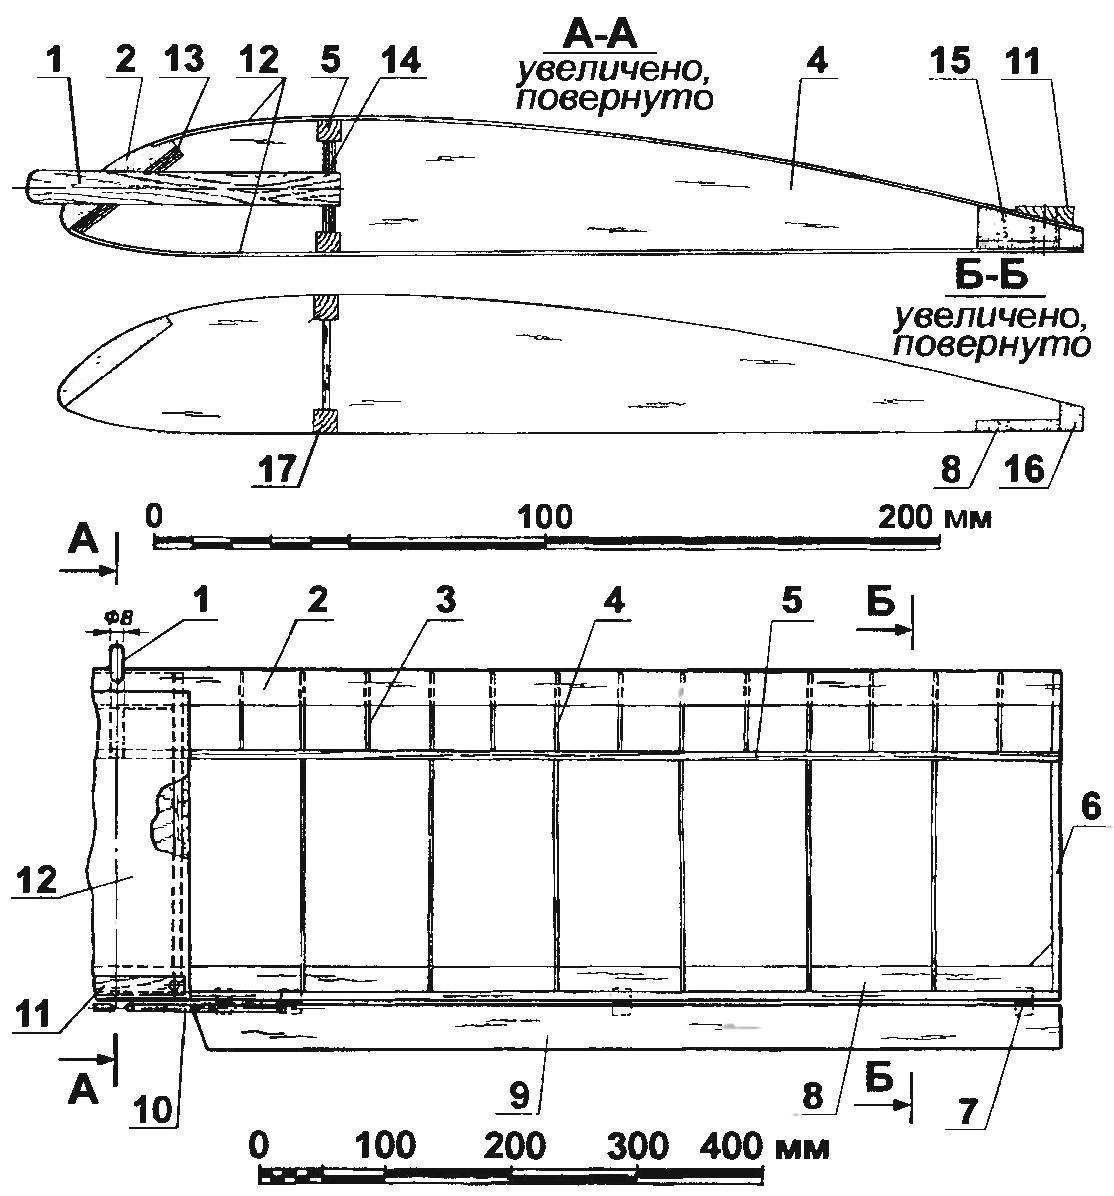
The frame of the wing of the model:
1 — pin fixation wing (beech, rod Ø8); 2 — the leading edge (balsa rail 6×35); 3 — Polonnaruwa (balsa plate s3); 4 — rib (balsa plate s3); 5,17 — beam flange (pine, rail 6×6); 6 — end rib (balsa plate s6); 7 — loop type Termik; 8 — trailing edge (balsa rail 3×20); 9 — Aileron (balsa plate 6×35); 10 — torsion (steel, wire Ø2. 5); 11 — gain (beech, rake 3×15); 12 — a lining of the Central part of the wing (plywood s1); 13 — strengthening the front edge (plywood, s3); 14 — the wall of the spar (balsa plate s3); 15 — strengthening the trailing edge (balsa plate s10); 16 — trim trailing edge (balsa rail 6×8)
Fuel tank made of a suitable plastic bottle. You must make sure that the material of the bottle does not dissolve components of the fuel. Tank is located in the first compartment of the fuselage (just behind the engine) on the balsa lodgements-polosamota. Drainage and supply pipes, made of silicone blanks are skipped in the engine compartment, through the power (first) frame. Manhole cover of the first compartment are cut from 3-mm plywood fixed to the hatch at the bottom of the fuselage with four screws-tapping screws.
The alignment model is 20 percent chord of the wing. Wing setting angle is zero degrees relative to the flat lower surface of the wing. The deflection angles of the ailerons in both directions and 15 degrees, rudder in both directions — 20 degrees.
Servos, receiver and power supply mounted in the fuselage, slots in the plywood plate.
The model is well established as training — she flies very stable, takes off at full throttle with little or no intervention of the pilot, the mileage when the takeoff is two or three meters. With a stopped engine good plans and easy to sit.
I. SILVER
Recommend to read
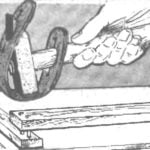 A “SOFT” HAMMER
If you pin, as shown in the illustration, a conventional hammer with a thin layer of polyurethane or of thick rawhide, it becomes possible to use it during the Assembly of panel...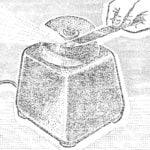 SHARPENS… JUICER
Can't do DIY without a bench grinder. Knives, drills, screwdrivers, chisels, core bit and many more tools are always in order, if the house has abrasive wheel. Those who have not yet got...
