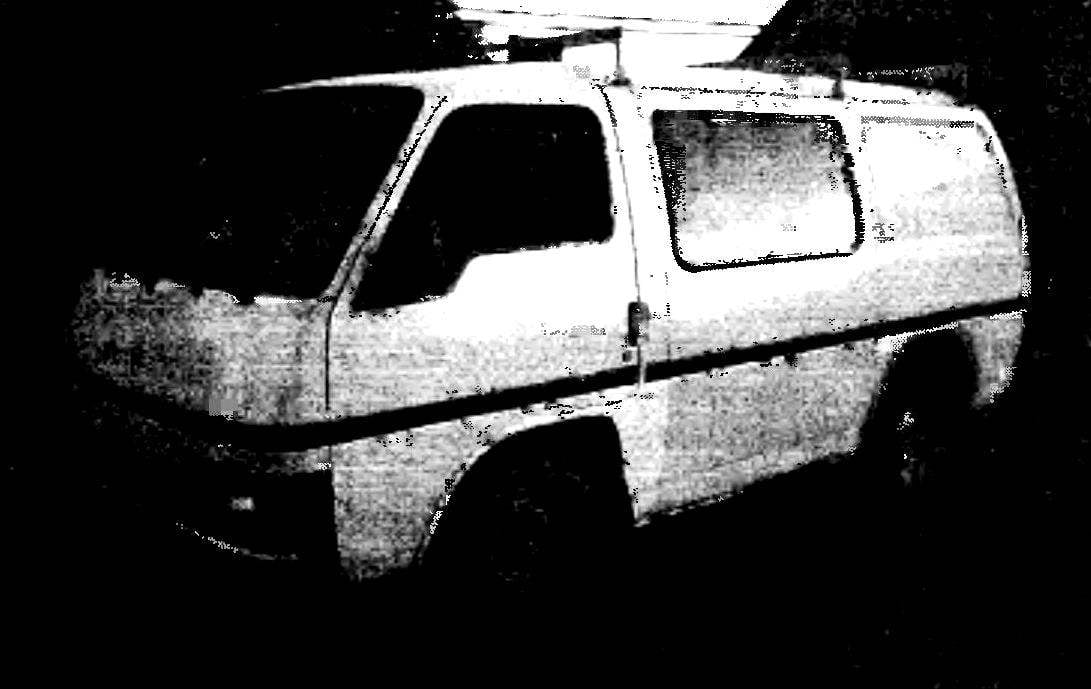
 Who more who less, but there is a need to transport long or bulky cargo which does not fit inside of the car.
 Designers have already come up with for these purposes a versatile boot that is suitable for most domestic cars mount to the roof gutter channel. However, for my minivan ISUZU it without the alterations were not good. Signature the trunks, if available, very expensive. So for my car made it myself.
The trunk consists of three rods, cross members on a pair of stands each with an average cross member, compared with two (front and rear) — reinforced.
All the details of cross made of pipes of square section 20×20 mm. But this is not an example to follow. So, instead of the double pipe secondary crossmember it would be better to use a pipe cross-section 40×20, setting it on the edge (giving the broad wall vertically), and scarves extreme rods run from sheet steel.
But at the time of manufacture I have only had tube 20×20. Yes, and the whole structure was conceived initially as a pilot. However, according to folk wisdom: there is nothing permanent than temporary. And I did — the trunk was intensively and successfully operated, and about the alteration more thought.
Sometimes there is the need to transport General cargo — in this case the rod was laid a sheet of plywood 6 mm thick — it can withstand weight up to 50 kg. And more on the roof of the trunk to carry and should not be.
In the rods of the crossmember and the rack I have joined at a right angle, although to improve the look of them better would be to dock at a sharp angle. To the lower end of each strut is welded a bracket for mounting the rod to the roof of the car, or rather, to the roof gutter channel.
Bracket — detail of the most complex of all, and to make it in a home workshop, not every craftsman can. So I picked up her ready — assembled clip to seal the end of the rope into a noose. She has to sell. Frankly, this detail inspired me to the design of the trunk.

Clip for sealing the cable end into the loop:
1—frame; 2—stud; 3—an overlay; 4—a nut.

Rear bar (the front is the same).

The average post.

Fixing rods of the trunk to drain the grooves of car body.

The fastening rod of the boot to the drainage groove of the body of the car:
1—the roof of the car body, 2—handle (steel pipe 20×20); 3—amplifier (steel tube 20×20); 4—stand rod (steel tube 20×20, 2); 5—heel (place of incorporation); 6 – pad; 7—nut M8 (2 PCs); 8—stud M8 (2 PCs); 9—gasket (polyethylene); 10— drain groove; 11—filler (hose or cable).
The clip itself consists of a cradle (which is welded to the rack) with two pressed into him studs M8 pads and a pair of nuts.
The most important point during the docking cradle (which will serve as a heel for the strut rod) and the stand — definition of angle of inclination of the first against the second. He should strictly conform to the angle of inclination of the bottom of the groove to the horizon. Otherwise when you install the rods can bend and even tear away from the roof channel. This tilt angle provided by a corresponding cut of the lower end of the bar.
All sizes of crossbars, racks and mounting angle brackets — customized for each brand of car so the last of them do not even cite.
Some tips on mounting the trunk on the car
First. To avoid damage to the paint on the drainage grooves of the car body, between it and the rod fasteners it is desirable to lay polihlorvinilovye strip.
Second. To mount with the installation of led (not twisted), hollow cradle the heel you need to put the suitable diameter segments of rubber hose or cable.
S. DENISOV, Orsk, Orenburg oblast


