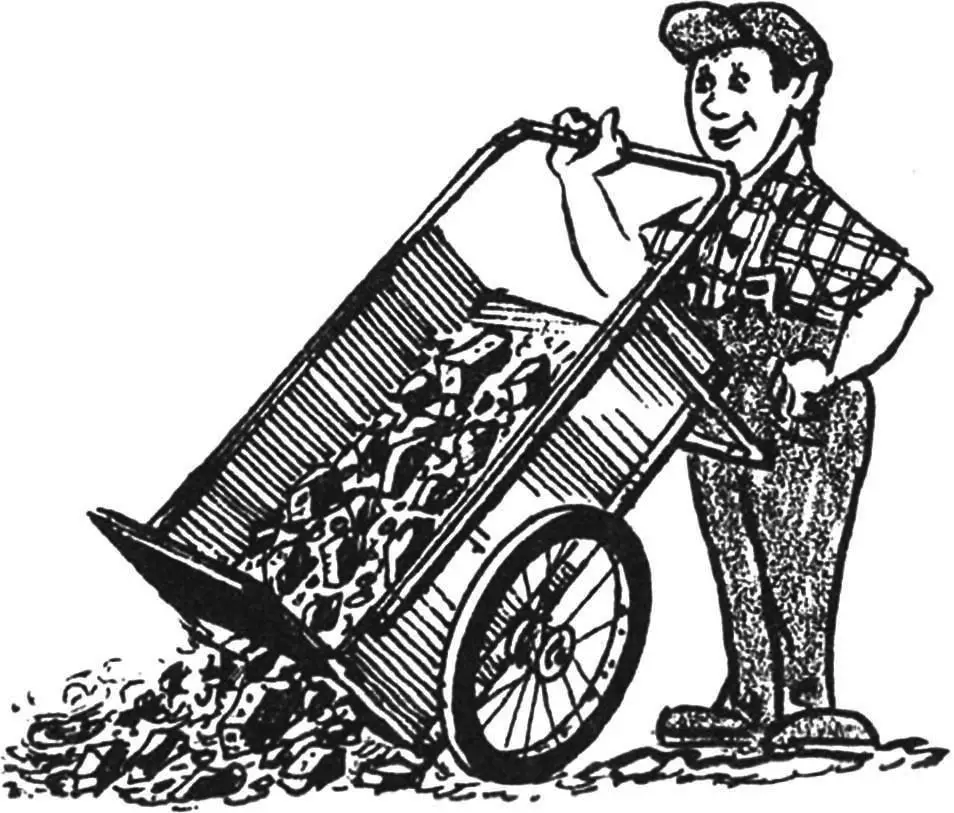
To make this light and convenient cart — an indispensable helper for gardeners and farmers — you will only need what can be found in any dacha or farm. But it will serve on any auxiliary work: move delivered cargo to the right place, bring planting material, go for water with canisters.
Thanks to bicycle wheels, it has better cross-country ability compared to a wheelbarrow, and a removable side makes it a dump cart when unloading bulk materials — sand, humus, soil.
BODY
It is assembled from suitable leftover building materials. The simplest, of course, is to use plywood, even thin plywood. It can be taken in two layers, fastening them together along the edge with bent nails or gluing with any available glue or old oil paint. Such a body is lighter. But panel bottom and sides are also possible — from particleboard or thin boards like clapboard, joined into a single plane on transverse bars.
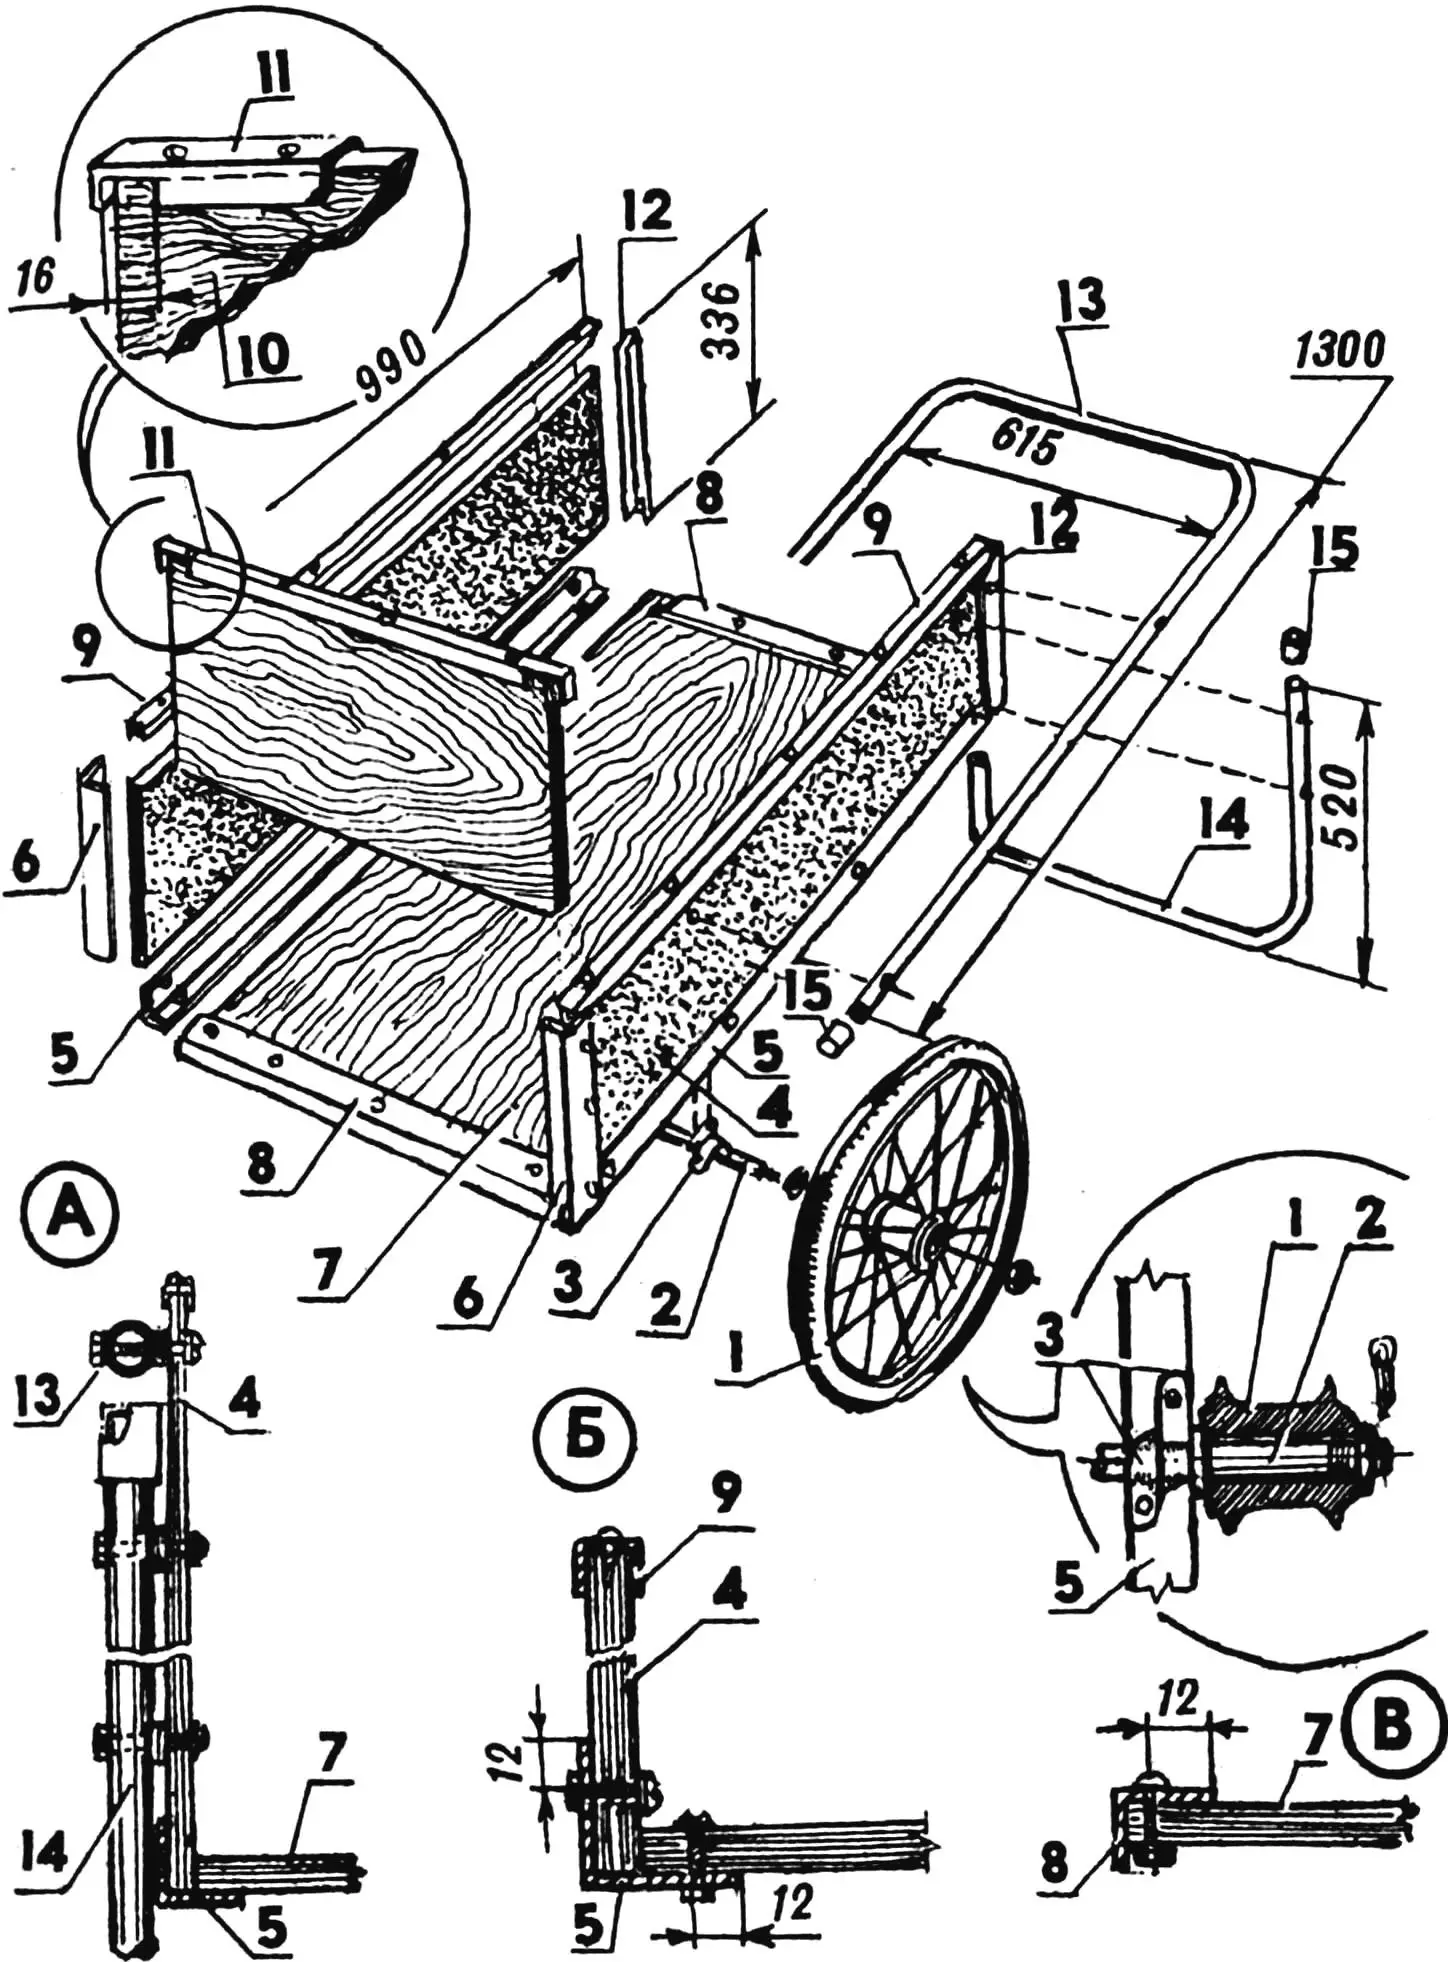
1 — bicycle wheel; 2 — axle (steel, rod); 3 — axle brackets (steel, strip); 4 — body sides (plywood s12, 987×330); 5 — horizontal body joining angles; 6 — vertical body joining angles; 7 — body bottom (plywood s12, 1000×580); 8 — bottom edging; 9,12 — side edging; 10 — removable body side (plywood s12, 604×315); 11 — removable body side edging; 13 — handle (steel, 1/2″ pipe); 14 — support (steel, 1/2″ pipe); 15 — plugs. A — attachment of support and handle to side; B — side edging and joint with bottom; C — bottom edging
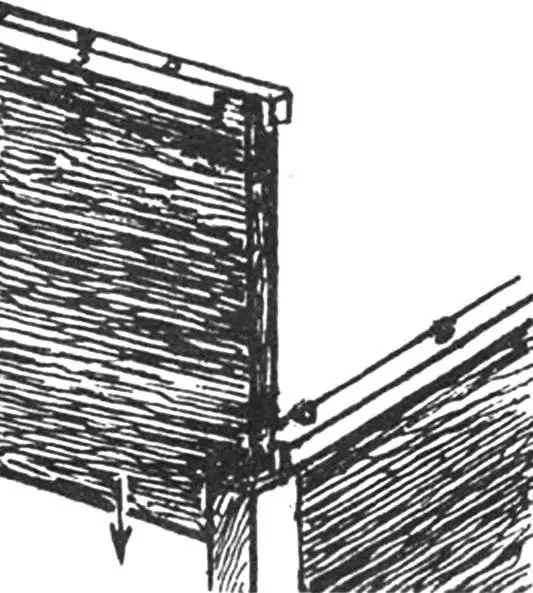
The upper and vertical edges of the sides, as well as the upper edge of the removable body side, are edged with a U-shaped duralumin profile for strength. The front and rear edges of the bottom are reinforced in the same way. The other edges of the panels do not require special reinforcement, as the sides are connected to the bottom with 30x30x3 mm metal angles. Angles are also installed at the joints of the sides with the removable side (with some offset from the sides to form grooves for inserting the side). The side thus ends up between the ends of the sides and the angles and does not require additional fastening. In addition, its upper edging at the ends is made in the form of hooks for connection with the angles “in a lock”.
RUNNING GEAR
After the body is assembled, you can proceed to mounting the running gear. Two identical bicycle wheels are selected (preferably front ones). If there is a welding machine, their axles are welded end-to-end to a metal rod that serves as a common axle.
If welding is not available, the wheel axle hubs are disassembled, the wheels are put on the common axle and fixed with nuts and washers (if the ends are threaded) or cotter pins at the ends of the axle. Before mounting, the axle hubs are generously filled with thick grease (for example, solidol).
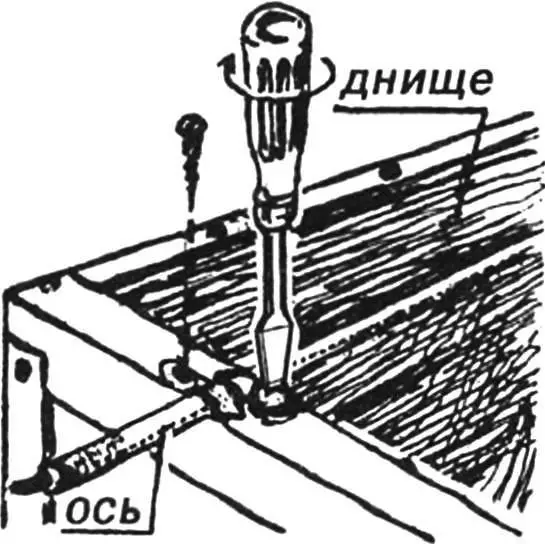
The axle is attached to the body angles with metal strips: holes are drilled at the ends of each, then the strips wrap around the axle and are screwed with bolts or, as a last resort, screws. The axle mounting location is chosen so that it is at a distance of approximately one third of the cart length, then the weight load on the hands, taking into account the inclined position of the cart during cargo transport, will be less.
HANDLE AND SUPPORT
Gas or water pipes are suitable for making the cart handle and support. Their U-shaped form can be obtained on a standard pipe bending device or on a pre-made wooden template, the same for both the handle and the support. It is better to plug the pipe ends with plugs or caps.
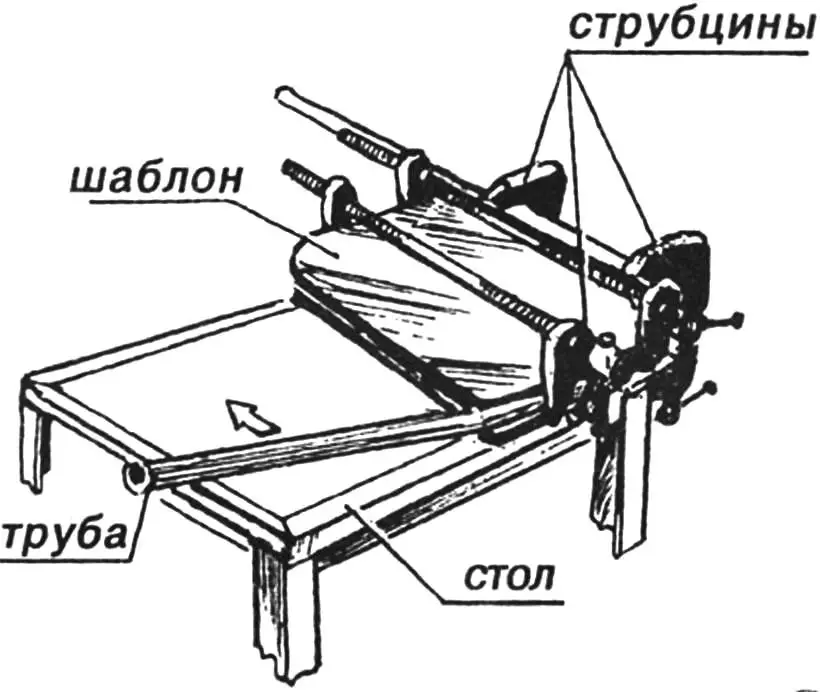
Before installation on the cart, both parts are thoroughly cleaned and painted with oil paints (preferably bright colors).
The handle is attached to the cart sides with bolts, and it is desirable that there be at least three of them, and the handle ends extend slightly beyond the wheel axle mounting location.
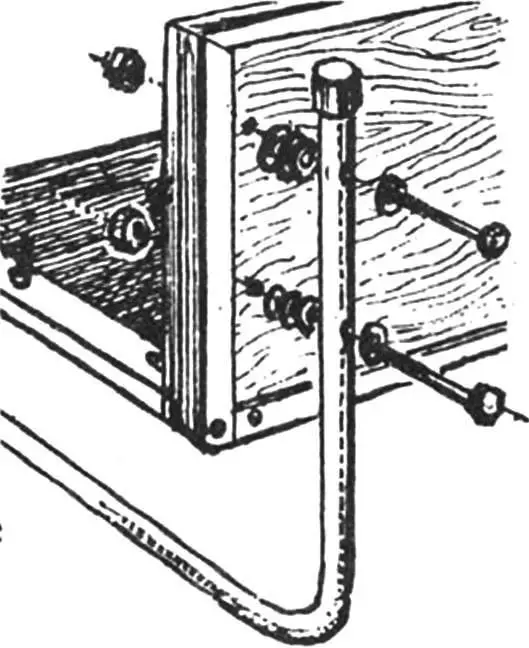
The support is fixed on the sides closer to their front edges, also with bolts with nuts outward, with such a height calculation that the cart set for loading takes a horizontal or slightly forward-tilted position.
“Modelist-Konstruktor” No. 6’2002
Recommend to read
 WHY WOULD AN ARTIST CURLER?
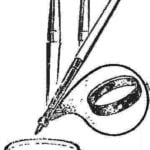
To restore the "hair" rassohnetsya brushes is possible, having moistened it with water and pulled from the handle with a rubber band. Excellent "curlers" are, in particular, of the...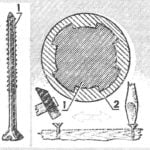 SCREW-NAIL
This combination is consistent with the essence of modernization, which want to offer such a famous fixture as a screw. It is clear to everyone that it holds better than a nail, but it...
