Materials only need cement and sand. On flat ground is laid a sheet of plywood, sheet metal, roofing felt or thick films. The middle layers of the mound of sand and cement in the ratio of about one part cement and three parts of sand thoroughly mixed to obtain a homogeneous mixture. In the center of the resulting roller coaster is made hole (Fig.1), which is added gradually with constant stirring in water until a thick solution.
In the middle slides (Fig.2) stuck or hammered a metal rod, which with its wire loops fits pattern 1 (Fig.9): rotate (Fig.3) is formed by a hemisphere — shape inner parts of the future vase.
Since cement gains strength a long time, instead, for the hemisphere it is possible to prepare a solution of gypsum that sets in three minutes and completely hardens in half an hour. For him in any capacity (e.g., bucket)preparing a mixture of one part plaster and three or four parts of lime solution into the water gradually, while stirring, gypsum is added, and then mortar, until a soft dough without lumps. From beginning to thicken the mixture quickly formed a hill, also treated template 1.
On the resulting hemisphere is laid a thin plastic film (Fig.4). It would serve as a dividing layer for subsequent layers of cement mortar. It is applied with a spatula (trowel), and carefully leveled (Fig.5). Now for the strength you need to make a reinforcing layer of a metal or synthetic mesh (Fig.6), which also is covered with a thick layer of cement mortar. Is the turn to apply the template 2 (Fig.9), which cut off the excess solution and the thus formed outer part of the vase (Fig.7).
You can then take the bolt out and give the resulting shape to completely harden (5-7 days). To dry out the cement is not cracked vase in this period should be covered with wet rags.
Hardened “shell” vases overturned and, if necessary, will be overwritten with cement mortar the cracks and folds on the surface (Fig.8). In the mixture for rubbing, you can add any of the water-insoluble colorant to impart a desired color vase or after the final drying the product is painted with oil paint.
Recommend to read
 M1117 replaced HMMWY
In the mid-1980s, the famous "jeep", many years in service with the us army, had to be substituted. Then the military picked the car М1025/М1026 (HMMWV - Hammer "Hummer") produced by AM...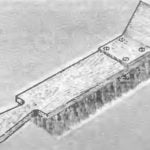 BRUSH-CHANGELING
Preparing a wooden item to paint, the old paint is removed with wire brushes. However, with thick flakes of old oil paint they can't cope — there is necessary a metal scraper. So both...
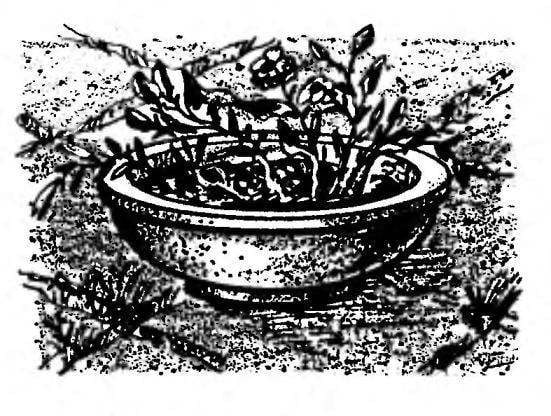
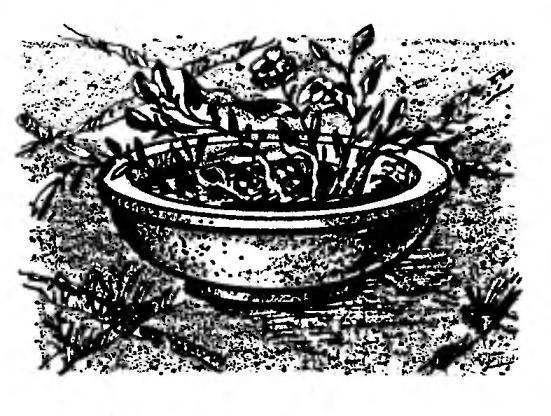 In contrast to flower beds, decorative vase convenient because it can be located anywhere in the garden or suburban area, decorating a green lawn, though the corner of paved paths, although the approaches to the gazebo. If necessary, you can always move it to another place without destroying the old “landscape”. And the size and shape of the vase can be any, because to make it myself, preferring a monolithic embodiment of the concrete as the most affordable and easy to implement.