I made this soil-working tool to lighten the hard work, since digging the ground with an ordinary shovel—constantly bending and straightening—had become harder and harder over the years. The device itself is a modest invention (an author’s certificate was obtained for it), but it is useful: now my back does not hurt even after long work.
In the tool I tried to combine the advantages of a shovel (leverage) and a plow (turning the soil layer).
The shovel-plow consists of the working part (share), handle, eye with bushing (plain bearing), rod, and shoe support.
The share was made from a steel sheet 300×200 mm and 3 mm thick. On the top long side I marked 100 mm, drew a straight line from that point to the lower near corner, and cut off the resulting triangle. I did the same on the lower edge of the sheet on the opposite side. The upper sharp corner was bent smoothly slightly to the right and down, like a plow moldboard. The front edge of the share was sharpened to 30°, and the lower one to 60°. The share was welded to the lower part of the handle—a length of 1″ water pipe 1800 mm long. To the same handle at 400 mm height I welded an eye made from the same steel sheet as the share, with side holes for the rod axis.
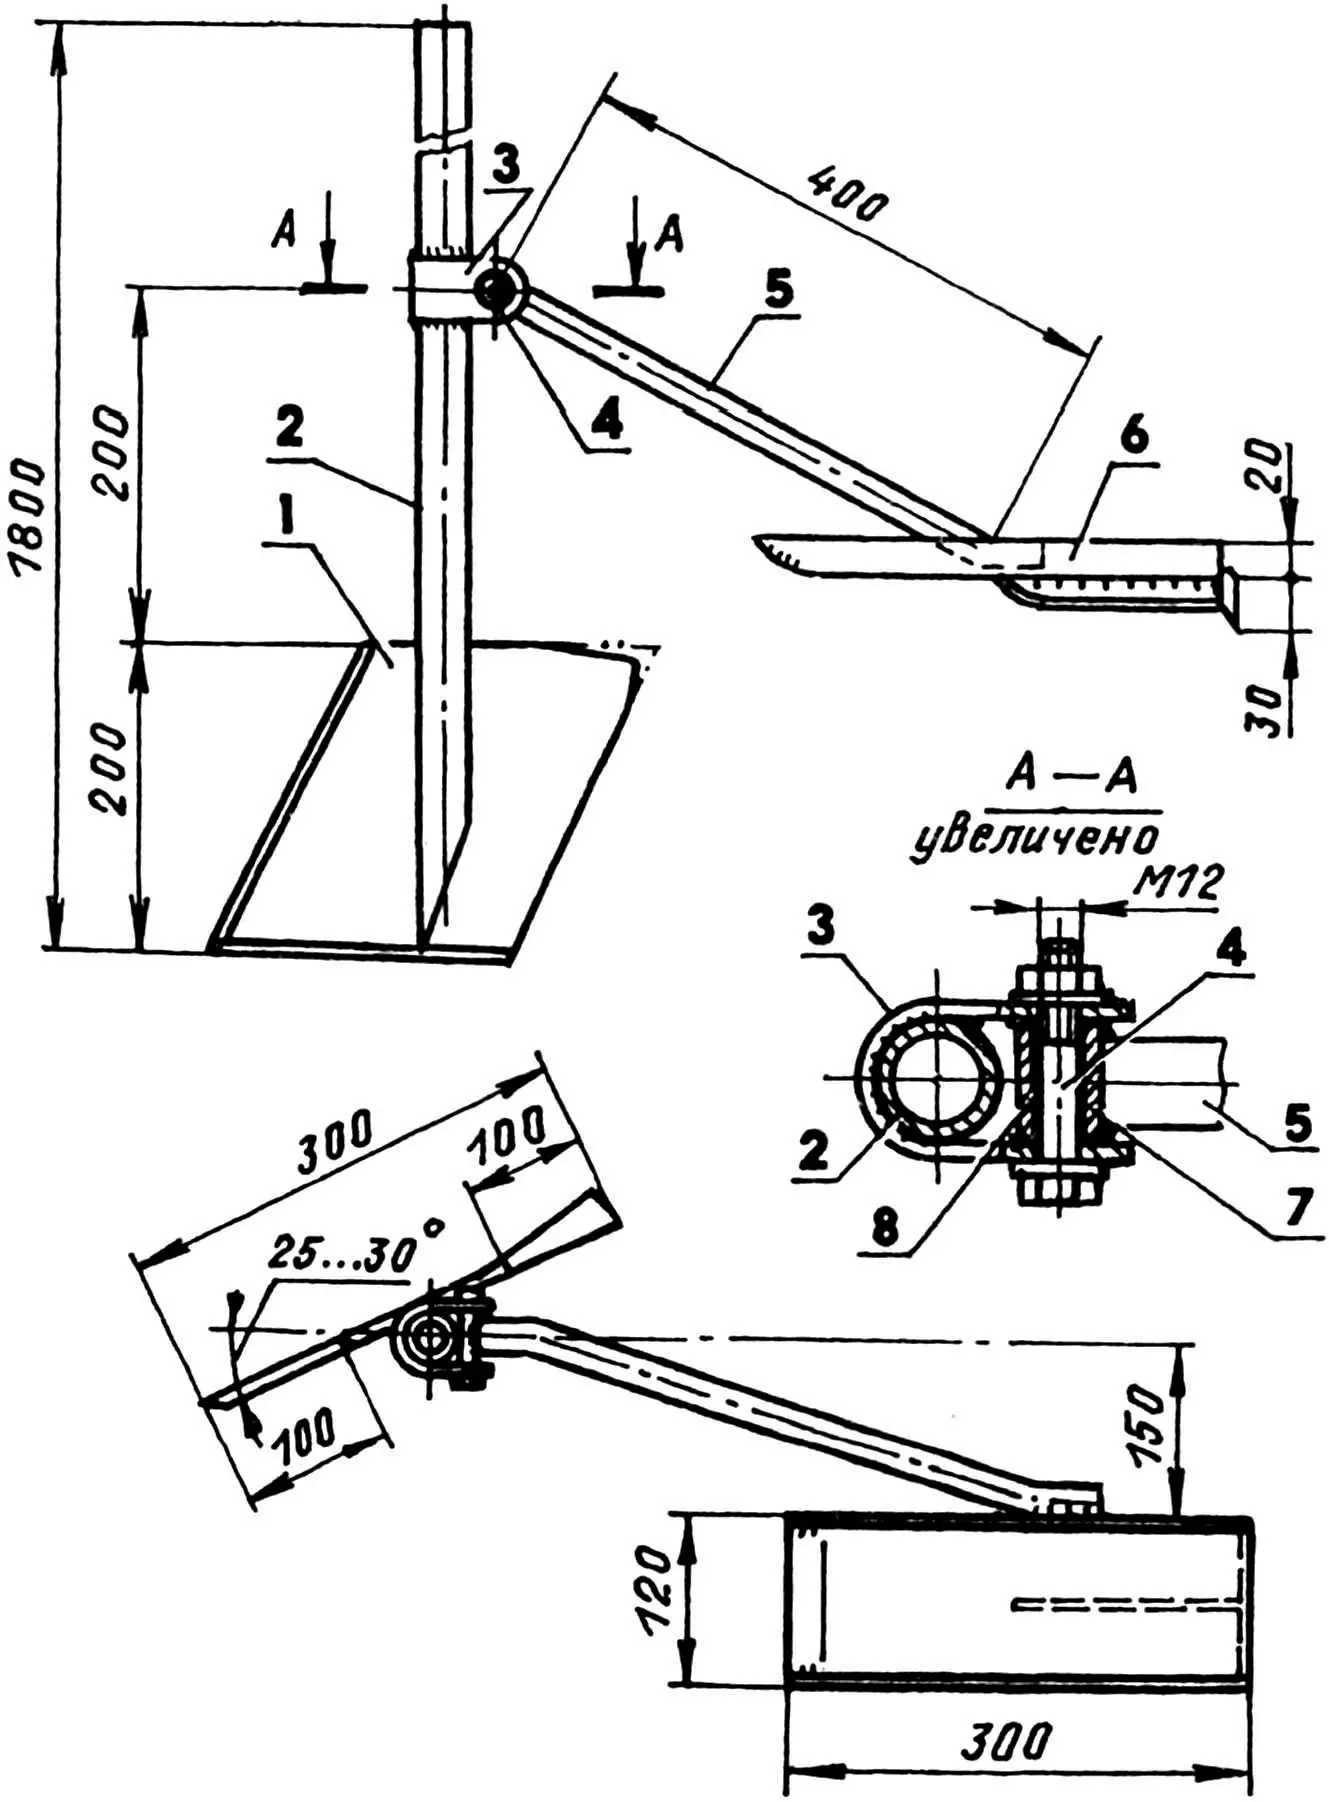
1 — share (steel, sheet s3); 2 — handle (steel, 1″ pipe); 3 — eye (steel, strip s3); 4 — axis (M12 bolt); 5 — rod (steel, 1/2″ pipe); 6 — shoe (steel, sheet s3); 7 — bushing (steel, 1/2″ pipe); 8 — plain bearing (bronze, PTFE)
The rod is made from 1/2″ water pipe; its ends are bent slightly in opposite directions. A bushing is welded to one end, and the other end is slightly flattened and welded to the side of the shoe support.
The shoe was made from the same 3 mm steel sheet to fit the shoe size (mine is 300 mm long and 120 mm wide with 20 mm side walls). At the front I undercut the wall slightly from below and bent the toe of the shoe like a ski. The rear part of the shoe was bent at 90° to form a 30 mm stop. From the stop to the middle of the shoe I welded a vertical steel strip-guide to the bottom surface. The front and bottom edges of the guide were sharpened at 45° on both sides, and the stop at the same angle but only on the front side.
The shoe rod was connected to the shovel-plow handle by an M12 bolt axis through a spacer bushing with plain bearing and a clamp.
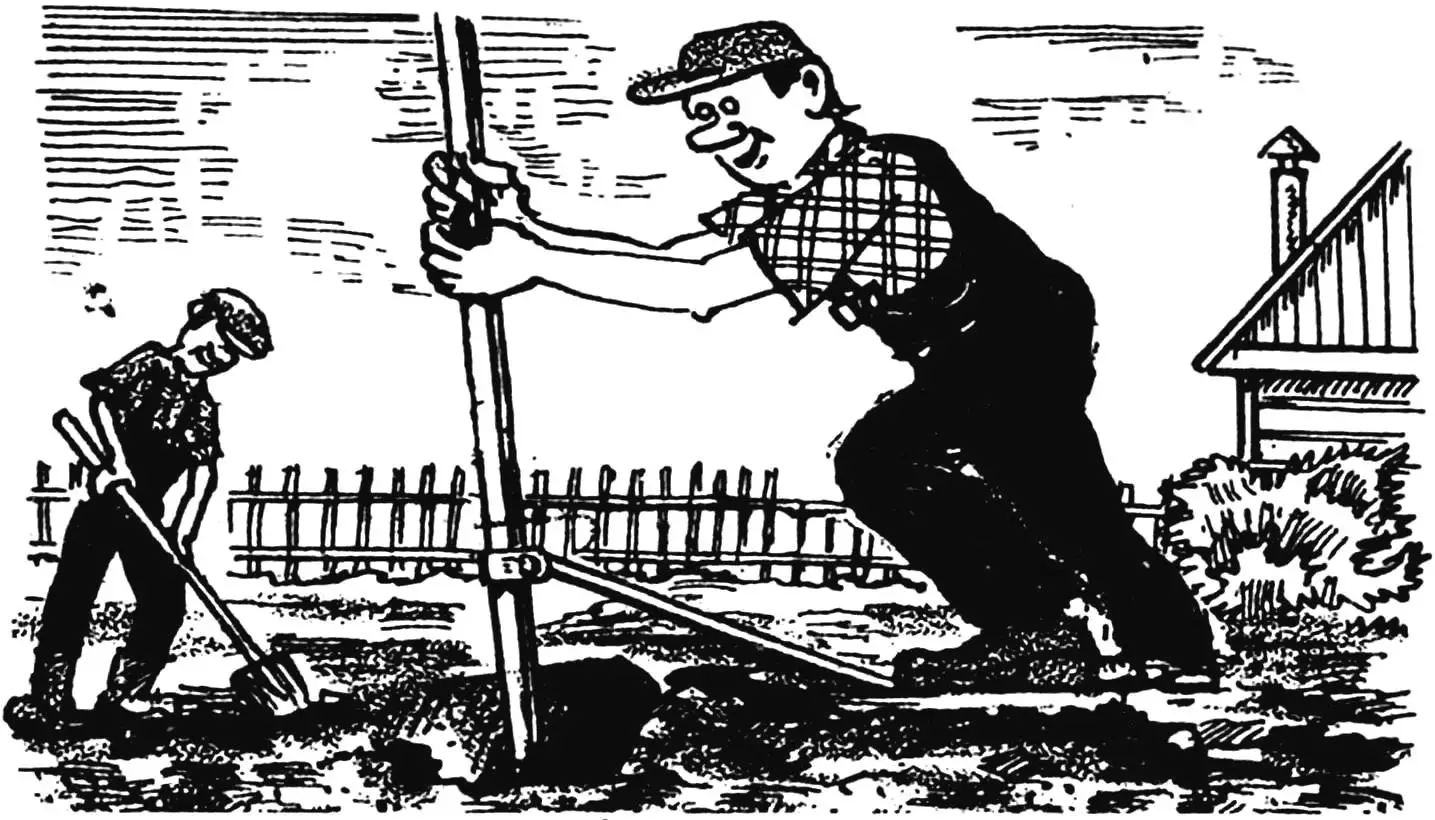
If an ordinary plow works on the “pull” principle, my tool works on the “push” principle. To work the soil I set the shovel-plow in the starting position with the top of the handle away from me at arm’s length. I put my foot on the support, press it into the ground, and pull the end of the handle toward me. The share cuts into the soil and travels about 200 mm deep, loosening and turning the earth layer.
Then I step forward with my free foot, shift my weight onto it, and push the handle away. The hinged rod pulls the support out of the ground and drags it forward. The motions repeat. If the share drifts to the side, when moving the support with my foot I can correct the share’s position and thus straighten its “course.”
I also use this tool to plant potatoes: after making a furrow I place the tubers in it and cover them with the next furrow, leaving that one empty. The next furrow I plant again, and so on.
«Modelist-Konstruktor» No. 3’2002, A. SAMOKHIN
Recommend to read
 SIMPLE SPRAY
To fully exhaust aerosol spray can, which is usually just thrown away, there are wonderful sites: valve and spray head. The latter, for example, can turn into a spray of ordinary rubber... THE SLAD TO “TRAIN”
Racing airboat motor. In the journal "modelist-Konstruktor" is not just talked about RC racing boat with aerodiesel. In contrast to the models with the propeller for gliders with a...
