
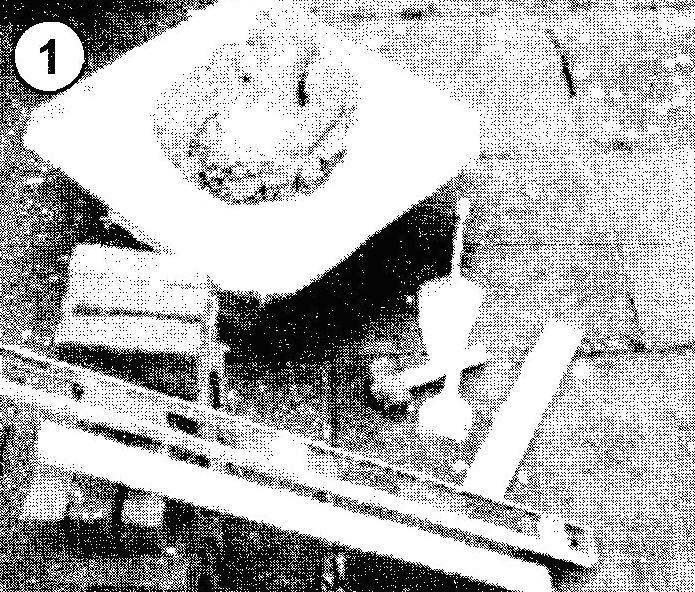
 1. For the manufacture of a seat will need the following materials: concrete slab with dimensions 600×600 mm, 20 kg of dry cement-sand mixture for mortar, the bricks 26. Need and tools: trowel, level, kuvaldoy chisel, container for mortar.
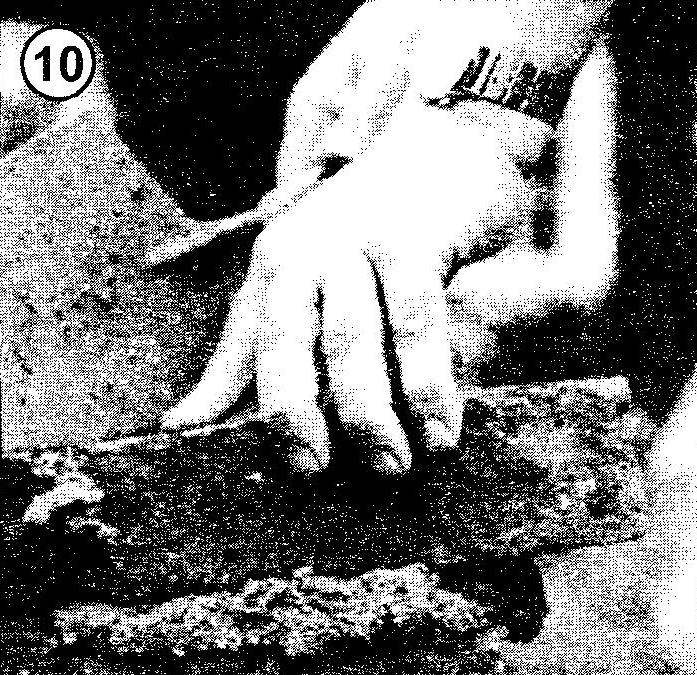
2. Lay six bricks of the first row in the form of the letter “N” dry (without mortar), trace their contour on the base and put the bricks to the side. Spread inside the contour 10 — 12 mm layer of mortar. First of three bricks make one-half (the letter “T”): put the middle brick, and the outer half alternately from different sides nalepil with a trowel a layer of mortar on the butting (ends), turn the other two brick so that has been aged 10-mm mortar joint.
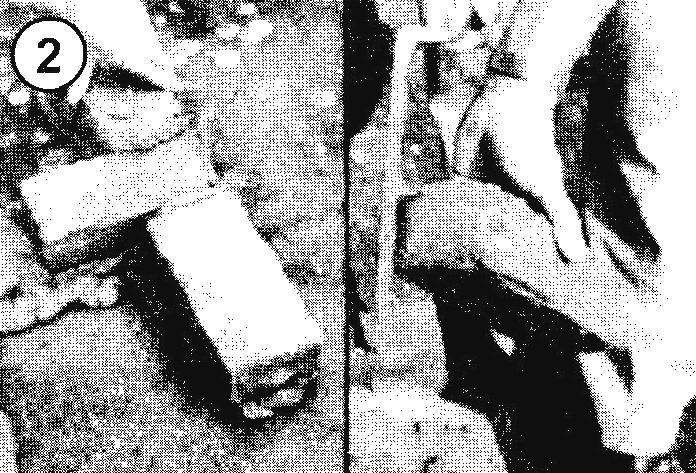
3. Adjust the horizontal position of the bricks as possible. Try to withstand a 10-mm mortar joint between the bricks and the ground. Cut and assemble the trowel squeeze the mortar back into the container.
4. To check the flatness of the laying of the bricks, use a level. Attach it to the face of the masonry and set the bricks in a line light taps on it with a trowel. When everything is correct, put the following three bricks in mirroring another letter “T” on the same technology, completing the construction of the letter “N”. Don’t forget to put the mortar between the bricks on the axis of symmetry. Check that and the other half you performed as good as the first.
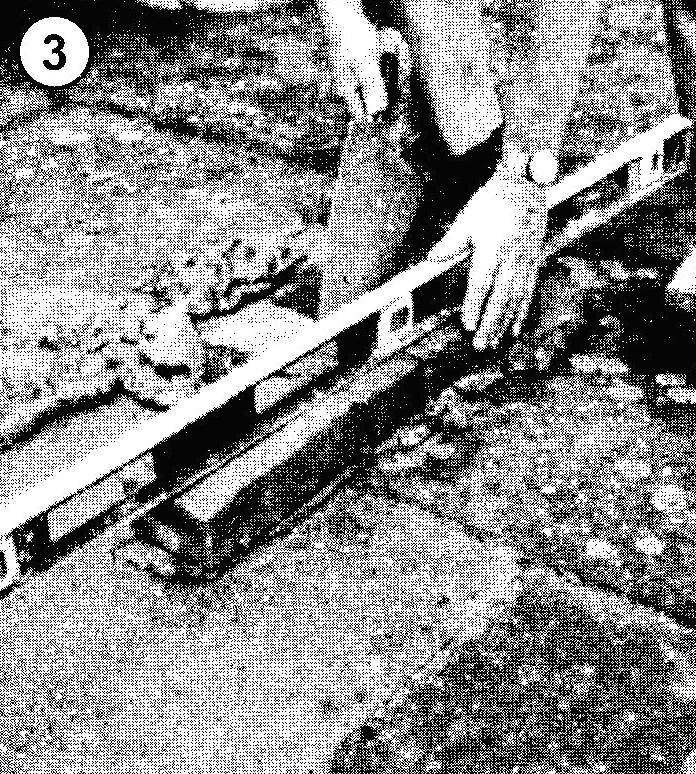
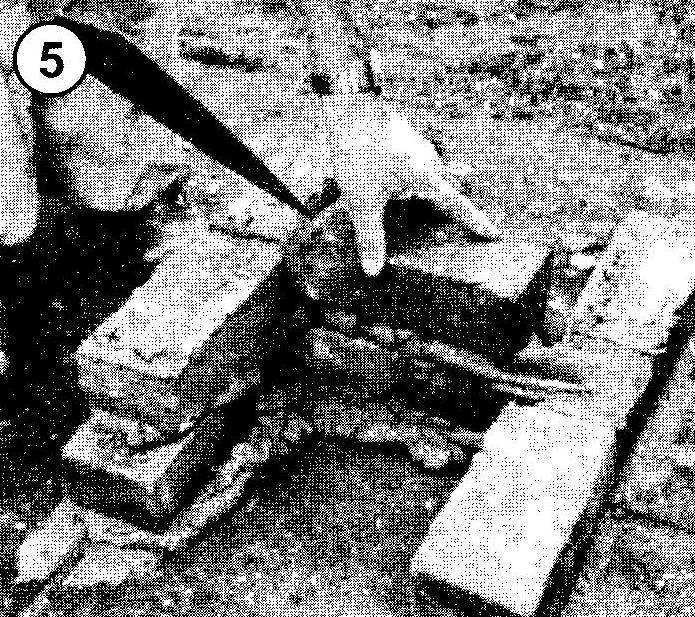
5. For laying the next row, spread a layer of mortar of thickness 12 mm along one side and place it on two bricks to align them by butting (with mortar joint between them) in the middle of the transverse brick of the bottom row. Solution apply on tap the second brick before laying it. Now spread the solution on the web and here lay the bricks, plastered with mortar, the flange adjacent to the sidewall. Spread a layer of mortar on the other side and put on it a couple of bricks, not forgetting to make the mortar joints between their shared butting, and also between them and the brick lintels. This completes the laying of the second row.
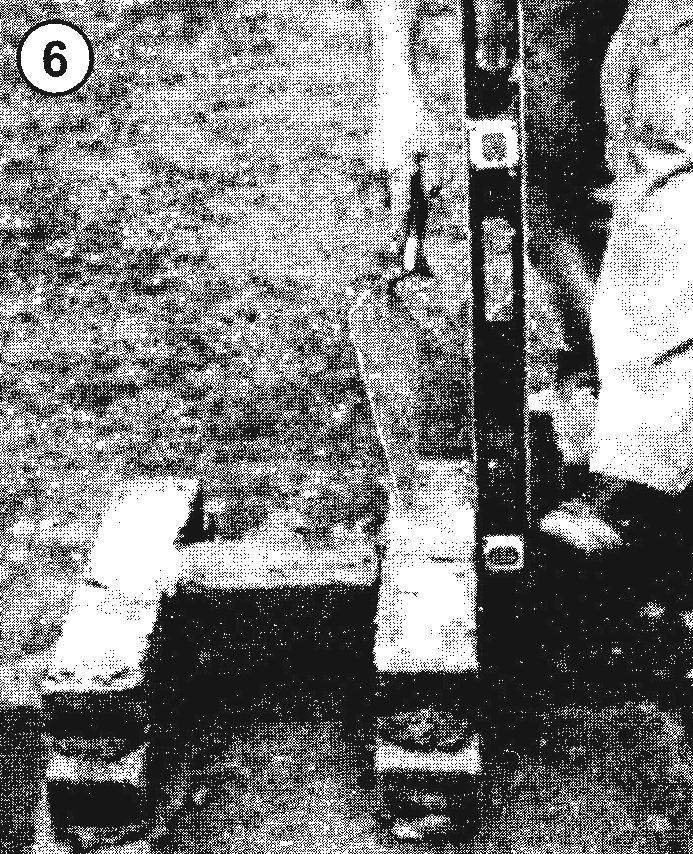
6. Again, the level check that the bricks are placed in a straight line, rows—horizontal, the walls are steep, the ledges are the same. If you encounter errors, then tapped on the bricks with a trowel, tweak their position.
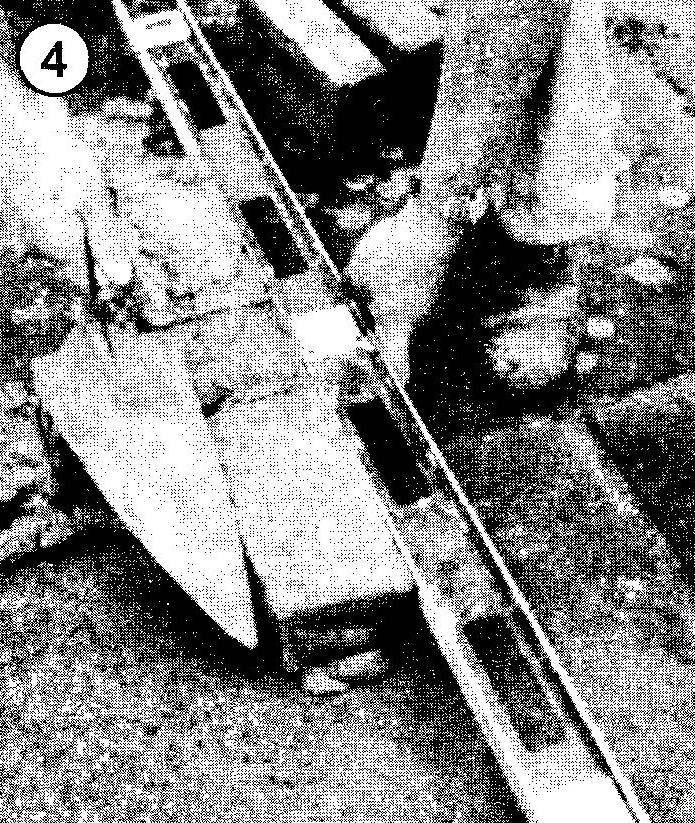
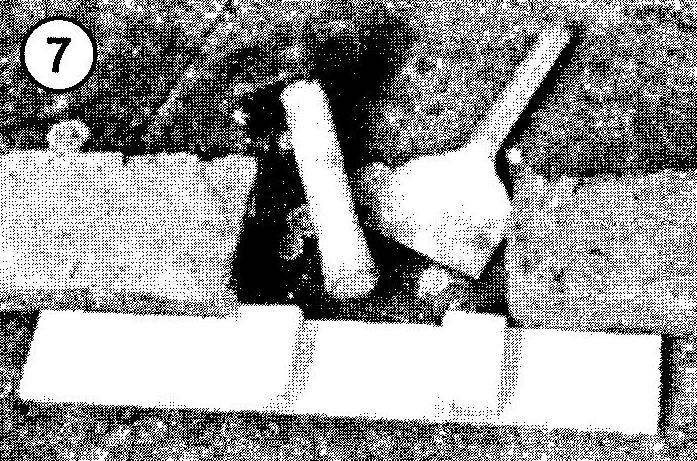
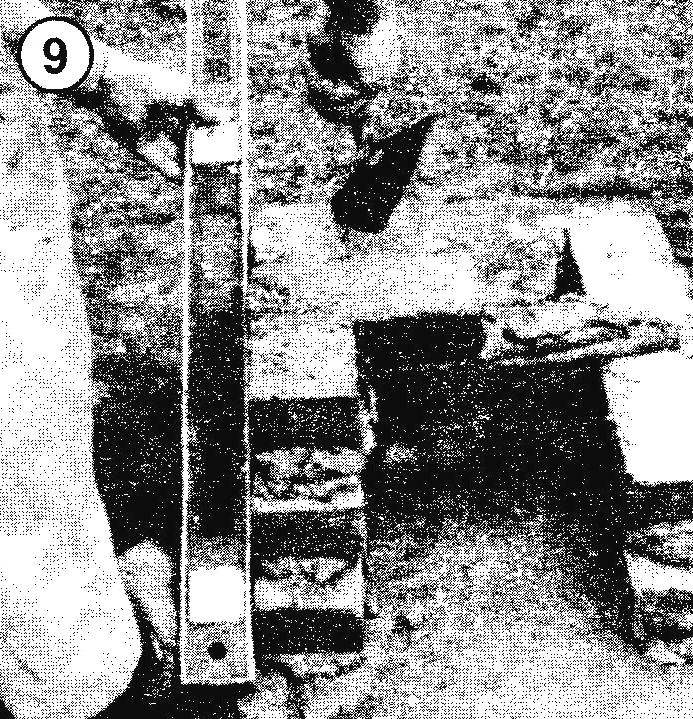
7. Design of the third row same as first, only in the side in place of whole bricks laid docetere (half brick, shortened by 5 mm — half the average thickness of the mortar seam). To measure the named part, make a simple template — a thin plate with attached transverse wooden wedges. Distances from the side faces of the wedges to the ends of the plates are three quarters, two quarters and a quarter of the whole length of the bricks (minus 5 mm). Putting the pattern on the bricks and resting on a corresponding block in header bricks on the edge of the end plates, cut off the desired portion of the brick.
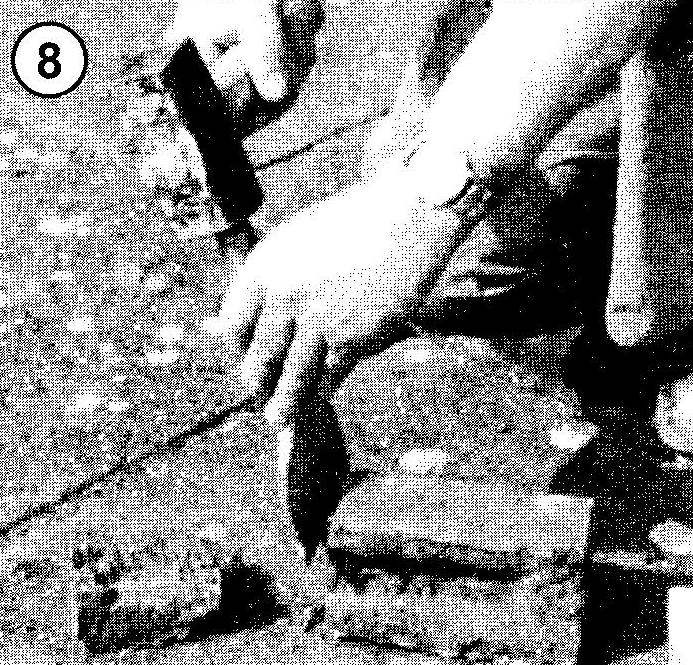
8. To master the process of cutting and “feel” the bricks, practice first on a junk brick waste. To do this, put a brick bed (edge with the largest area) on a solid base and using the template to the edge of his manually cut a shallow groove. Now turn the brick on the opposite bed, again place the template again and put the blade of the chisel to the edge. This time start on the chisel to hit caldoche — each time with increasing force until the brick breaks. If the split happens not very smooth — do not worry: it closes with a solution. Do not despair, and in that case, if the split happens, not where or if the bricks crumble into several pieces. Even professionals in this difficult task, there are misses, and much depends on quality of bricks.
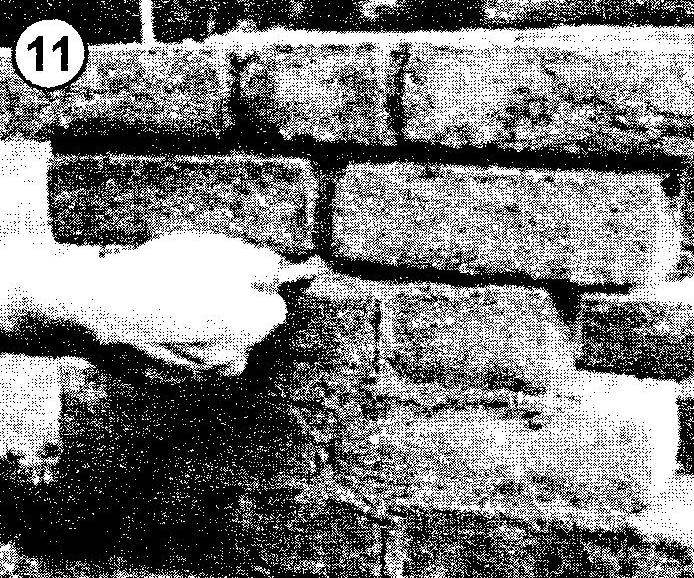
9. Lay the third row. Just pay attention to the cut faces are not turned outside, facing the inside and hid in the mortar seam. As before, check that the seams were smooth, the bricks laid horizontally (no protrusions and gaps), and side wall turned vertical.
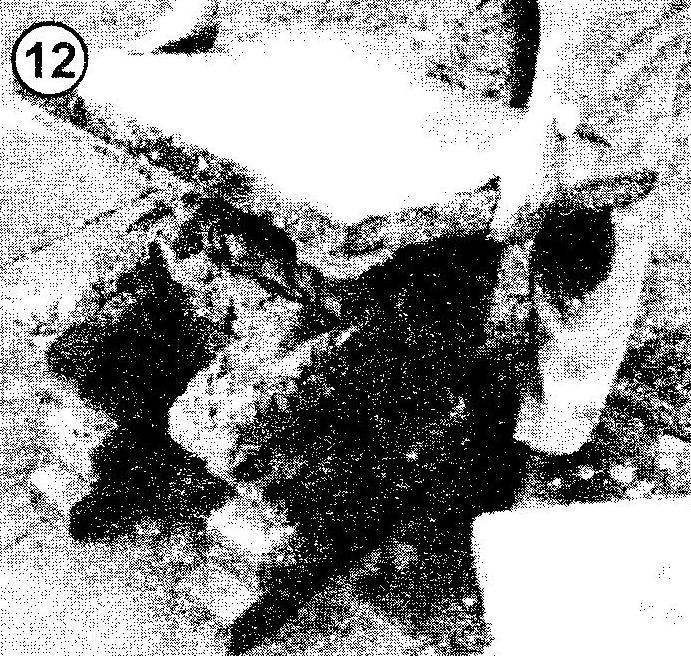
10. The next two rows of designs copy the second and first rows. The main difficulty will be styling up the speakers (console) bricks of the side walls. Here you should put a layer of mortar a little thicker than before. The same brick is put in place should not immediately flat, and the first to drown in the solution to the desired level of its inner end, and then gradually push the remaining part of the brick, setting the upper bed in single beds level with the other bricks. Cut the squeezed solution and build capacity.
11. Upon termination of a laying check the building level, to the upper faces of the bricks of the last row lying in the same horizontal plane, and otvesnost walls and evenness of the laying of the bricks in marker lines. If necessary, correct the bricks by tapping them with the handle of a trowel. And when you are satisfied with his work, take a break for 2-3 hours, until the solution solidifies. Then proceed to the processing of the seams. A metal plate or a wooden stick-shovel vygreba the mortar from joints to a depth of about 5 mm. finish of joints is called a raked joint. Then clean the joints with a brush.
Recommend to read
 RUNNING ON WAVES
From the very beginning of the history of water transport designers and engineers sought to give the courts the ability to move with the greatest speed. It was necessary to reduce the... CUTTER FOR ADHESIVE TAPE
Sticky tape is recently widely used. PI need to pack anything, connect, restore, attach — we resorted to duct tape. If you make a simple device for cutting the tape, use the roll becomes...
