
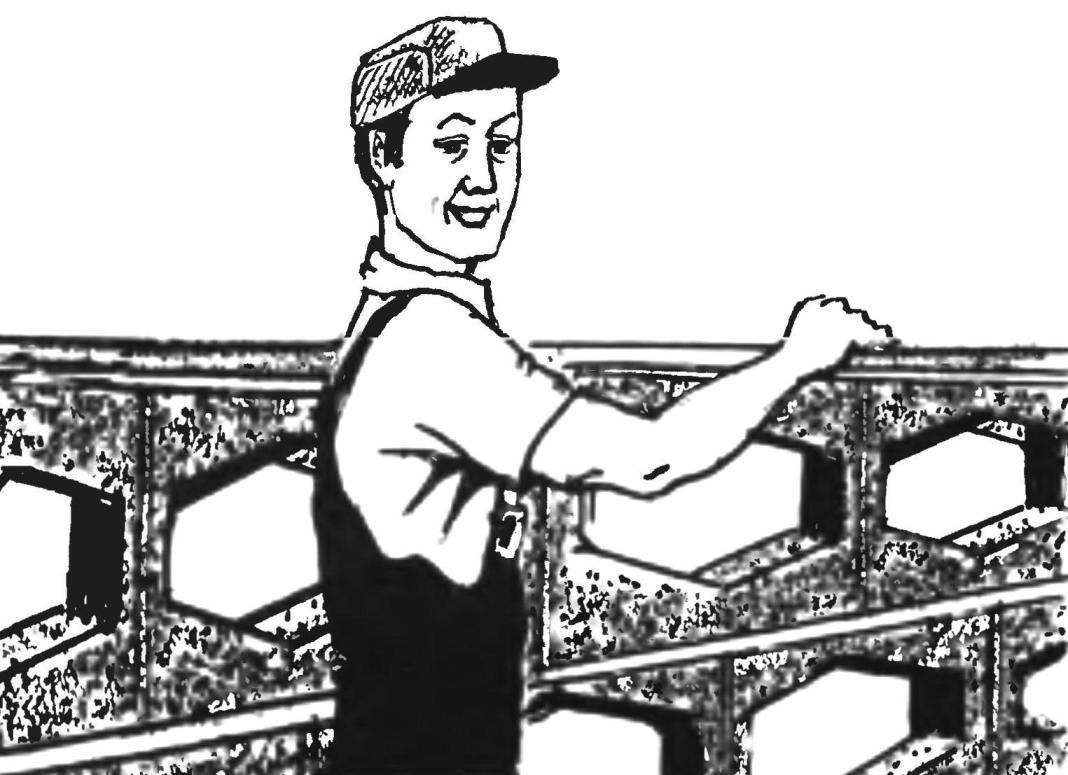
 The so-called deaf — solid fences, of whatever material they may be built that produce unpleasant experience and certainly not adorn a garden or summer cottage. But light hedge or fence from mesh-netting is not always and not all satisfied, I want something more permanent and durable. Perhaps some compromise can serve as a homemade fence made of shaped concrete bricks, each of which has in the middle a kind of window: thanks to this fence for all its monumentality it turns out delicate, lightweight and looks very aesthetically pleasing. Hungarian journal “Earmaster” reveals the secret to getting these blocks of concrete — on a fairly simple technology that is available to anyone interested.
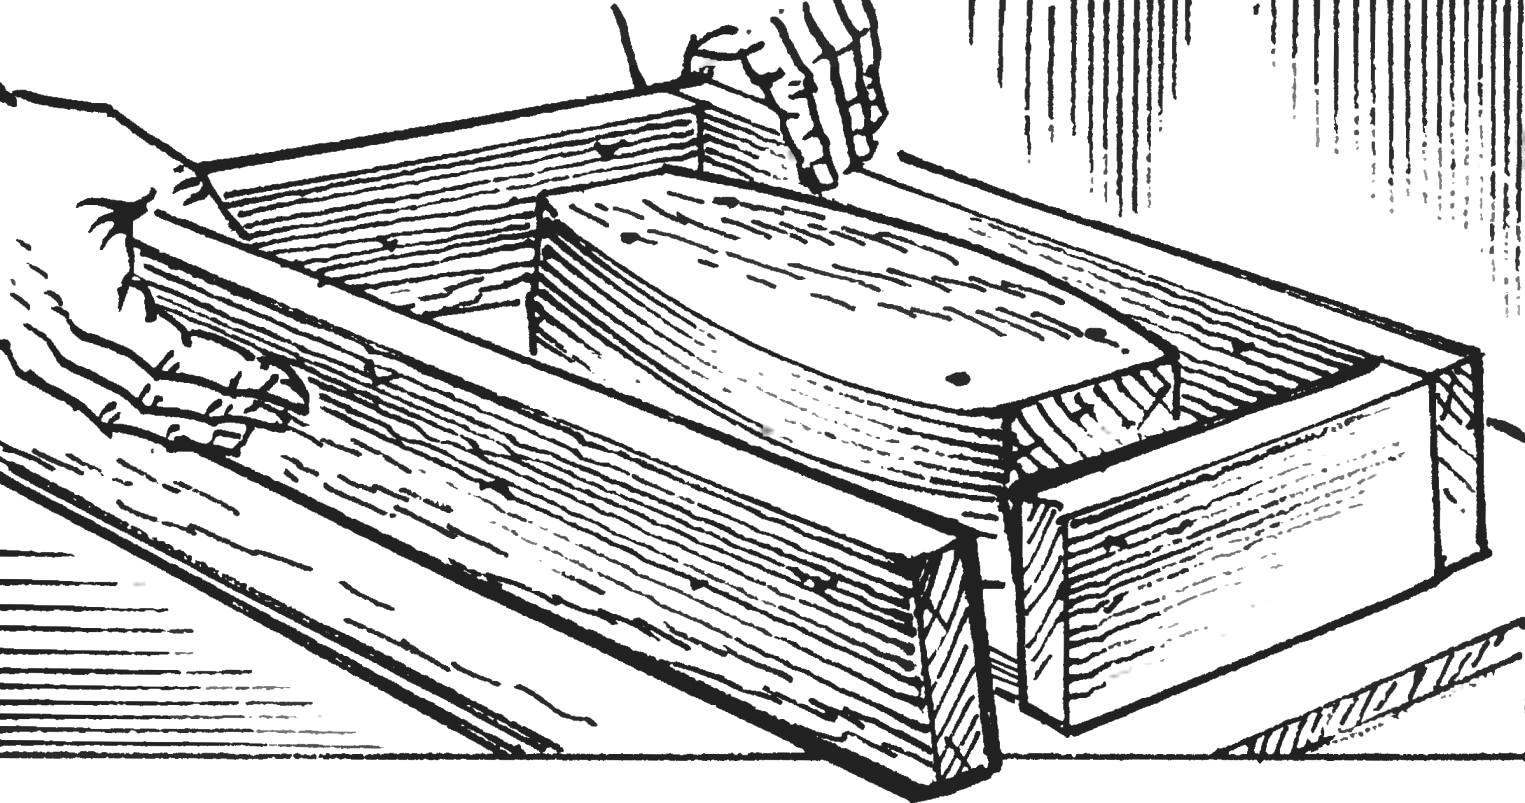
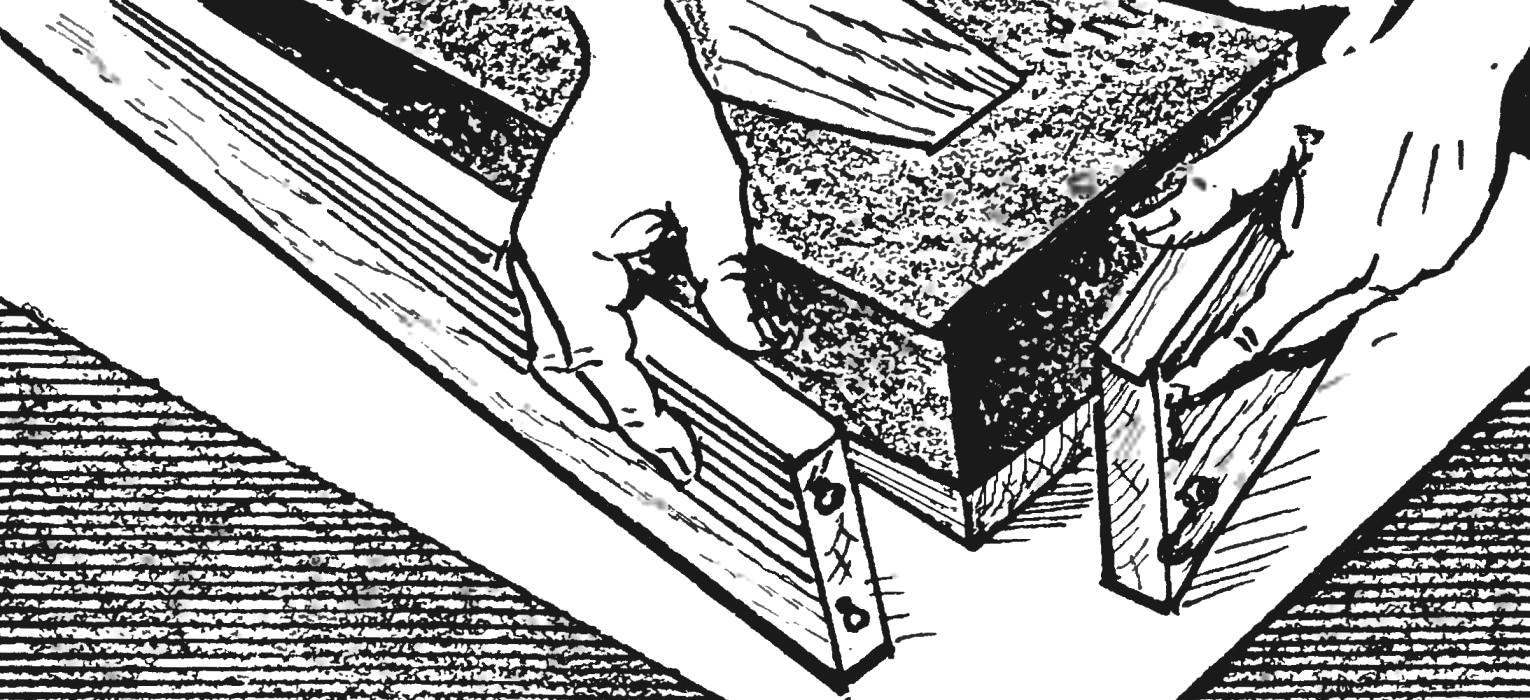
1. The only preparatory operation to start the “production” openwork bricks is a production of the form. It will require a thick (sexual) 40-mm Board, which will need to saw main parts: a base (1), two side walls (2) and two end (3). The side wall in three corners of the mold will be mated with the end with the help of hinges (4) as it is better to take so-called kletochnye, with one long map. The fourth corner of the mold in the Assembly will snap one or two hooks (5).
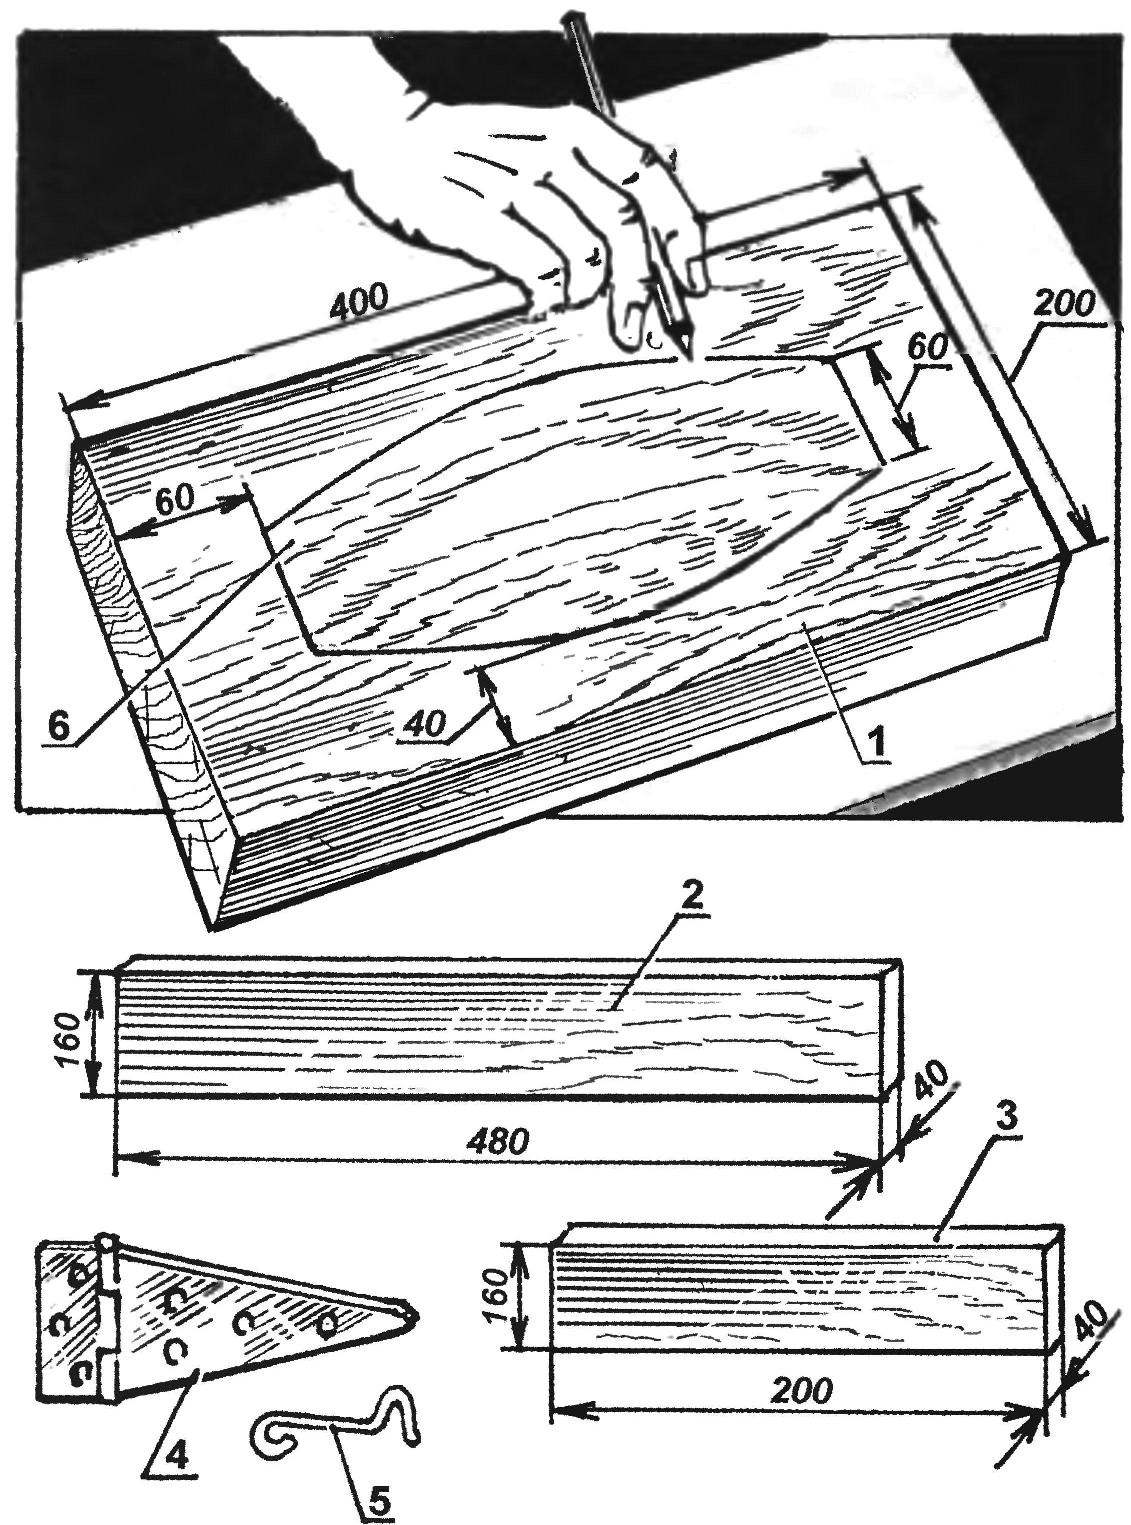
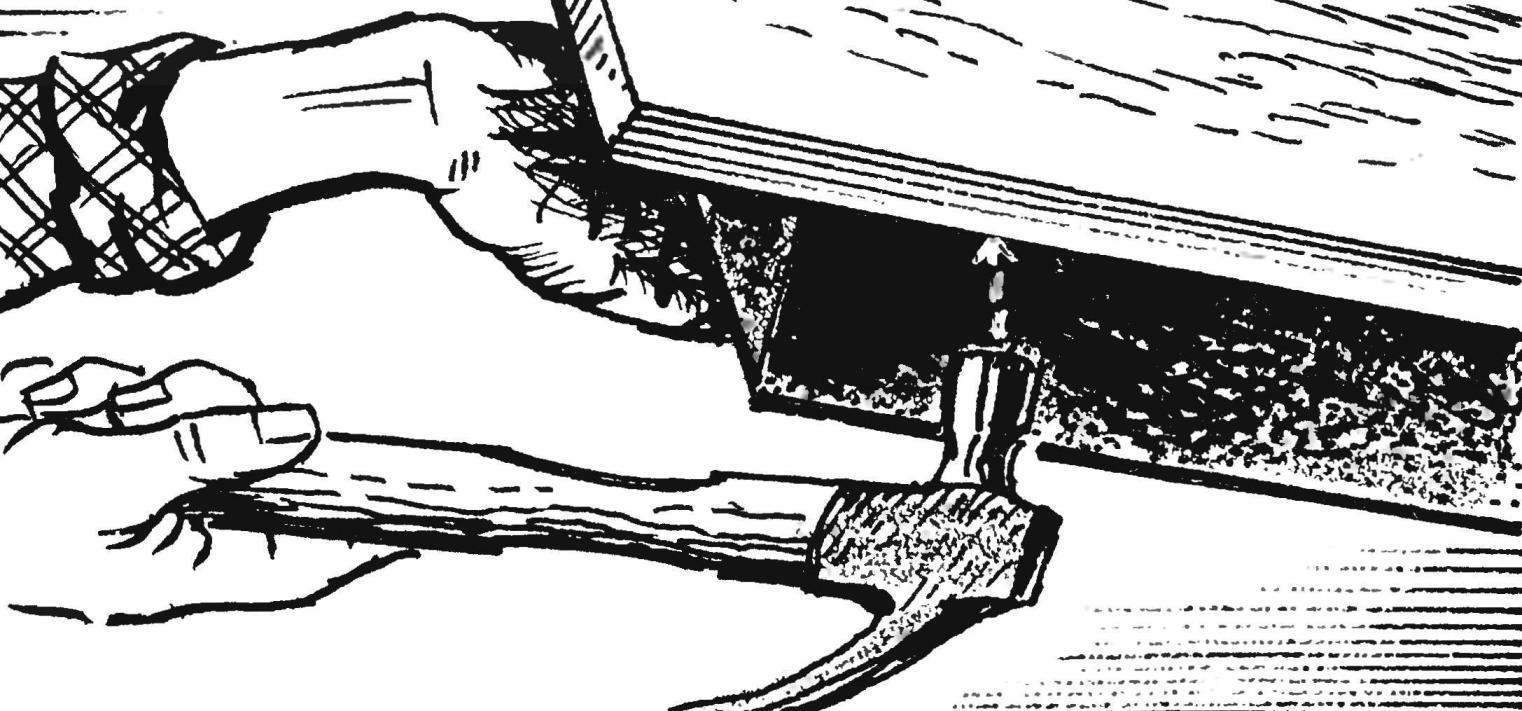
The Board thickness of 60 mm is plotted as the contour of the blanks (6), which will be formed a window in molding bricks.
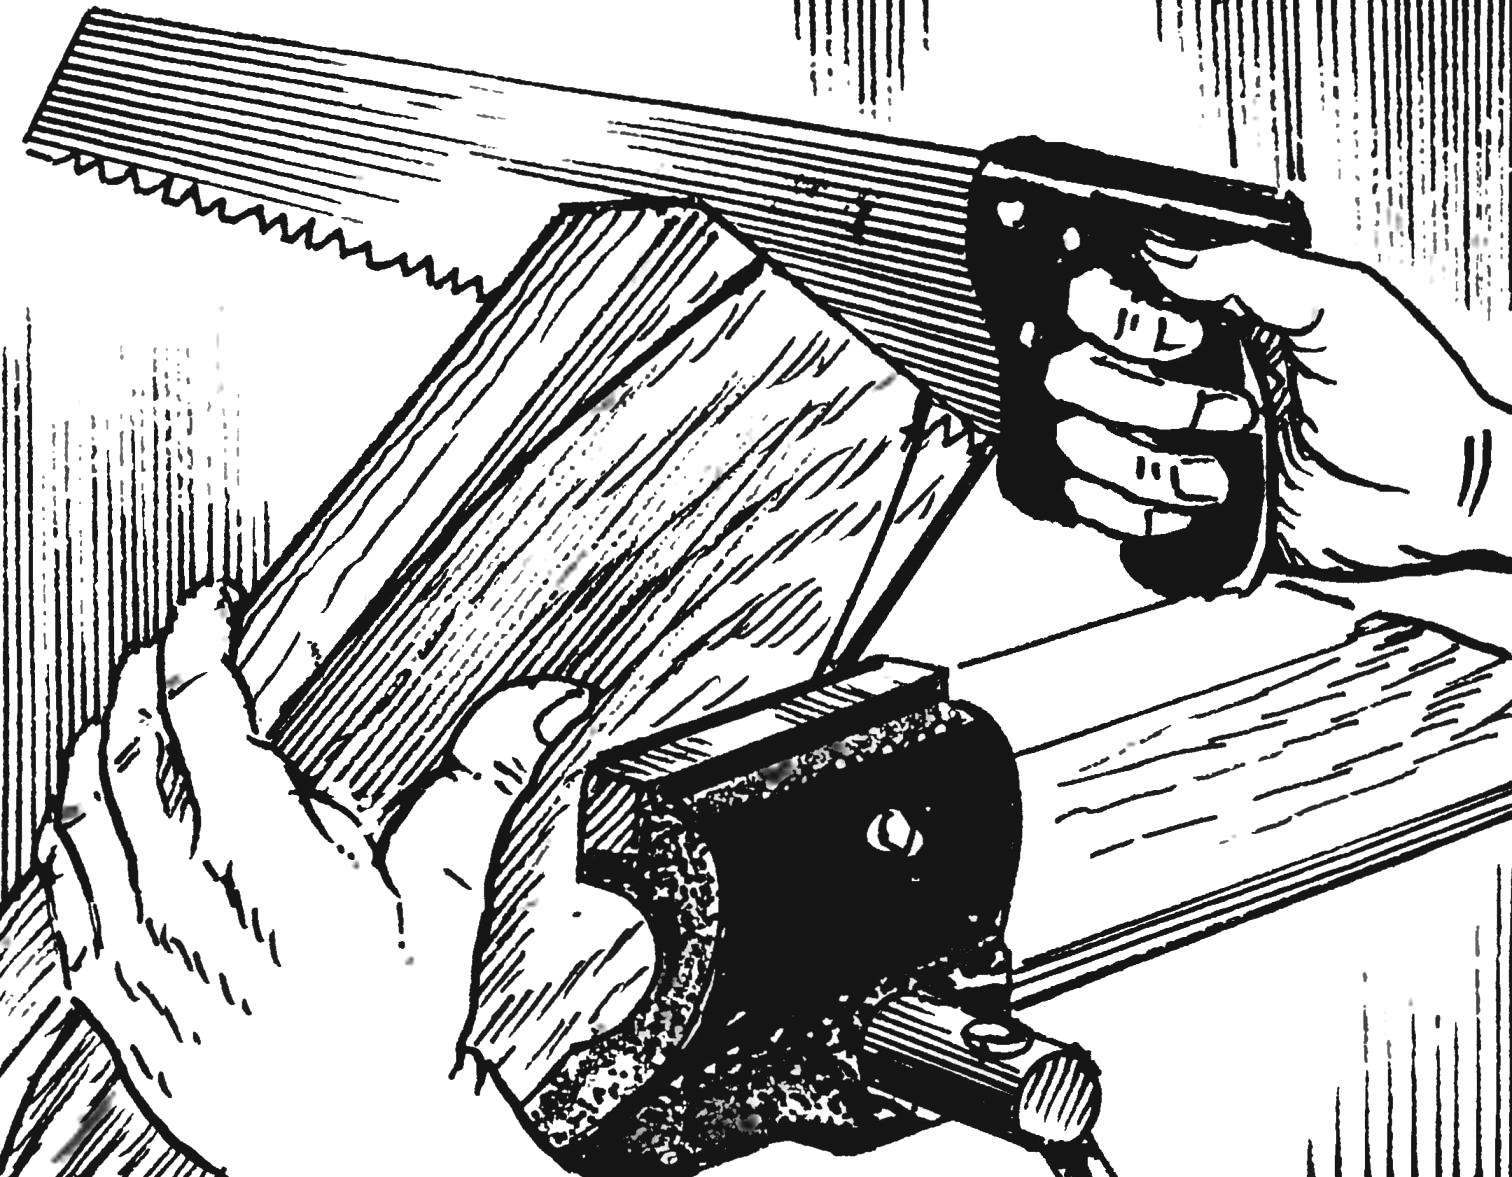
2. Board with circuit is clamped in a vise and gradually filing the hacksaw. These blanks need to saw two pieces, together they give the blank the desired thickness.
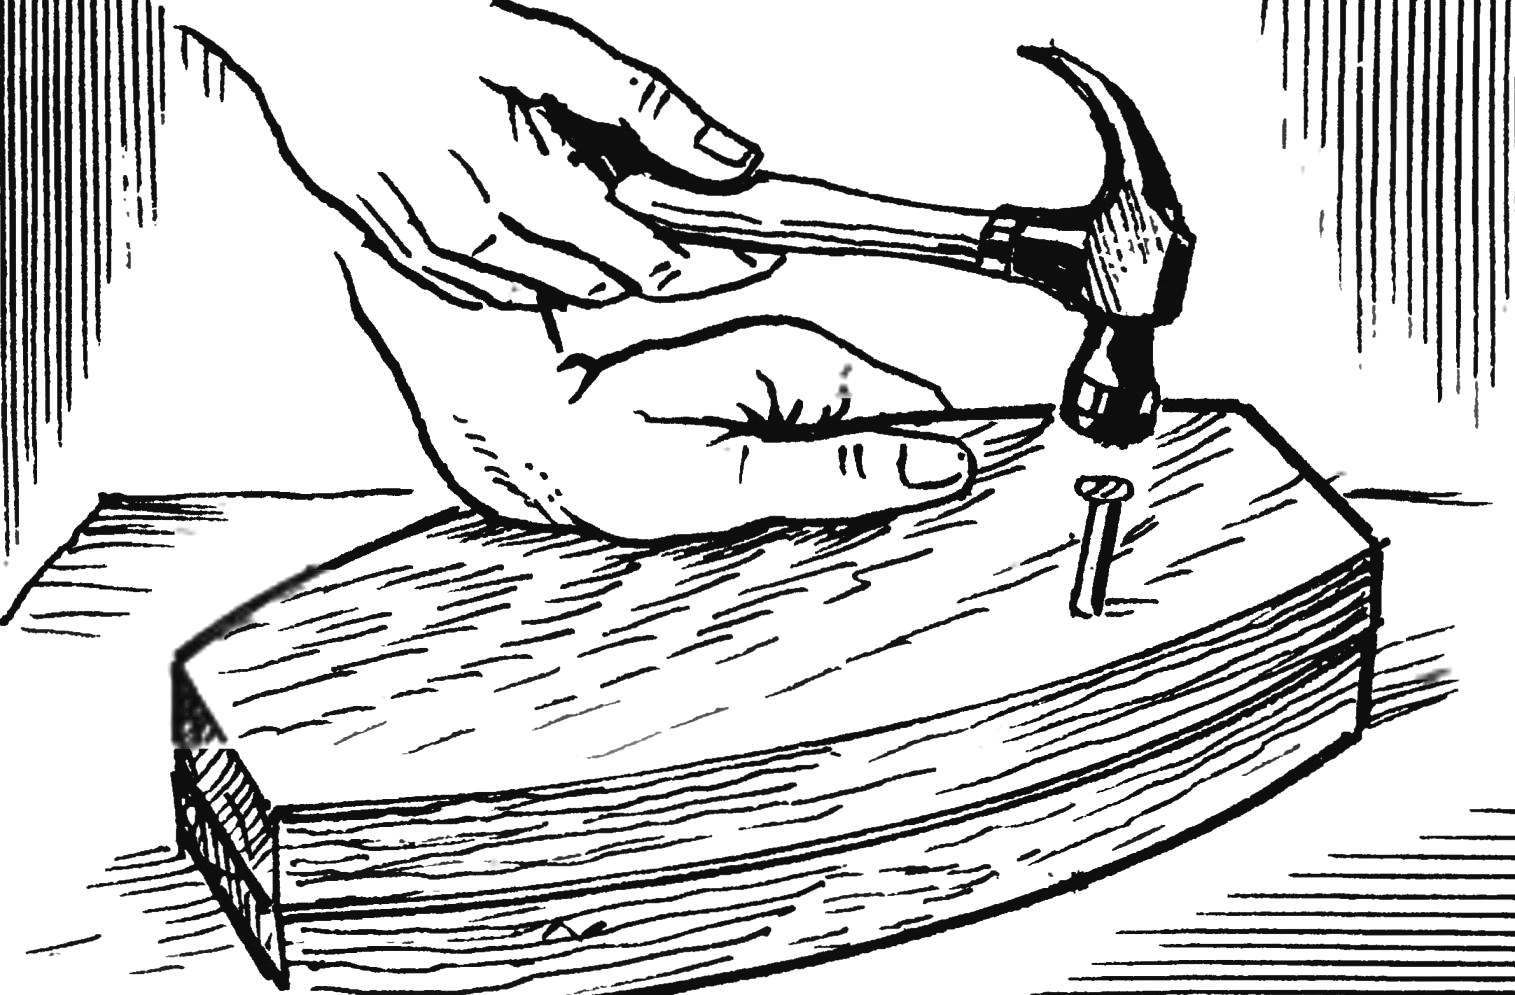
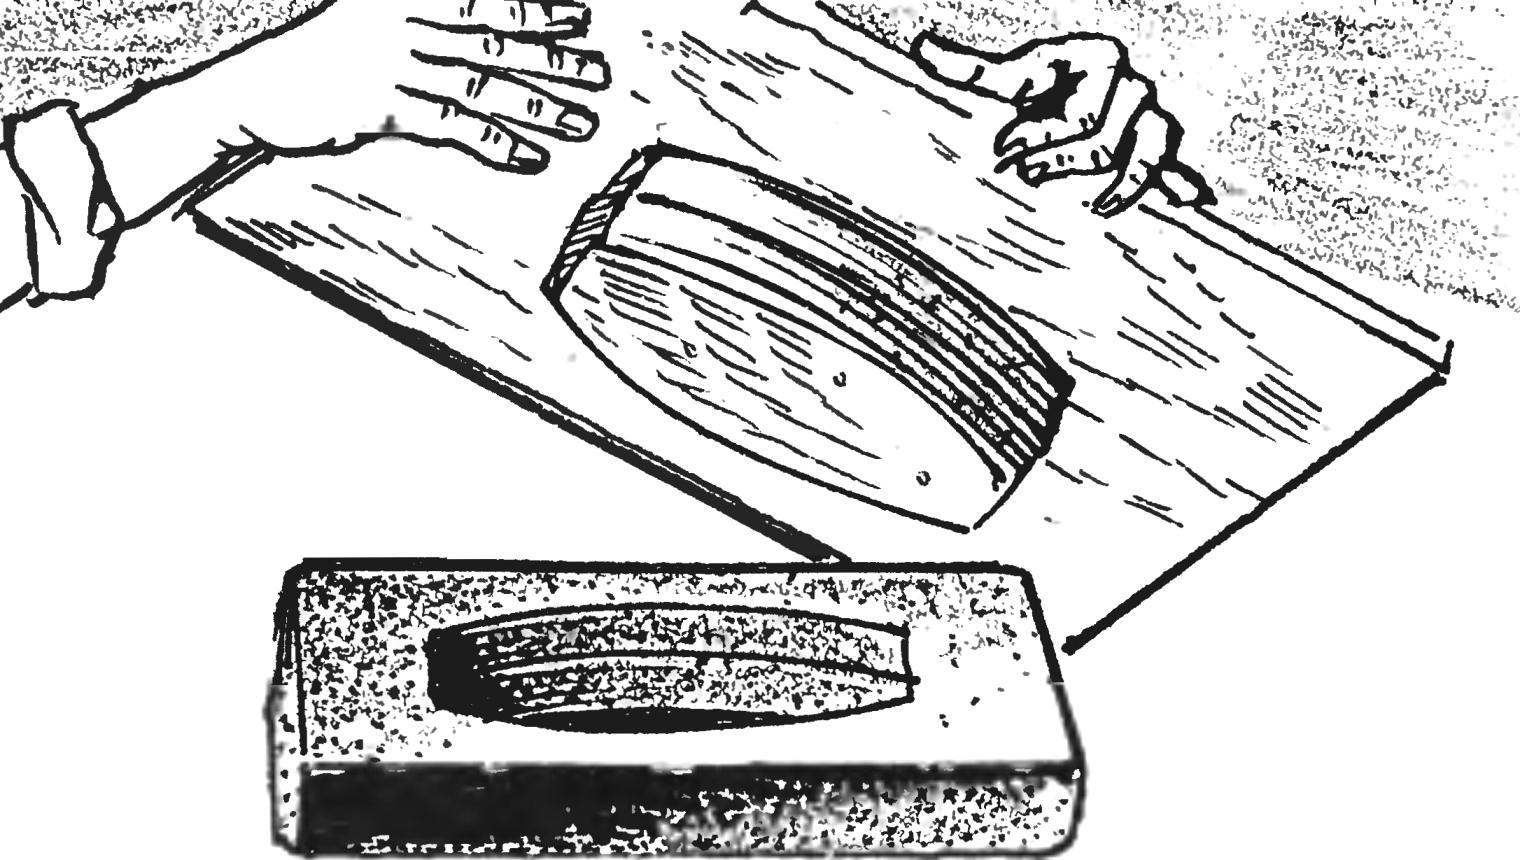
3. Blanks are joined at the glue (PVA) and fastened with nails consistently: the first — with the base, the second with the first, thus forming a monolithic disc.
4. Using rasps, the pigs mowed down up all the walls, and then its surface is polished with sandpaper or emery cloth. This ensures that the unit will be easier to separate from form.
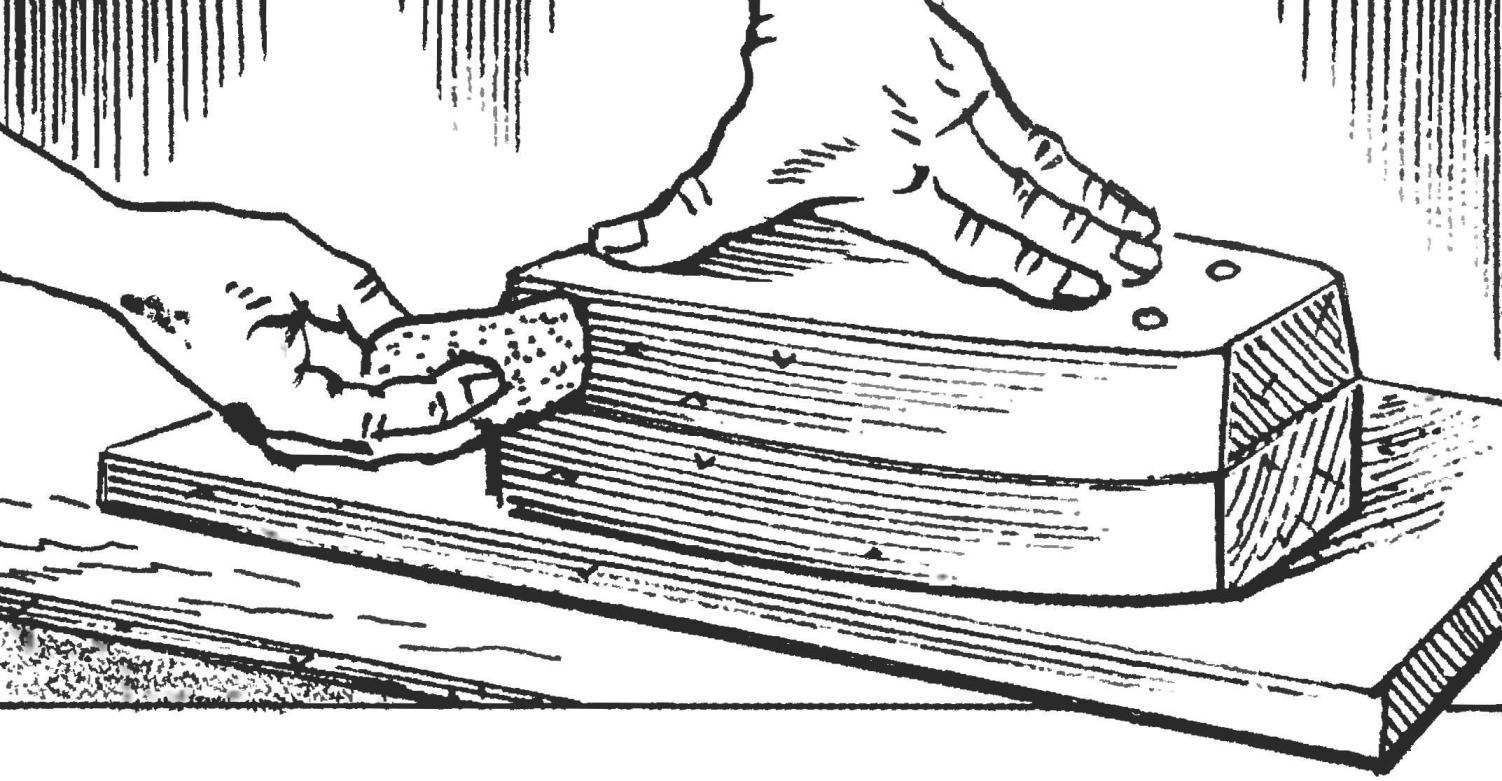
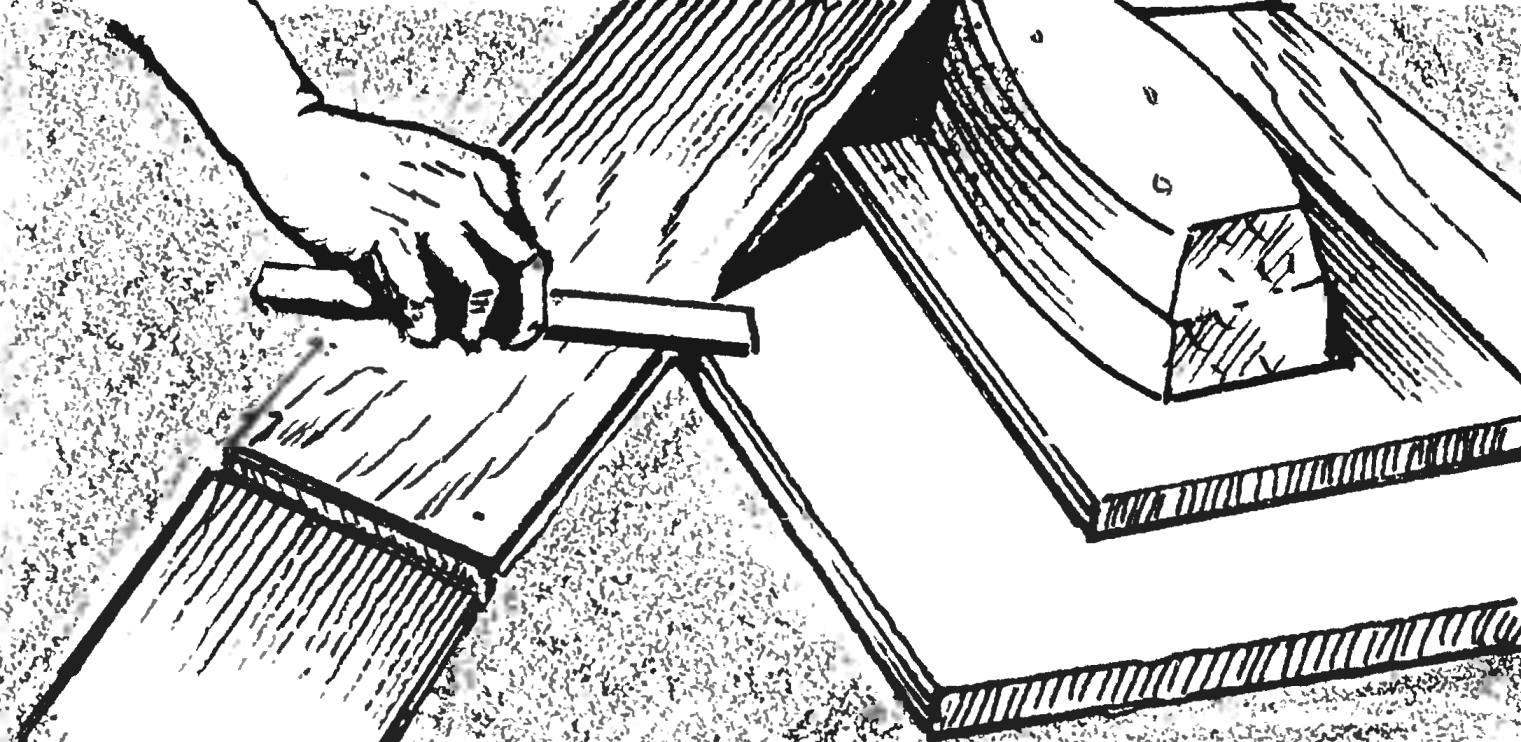
5. Wall adjusted so that they tightly encircled the base of the form.
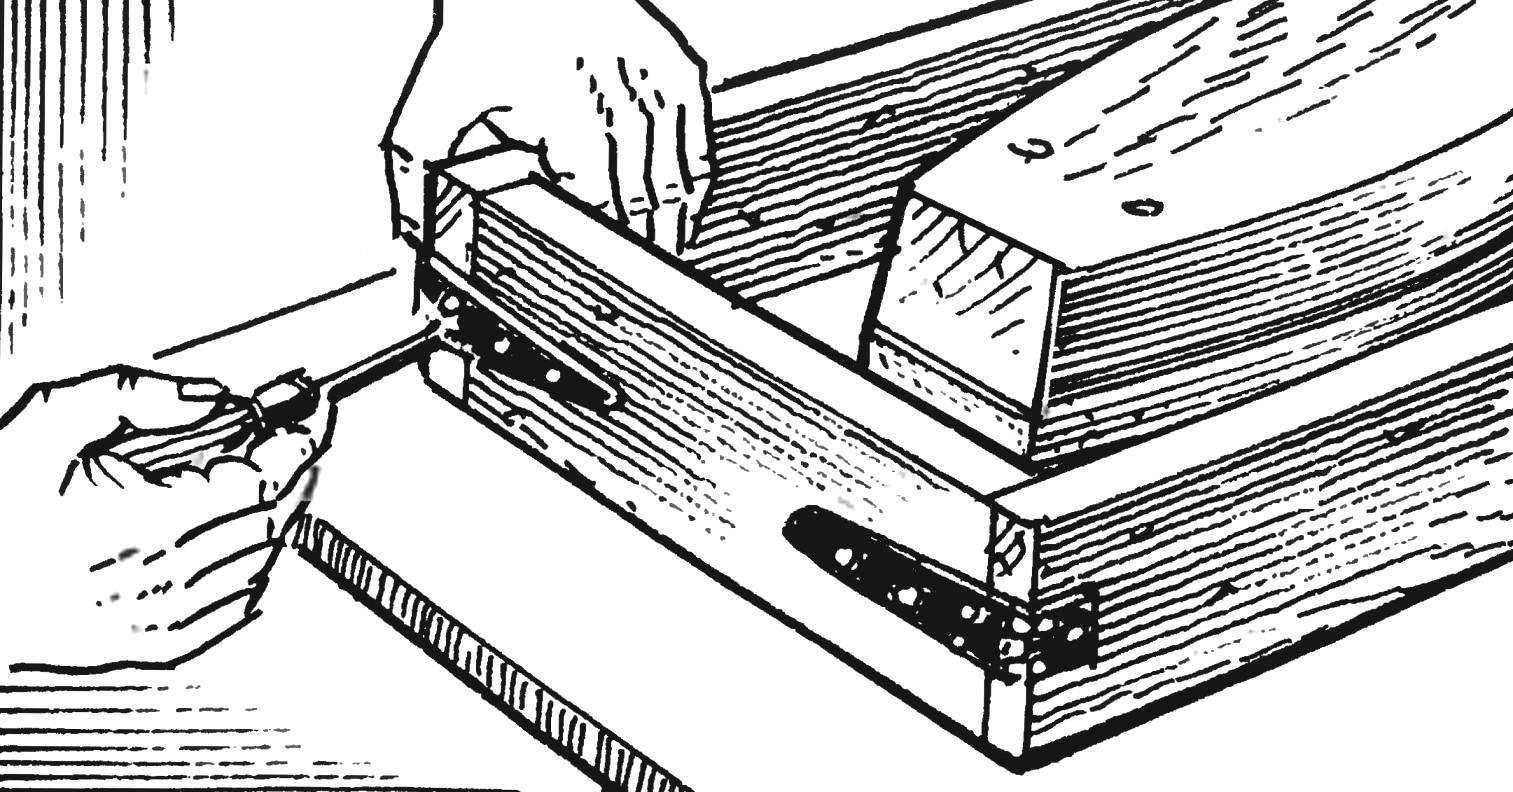
6. After that three angles of a shape are connected kletochnye loops.
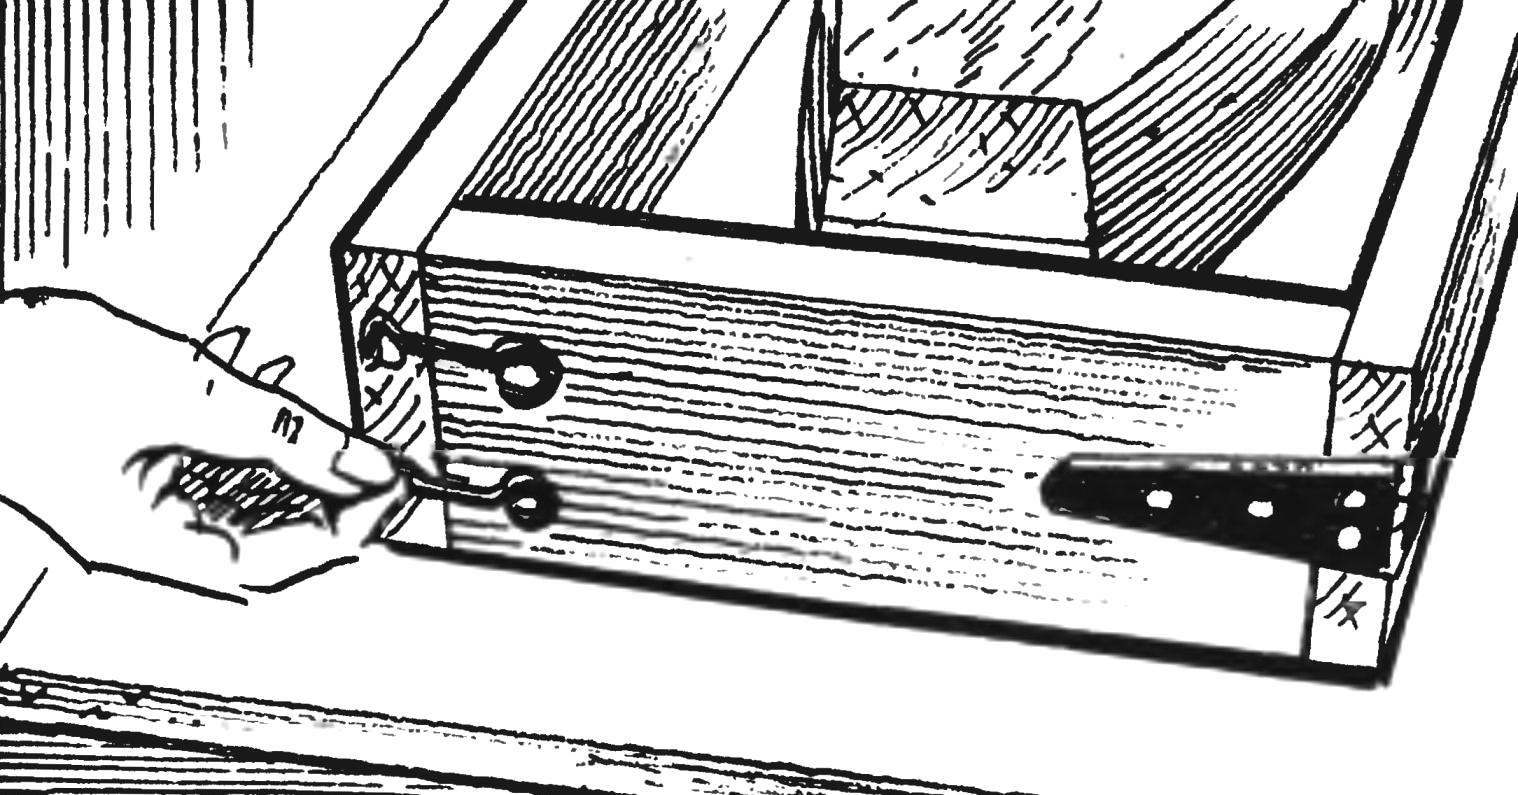
7. Hooks, trailing the fourth corner forms are set in place so that the closed vnatyag.
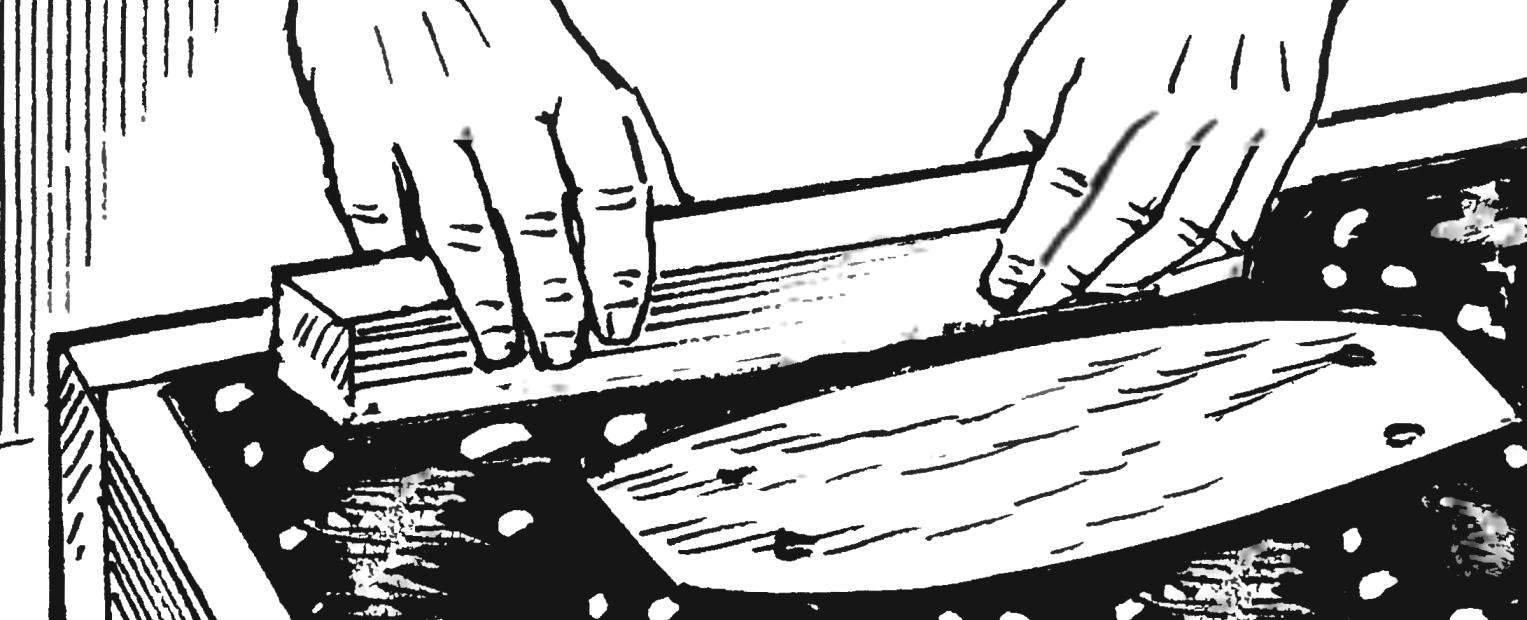
8. After Assembly, it is lubricated with grease from the inside and is gradually filled with concrete, which are cement, crushed stone (or expanded clay) and sand in volume ratio 1:2:3 and after thorough mixing, water is added to the desired density of the solution.
9. When filling out the form with a mixture of half, it introduces armature of thick wire to increase the strength of the block.
10. The solution in the form of completed compacted with a wooden block and leave for initial setting (hardening), which occurs in approximately hours, and the final 12 hours.
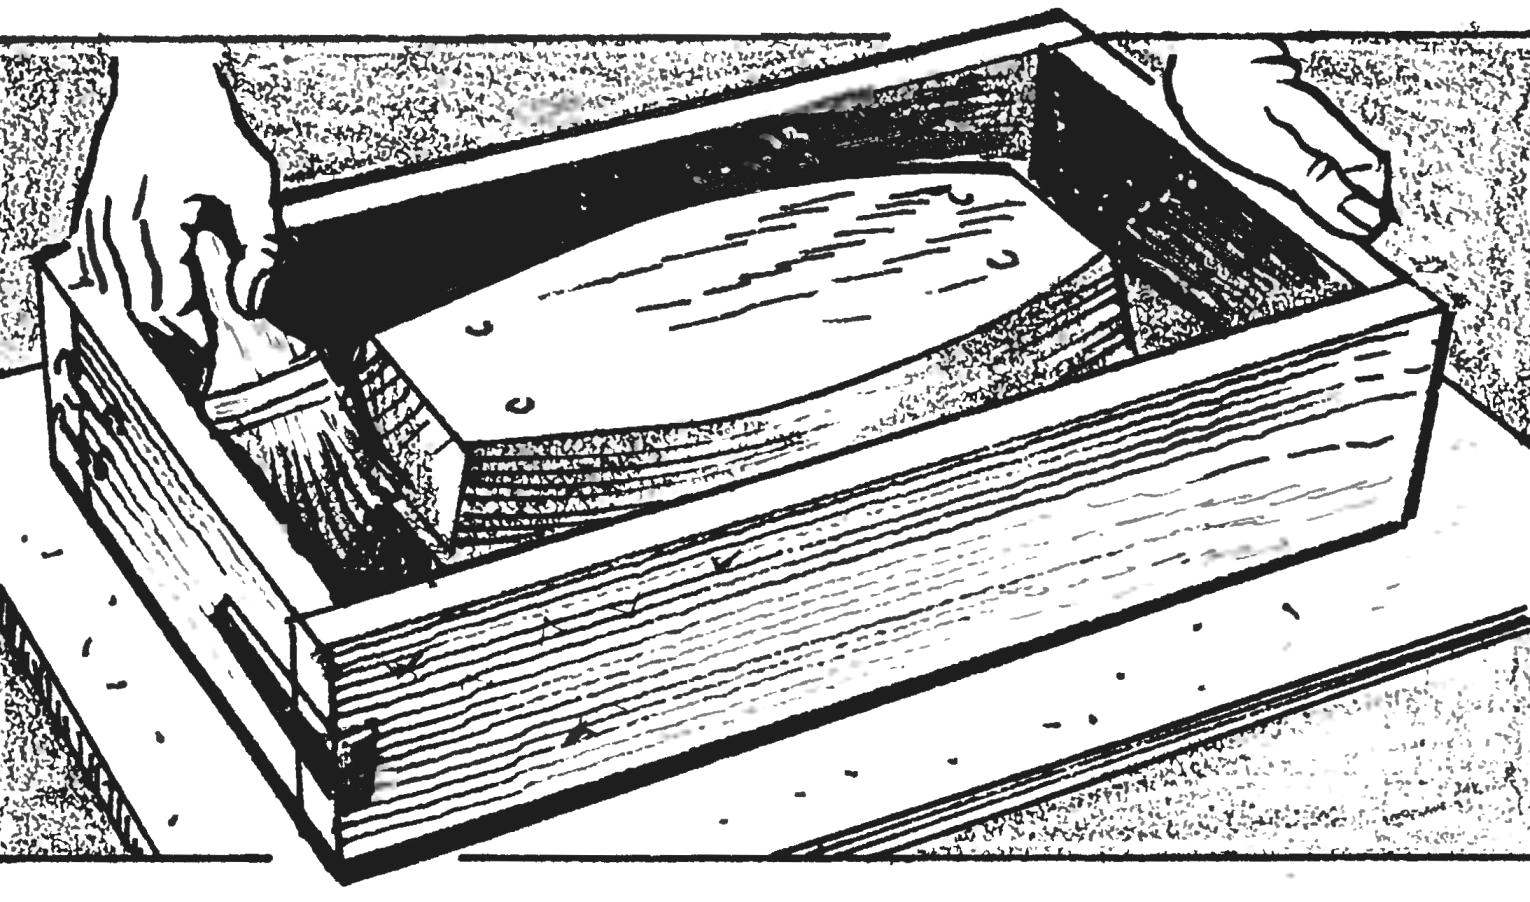
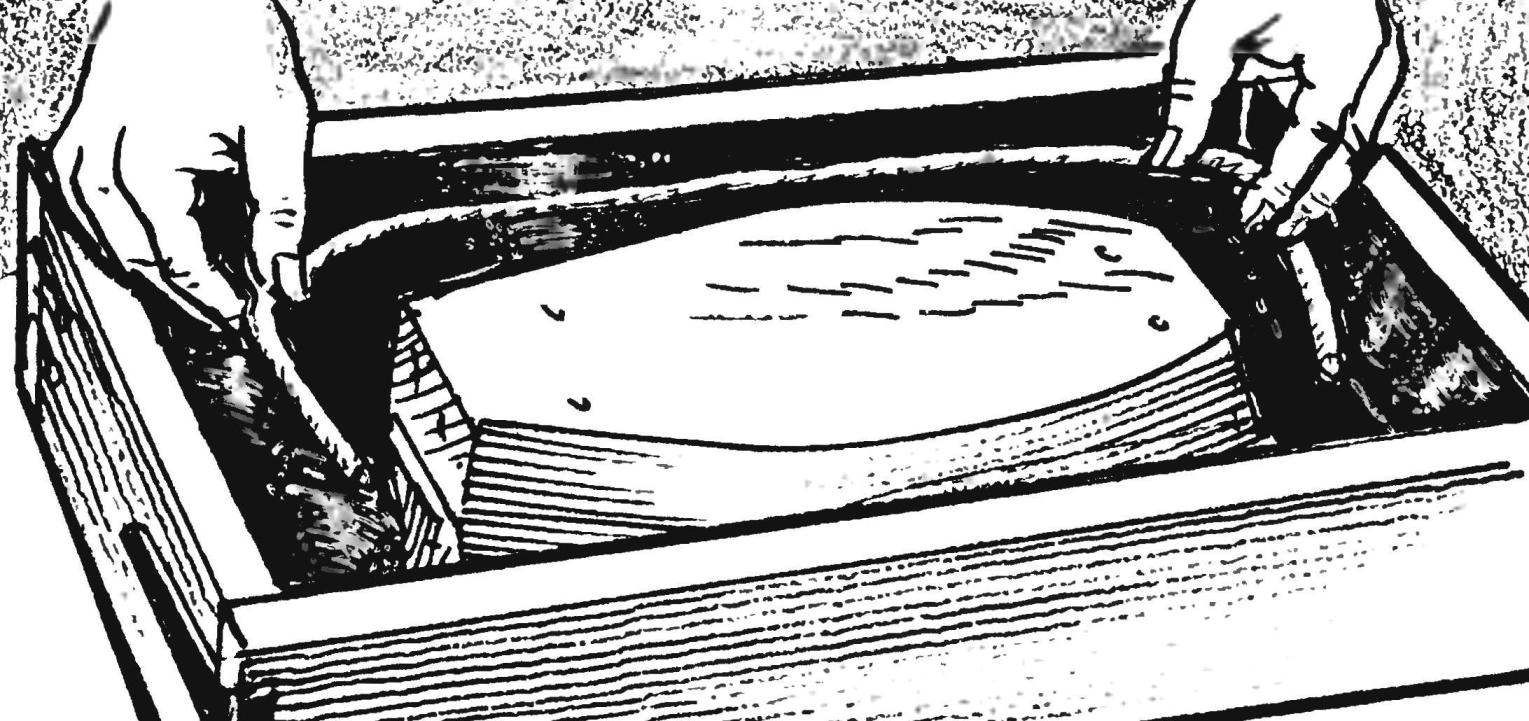
11. After shvatyvanija a solution of the wall shape are disclosed and separated.
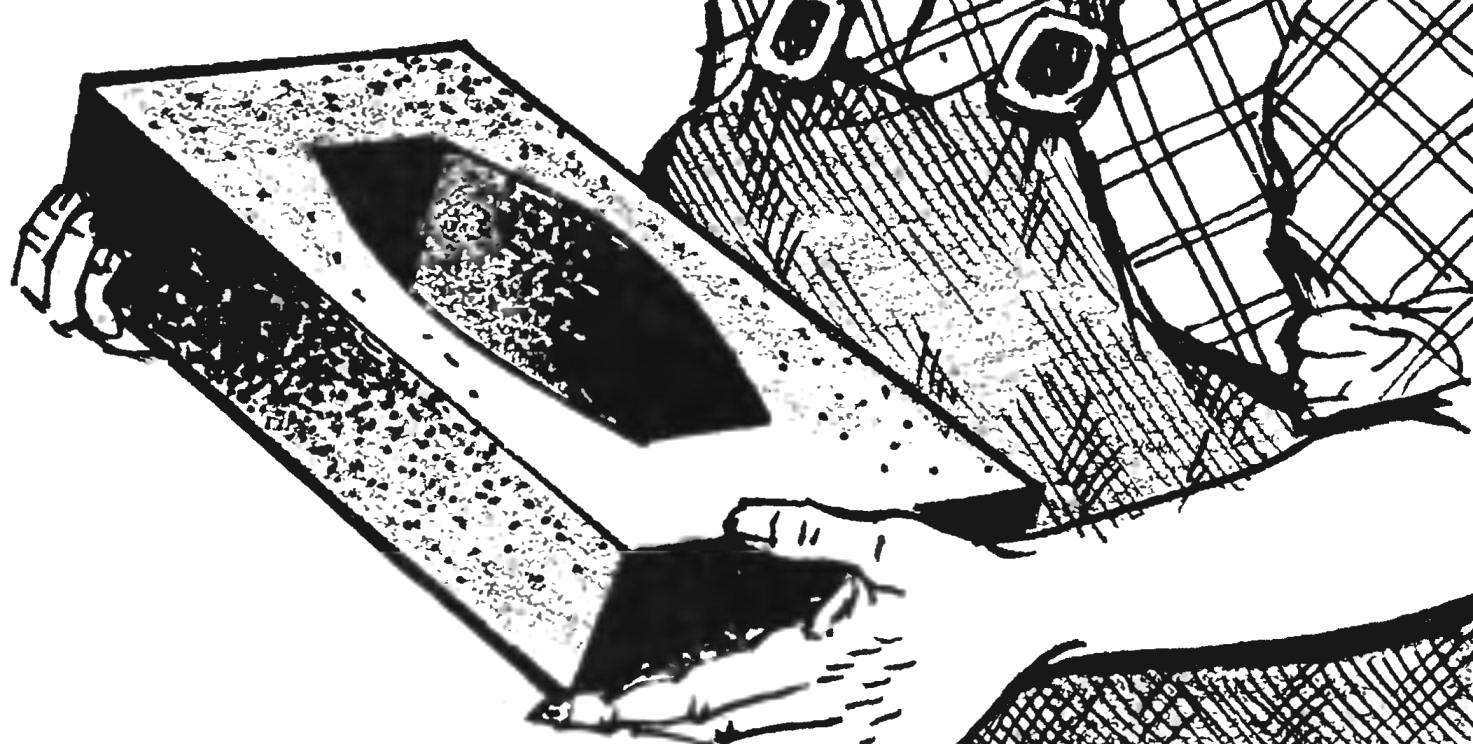
12. To remove the unit (remove it from the disk), the base is flipped on it several times gently hit with a hammer.
13. The separated unit is left for final curing, and form back together.
14. Before the new filling of wall and base with disc clean up grout and again carefully lubricate with grease.
15. The finished unit is placed to set the strength — the “ripening” of concrete, which lasts several days. Thereafter, the blocks ready for laying of the fence.
Recommend to read
 WELDING YOUR
Almost a quarter of a century are a subscriber of the journal "modelist-Konstruktor". About the same age are engaged in electric welding apparatus (ESA). Convinced that the most... Following the leader without leaving your place
Nowadays, many people use a bicycle as an indoor trainer in winter. The designs for the base vary widely. What they probably have in common is one thing: it gets rather boring to pedal in...
