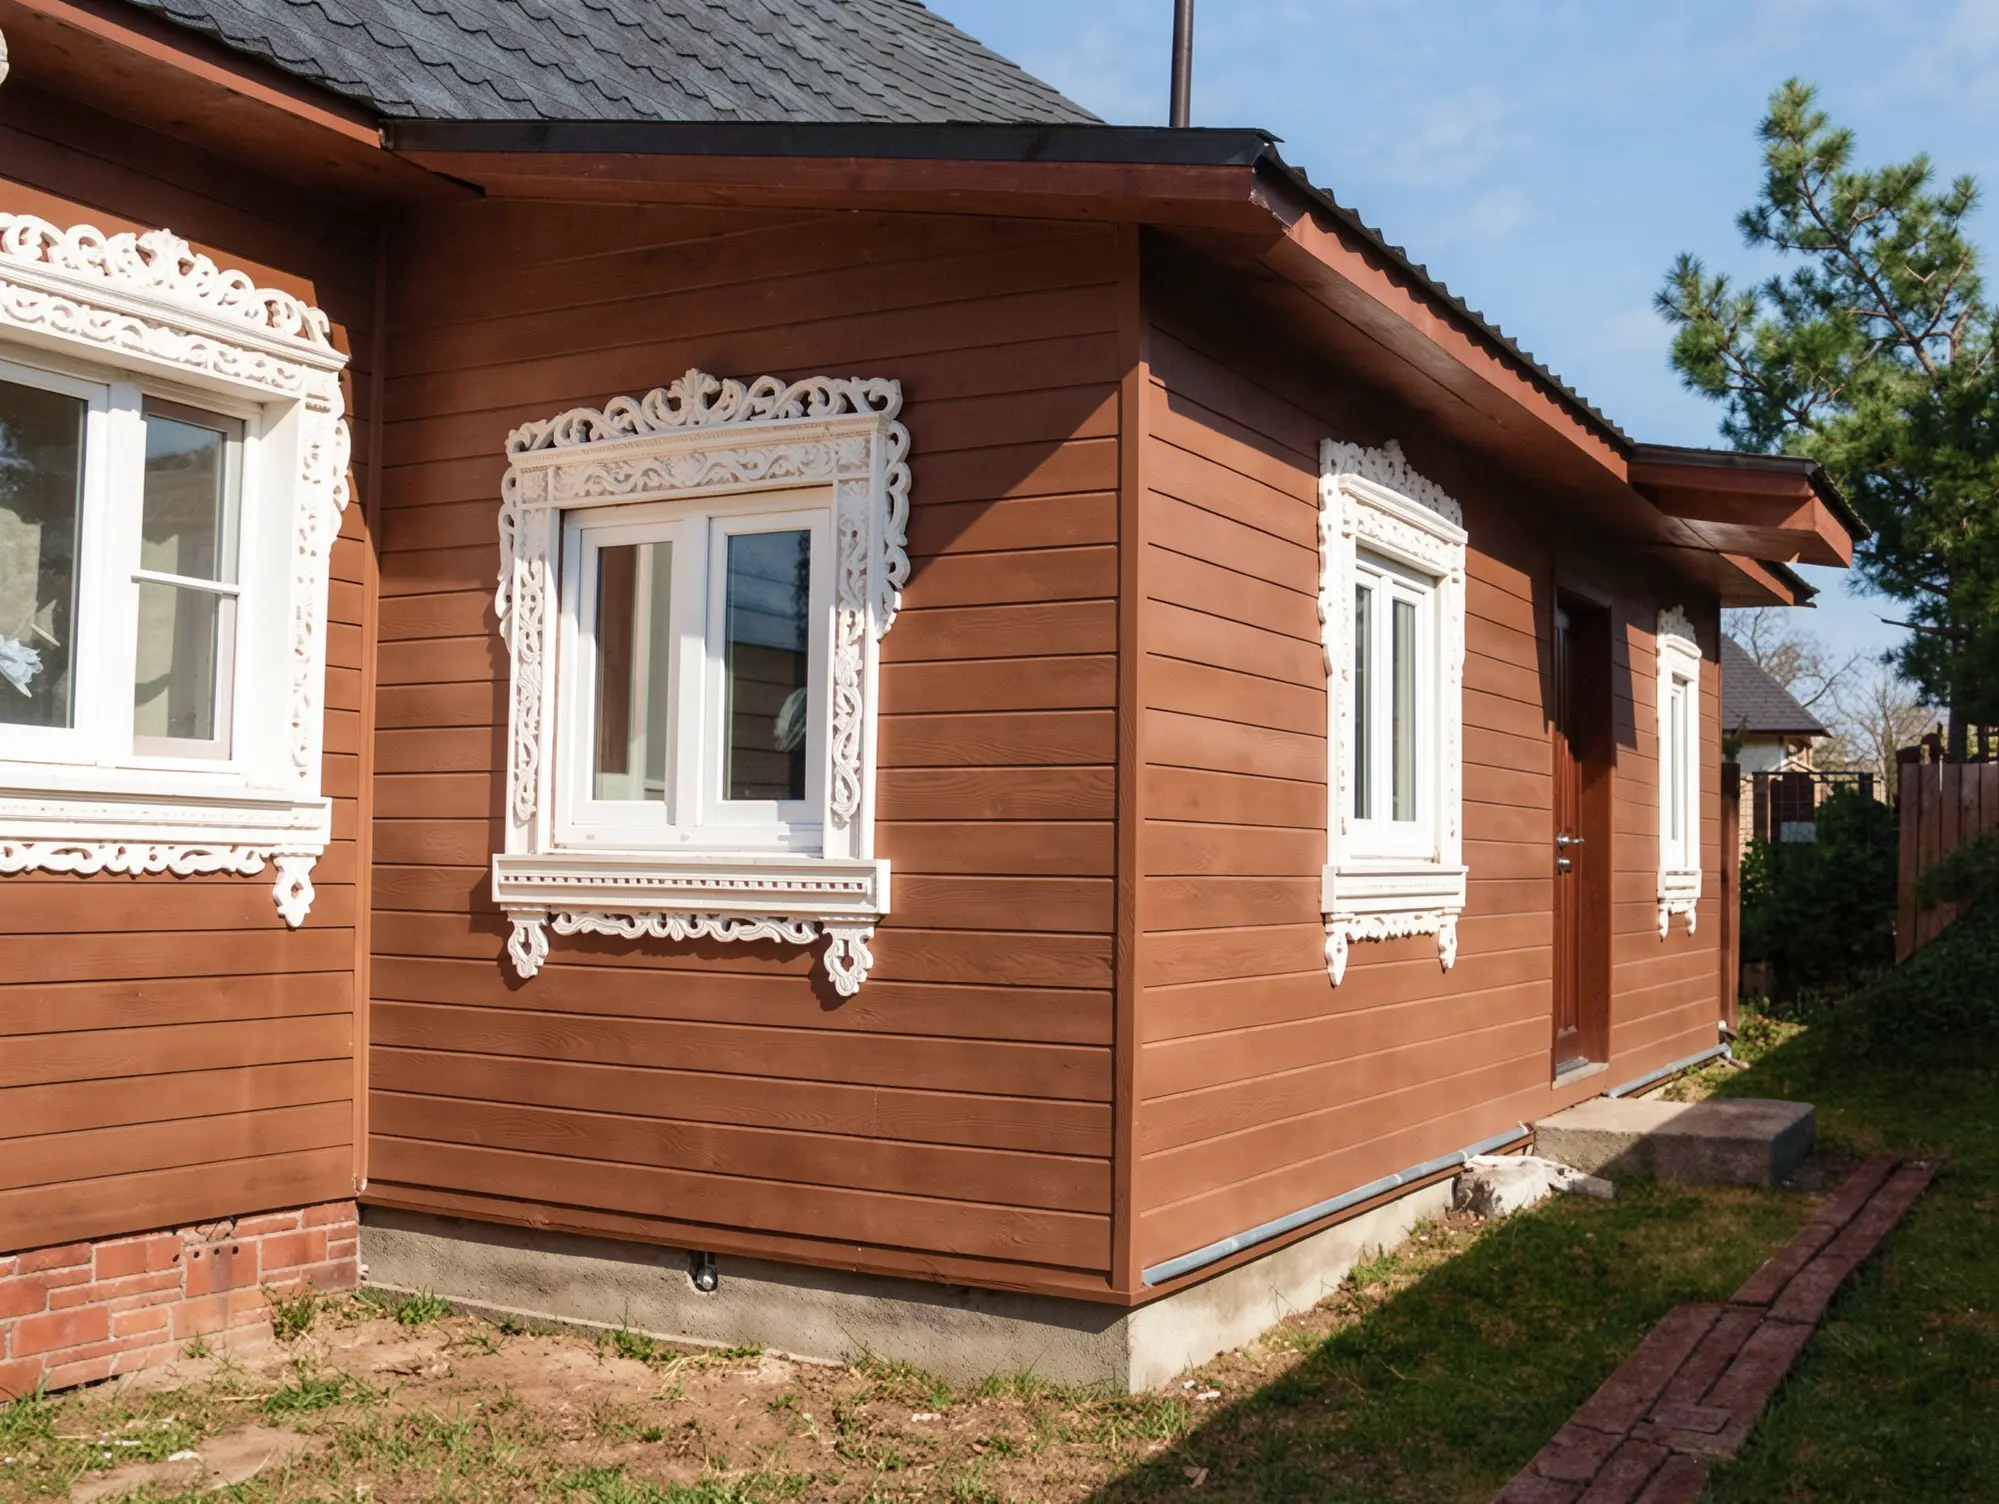
The time came when the amenities in the country house no longer satisfied its owners. After a full renovation of the house, they decided to upgrade the veranda as well, and the plan was to arrange, under the same roof, a sanitary unit with a shower cabin. I want to note in advance that the author had no involvement in building the veranda, so I will describe what I saw and was able to photograph.
As usual, construction of the extension began with pouring a concrete strip foundation with pieces of rebar to a depth of a little more than half a meter. For loamy soil, this base is quite sufficient, according to the owner. I will not dwell on how to prepare the trench, formwork, and sand cushion, since much has already been written about this and relevant recommendations are easy to find in available media sources.
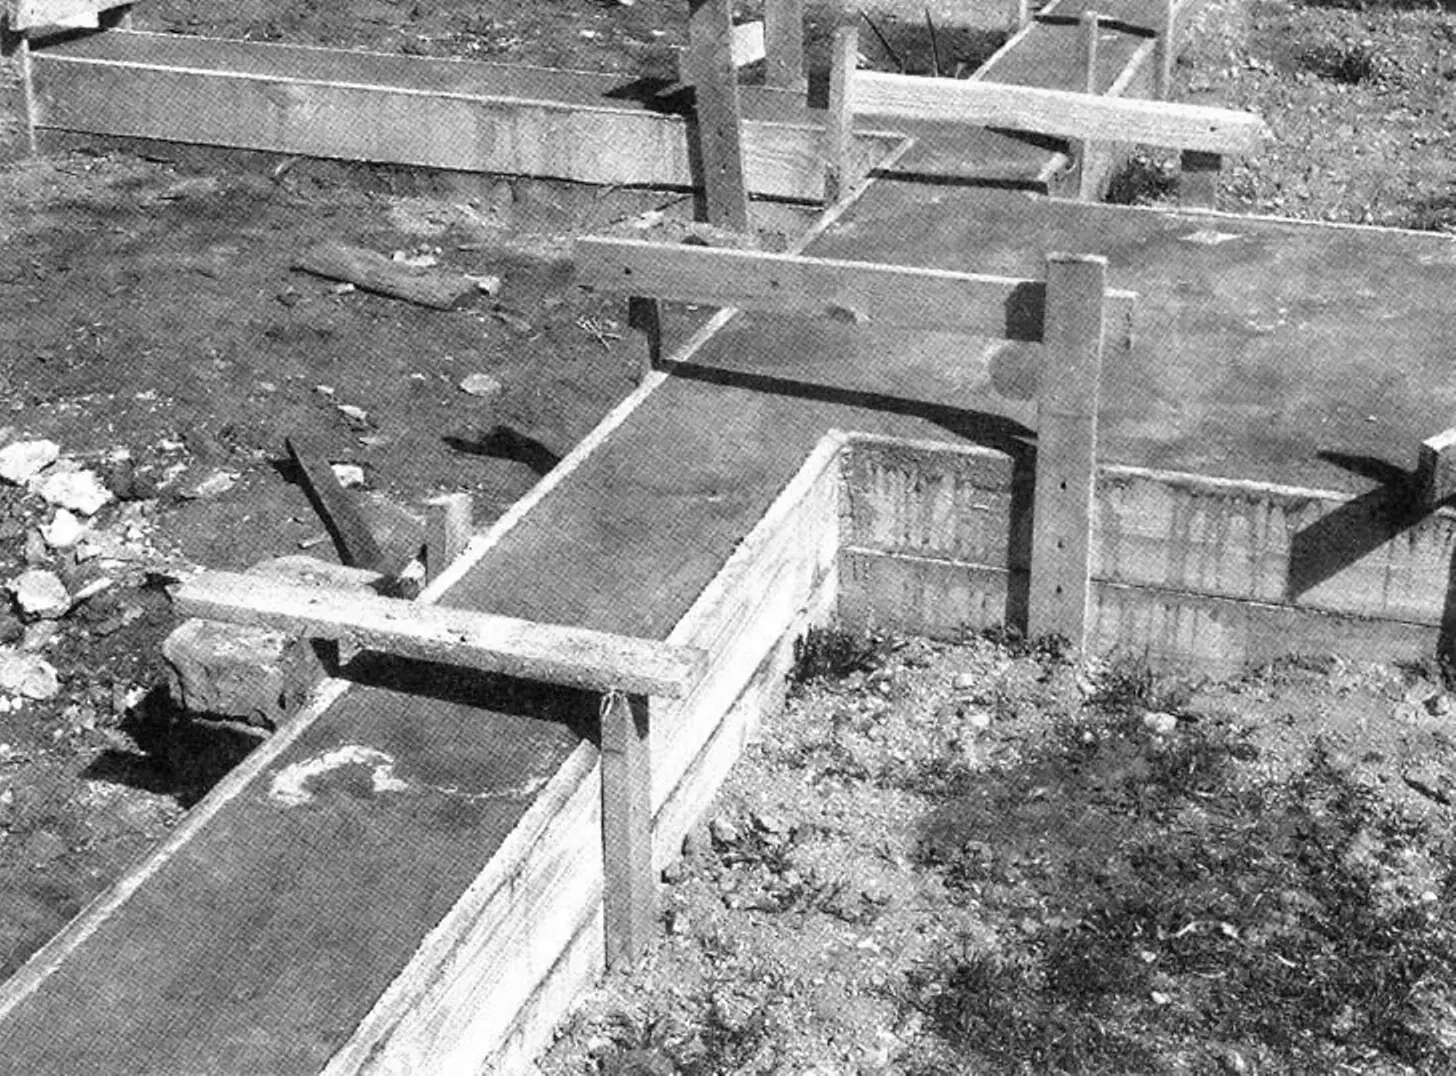
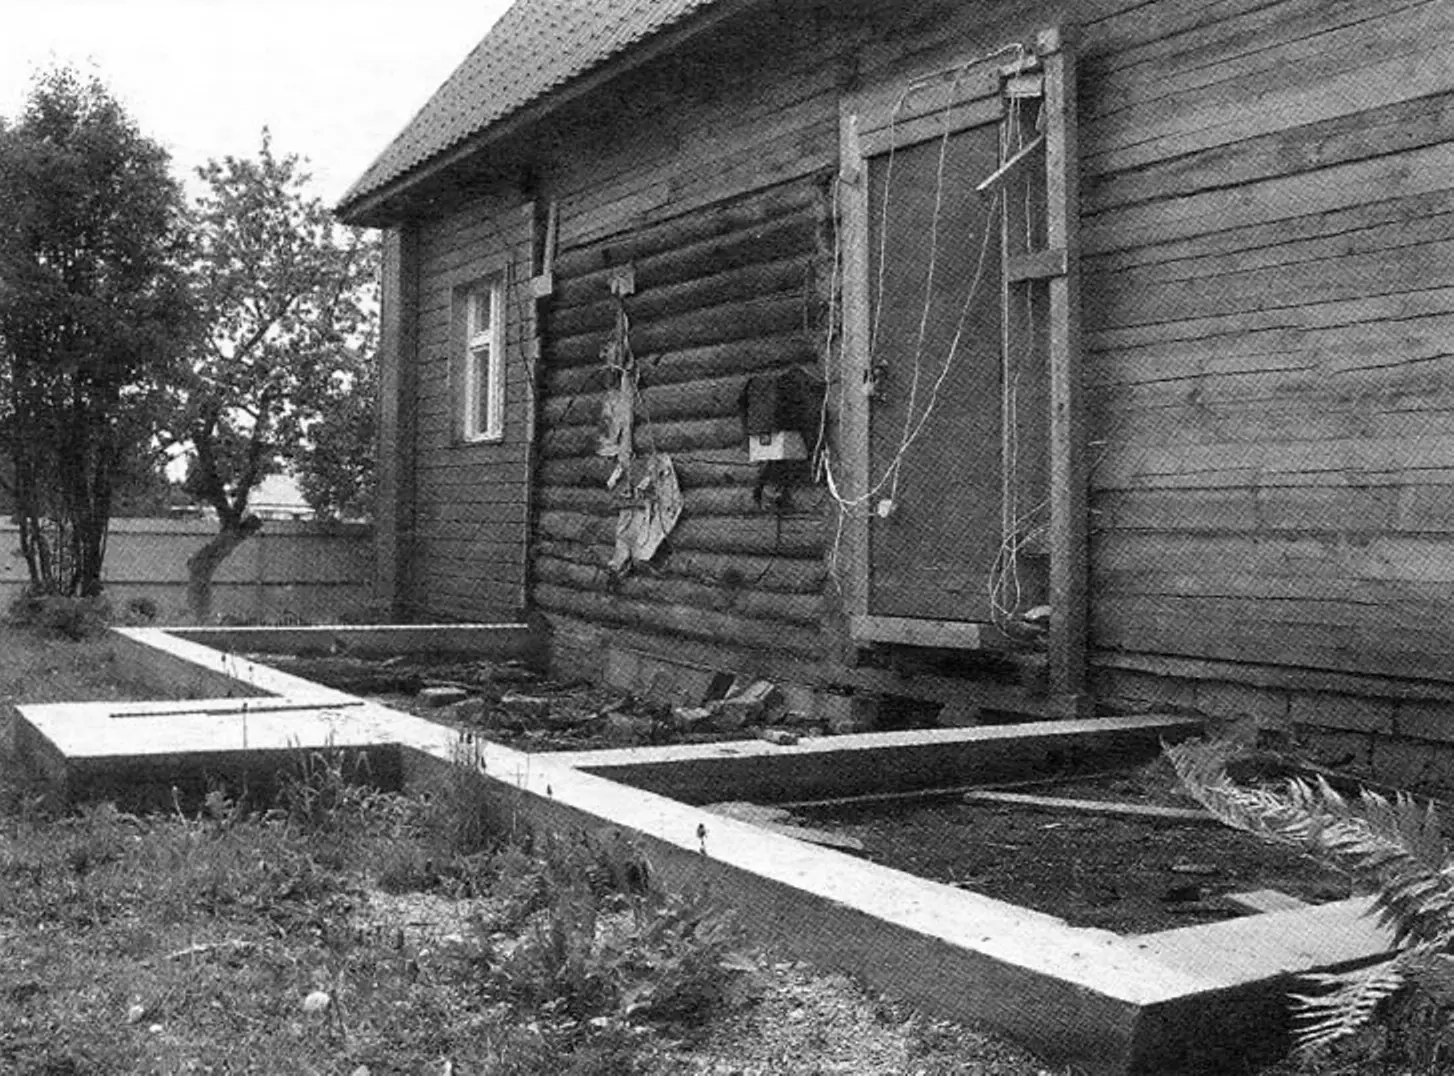
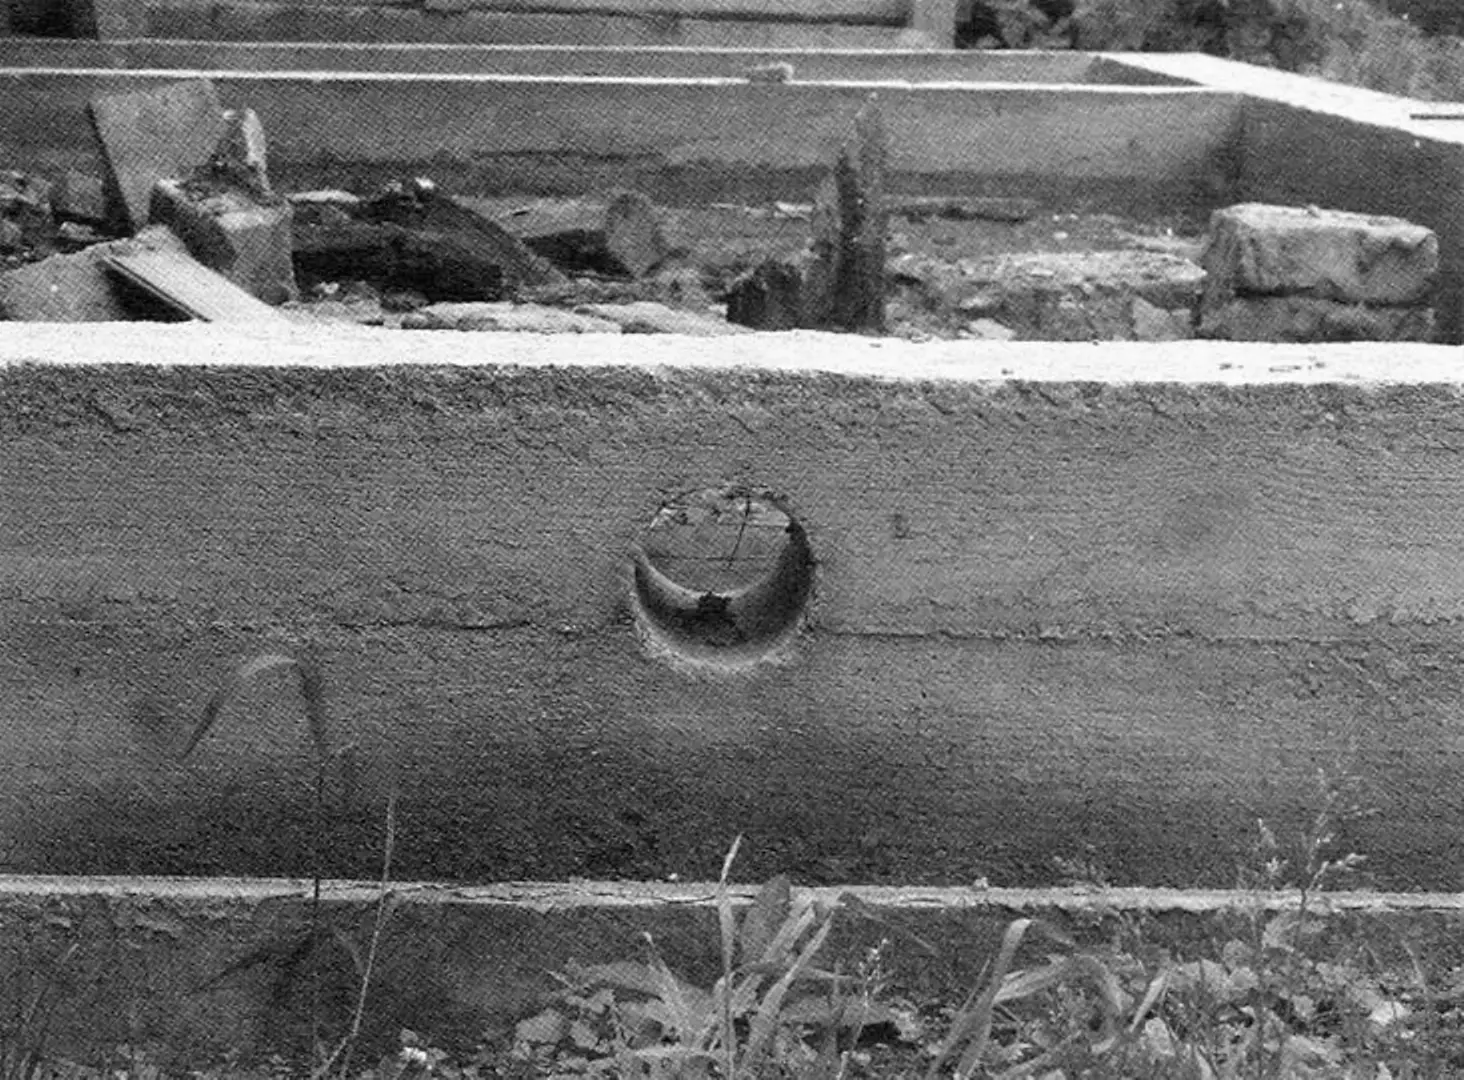
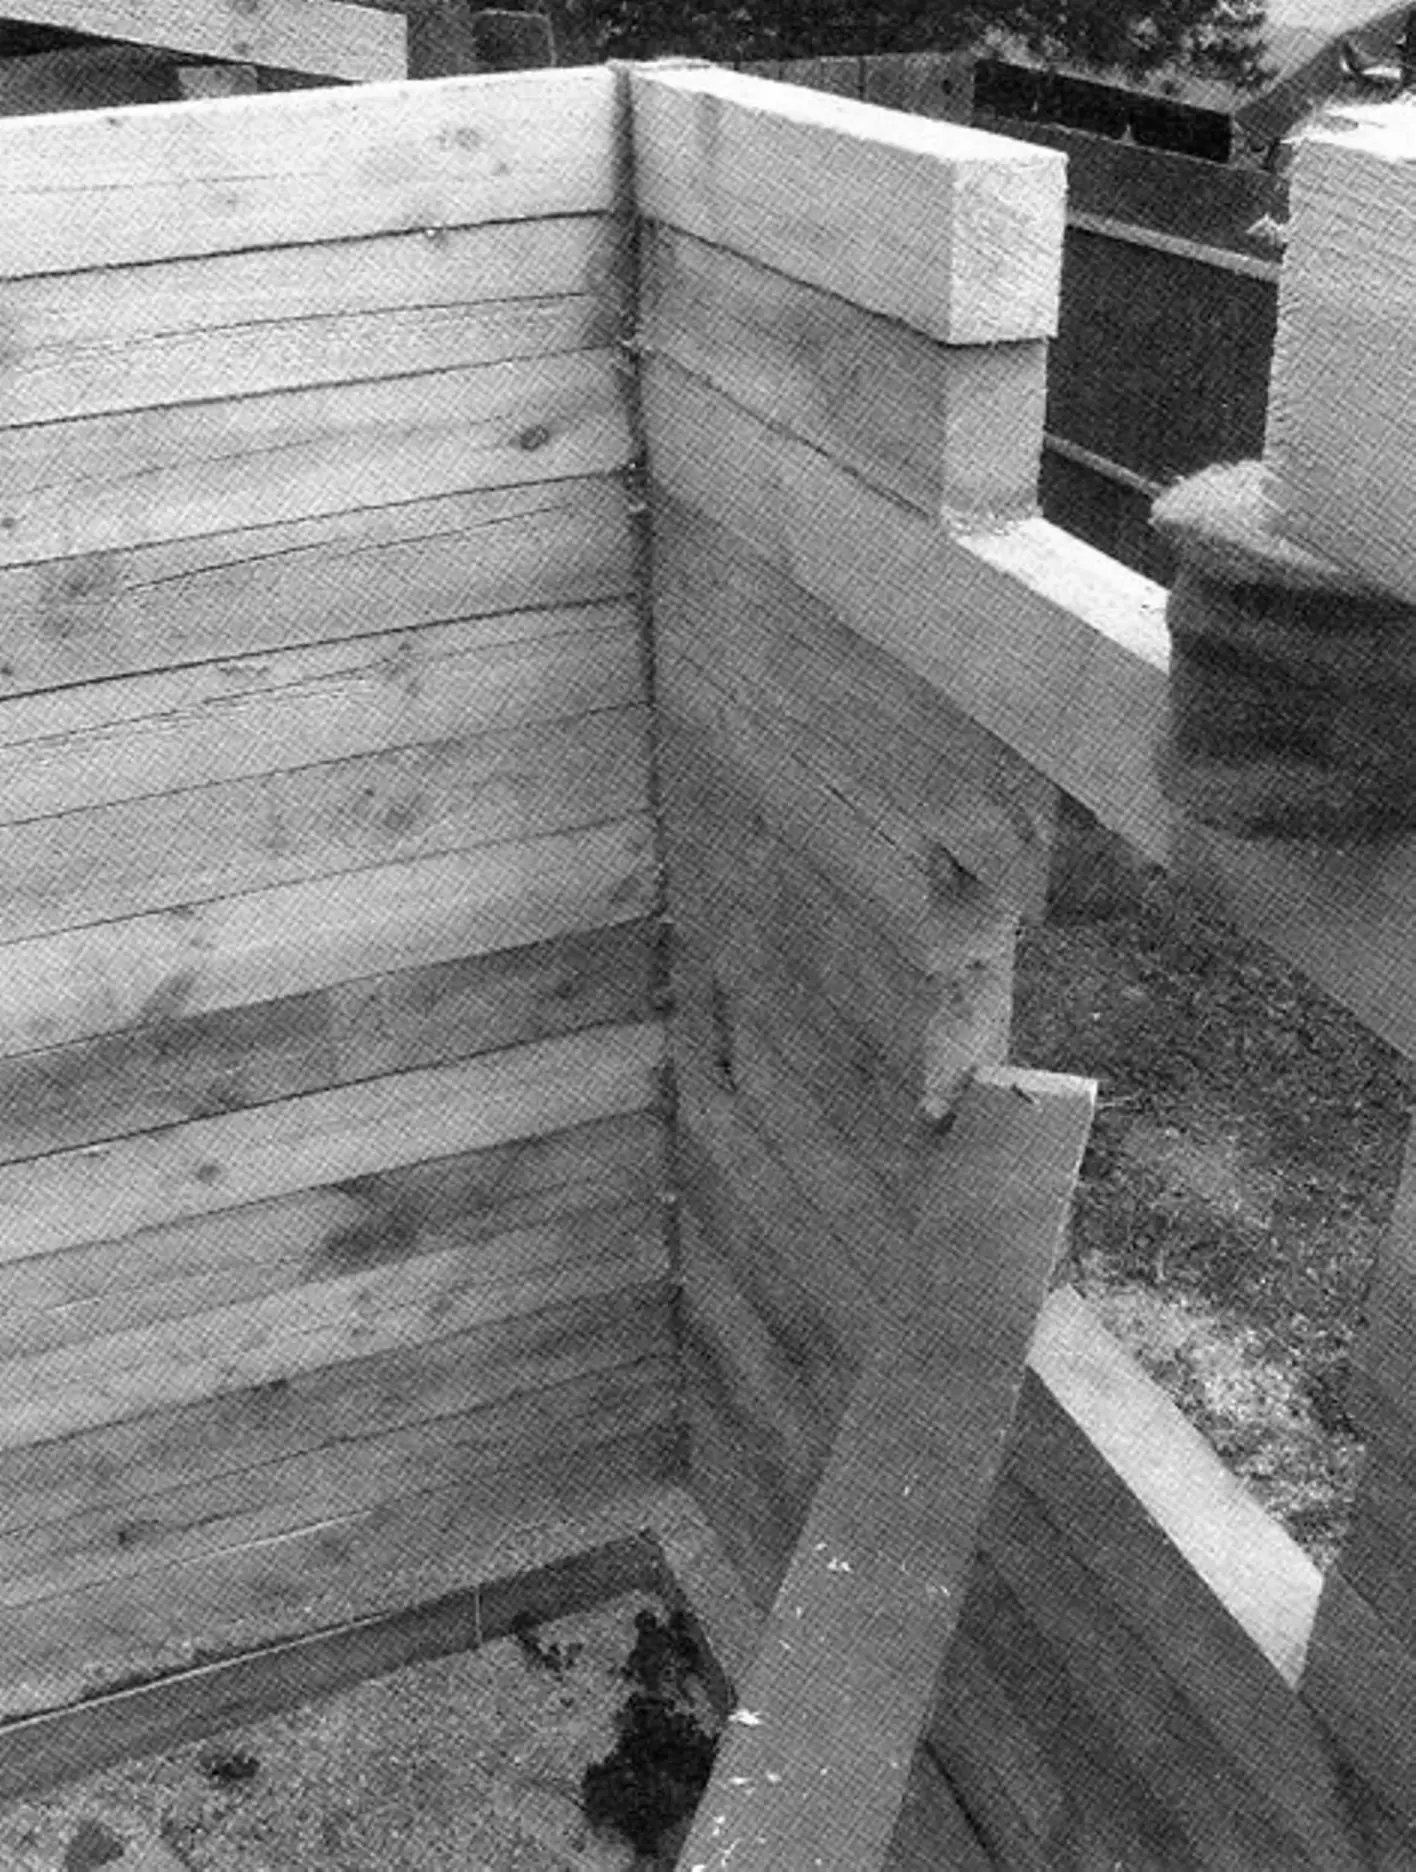
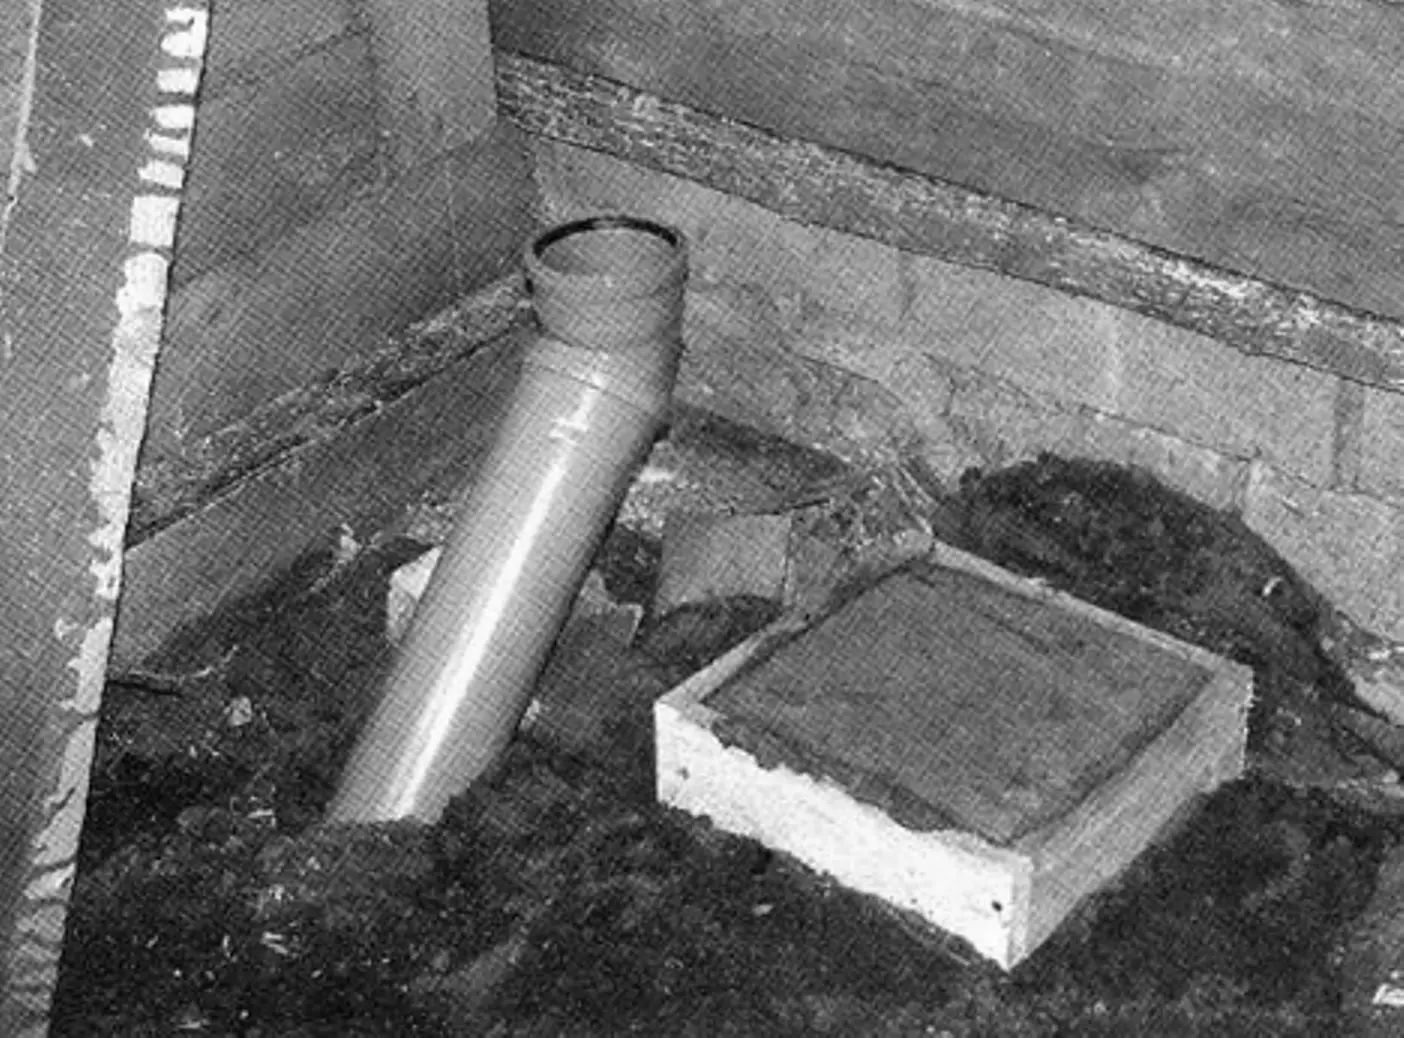
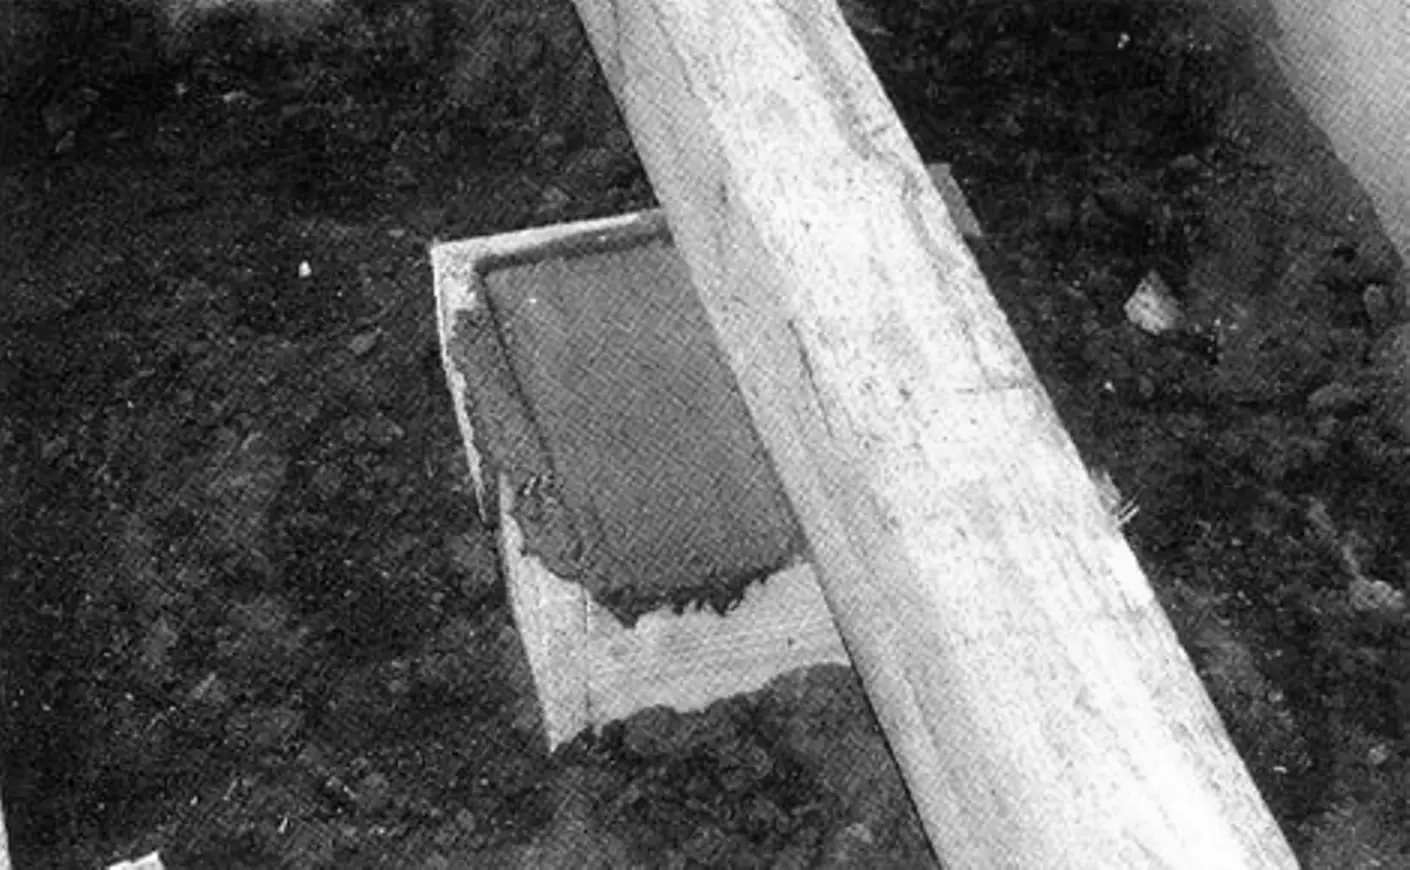
During the foundation pour, pieces of plastic pipe were inserted into its “walls” to ventilate the crawl space. After pouring and curing the concrete, double sheets of roofing felt were laid on top of the foundation, and on them a 150×100 mm timber beam of the first crown (veranda tie beam). The most important part was joining the extension to the log wall of the house. For this, three vertical beams (one for each wall) were fixed to the log frame with screws (self-tapping screws), with longitudinal grooves for the tongues of the horizontal wall crowns, followed by sealing the gaps between the house and the beams with frost-resistant expanding foam. Such joints allow the wall to “move” vertically if the foundation shifts. Small gaps formed after crown settlement can always be sealed with available materials.
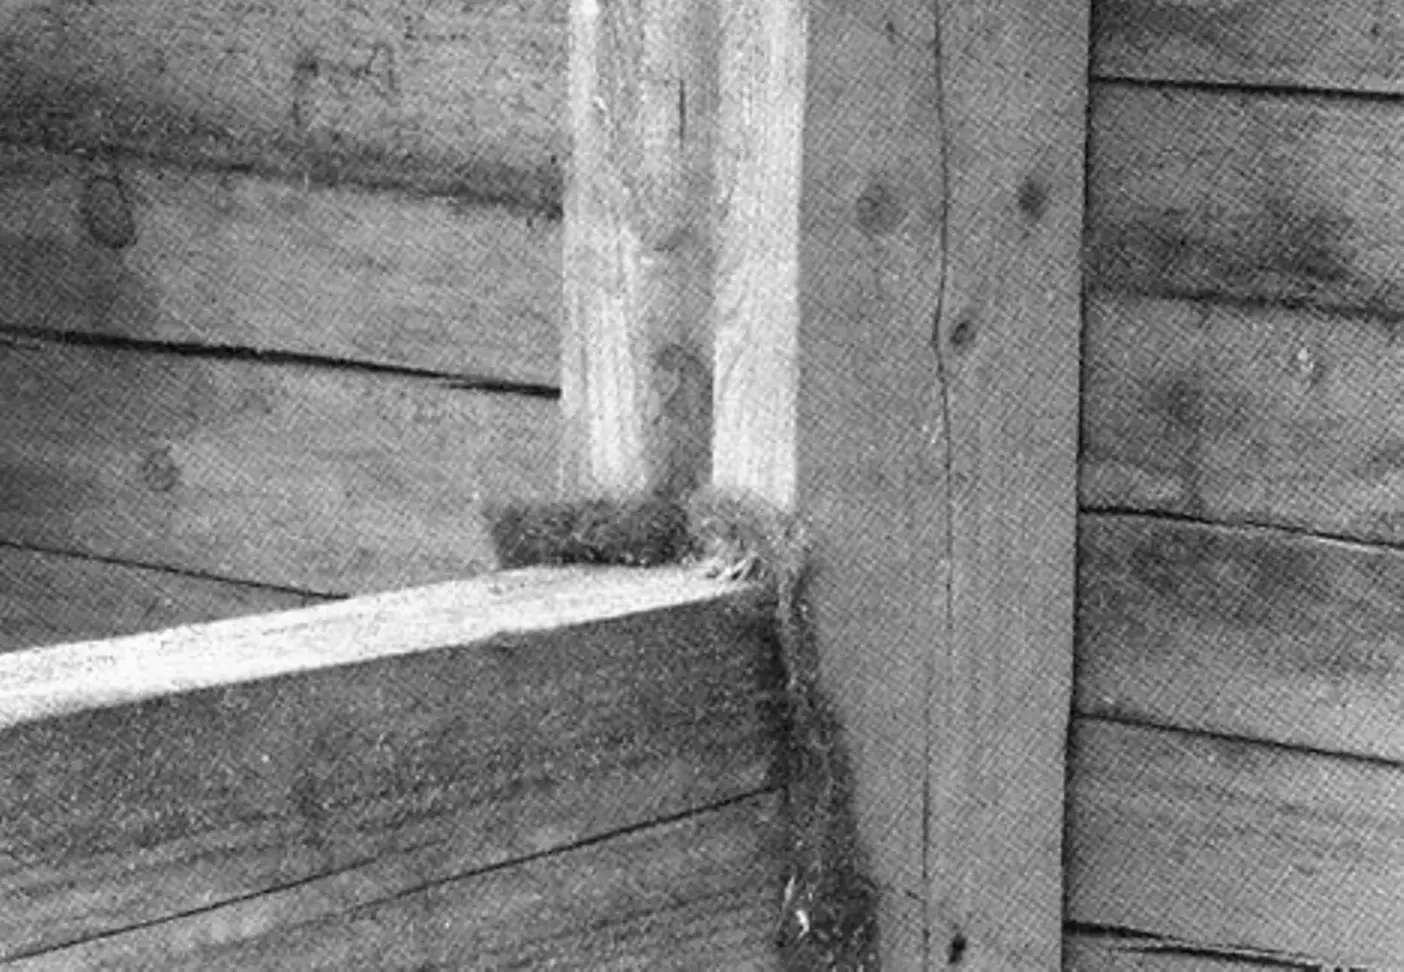
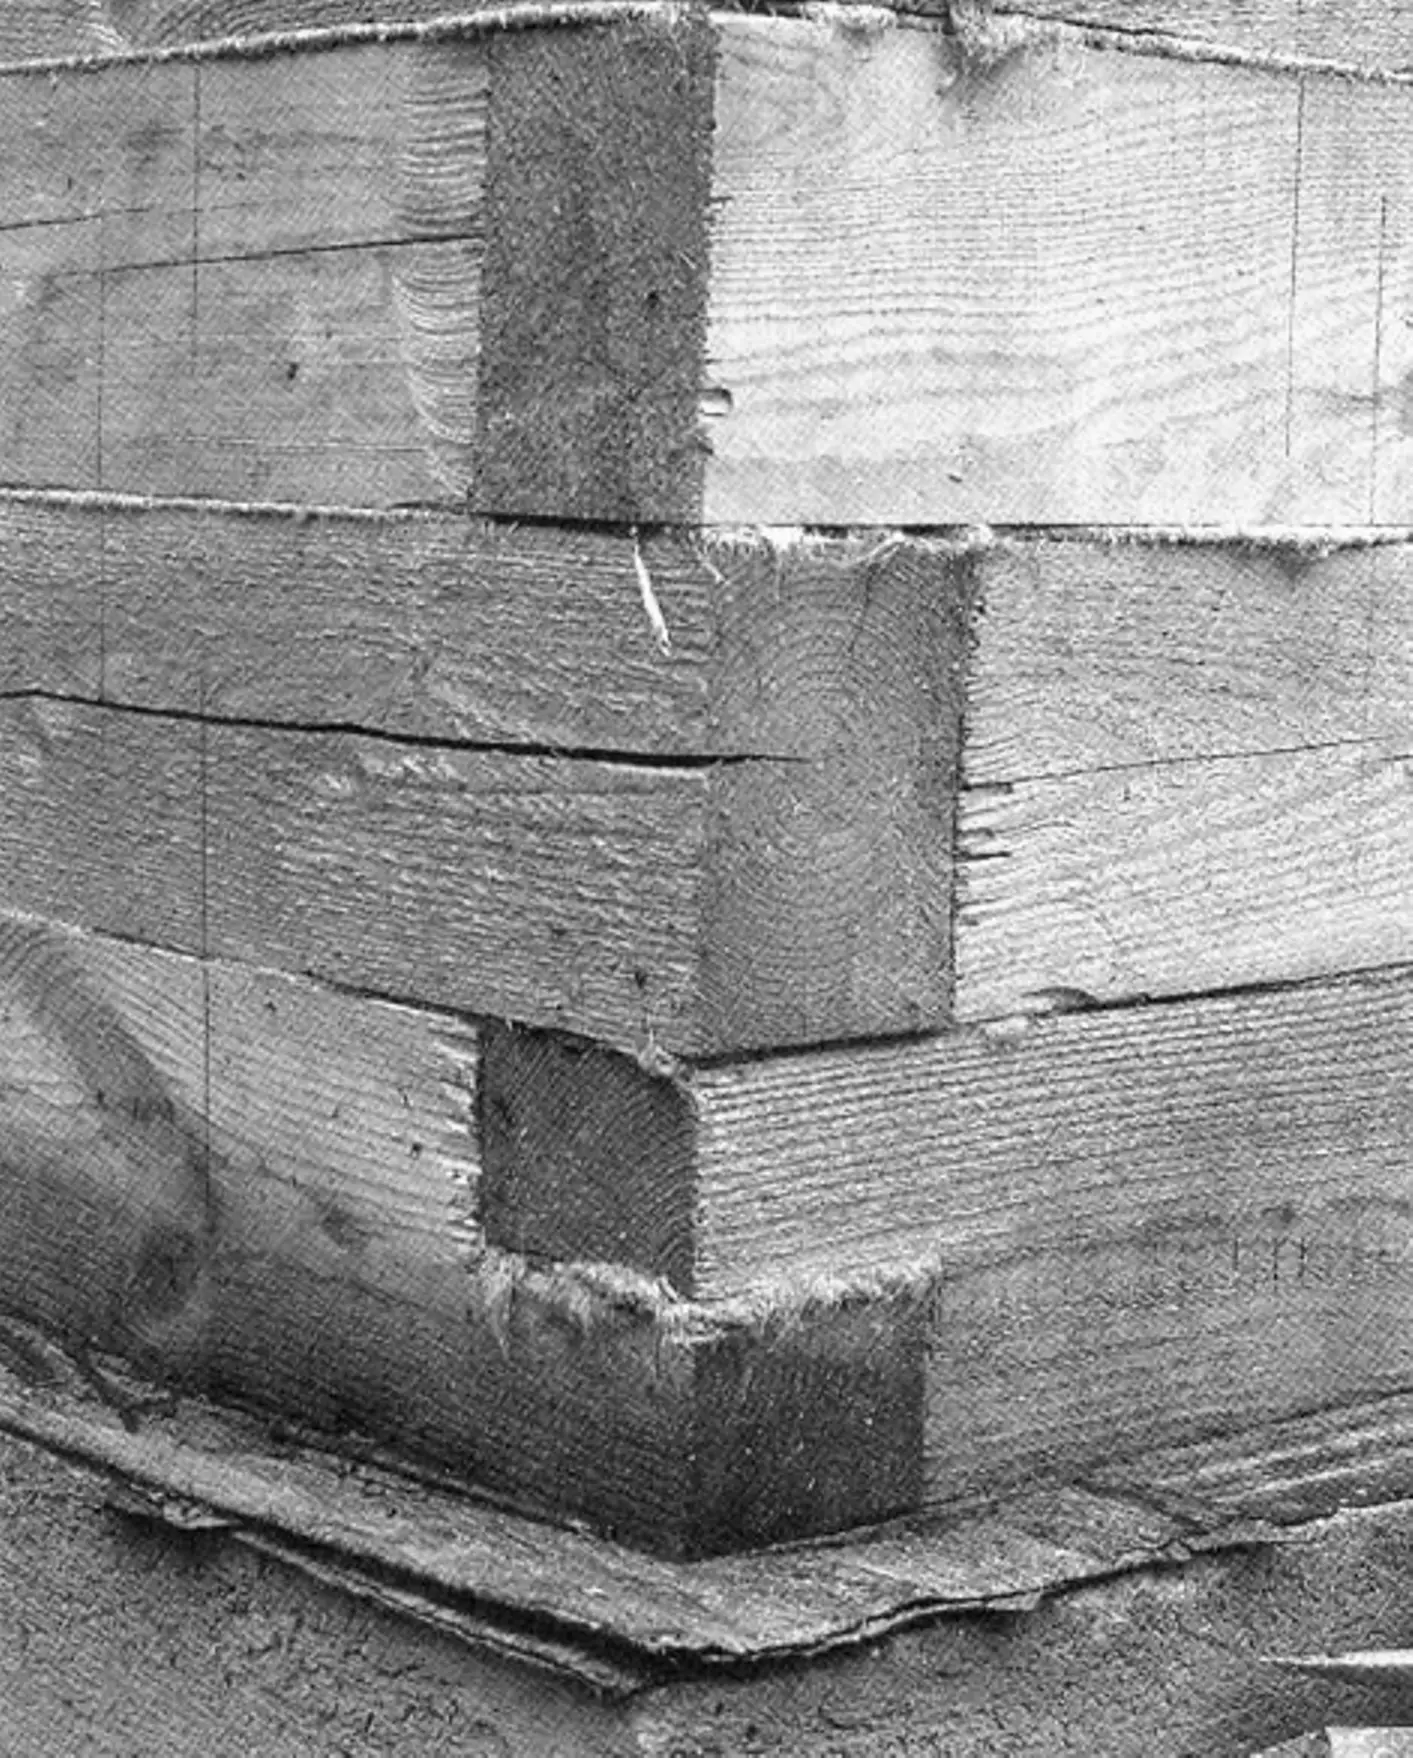
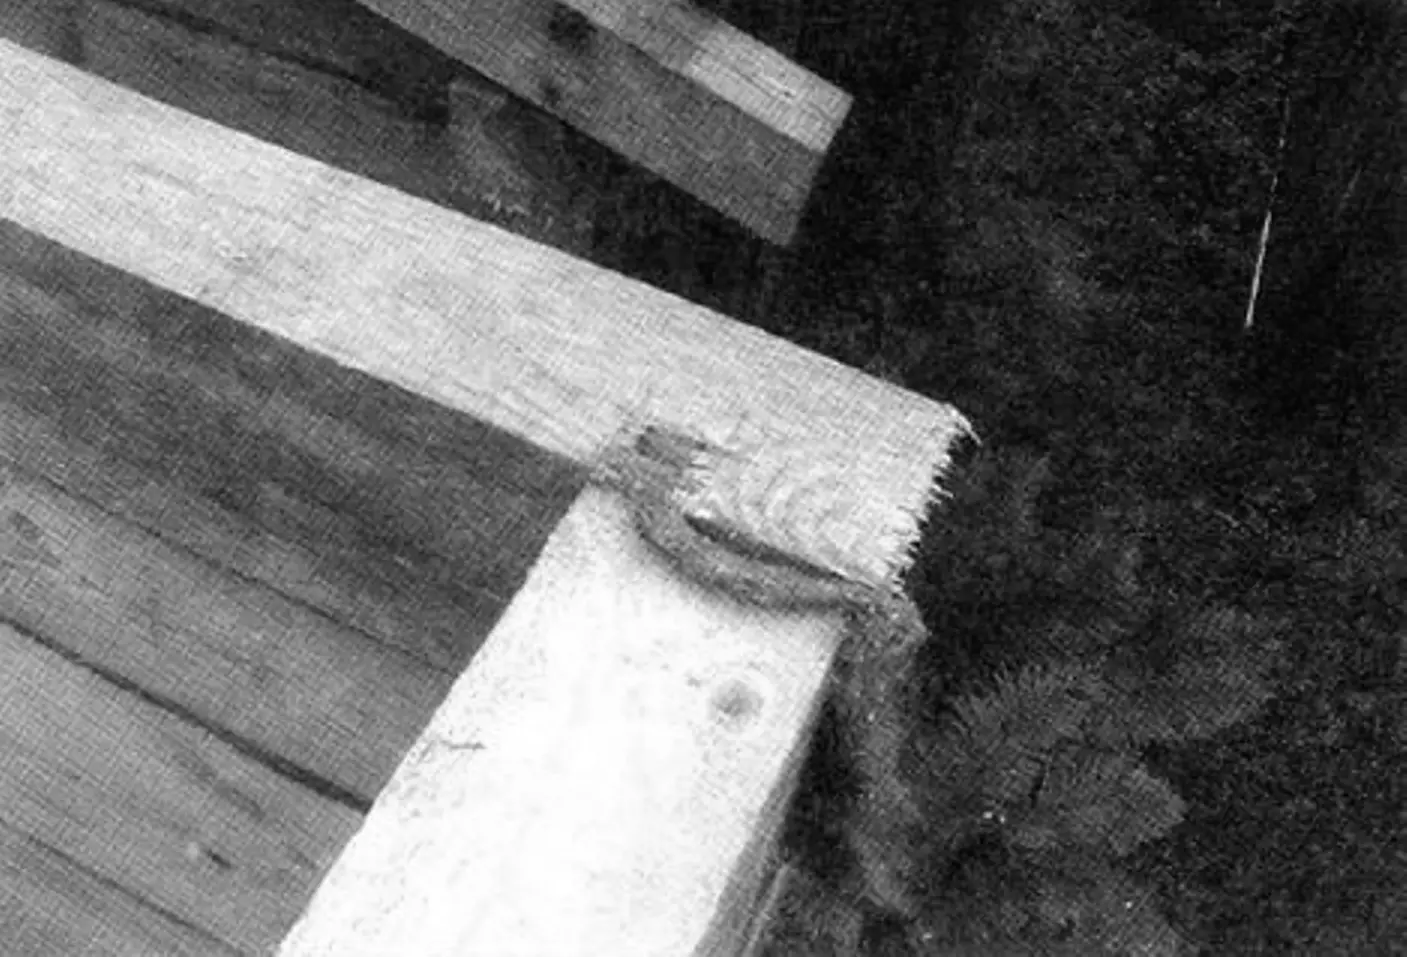
The corner beams of the first row were joined half-lap, and the subsequent rows were connected using dowels and side tongues inserted into matching grooves.
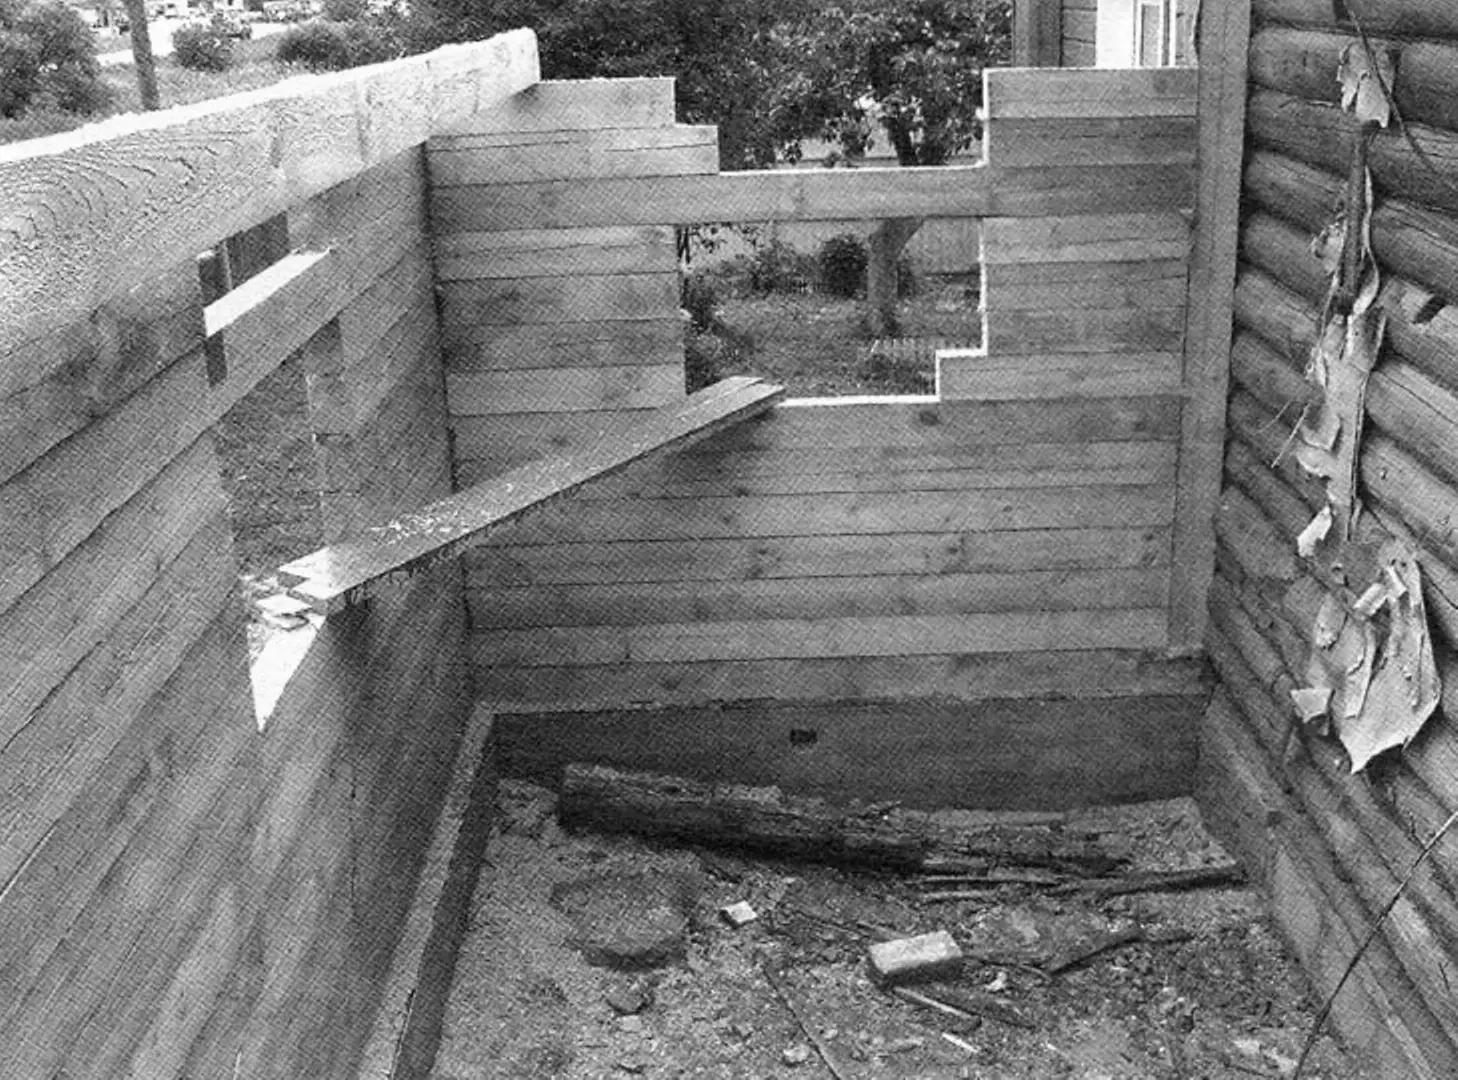
The transverse beams of the inner wall were connected with dowels and laid with overlap. The dowels were made from shovel handles bought at a hardware store. Felt gaskets were laid between all rows of beams and their joints.
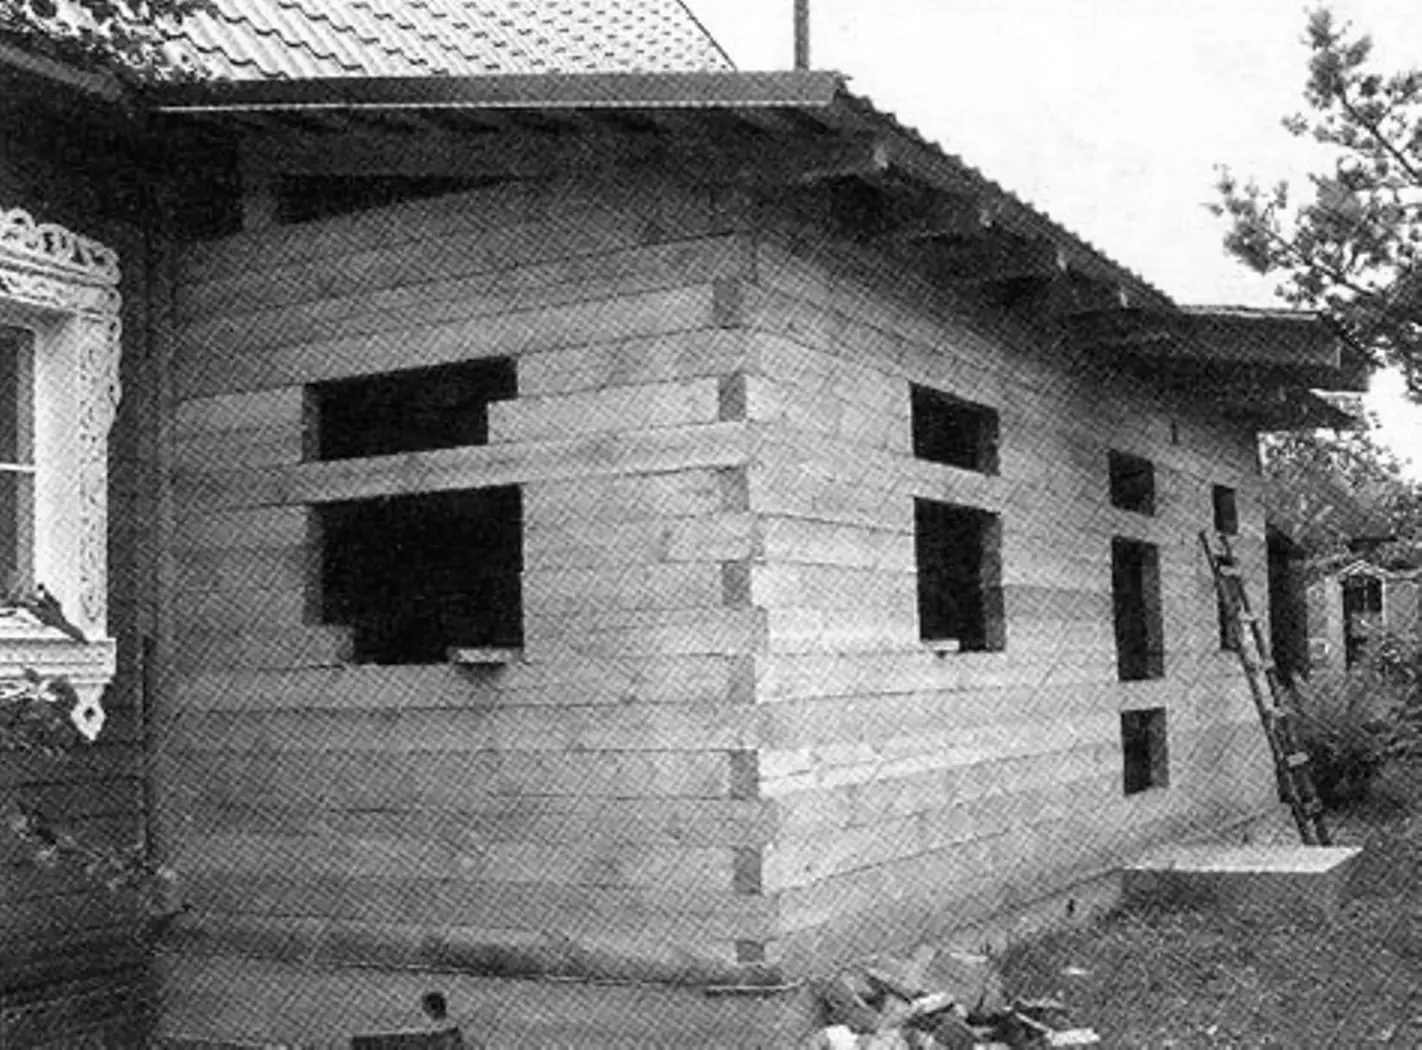
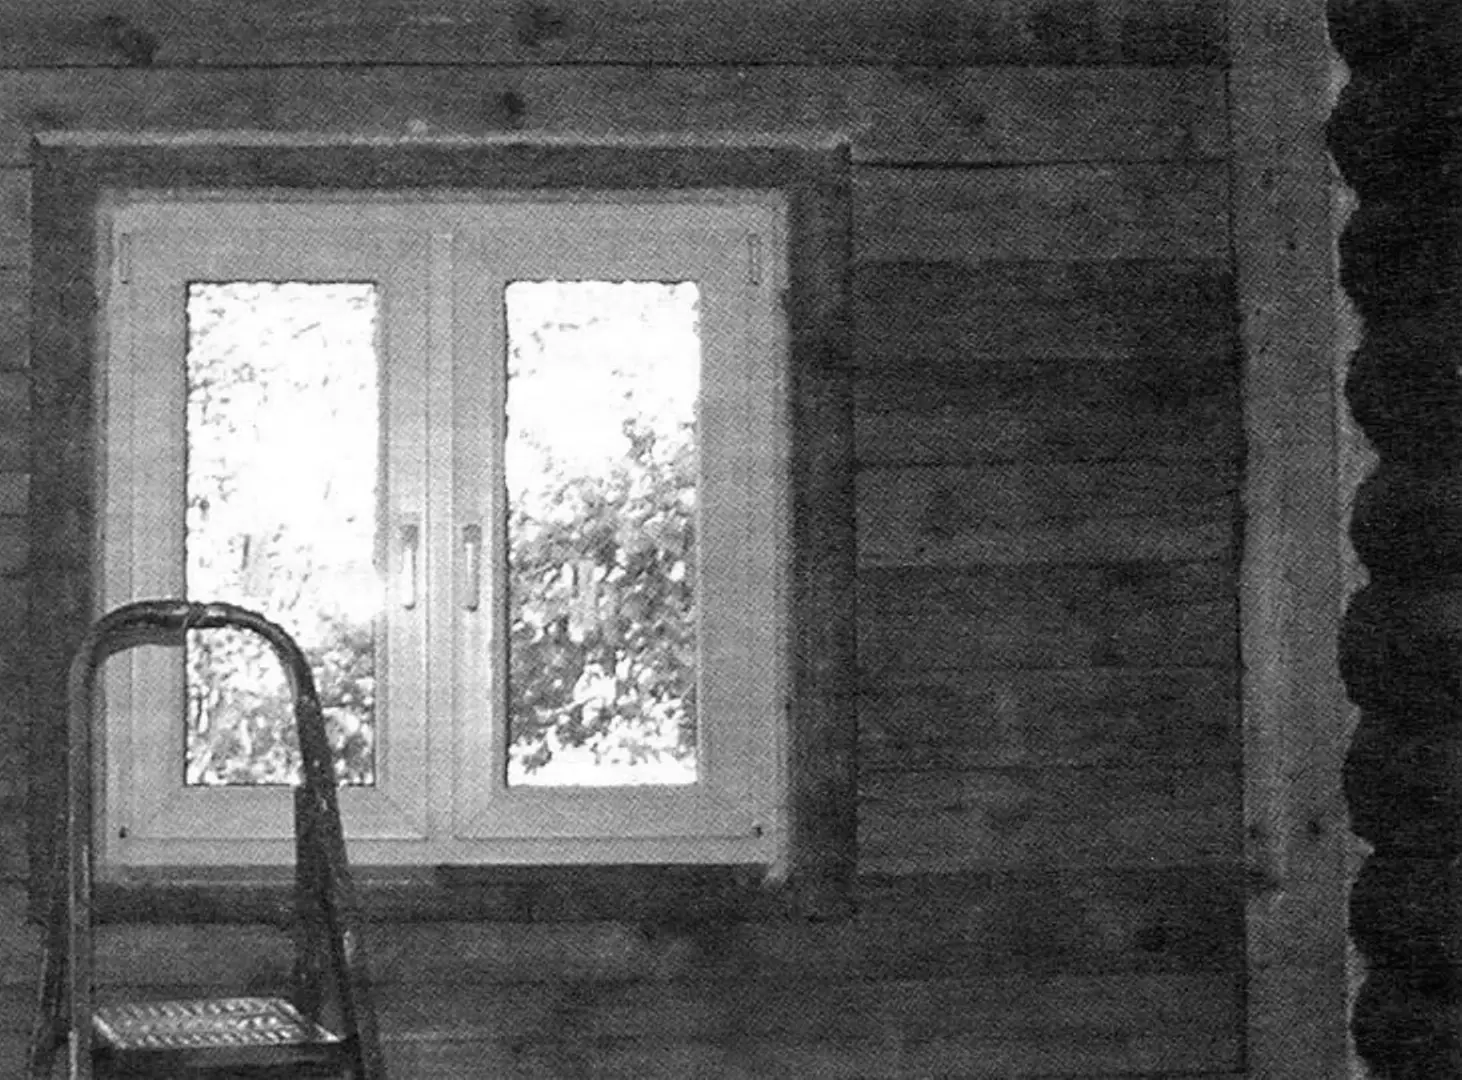
When laying the timber in door and window areas, they tried to use beam offcuts, and only after the walls and roof were erected were the corresponding cutouts made.
After the walls were built, ceiling beams were made from the same 150×100 mm timber, set on edge. On one side, the beams were attached to the house wall using a metal bracket, and on the other side they rested on the veranda facade wall with about a one-meter spacing. Beam length is chosen depending on room width and roof overhang length.
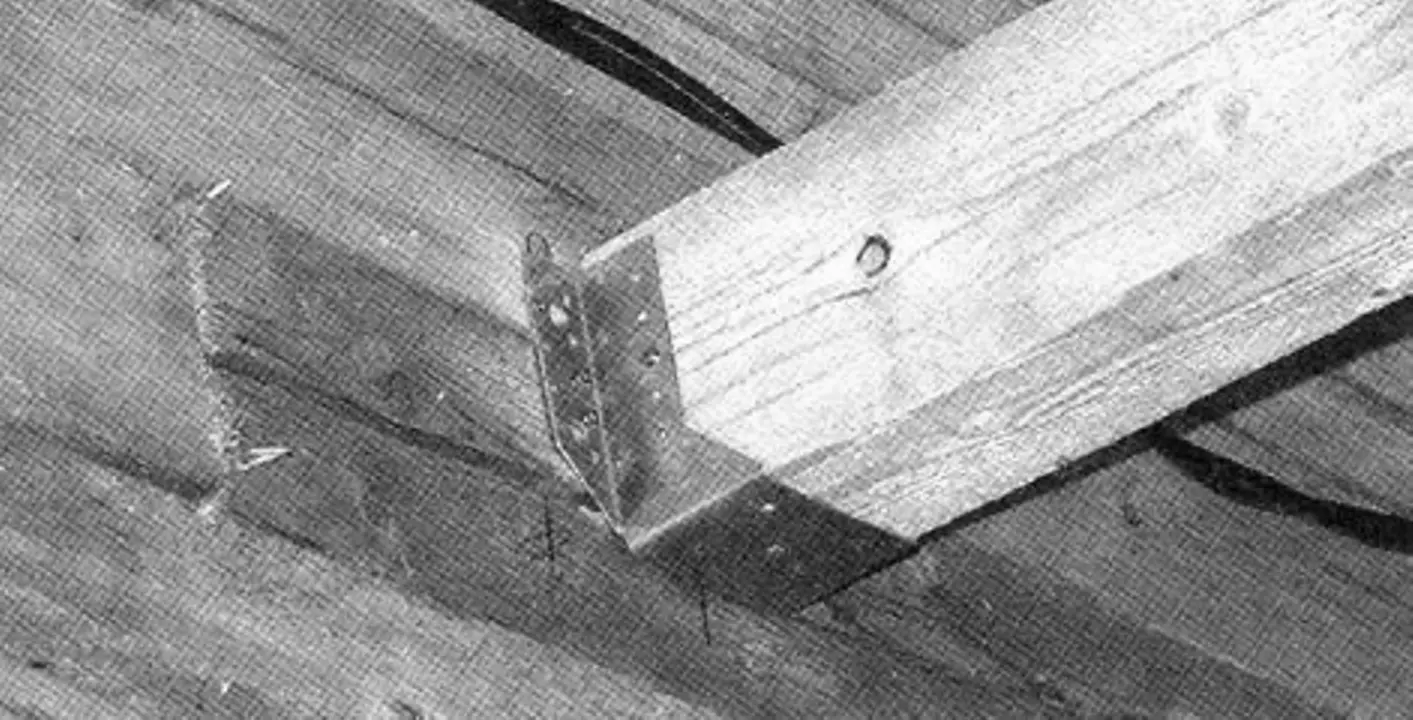
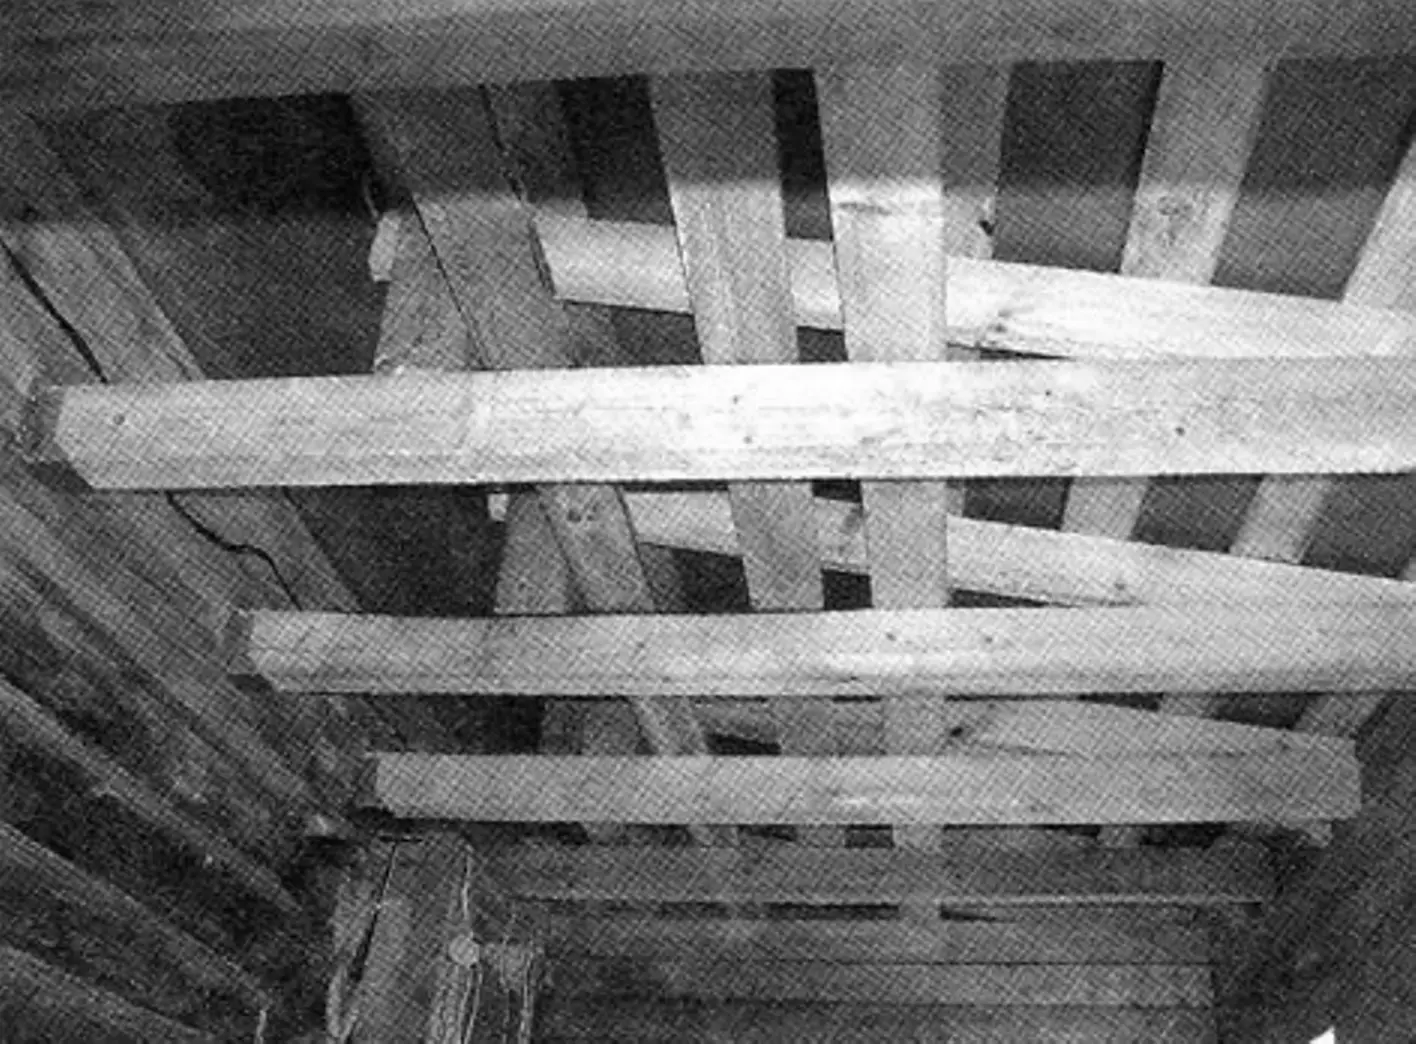

The rafters, like the ceiling beams, rested on the top wall beam on the facade side and were fixed to the ceiling beams with self-tapping screws. After that, they were “beveled” to match the roof slope angle. At the other end, the rafters bear against the house wall, but are fixed to the ceiling beams using offcuts of 150×100 mm timber. These offcuts are set upright and attached to the ceiling beams with two screws (from the sides), and from above, as shown in the photo, the rafters are also fixed to them with screws.
Lathing is laid over the rafters, then thermal and wind insulation, and at the final stage roofing is installed, as in a regular house.
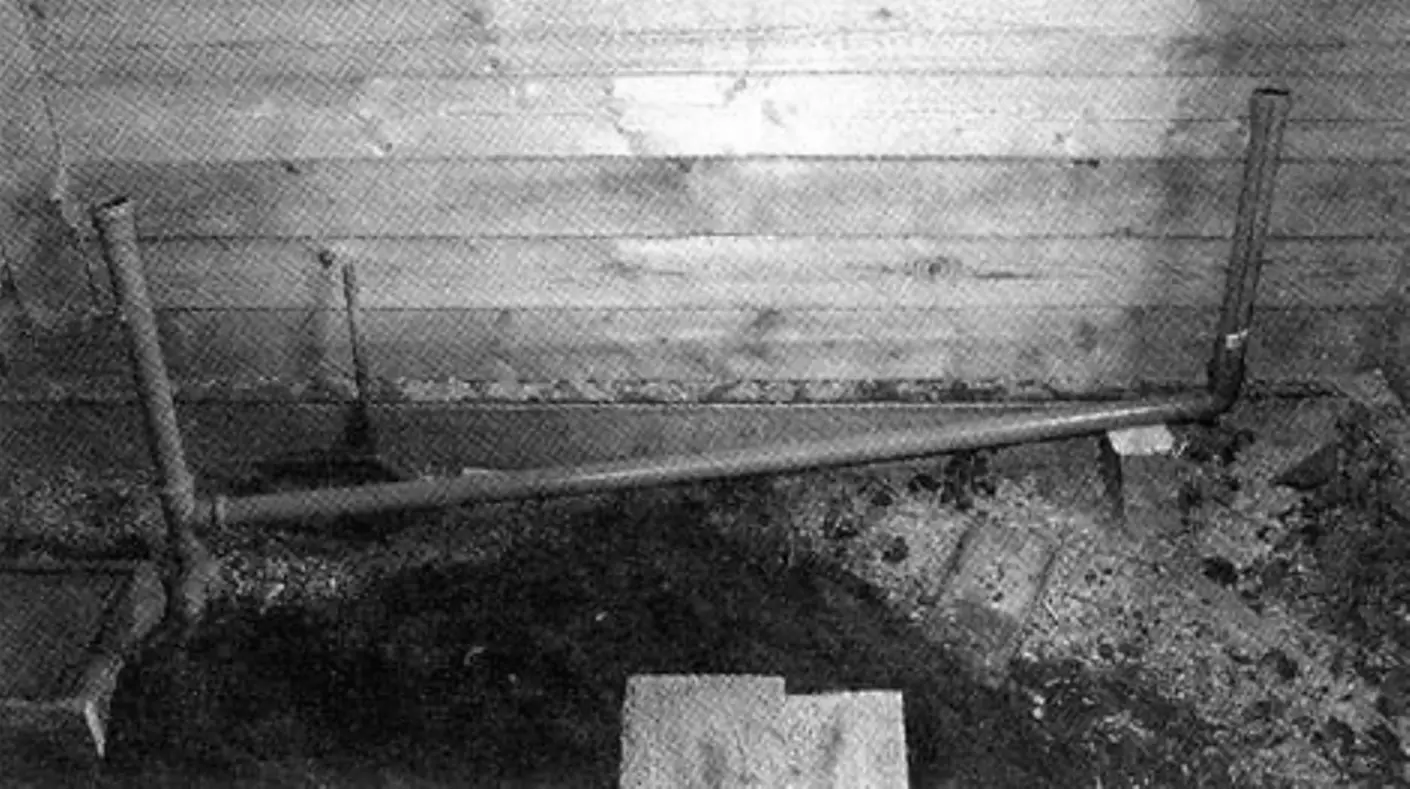
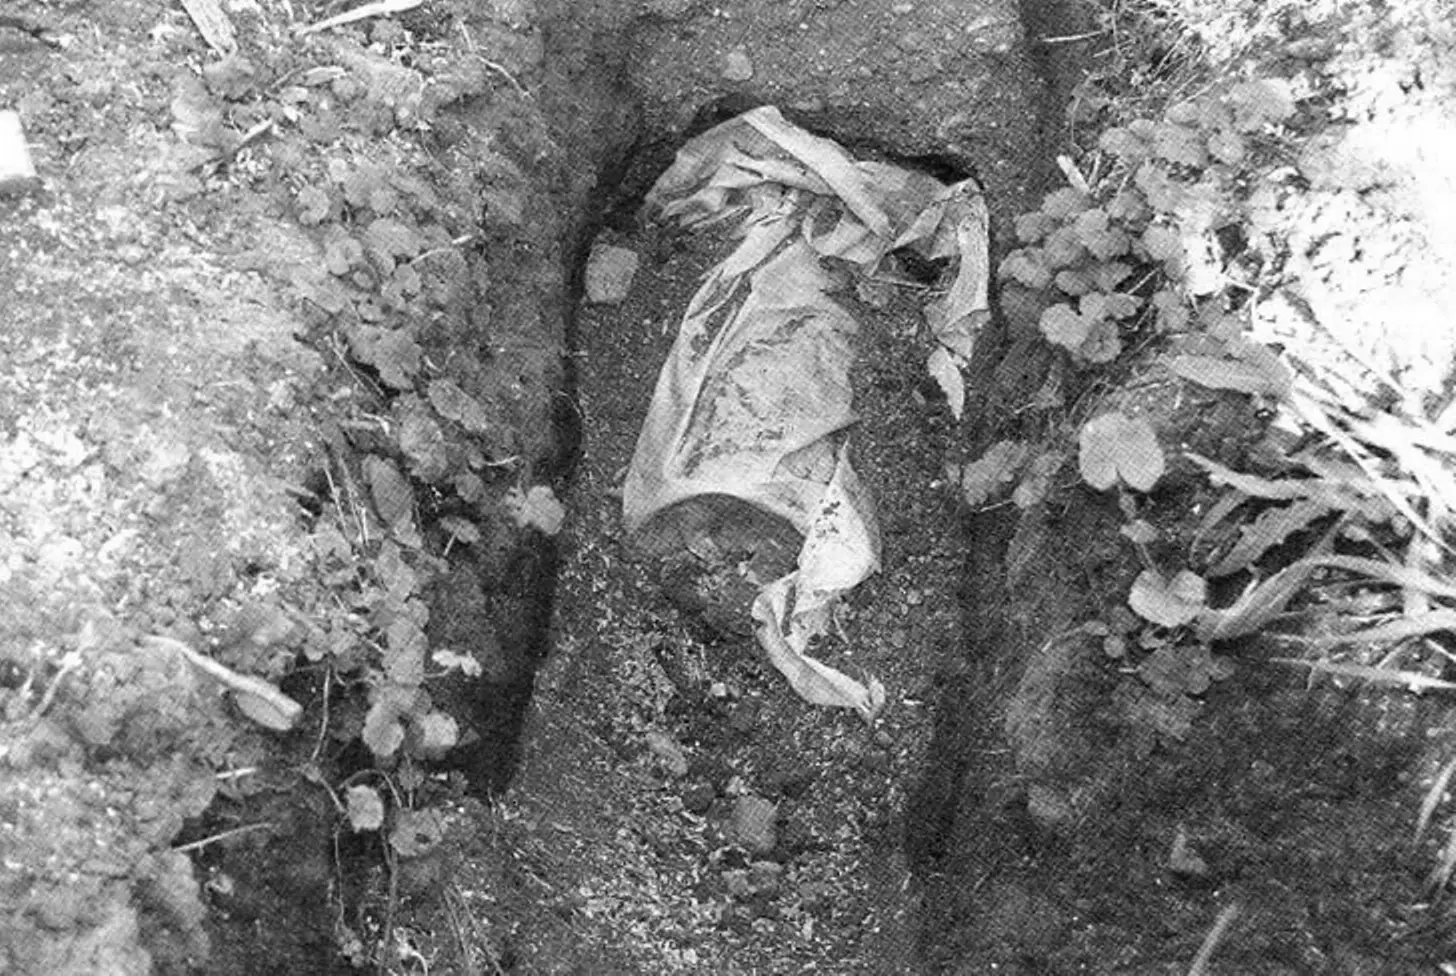
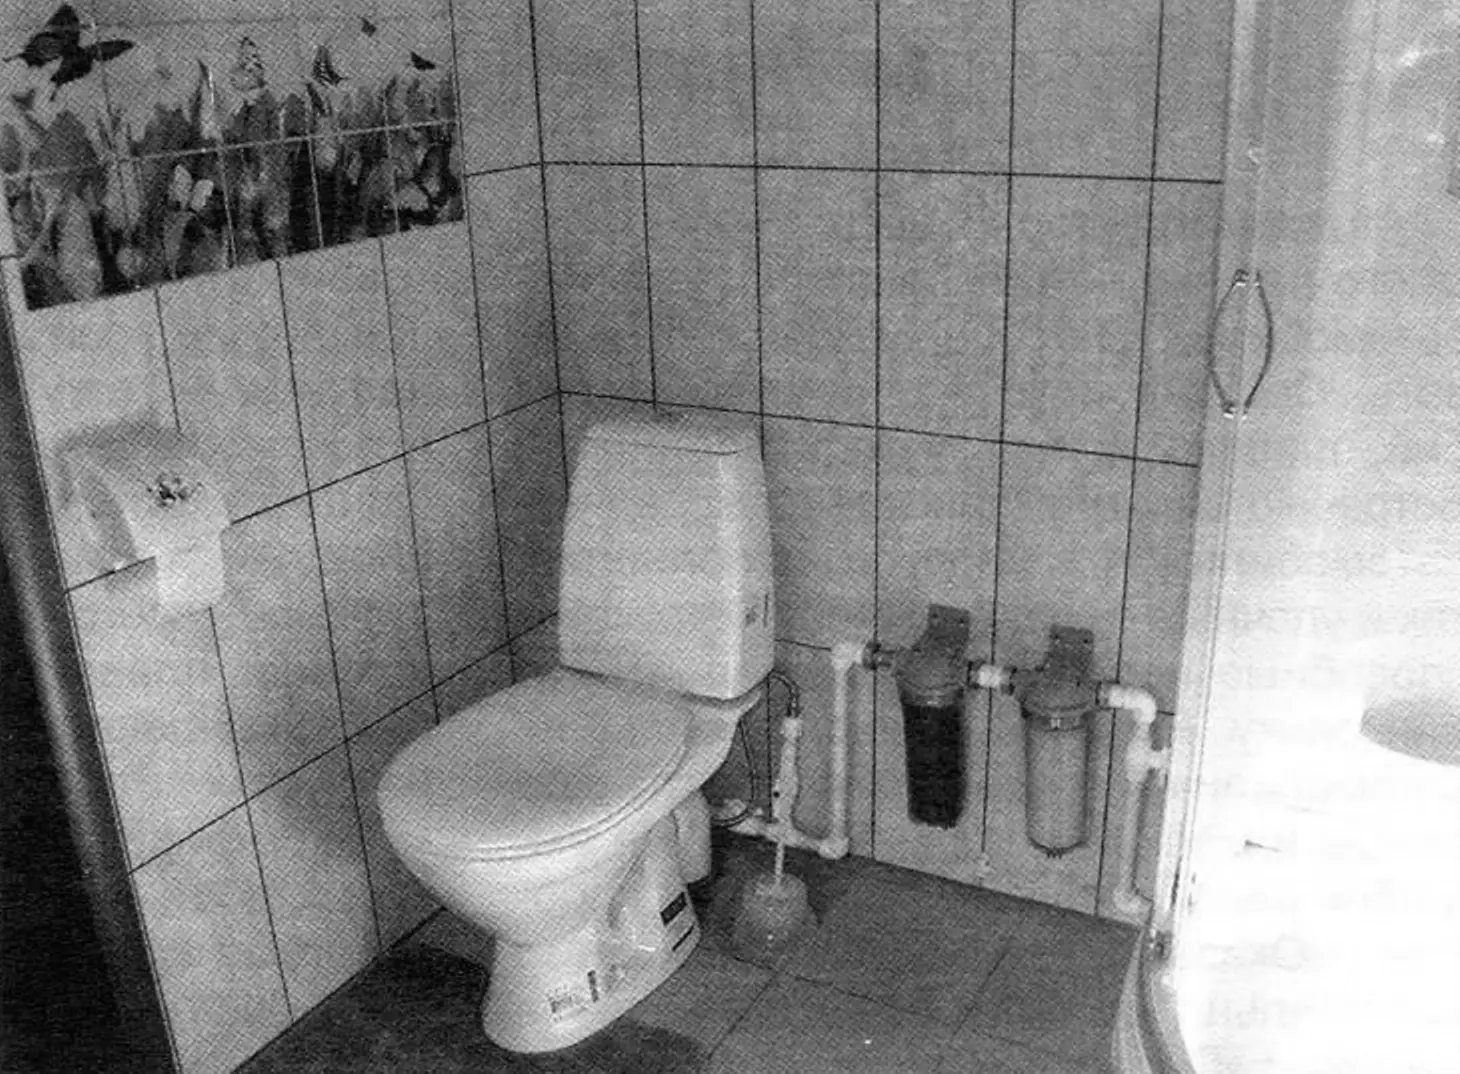
After the roof was erected, plumbing lines were laid for the sink, toilet, and shower cabin, and their drain was buried almost half a meter deep at an angle of about 15 degrees.
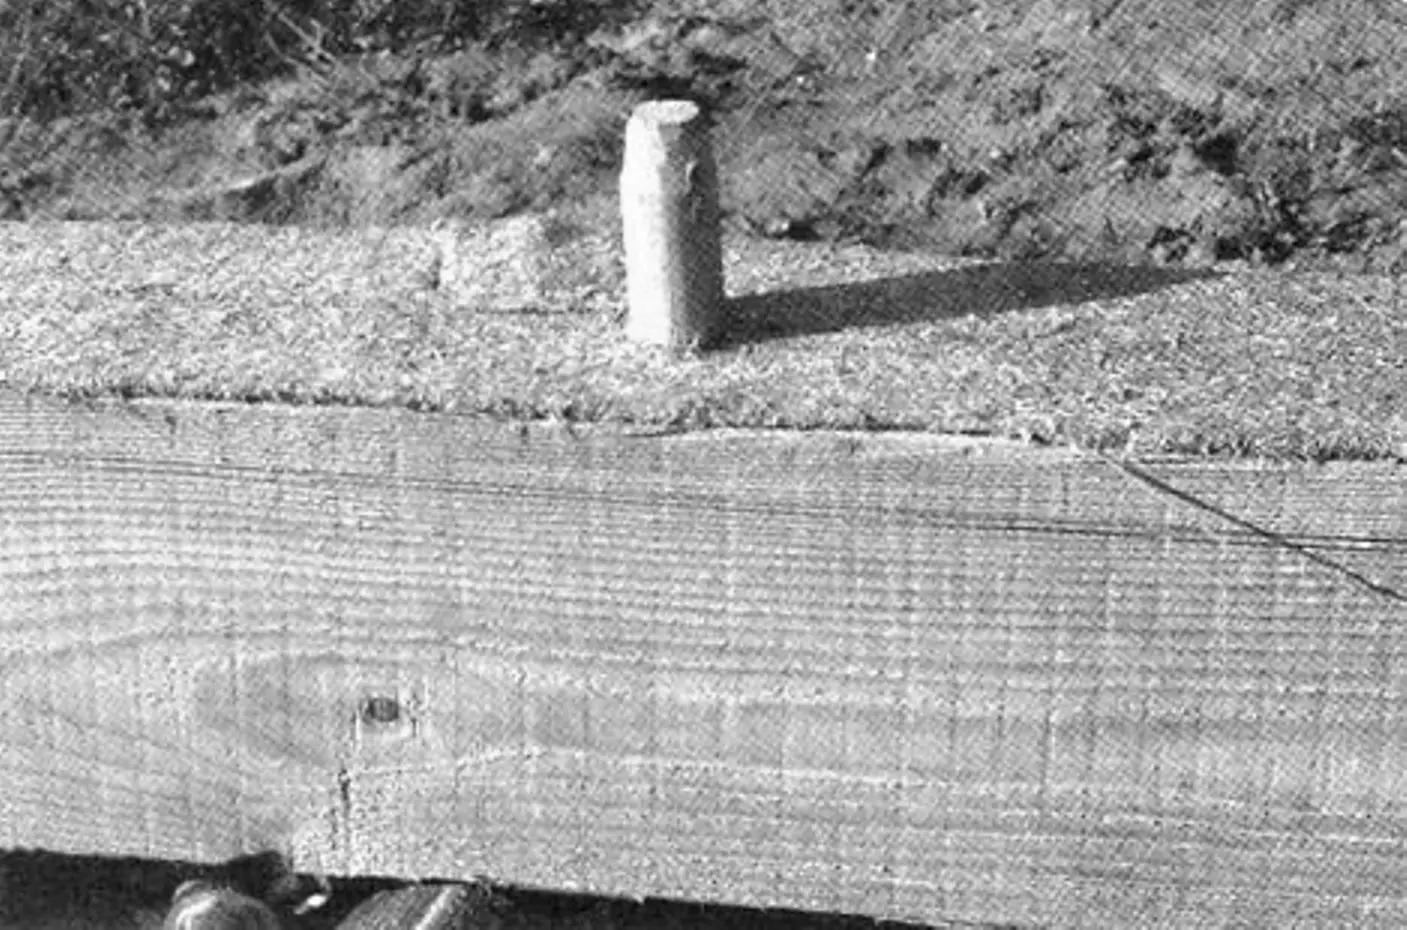
Then additional concrete supports were poured (four in each room) for the longitudinal floor beam (joists). In turn, these beams were placed at the edges into brackets fixed with screws to the foundation, and the entire floor structure rests on them. This is rather primitive; it can be done more simply by using 200×200 mm timber for the tie beam, thus eliminating intermediate concrete posts.
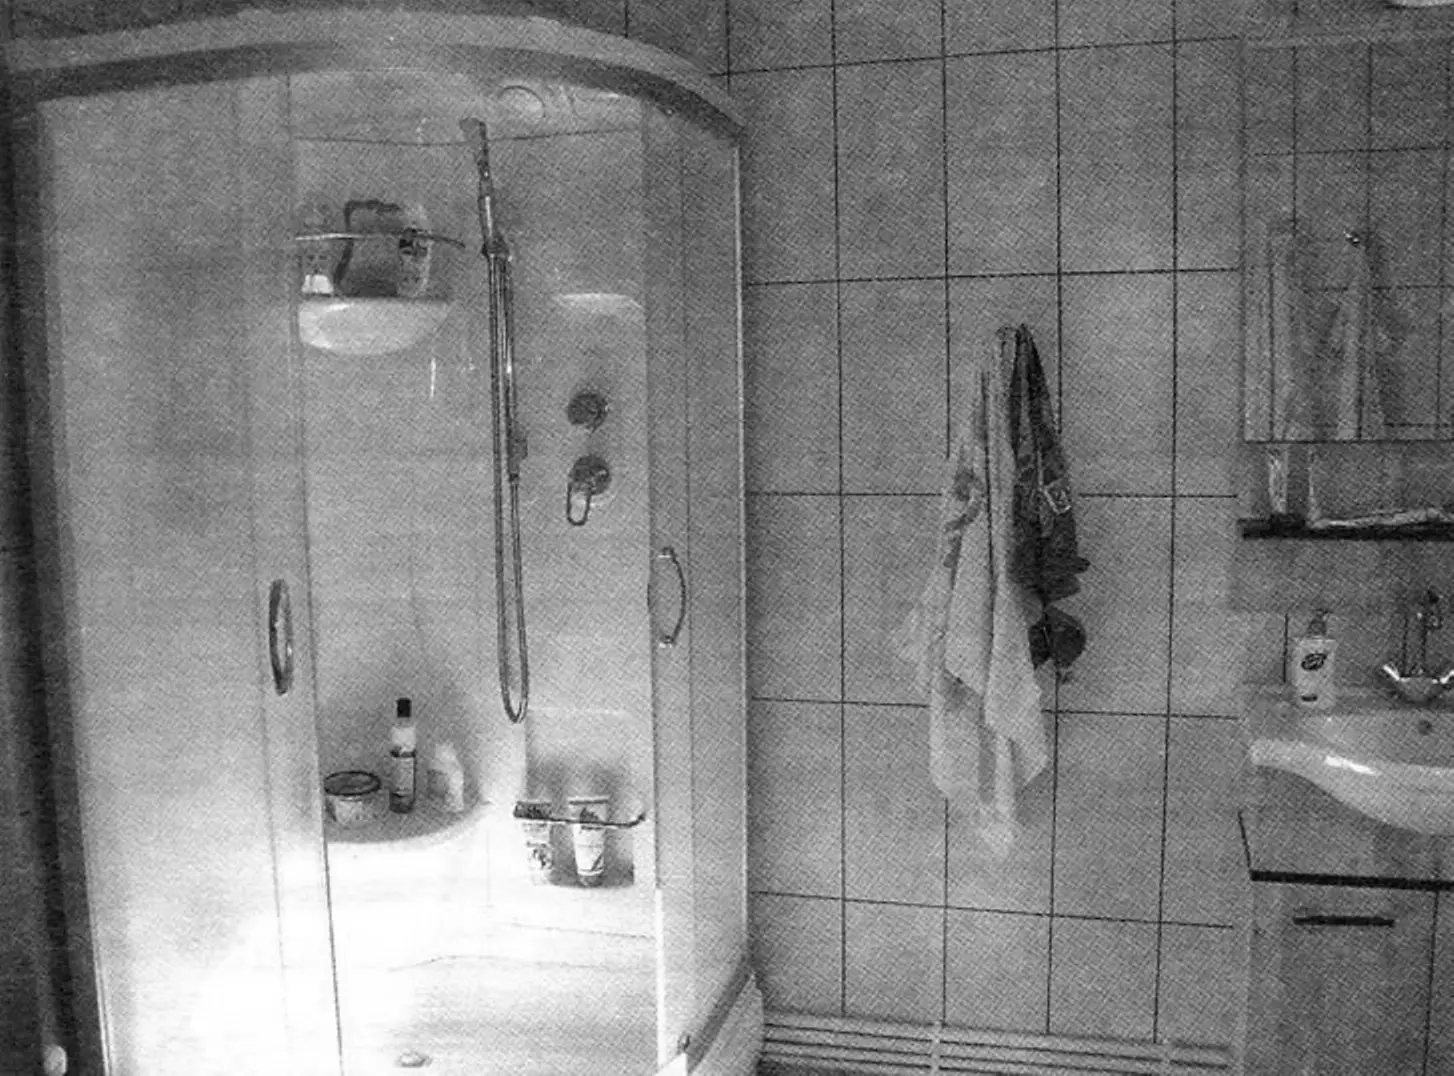
Only after that did they proceed to laying the floor. I will not describe it in detail; I will only note that in the bedroom the decking is made of boards. Most importantly, do not forget to lay thermal and moisture insulation under it. As for the bathroom, plywood sheets were laid over the floorboards, and ceramic tiles over the plywood. The bathroom walls were sheathed with drywall, and ceramic tiles were glued on top.
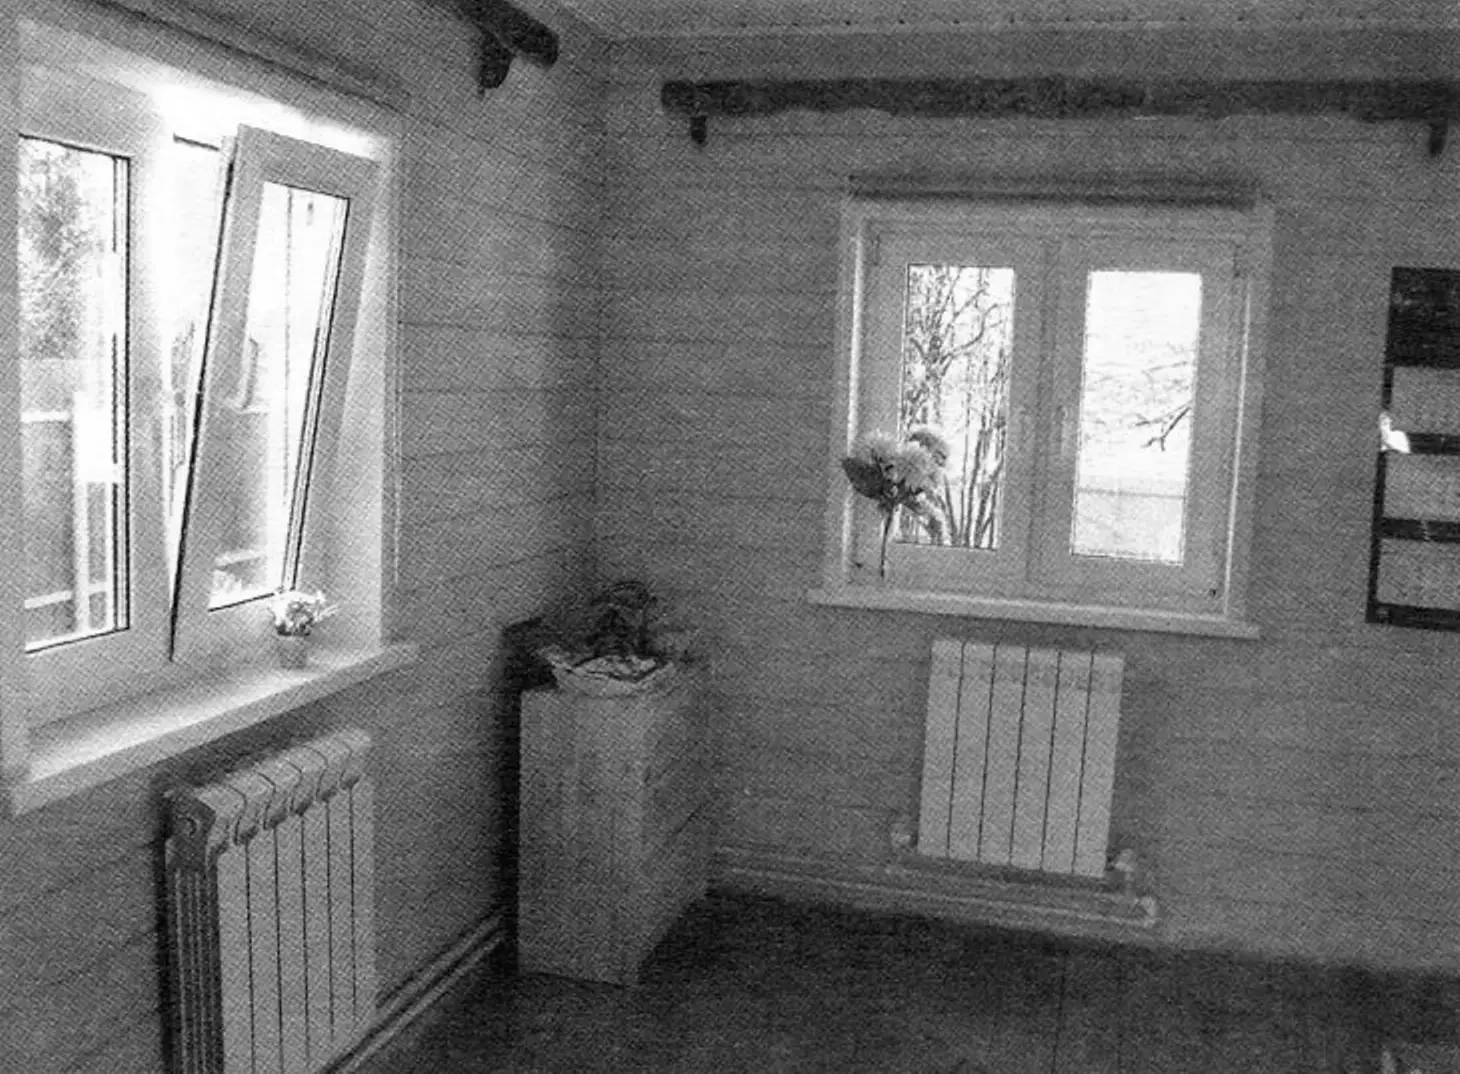
The finishing stage of any construction is final decoration. After installing windows and doors, all walls inside the bedroom and outside the veranda were clad with paneling.
Since the house is intended for permanent residence, liquid heating radiators are provided in the bathroom and the extension room.
“Modelist-Konstruktor” No. 6’2016, N. VASILYEV
Recommend to read
 DRILLS ENLARGER…
At the present time become unneeded enlargers: not only because of the high cost and scarcity of photographic materials, but also wide distribution of "phocomelic" and laboratories for... THIS IS A COMPLICATED SIMPLICITY
We are all accustomed to the fact that it is a machine fit only to acquire initial skills of piloting. In most cases, training is built almost without any requirements for in-flight...
