The dummy is glued newsprint and it is applied to antiadhesive covering, e.g. parquet mastic type “BM” or “Edelvays”.
The process of veclachi simple, if you observe the following rules: apply epoxy with a brush as needed to “fool” (the first layer) and the fabric; fluff should be carefully, carefully removing air bubbles and bloating; to ensure that the strips of fabric came to each other by 2 – 5 cm, and the joints should be placed in different places in order to avoid large local swelling.
The curing time of the resin – 4 -12 hours, depending on the concentration of the hardener and the ambient temperature.
To obtain the necessary thickness of the hull plating enough to stick the 5-8 layers of fabric. In places where you want to strengthen the hull (angles, flanging, locations of future fasteners), glue additional strips of fabric interspersed with the main segments.
Then the body is removed from the “fool”. If due to constructional features, the casing cannot be removed, have “fool” to break up and remove in pieces.
The next stage is the production of a working framework (in contrast to the previous technology).
According to the existing Plaza are made of two frames, three polosamota and two side stringers. In addition, harvested Reiki to reinforce the weakest points of the body. After adjustment of elements and a control Assembly (without glue) the frame is glued to the body. The site connections must be thoroughly cleaned from the remnants antiadhesive coverage. The elements of the frame apply a layer of epoxy putty (epoxy resin plus filler – talcum powder, tooth powder, blue, etc.), and the frame articulates with the body by means of small nails. After curing of the filler the surface of the body using the same putty, is brought to the desired purity and smoothness.
Fig. 4. Design of pedal mechanism:
1 – casing; 2 – frame; 3 – bracket; 4 – crank axle; 5 – block of right pedals; 6 – block of the left pedals
Fig. 5. Wheel design:
1 – internal drive (aluminum, thickness 3-4 mm); 2 – M5 screw with nut; 3 – bushing (bronze, brass); 4 – M4 screw with nut; 5 – lid; 6 – chamber; 7 – external hard disk – ring (made of anodized aluminum, thickness 3 – 4); 8 – M5 bolt with nut; 9 – the cover (a plate or bowl out of aluminum); 10 – bushing (aluminum, steel); 11 – tape (aluminum or steel 0,5 mm); 12 – valve chamber
Fig. 6. Device and the scheme of inclusion of a sound signal:
1 relay; 2 – paper diffuser; 3 – a strip of corrugated paper; 4 – metal cone (from the old dynamic loudspeaker); B – battery; C – signal button
To make a wheel at home is quite difficult, it is better to use ready – from scooter. If the finished wheel pick up is not possible, we recommend to make a homemade, simplified construction, using the tires of the wheels of the same scooter.
The wheel is made of two aluminum disks – internal and external, while the outer disk has the form of a ring. Disc and ring gather with each other by means of M5 bolts and dural or steel bushings. Instead, you can use tubes of appropriate diameter. The circumference describing the surfaces of these bushings, laid steel or duralumin band, fasten two layers of sticky tape. To the internal drive on the M5 bolts fastened with bronze or brass bushing. To simulate the cap is fine aluminum bowl or plate of suitable shape and size.
Control – cable. The steering wheel can be made of thin wall aluminum or steel tubing. Steering column, dural tube with an outer diameter of 22 mm.
Of great importance to the appearance of the car have all kinds of things – headlights, sidelights, signal, instrument panel, etc. For the child they are extremely important, so such “trifles” it is necessary to pay more attention and show a certain amount of ingenuity and imagination.
Lights you can choose ready-made or make yourself. The easiest option is to use a reflector, the glass can be cut from colorless corrugated polystyrene framing made of sheet duralumin.
A lattice is easiest to do using a metallized plastic strip, which is stretched on a wooden frame.
Quite loud and efficient beep best done with transistors. The schema of such signals at the time were published in magazines “modelist-Konstruktor” and “Radio”. If the reader is not familiar with transistors, I advise you to use the following construction.
Taken the right size and the resistance of the relay coil. His anchor is attached to the cone, glued paper or other heavy paper. Relay is attached to the metal cone (you can use the old case speaker), and the diffuser podklyuchaetsya to the speaker enclosure with four strips of corrugated paper. Relay is switched in bell (via normally closed) mode – the signal is ready. Pitch is adjustable by tightening or loosening the spring relay and tucking contacts.
The windscreen can be made from a sheet of organic glass with a thickness of 3-4 mm. Because the machine has sufficiently large dimensions, the windshield is desirable to make removable, then the problem of car storage in the home is somewhat simplified.
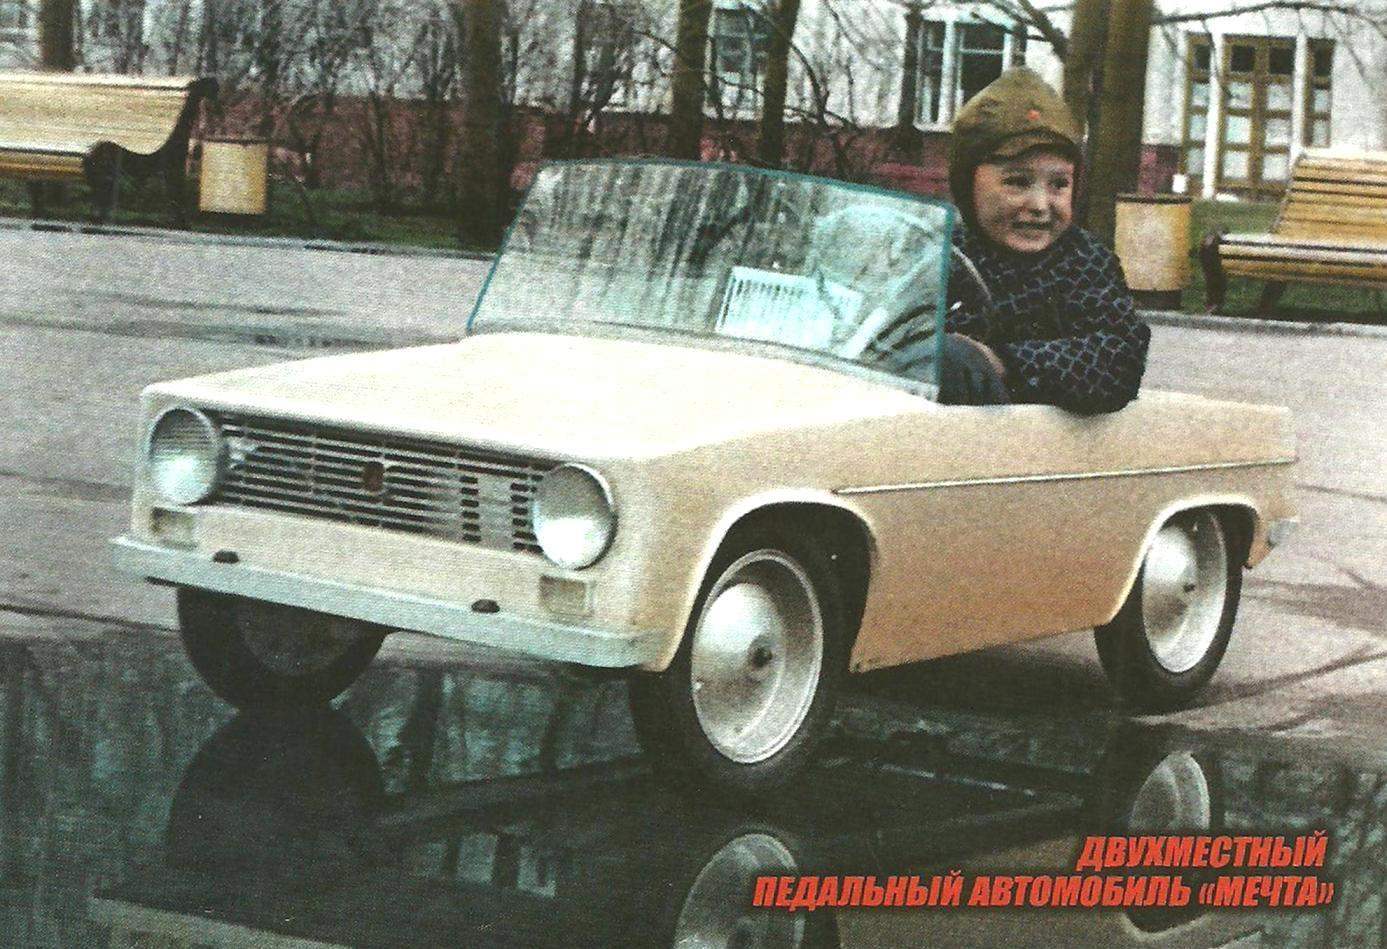
After reading the article, some readers may question: “is it worth the “fuss” over a pedal car? Whether dealing with velomotion or rechargeable…” And I think it is. Even if there is the problem of storage and transportation of the car (try lifting a car with a gasoline or electric motor, for example, on the third floor), pedal car at first for the baby three or four years is irreplaceable. At this age the child is very difficult to focus only on driving, so the latter will be a constant danger to others children-because to ride the child will have mostly in the Park, on sidewalks, and even the attention of children all around, I guarantee you.
By the way, the train is a year or two by car with pedal drive, your baby will be able to learn much faster and motor vehicle. Tell you a secret that I already purchased waldwichtel “D-5” and by next summer I think to alter his “Dream” with a pedal of a drive motor. Machine dimensions fully admit it.
BRIEF SPECIFICATIONS
Overall dimensions, mm:
length…………………………………………..1450
width………………………………………….780
Height:
without a windscreen………………………460
with the windshield………………………..680
Base………………………………………………….900
Track………………………………………………..640
The number of seats……………………………………….two
Drive………………………..two pairs of pedals
Steering…………………cable
I. EVSTRATOV, engineer
Recommend to read Electronic ignition for “Voskhod” In the second issue of "M-K" for 1976, I read an article "Electronics on a Motorcycle" about an electronic ignition system. It has a DC to AC voltage converter. This circuit requires a... Cellar on balcony "Not long ago, the chief engineer of one of the factories producing refrigerators, V. V. Ulyanovsky, called me. As it turned out, he was interested in the thermostat I built for storing... 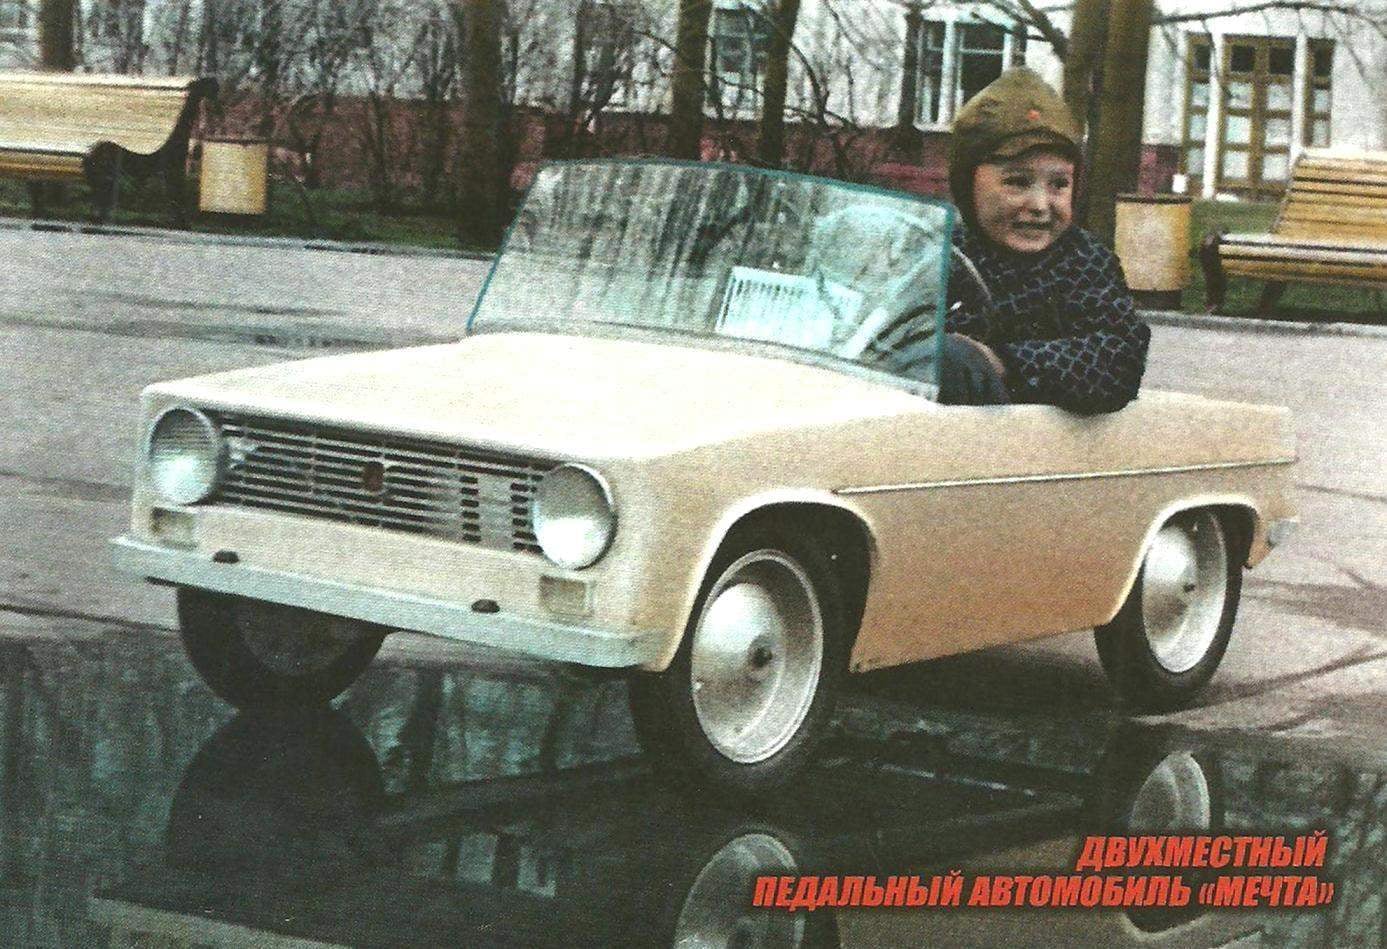
 Dream… How can she be the child? I was 5 years old. Father Andrewski, the boy next door, buy somewhere a used pedal car (our industry at that time, in my opinion, were not allowed), repair it, and the envy of all the boys of our yard – Andrei proudly unrolls it. Now it is very difficult to convey in words gripped me then feeling. It wasn’t even jealousy, but something more, it was some solar Eclipse, this was the dream of my childhood.