MAST. Best of all, of course, if you can get a four-meter mast segment of the dural tube with an outer diameter of 40 mm and a wall thickness of 1.5 mm. Good mast is obtained from a pine bar section of 50×50 mm. This mast vystragivaetsja in the form of a cone with the diameter of the lower base of about 50 mm and the top is about 30 mm. After final treatment this mast is glued with two layers of fiberglass on epoxy glue. There is another method of manufacturing the mast — vyklevyvanija of epoxy binder and fiberglass. To do this, first is made a tapered rod is exactly the same as the wooden mast, which we have just mentioned. Further, this mast is tight-natugo wrapped with plastic tape — cloth with a width of about 200 mm, cut from the plastic film and rolled like a bandage in a roll. At the beginning and end of the winding tape is fixed with tape. Further, the mast is glued in several layers of long (preferably during the entire length of the mast) strips of fiberglass: the total thickness of veclachi should be about 3 mm. without waiting for curing of the binder, again natugo bandage the fiberglass mast on top of the plastic “bandage” and leave in this position for a day. After curing epoxy resin Vileika is removed from the blanks. This operation is difficult, you might have to use a small winch motor or the old fashioned way, tying the disc and Vileika nylon ropes or with ropes to two posts in 10…15 m from each other. If you press hard on the rope side of the disc moves relative to vyklicky, after which the latter easily removable. Stays in the conical tube at the top and bottom to insert the epoxy glue wooden plugs — and the mast is ready.
MAST HINGE. According to the definition of a sailing Board is a vessel with a free sail. In other words, the hull of a sailboat is connected with the mast by a universal joint. To do it, you will need two segments of pipe (its inner diameter should correspond to the thickness of the mast in its lower part). From blanks cut two forks, as shown in the drawing, which are connected using a thick washer (biscuit) and four bolts. To a lesser fork, welded bottom, and it is a steel pin with which the mast is fixed in the socket on the deck. A big plug is fixed in the lower part of the mast with screws and epoxy glue.
WISHBONE. This is the name of curved metal or wooden hicok by which the sail takes the desired shape, and the windsurfer manages the boat, holding hands for this one “lever”. For the manufacture of wishbone will take a couple dural pipes or wooden rods of circular cross section with a diameter of about 30 mm. In front of wishbone fixed two poluchaut carved from beech bars of suitable size. Among themselves they are connected with a hinge — bracket of steel wire with a diameter of 5 mm. In its rear part half wishbone are joined with the bolt and wing nut. Poluchaut pasted inside porous rubber or felt.
SAIL. The easiest way, of course, buy ready to sail in the store, “Sport”. However, it is not too difficult to sew it on their own. Suits fabric Bologna, pillow tick fabric such as Dacron, and improvised composites on the basis of the cheapest satinov and plastic films are welded together using a electric iron.
Manufacturer of a sail begins with a split level ground floor-the base of the triangle in accordance with our drawing (triangle ABC). Then in the front, back and bottom scattering sails are deposited quantities of the so-called sickles, and then at the Plaza by using long flexible battens depicted as smooth curves connecting flowy angle with skotovi, galso-St — and valovym and Shkotovo — gulsevim. And at the end of the marking plasma contours laderman and transparent window.
Now — the layout of the seams. It is conducted from the base of the seam, which is a perpendicular rear side of the base of the tre-gon dropped from the tack corner of the sail. But the rest of the seams are planned in parallel with the step of the base, a few smaller width of fabric being used.
Remember: to sail well drawn, that is, they have a high aerodynamic quality, it is necessary to have a so-called “belly”. This can be achieved if, when cutting out the panels of the seam lines do not straight, and convex, with curvature of 30…40 mm. Then after stapling we will get the much necessary we the belly.”
To contracepti cloth is the most convenient seam “zigzag”. Then the sail is cut to the contours of katarin, then primetyvajut and prostrachivajut laderman and then close up the edges of the sail with the help of a cotton or synthetic tape.
Mast pocket is best cut out of a thicker fabric than went on the sail, for example, awning, tent, etc. All the corners of the sail are reinforced by the linings of durable canvas; galbavy and sheet corners are sealed brass eyelets or using nylon thread is sewn a metal ring, and then inside the ring of fabric is cut. Hole the tack angle of the sail is designed for tamping (stretching) of the sail over the mast hole in Shkotovo — for tensioning of the sail between the mast and wishbone.
Battens are cut from thin wood strips — it is best to use for this wooden school rulers. By the way, good armor out of the W-shaped polystyrene profiles, used as a guide slider for sliding glass sideboards, book shelves, etc.
So, everything is ready. The Board is fully equipped with additional parts fixed on it and the fins, prepared and the sail attached to the mast with nylon kartikami, and in front of the securely bound wishbone start-sheet — nylon or linen end with half a dozen tied it knots.
For a start, let the Board (without sails!) on the water after checking that the transom drain plugs are closed. Climb on Board, stand it upright and for some time work out g look for the limits of the possible movements of both back and forth and right and left from the diametrical plane. Note the position of your feet when the Board begins to roll over, and in the future try not to cross that line.
If you already feel quite confident the Board can move on to training with a sail. For starters, however, need to gear up: wear woolen socks and shoes and a lifejacket. Such equipment must wear: at first you will often fall, and sneakers with wool socks will protect your feet from injuries; appointment of same life jacket as it seems, it is possible not to specify.
So, you are fully equipped. Again drain the water on the sailing Board, mast insert spurs in steps — sleeve on the deck and put the sail on the water. Then stand up on the Board so that the wind blew you in the back, and the sail was located on the water on the leeward side. Now, hold the start-the mainsheet and pull the sail out of the water. This is not easy, the fabric “sticks” to the surface of the water, so the first movements of the lifting mast must be strong and sharp. Tearing the sail from the water, slowly lift it up until will not be able to grab wishbone.
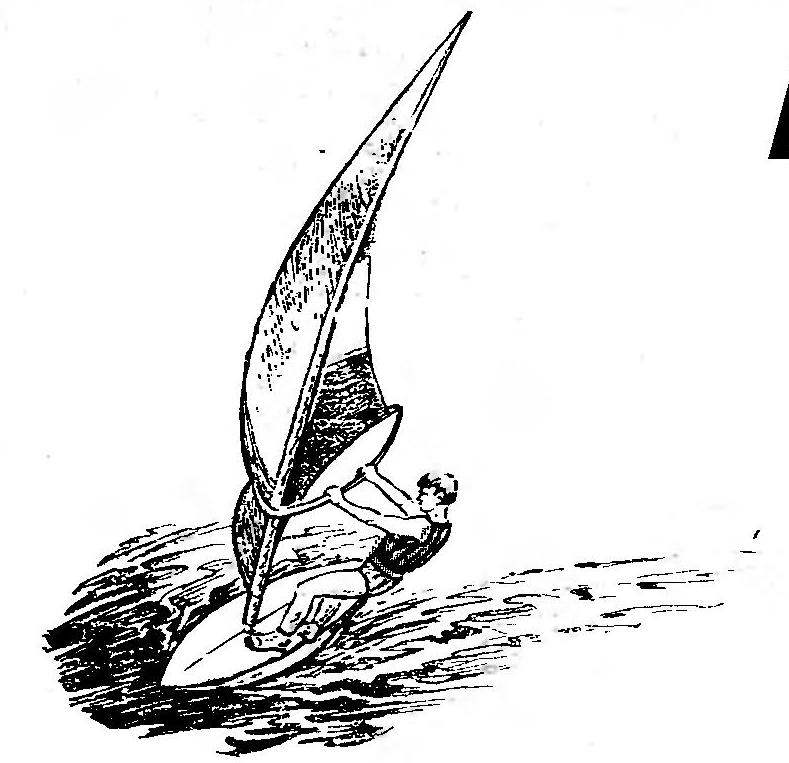
To start moving the best when the wind is blowing under direct* angle to the longitudinal axis of the Board — such a course is called galfvind. First, install the sail so that its angle relative to the longitudinal axis was about 45″. The Board starts to move and will most likely immediately turn aside from the chosen course. To change the direction of movement, try to tilt the sail forward or backward when the center of the sail and the center of lateral resistance of the hull will change their mutual arrangement, will appear the moment of forces, turning the sailboat, and he changes course. Further support direction deviation forward or back the sails.
Turning to the sailing ships is the intersection of his nose or stern line of the wind. So, when the wind crosses the line of feed of the sailing ship, the turn is called gybing, but if the wind line crosses the nose of the boat, the turn is called a tack. When you rotate the sail is thrown from one side to the other: to ensure this, a windsurfer or throws wishbone from one side to the other, moving at the same time on the opposite side of the Board sailing before the mast, or moving the sail from one side to the other through a fore end of the sailing Board.
I would like to warn that the experience of control windsurfer comes far not at once. Not once you’ll have to swim, repeatedly pulling then out of the water the heavy sail. However, the enormous pleasure that will get you fully mastered the wayward sailing Board, can not be compared with any other pleasure.

 Of course, sailing the Board someone able to buy in the store. However, most can’t afford it. Such will want to do it yourself. Especially since there is no design supercomplex forms. To Board a pleasure craft type are well suited simplistic lines and a classical production technology of small vessels. So, for the cause. We start of course, with the main.