PRISTINA… TO THE BIKE

PRISTINA TO THE BIKE...It all started with the fact that we are a young childless family bought two “Kama” and became interested in Cycling. With the birth of his daughter had to solve the task: how to travel together? Did a little chair, and set it on the rear trunk. It has served us faithfully for several years But the daughter grew up, and sit in the car seat she was cramped, uncomfortable, the idea of creation of easy folding, durable enough trailer stroller, quickly attachable to the bike.

I designed the crew, parts and components which are mostly made of steel (St3 or any other), is pretty light, weighing only about 15 lbs. In a few minutes it is attached to the bike, freely enters the Elevator and can be completely disassembled, which is very convenient when storing it during winter in the apartment, for example, on the mezzanine.
 
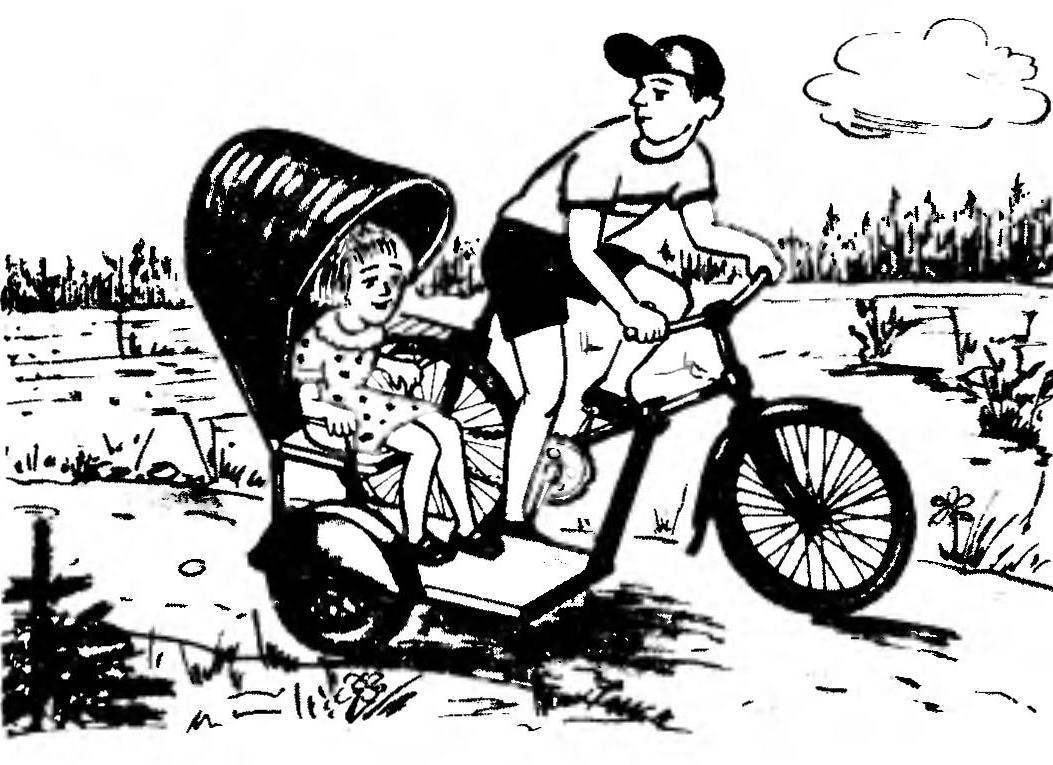
The stroller consists of a frame with a floor and seats equipped with adjustable backrest and canopy. With a Bicycle it is connected with three rods.
 
The frame is welded from steel strips. To install the wheel there is an additional frame with a slot under the axle. A similar slit is made in the right wall. The rear transverse plate shortened and reinforced by two gussets. Floor is cut out from plywood or a thick PCB 6…8 mm bolts.
Axis, the wing and the wheel itself of the “sulker” is taken from the children’s Bicycle wheel had to be to double the number of spokes.
 
To the lateral uprights of the seat, a curved steel rod, welded bushings, brackets, seats and the gusset plate under the clamp bolts adjusting bracket. Seat and the lower part of the backrest made of plywood and covered with leatherette (faux leather) with soft padding. On the frame brackets and they bolted.
 
Bicycle stroller
 
Bike stroller:
1 — frame 2 — left front 3 — strap attachment of the top link (sheet 4×40 mm), 4 — arm awning 5 awning 6 — back 7 — clip Adjuster, 8 — clamp 9 — clamp the lower the thrust, the wing 10, 11 — upper link (a rod 0 10 mm) 12 — bolt front mount thrust (sheet 4×40 mm), 13 — front thrust (sheet 4×40 mm), 14 — lower thrust (sheet 4×40 mm) 15 — clip on the top link, 16 – bolt, nut type “lamb” M8 Grover washer, 17 — right landing, an 18 — seat.


Frame
 
Frame:
1 — shield (sheet 2 mm). 2 — plate reinforcing (sheet 4 mm), 3 — wheel frame (sheet 4×30 mm), 4 — right wall (sheet 4x30x710 mm), 5 — front wall (sheet 4x40x392 mm), 6 — plate longitudinal (sheet 4×20 mm), 7 – transverse plate (sheet 4x30x392 mm), 8 — gusset plate (sheet 4x50x50 mm, 6 PCs), 9 — plate shortened (sheet 4x30x367 mm) 10 —the left wall (sheet 4x30x710 mm) 11 — rear wall (sheet 4x30x392 mm).


Back
 
Back:
1 —clip adjustment (sheet 4 mm), 2 — backrest cover (poro-Loon+arts. leather) 3 — arc (wire 0 6mm). 4 — the frame of the backrest (Hugo Locke 2x10x10 mm), 5 — bracket (sheet 2 mm).


Stand left (right is a mirror image with the exception of POS. 6 and 7)
 
Front left (right is a mirror image with the exception of POS. 6 and 7):
1 —front (0 10 bar), 2 — front bracket 3 rear bracket, 4 — seat (plywood 6 mm), 5 — square scarf (sheet 4 mm), 6 — clamp top-pull (band 2×25 mm), 7 — clamp the lower arms (stripe 2×40 mm), 8 — Bush (rod 0 17mm).
Before attaching the sidecar to the bike the left front seat and on the frame of the bike (above the split flange) to put on the clamps, the nut of the rear wheel is clamped the lower thrust, and the head of the bolt that adjusts the height of the seat — strap upper rod; at the top of the clamp is inserted the short end of the eponymous thrust with pre-screwed on him nut and that is fixed by the bottom of the other.

 
Now is mount the wheelchair and adjusting the mutual arrangement “of Wheeler” with a “crotch” with the same l-shaped rod; finally tighten all nuts and bolts.
 
To speed up the build instead of the usual nuts I made special clamps used on folding bikes.
 
Design of the stroller can withstand the load of more than 80 kg and can be used to carry even adult passengers. If it is made from more lightweight materials, it is possible to gain significantly in weight and speed. Although in this design we lose only 15…20% of normal speed.
 
B. RUDOW

Recommend to read

  • PERPENDICULAR TO THE PIPEPERPENDICULAR TO THE PIPE
    In mechanical engineering, and especially in the construction of the pipe installation is often associated with the need to weld them to the flanges or rings. To maintain precise...
  • THE CURVING BRANCHES OF SIR KISATHE CURVING BRANCHES OF SIR KISA
    We left Britain in the midst of the "great war" as it was called by the British the First world war. Pretty pinched with German "u-bots" merchant fleet. But with huge military, which now...