Now welding of erection joints on the front axle. These sites are collected separately and then fixed to the crossbars of the front axle and using the already mentioned “wire brace” technology and screws are fixed to the side members of the frame. After the control perpendicular to the crossbars of the front axle relative to the axis of symmetry of the machine is a three-phase welding.
Mount the engine frame in the following manner. To start with, in accordance with the true size of the engine made the front and rear knots of its fastening to the frame and fixed to the engine standard fixing by bolts and nuts. Further, the engine installed on the frame, and clamping units are adjusted to the cross sub-frame and the bracket body on the frame. Longitudinal axis of the engine at the same time must strictly coincide with the plane of symmetry of the machine. And in the end — the already mentioned three-phase welding.
The suspension arms of the rear wheels are welded from two bushings, and a steel pipe of rectangular cross section. The front bushing zapressovyvajutsja liners in bronze, nylon or Teflon beneath the axis of the swing arm; and in the rear are inserted and fixed so-called “plug lap joint” axle rear wheels. On each of the levers is fixed by welding curved steel strips 3 mm thick U-shaped bracket for fixing the shock absorber of the suspension. The top ear of the shock absorber is screwed to the frame on it, welded two bolts (the diameter should match the diameter of the eyelet of the shock absorber used).
MANUFACTURE THE BODY. Lag before you make the body, simple in design and fairly simple technology. It consists of a wooden frame and plywood (you can use hardboard) trim. However, this technology is good if you are doing only one car. If you manage to find two or three like-minded people, it is better to use another method of manufacture of the shell of the body — off-lake of fiberglass and epoxy on the boob or in the matrices. Today, however, we will not dwell on the “serial” technology, and talk about purely individual. The mounting of the body it is best to start with the Assembly of the side panels. This is also a good idea to make a simple staple on a level floor to draw the side view and fix it on wooden brackets, which by means of wooden plates, nails or screws, you can temporarily fix the frame rails for their mutual fit and docking. The connection elements of the frame is made using plywood gussets, breseman in the slats flush with the surface.
Simultaneously with the Assembly of panels is convenient to carry and Assembly of doors — their shape is accurately fit into the surface of the body. Note that the frame of each door is assembled from wooden bars with viscous joints vpoldereva or spike. During the veneer body and door of the latter should be temporarily secure the frame with screws. In the gaps between the door and the door opening is necessary to lay a strip of polyethylene film — it will not allow the door to stick to the side body panels.
Crafting frames of the side panels, secure them on a level floor and connect the crossbars. Finally put them together and the frames of the sidewalls need only after careful reconciliation of the symmetry of the body structure and its major dimensions.
After installing all the cross members are fixed to the longitudinal elements of the roof and the front of the stringers. All connections are also carried out with epoxy glue, plywood gussets and screws.
After polymerization of the adhesive frame is processed using a plane, rasp and chisels so that all the slats formed a smooth envelope surface.
For lining the frame with plywood method is used, which allows to obtain surfaces similar to surfaces of double curvature. This is achieved by simulation of the punch through the use of plywood strips on top of each other with subsequent poshpatlevat of the joint so, to get a kind of quirk.
After completing the veneer with sandpaper, glued on a strip of five millimeter plywood, treat the surface of the body so that the inflated areas of the body become slightly convex in cross section — this requires soshlifovat “no” approximately one chetyrehkilometrovoy layer of plywood. After treatment skin the frame is aligned epoxy putty, again vyshkurivaetsya and glued by a layer of fiberglass in epoxy resin.
Glazing of doors is carried out by using organic glass. The door window has two zones: the fixed and lowerable glass window, which rotates approximately 30°, thus forming an aperture sufficient for the ventilation of the cabin.
Manufacture the body is completed by coating it inside two to three layer parquet with lacquer or diluted (with acetone or solvent) epoxy glue. If you have the desire to make the cabin comfortable enough, fill the gap between the rails of the frame strips of construction or of packaging foam with subsequent tight interior artificial leather and matousek laminate or hardboard. Between the saloon and Matousec is a partition of hardboard (lining) and foam (filling).
Install the body on the frame, and in accordance with the location of docking ports fasten them with screws and epoxy glue to the platform of sheet steel 3 mm thick.
Seats driver and passenger — lightweight design, each consists of welded steel pipes 0 22X 2 mm frame covered with a PVC wiring harness or a tube on top of the stitched fixed foam and the covering is made of faux leather or any upholstery fabric.
On the frame, each of the seats is fixed with four bolts with thread M8 with nuts and washers. If you see the need in adjusting the seat, drill in the support elements on the frame, another two-three groups of holes.
Floors in the cabin are made of plywood of 8 mm thickness; it is attached to the frame so that when removing the body, he remained on the frame. Polik is covered by three or four times with hot linseed oil and a couple of layers of red lead.
Fuel tank — from two-gallon aluminum tank; fixed it in the engine compartment on the side wall of the body. The tank is equipped with a fuel tap to a septic tank of any motorcycle, and extended the filler neck. Access to the engine through the hood in the back of the body. The power plant of the car has a homemade exhaust tract, consisting of the exhaust pipe and muffler. The latter is made of a cylindrical steel vessel of suitable size and welded divider — curved tube with nasverlennye throughout its cylindrical portion holes with a diameter of 3 mm. Cavity of the muffler is filled with a discharge chips (preferably stainless steel).
Motor control is derived with the help of cables in budenovskoy shell on the pedal (“gas” and grip) and pull hard on the lever (transmission control).
The main brake wheels are the rear — drive their brake pads is supplied from the pedals with a hard thrust, a yoke connected with the equalization mechanism; on the shoulders of the rocker arm by means of ropes connected with the actuator lever of the brake pads. The front wheels of the car also brake — using a standard hydraulic actuator motorized FDD. Brake master cylinder is controlled by a lever with lock; thus, the front brake can be used as Parking, and as emergency in addition to rear.
The electrical equipment of the machine are made under the scheme cargo scooters Lera “Ant”. It’s used and the instrument unit — the speedometer with the ignition switch and the warning lamps.
That’s all. However, this is only the end of the article, and the end of the work is still very, very far away. You will also be body painting and trim, installation of wheel arches, under the front wheels and mudguards of the rear wheels, vehicle doors hinges, and constipation… Well, you name it, because in the process, as a rule, there are also new problems that require their solutions.
Igor MNEVNIKI, design engineer
Recommend to read
 CHROMIUM THEMSELVES
An extremely important piece of technology in the manufacture of engines is the coating of the friction elements of the antifriction alloys or metals. This thin layer, except for the... REZINOMOTORNAYA, CONTOUR
Usually, it often happens that the outwardly unprepossessing models-silhouettes start your journey in technical sports boys. After one or two procopii, they are taking with them part in...

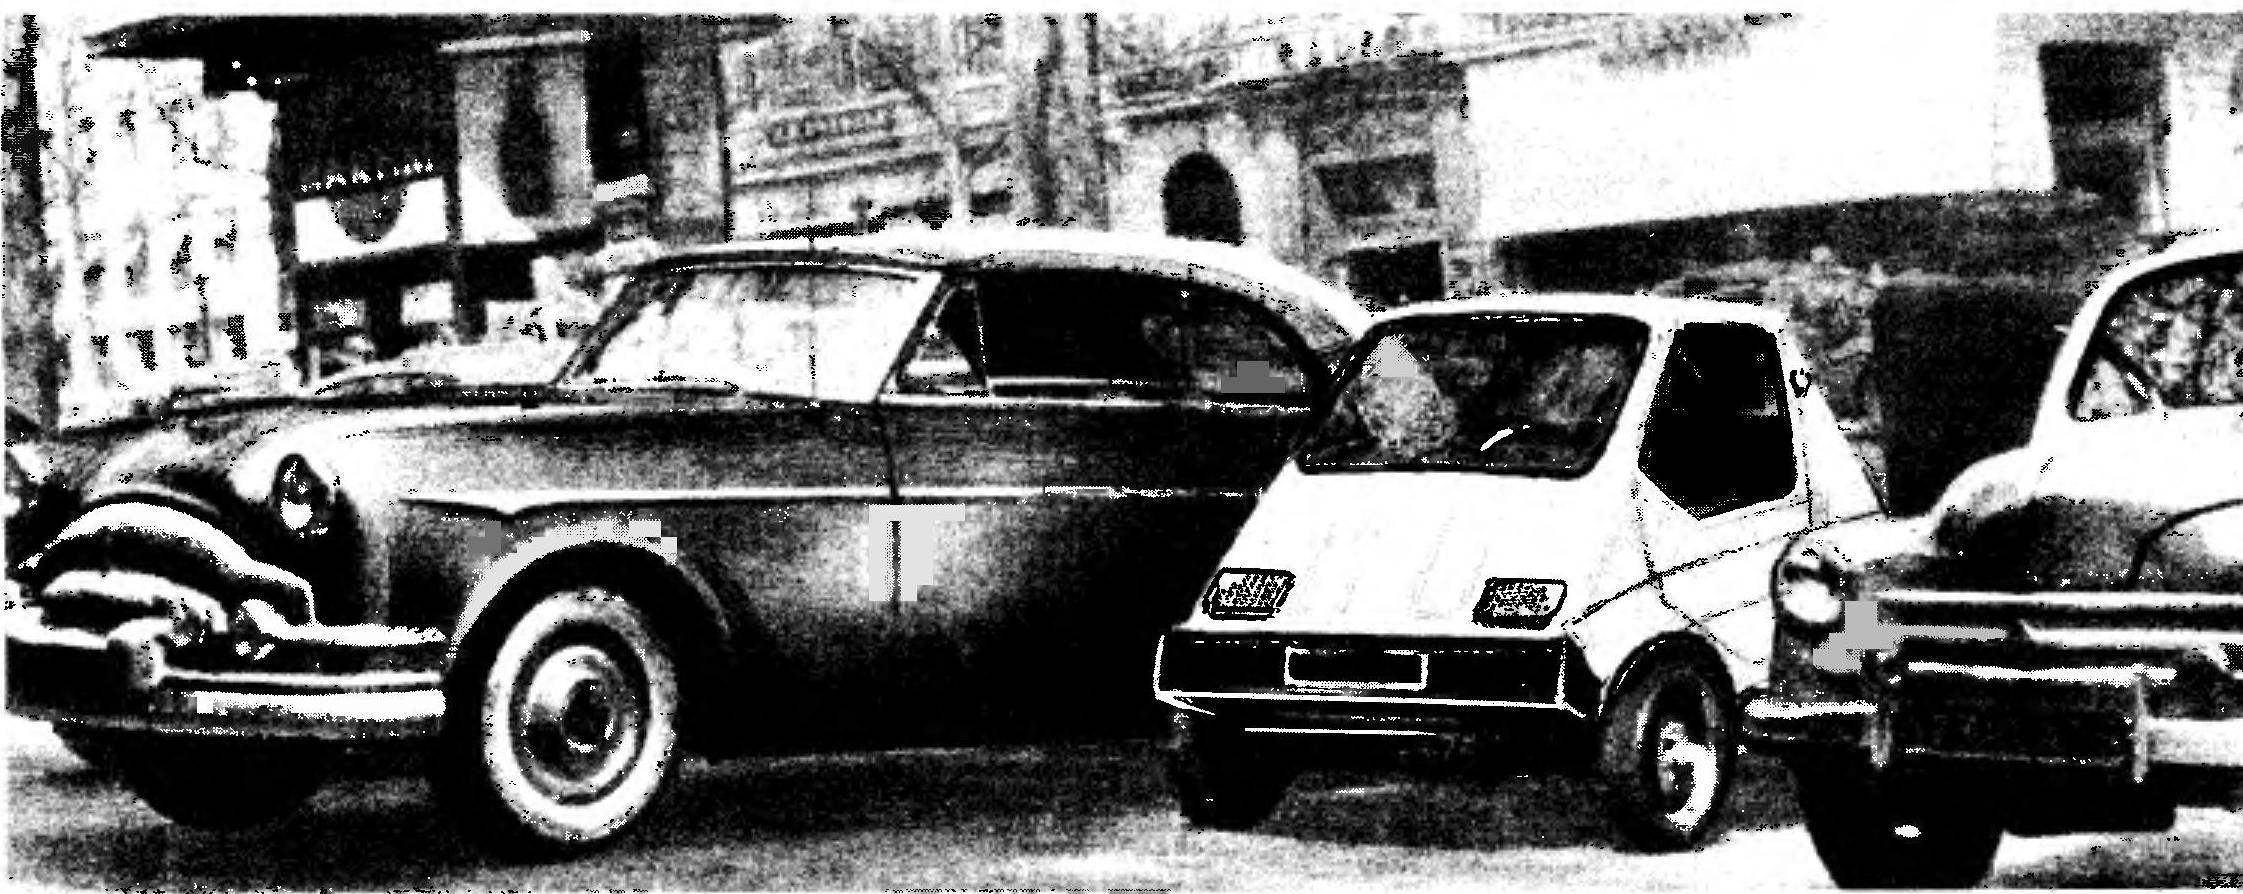 If “Attesi-TX” able to enchant you just the same as at the time, and me, I think I may be able to help you make this very simple, compact and as a result, cheap and affordable car. “Attesi-TX” is a double two-door car with the engine of the T-200M working volume of 200 cm3 and a power of about 14 BHP Machine four-wheel, but the rear wheels close together and the track is much narrower than the front. This is done in order to be able to get rid of the differential, the use of which significantly increases the cost and weight machine.