Every year more and more bodies of water become “closed” to motor vessels. So what are water-motor tourism enthusiasts to do? Moor their boats for good? Not at all!
It’s time to remember the sail. Sailing rig can become a real alternative to the rattling, fuming, water-polluting outboard motor.
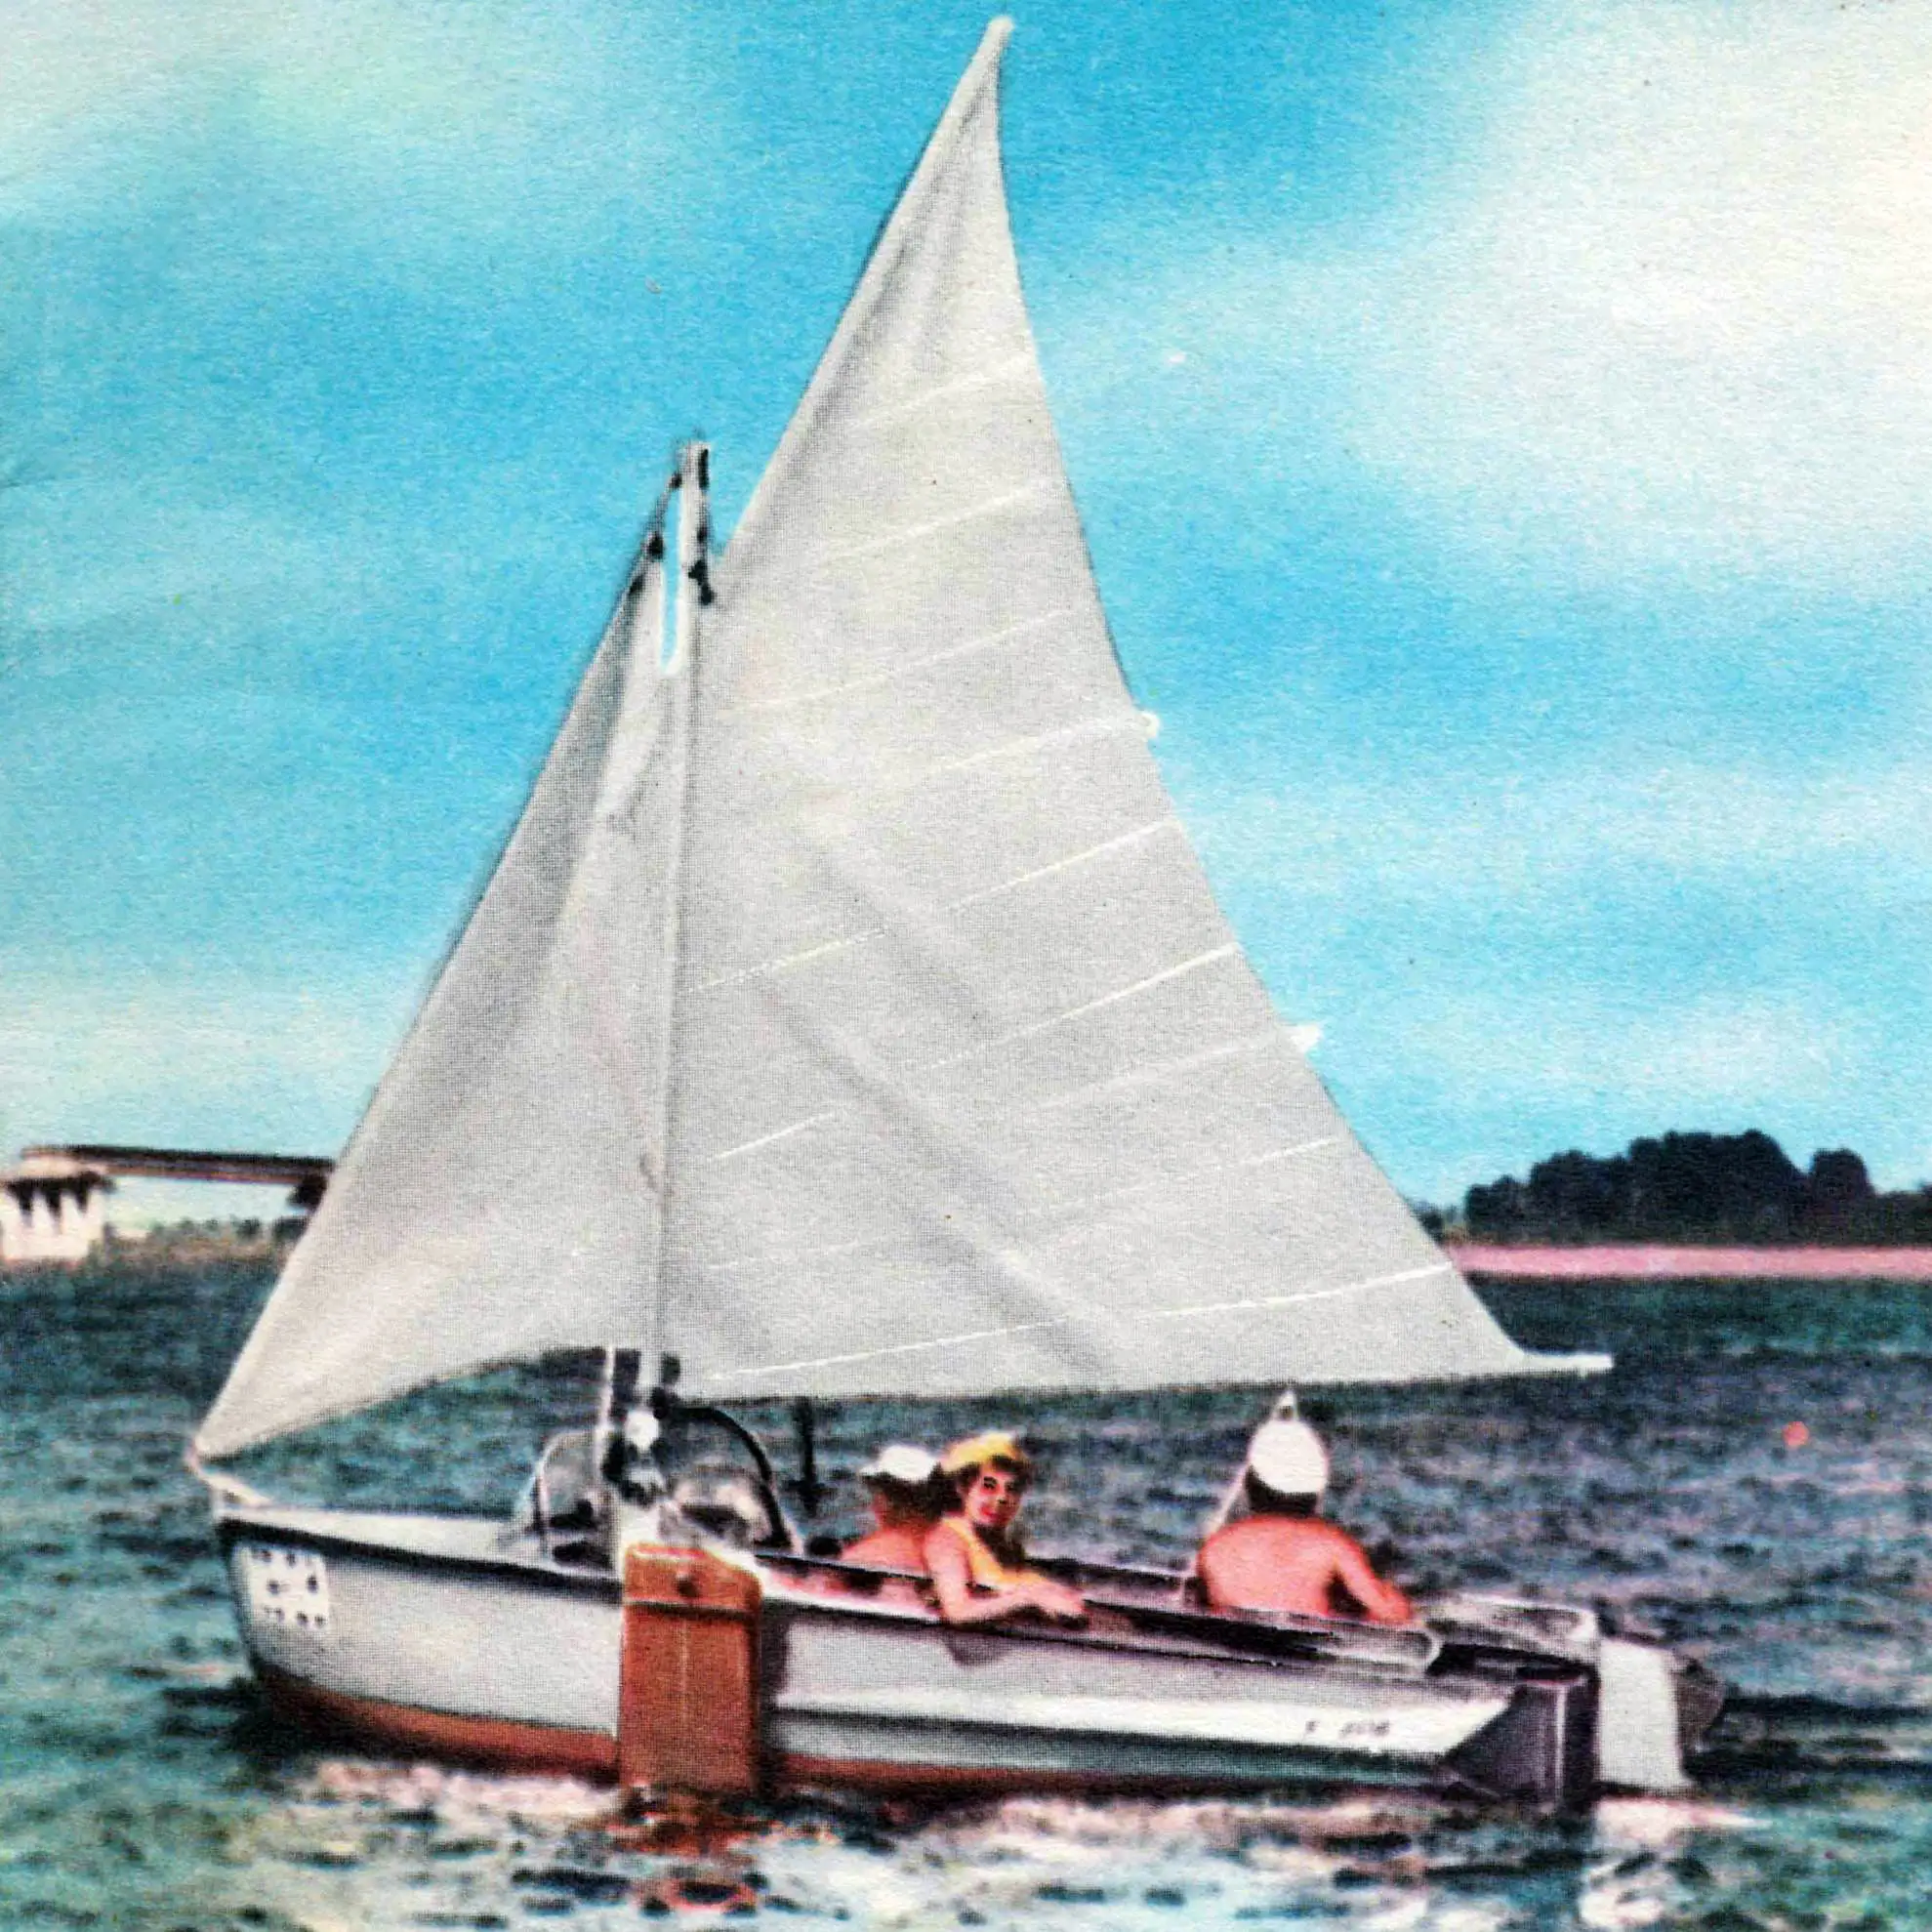
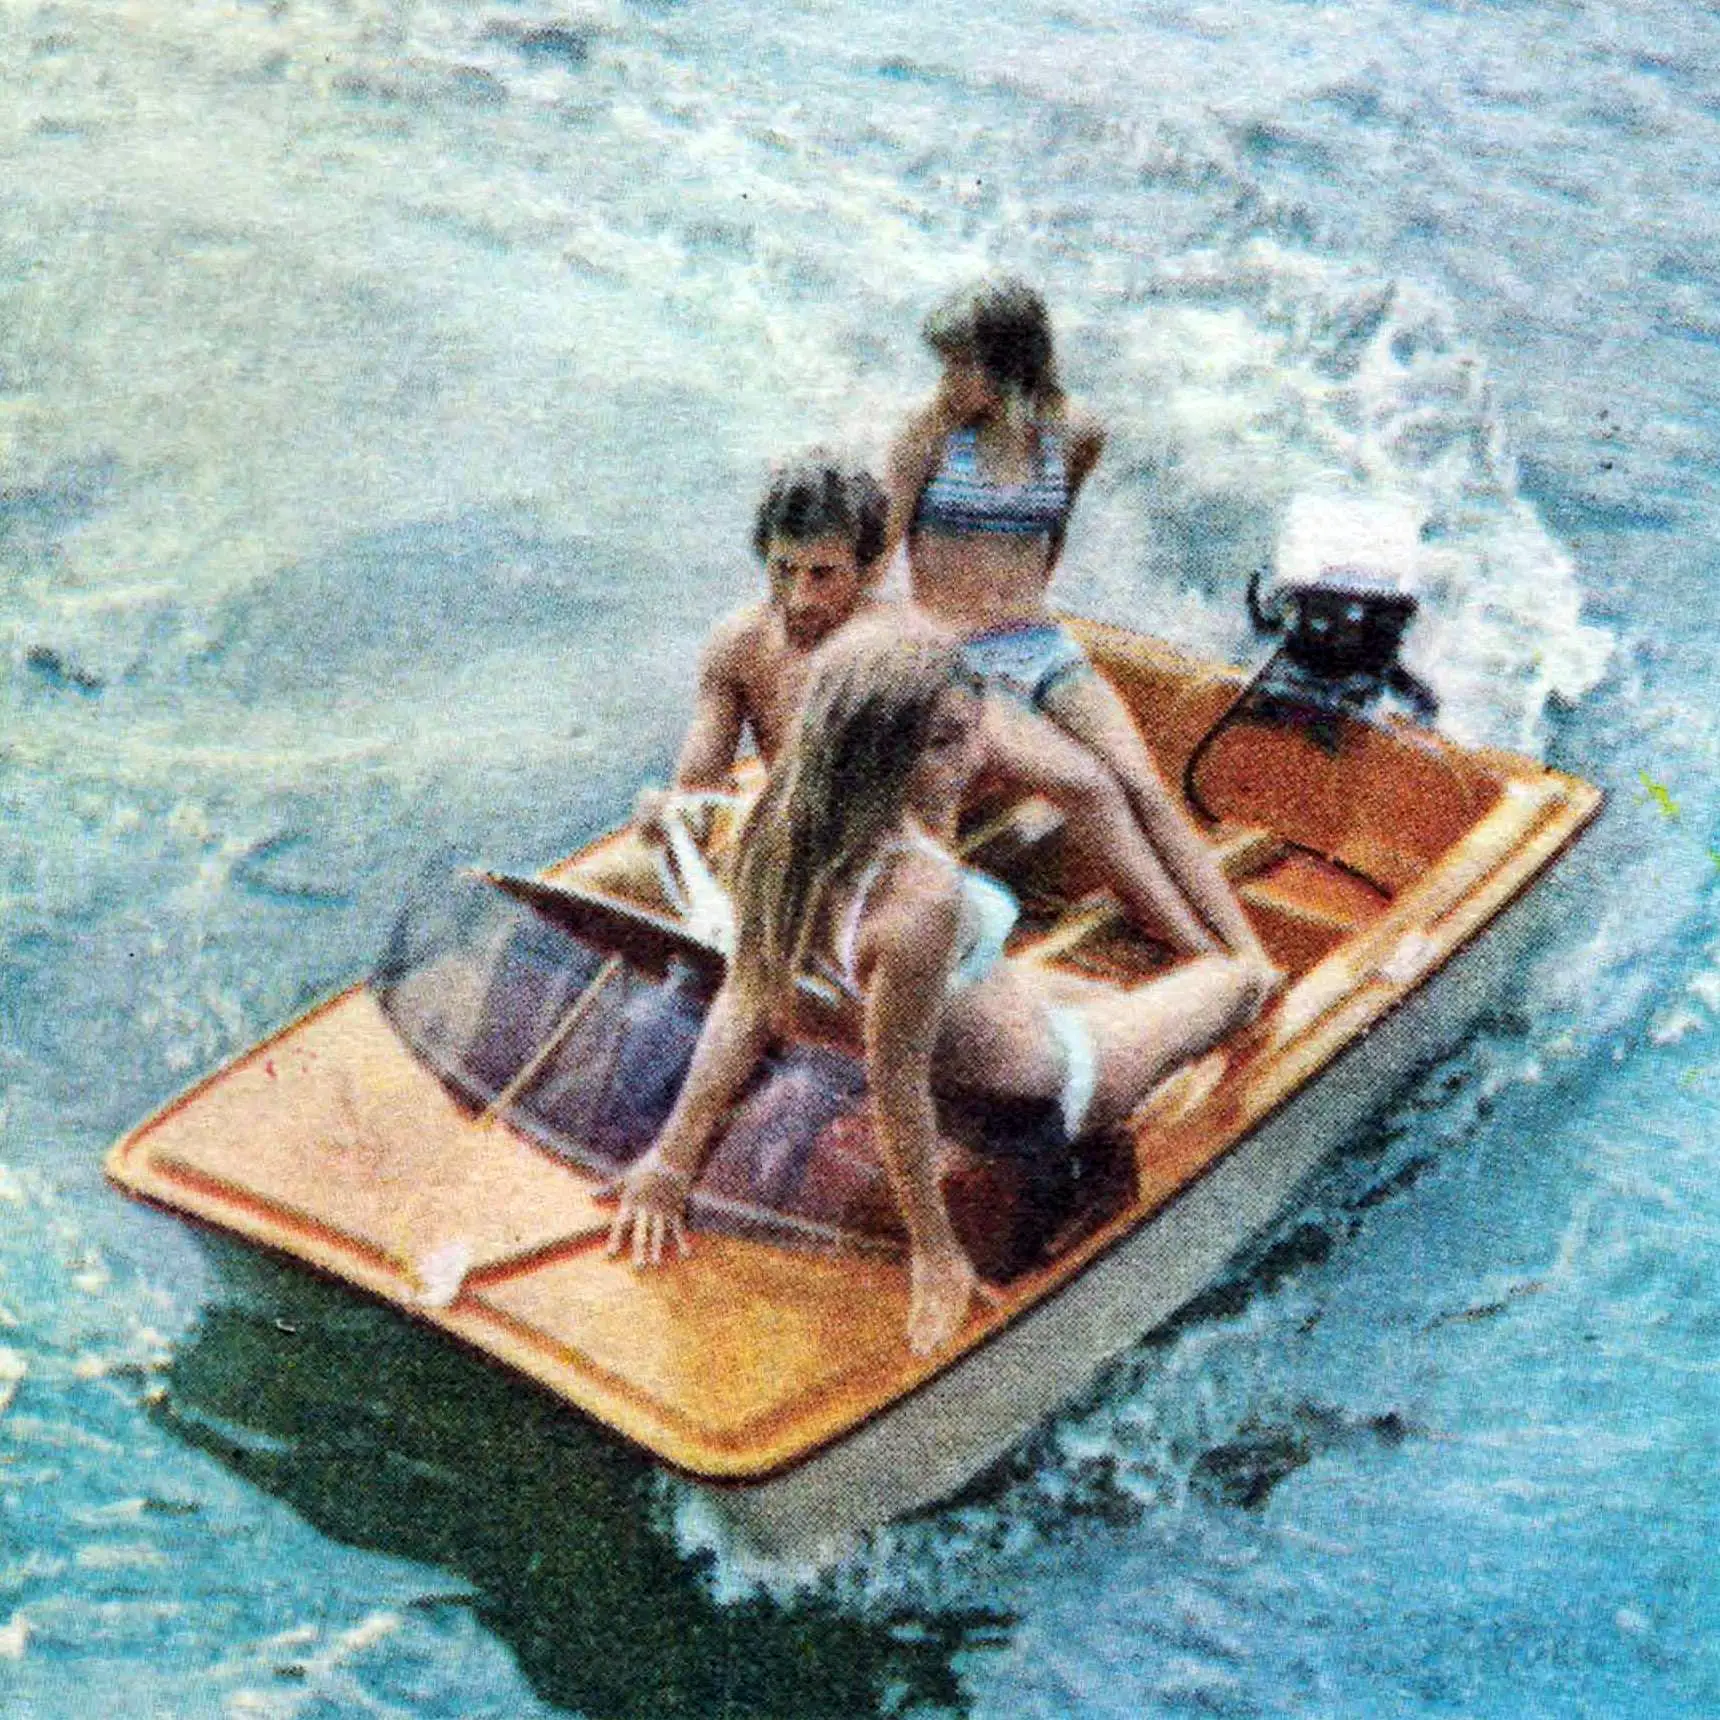
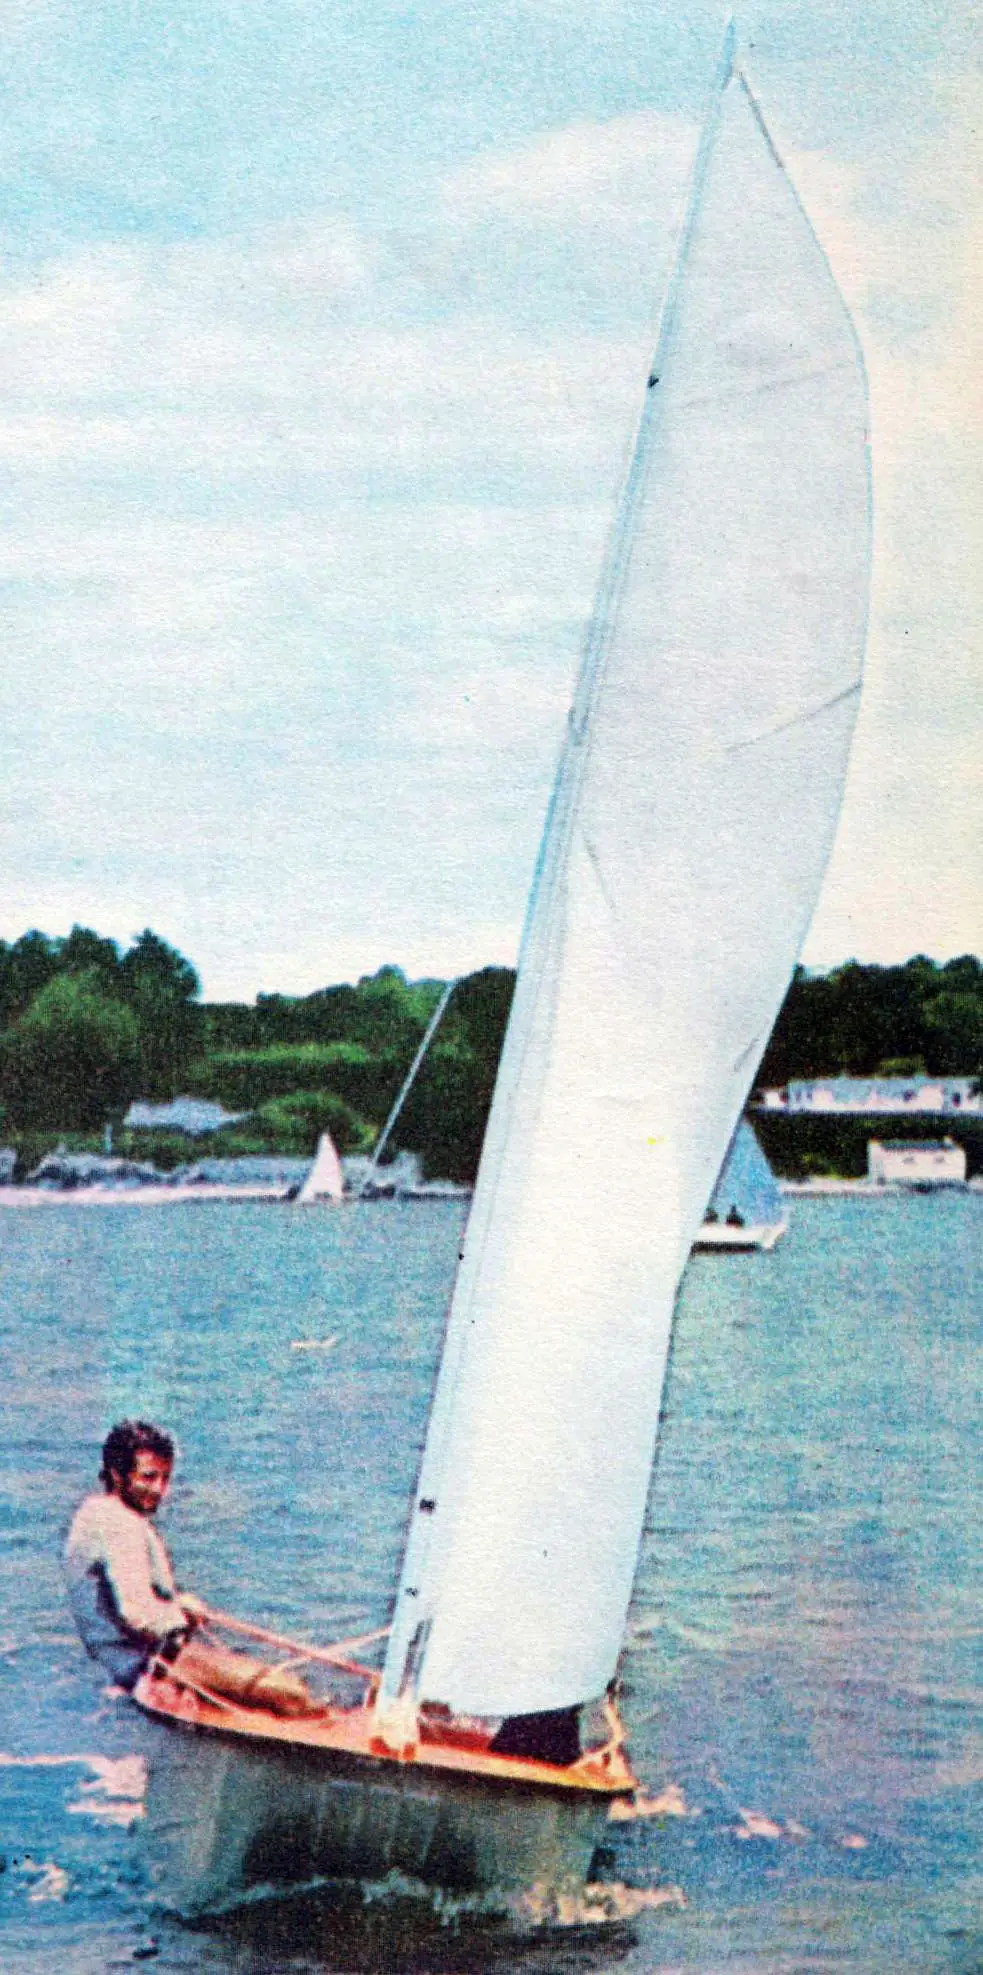
The feeling I had when I fitted a sailing rig to my motorboat “Yuzhanka” is indescribable. You have to experience it yourself. Instead of engine noise I was suddenly surrounded by silence, broken only by the rustle of water along the hull and the whistle of wind in the rigging.

Over five years of use the sailing rig has proven itself well. The conclusion is obvious — the main engine today should be the sail, and the outboard motor can be kept only as an auxiliary.
The first thing you need on a motorboat to sail both downwind and to windward — to tack — is pivoting centerboards (or centerboards/daggerboards), which significantly reduce leeway — drift.
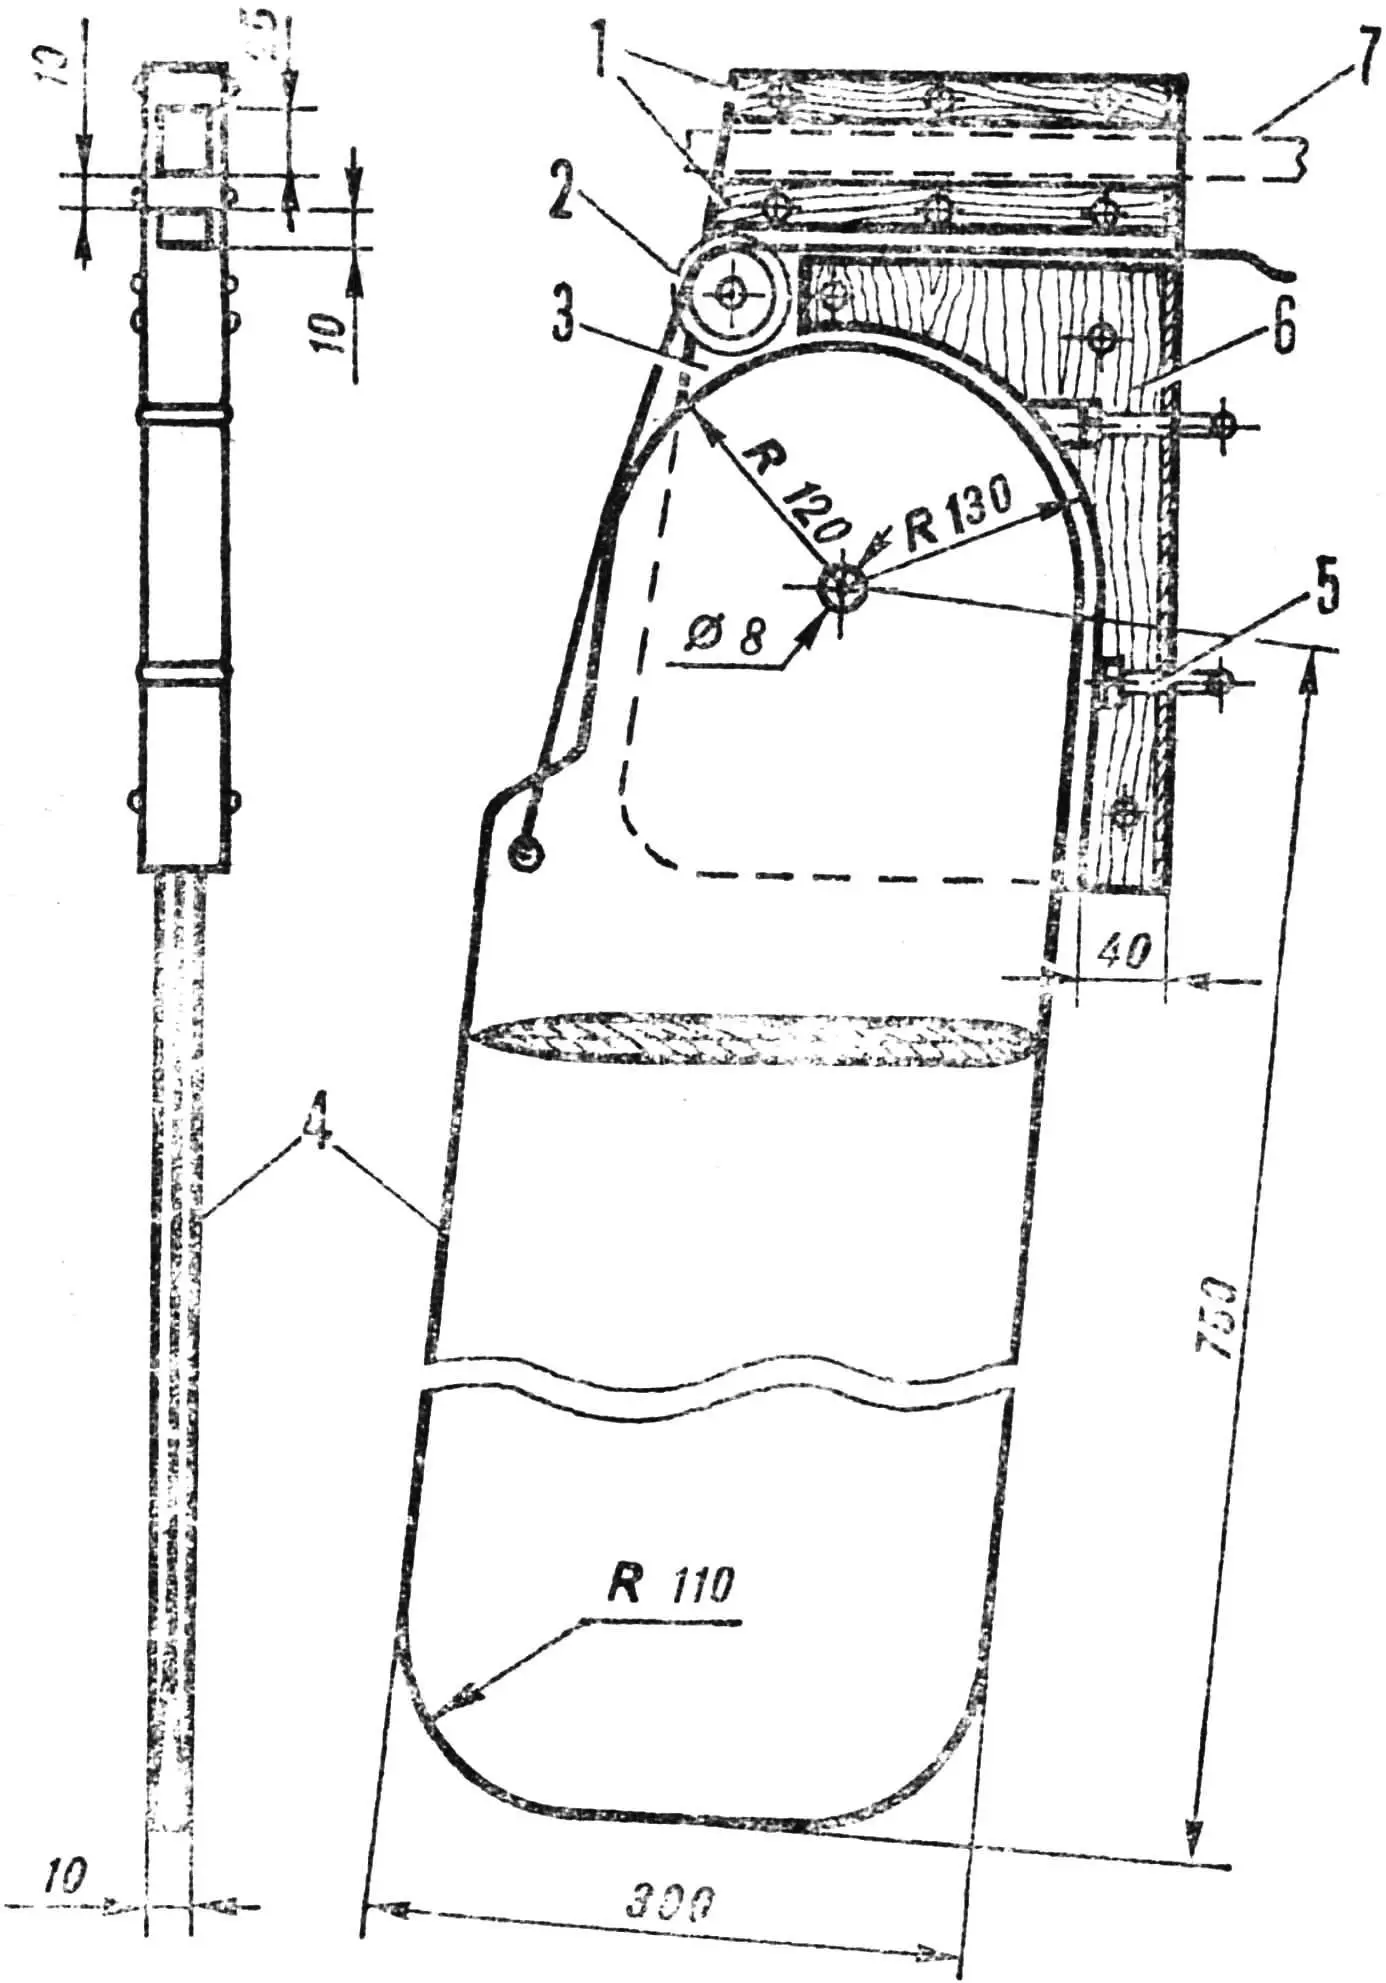
The centerboards are made from boards 15×400×135 mm. At the top they are joined by a batten 15×25×400 mm, in the middle — by a wooden block 40×40×400 mm — the centerboards bear against the boat’s side with it. At the bottom of each centerboard a weight is fixed with screws — a steel strip 15×80×400 mm weighing about 5 kg — it is needed so the centerboard does not float up. On the upper part two metal plates 3 mm thick with a Ø 21 mm hole are fixed for hanging on the crossbar. For raising the centerboards each has holes through which nylon ropes are passed. Their other end is made fast in the boat to a cleat. The leading and trailing edges are given a streamlined shape.
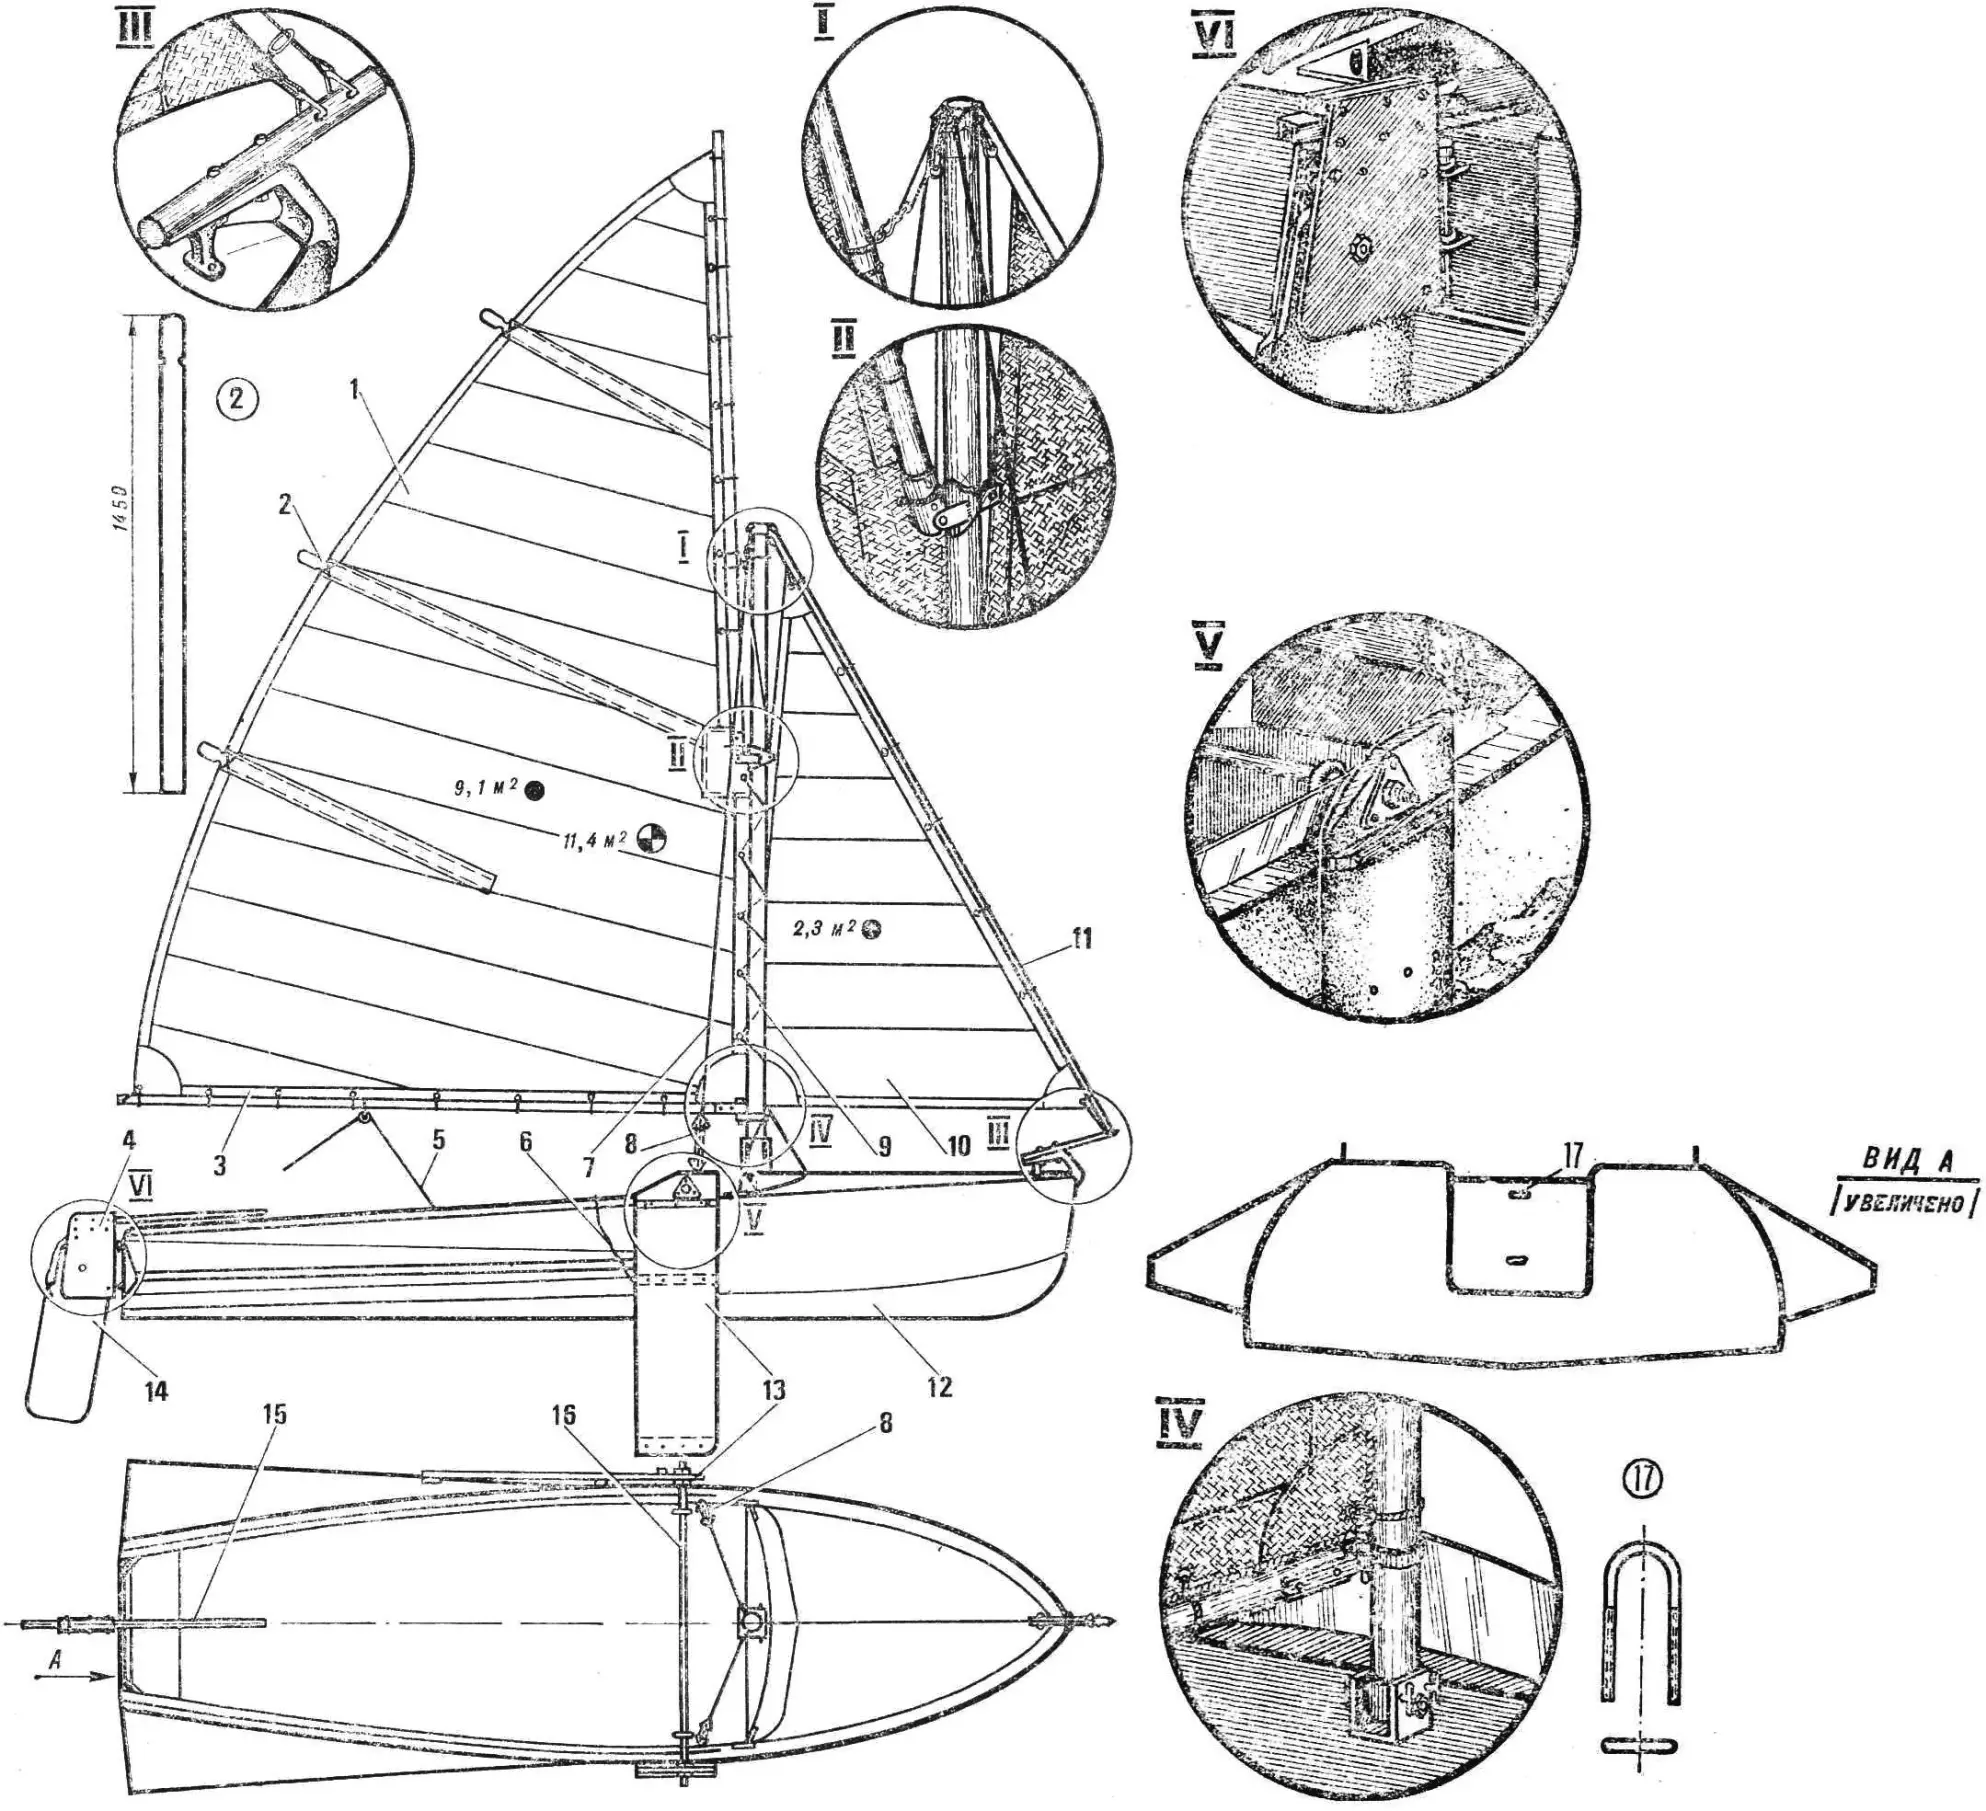
1 — mainsail, 2 — batten, 3 — boom, 4 — rudder assembly, 5 — mainsheet, 6 — centerboard tackle, 7 — shroud, 8 — soft turnbuckle, 9 — mast, 10 — jib, 11 — forestay, 12 — sailboat hull, 13 — centerboard, 14 — rudder blade, 15 — tiller, 16 — crossbar, 17 — bracket.
The crossbar is a steel rod Ø 20 mm and 1360 mm long. Thread is cut on 100 mm sections at both ends. The centerboards are slipped onto the crossbar, and each is clamped between two nuts.
In heavy seas hydrodynamic forces arise between the centerboards, so it is not advisable to use both centerboards at once. It makes sense to lower the port centerboard when the boat is on port tack, and the starboard one when the wind is from the right.
The motorboat transom must be modified. Holes Ø 6 mm for the rudder pintles should be drilled along its centerline. Position them so they do not interfere with mounting the engine. The holes for the gudgeons on the rudder stock box are drilled in place to match the holes on the transom.
1 — wooden inserts, 2 — block, 3 — rudder stock box, 4 — rudder blade, 5 — bolt, 6 — filler (wood), 7 — tiller.
The sailboat mast is wooden, glued from two boards 3050 mm long. Its cross section at the base is 70×70 mm, and the diameter at the head is 55 mm. At 50 mm from the base a hole is drilled in the mast and a tube with 10.5 mm inner diameter is inserted — the mast pivot bearing. A mast cap is fitted on the mast head — a fitting for attaching the shrouds, forestay and jib block.
The rudder stock box is bent from galvanized steel sheet 0.9 mm thick. Sheet size is 400×600 mm. First the holes for the pintles are laid out and drilled and the openings for the tiller and rudder line are cut out. The box is cut to the dimensions shown in the drawing. Textolite spacers are inserted between its cheeks and fastened with M5 screws.

The rudder blade, profiled in cross section, is cut from a 10 mm thick board. It is located between the cheeks of the rudder stock box; its pivot is bolt 8. At the rear a hole is drilled for the rudder line, which then runs through a block and into the gap between the stock box and the blade. At the other end of the rudder line there is a ring that is made fast inside the boat when the rudder is raised.
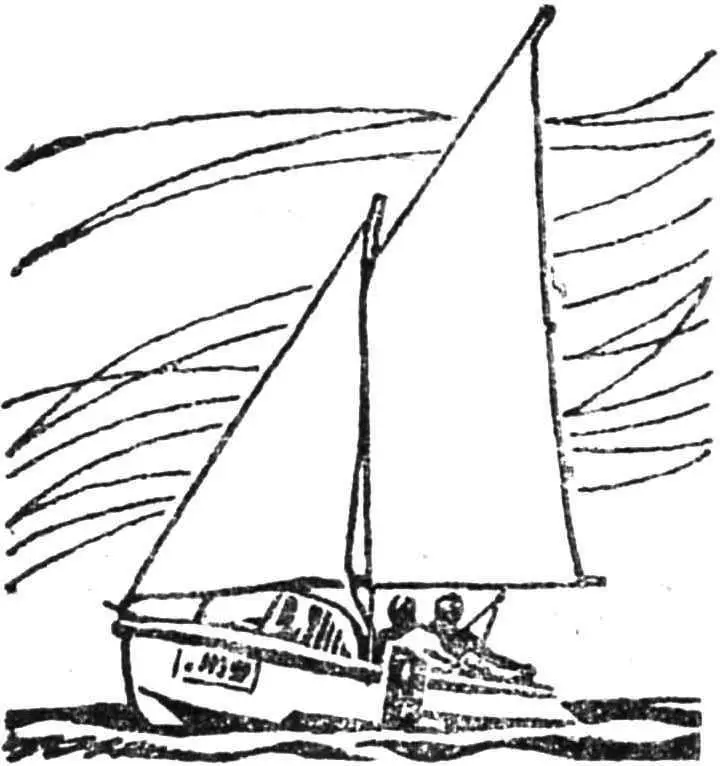
The rig is a gaff sloop. The area of the main sail — the mainsail — is about 10 m². About 18 linear meters of fabric went into it. I recommend a thin, strong material with sufficient air resistance. When choosing fabric use a simple “test”: hold a scrap tightly to your lips and blow hard. Only fabric that barely lets air through is suitable — e.g. cushion tick, rep, or tent fabric. Percale and Bologna fabric are also suitable. Before cutting the sail, soak all material in water for several hours, then dry and press. Sew a 30 mm wide false seam down the middle of the panel for its full length. To do this, fold the panel in half and press the fold with an iron. Then, 30 mm from the fold, overcast the future seam line and stitch it on the sewing machine. Then fold back the stitched part and run two more rows of stitching along it.
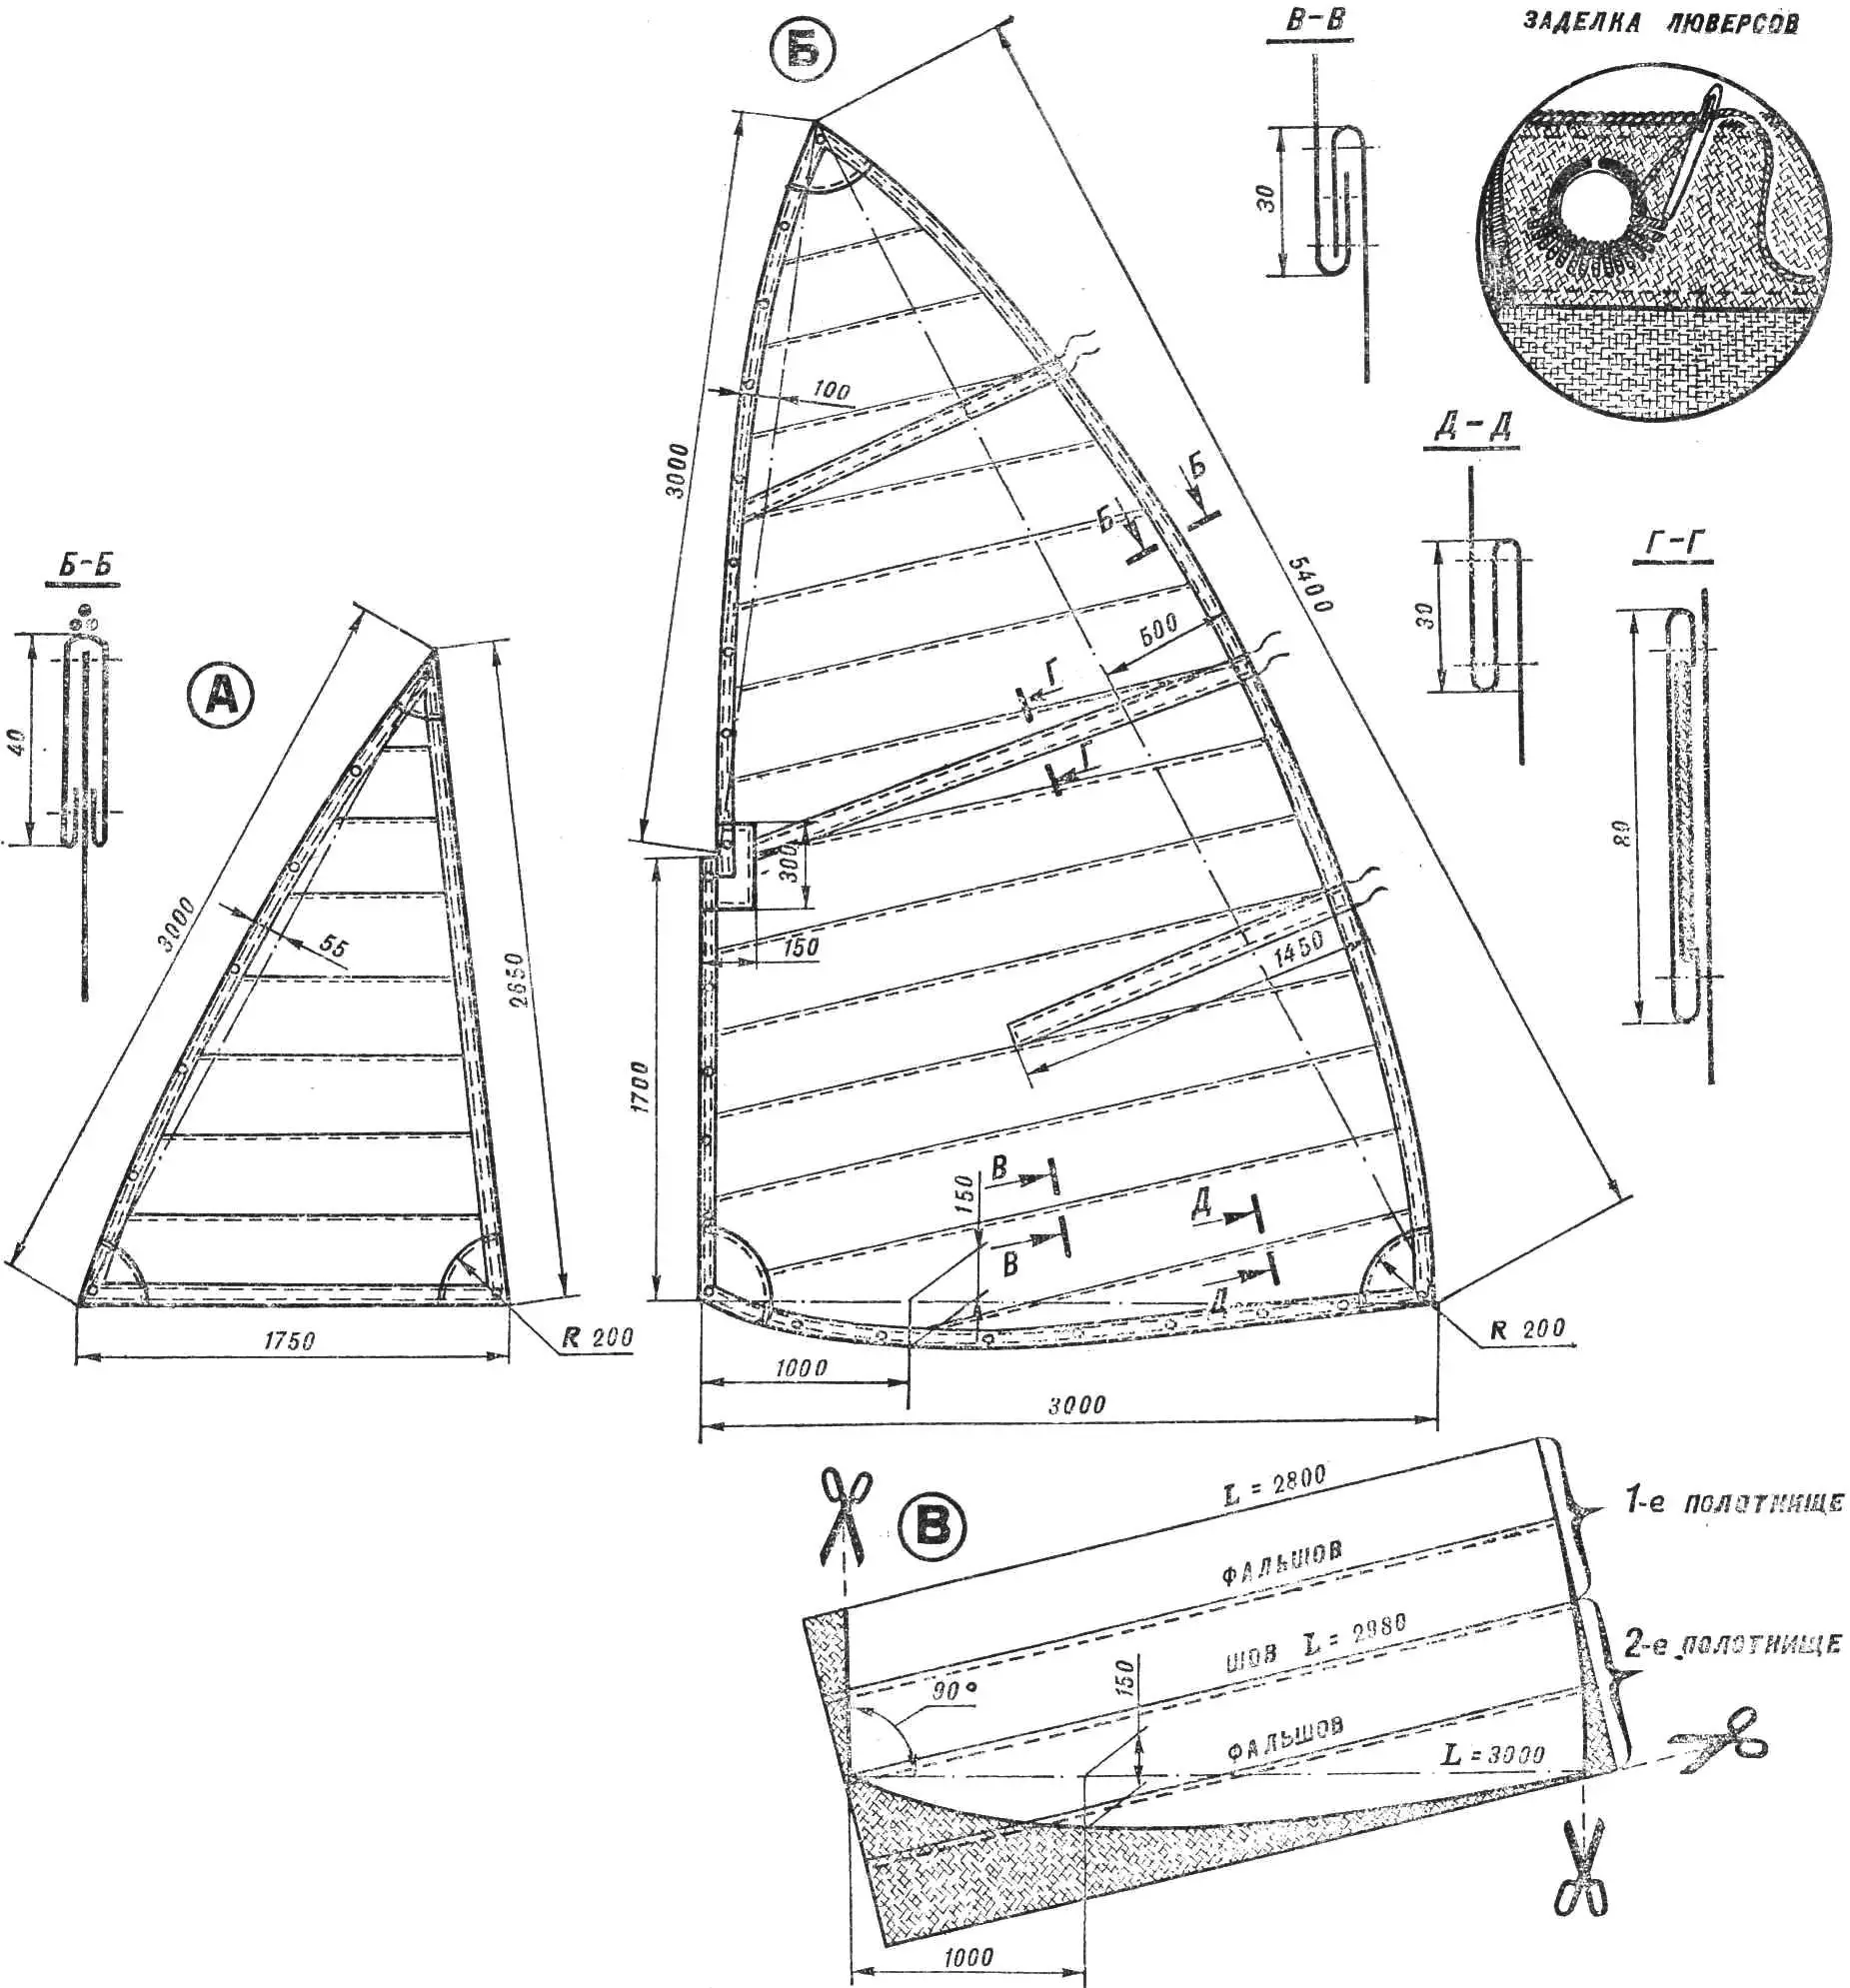
A — jib, B — mainsail, C — cutting layout of first panels.
Start cutting the sail. The first two pieces are 3 m long. They are laid edge to edge and sewn together, then the seam allowance is folded and a second seam is made.
Now spread the resulting double panel on the floor and mark a diagonal on the first piece with chalk (fig. 4). Then drop a perpendicular to it from the second piece — this will be the axis of the luff. On the diagonal make a notch at 1/3–1/4 of its length from the tack, and the maximum curve of the foot — about 150 mm — is laid off perpendicular to it. The luff curve is a fair curve. Cut away the excess material and you can start joining the remaining sail panels.
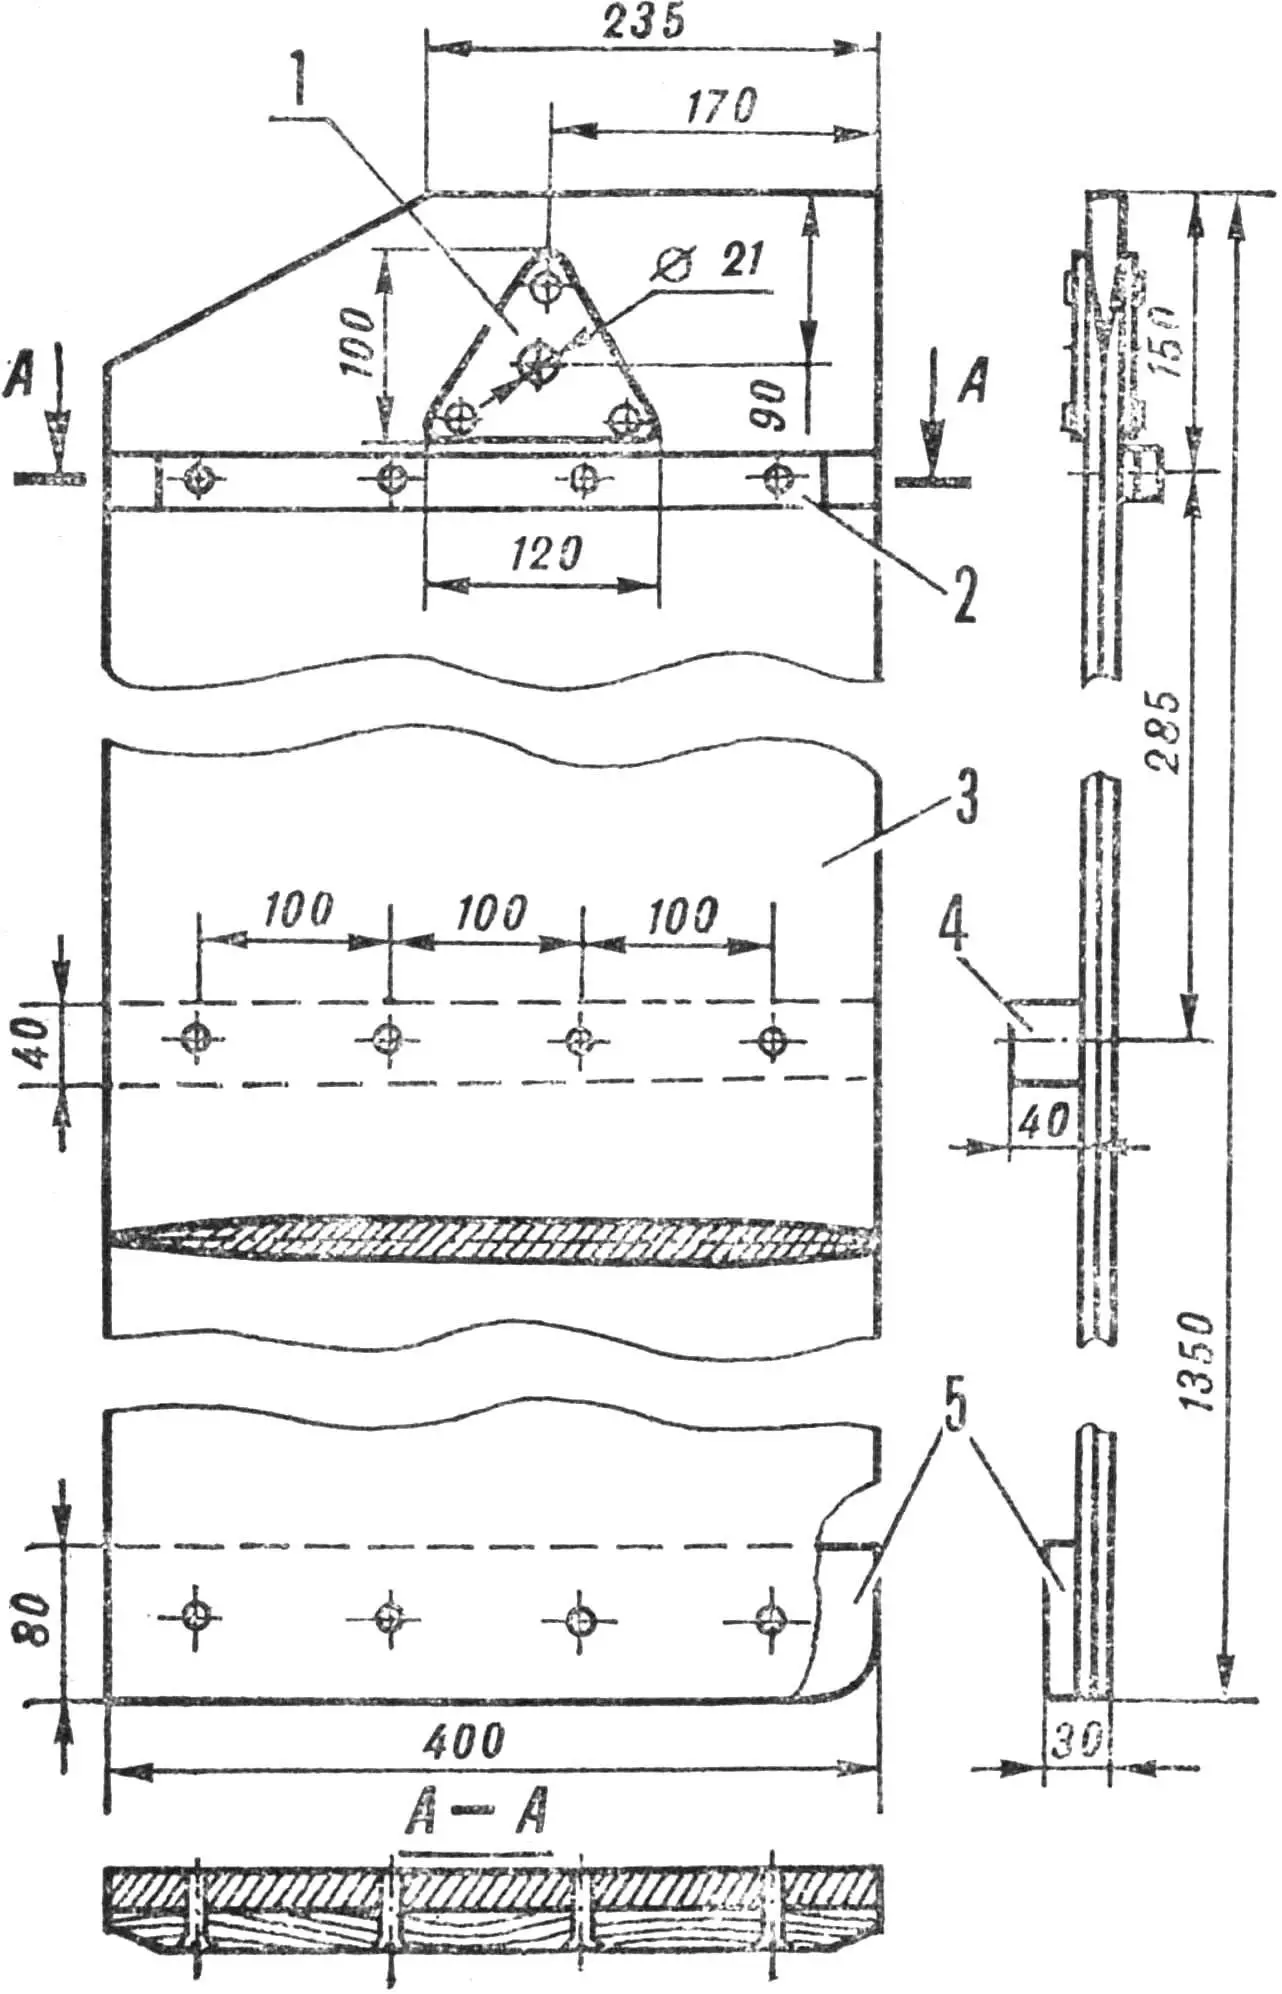
1 — plate, 2, 4 — battens, 3 — centerboard blade, 5 — weight.
When cutting the material, allow at least 50 mm overlap between panels. At 1700 mm from the forward (tack) corner make a 50 mm cutout for the gaff. The axis of the head is 450 mm from the luff axis. The maximum curve of the luff is about 100 mm.
After sewing all panels together, spread the future sail on a flat surface, trim all edges and bind with a strip of fabric about 100 mm wide. Reinforce the sail corners — sew on patches of strong material (tabs). A nylon rope is sewn to the sail edges. To help the sail hold its shape it has battens — flexible wooden strips 3 mm thick in batten pockets. The headsail — the jib — is cut similarly to the mainsail.
Of course, the “Yuzhanka” under sail is not a racing yacht; she has considerable resistance and with a crew of four is a bit heavy. Still she sails quite well, and I am sure that if you follow my example you will get enormous satisfaction from sailing and, I hope, forget all about the motor.
MAKE WAY FOR SAIL!
Thousands of mechanics once spent many years of their lives hoping to build a “perpetual motion machine.” And it has always been right there. They just had to look around and see it — the wind, the eternal worker. And now, as thousands of years ago with Egyptian wind-driven craft, wheeled yachts race under sail across steppes and beaches, ships with sails on their masts again plow the oceans along the trade-wind routes, and wind-powered cars speed down the roads.
«M-K» 10’81, V. CHUPIKOV, Dnepropetrovsk
Recommend to read
 COUNTRY, FROM THE BOARDS
Salvation from the "charms" of urbanization, many are looking outside the city. Hurry back to rest. And although everyone dreams about staying in his own way, no one, apparently, is not...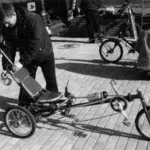 RECUMBENT IN BOX
Once the attention of mushroom pickers has attracted tourist from approaching trains in bright veloform, helmet with "cello" in the case behind. Removing the box and opening his zipper,...
