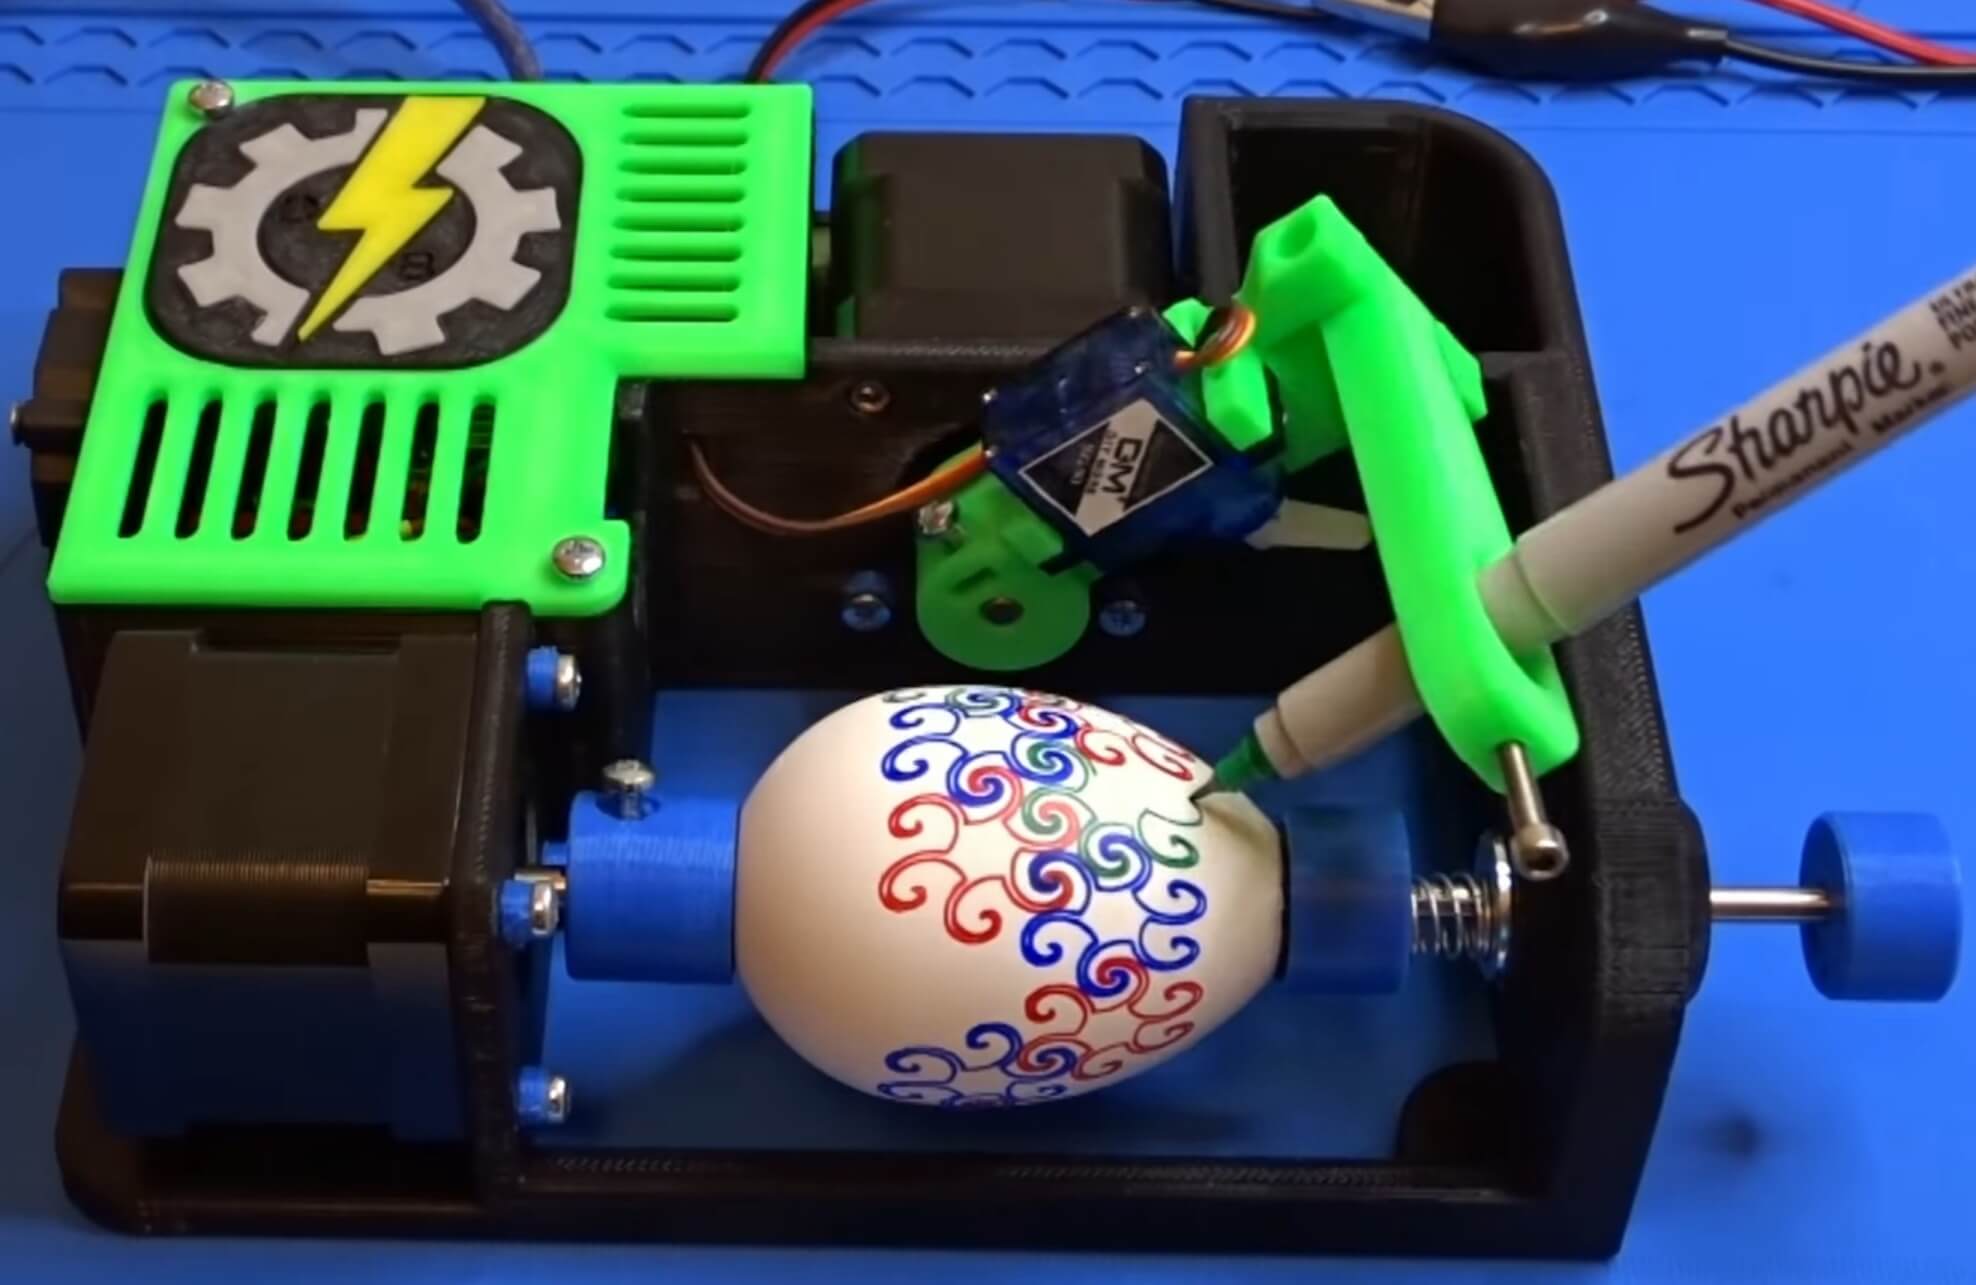
Easter is just around the corner, which means it’s time to work miracles. And if you’re tired of regular paints, I’ll show you how to build a real robot artist that will paint on eggs! Meet Eggduino. This is a small but very smart machine that runs on Arduino and is controlled via Inkscape. With its help, you can create any patterns and designs on eggs – even memes, even flowers, even the logo of your favorite team.
Sounds cool? Then we went to figure out how to put it all together. There are a lot of details here, but if it suddenly becomes unclear, watch the author’s video, everything is clear there.
What will you need for assembly?

Here is a list of components that will need to be ordered. Most of them are easy to find on AliExpress:
- Nema 17 stepper motors
- CNC Shield V3 board with A4988 drivers
- Arduino UNO R3 board
- Cooler 12V 30×30
- Jumpers , wires , nuts and bolts M3
- Servo motor 9g
- Power supply 12V 5A
- DC connectors
- Bearings 604ZZ
- Capacitor 50V 10µF
- Sharpie markers
- Plastic eggs
- Spring , steel rod and other small things
- 3D printed parts (can be downloaded from Makerworld )
- Documentation
In short, everything is standard for Arduino projects. Printed parts can also be easily printed using a regular 3D printer.
The first step is to assemble the motor for the egg
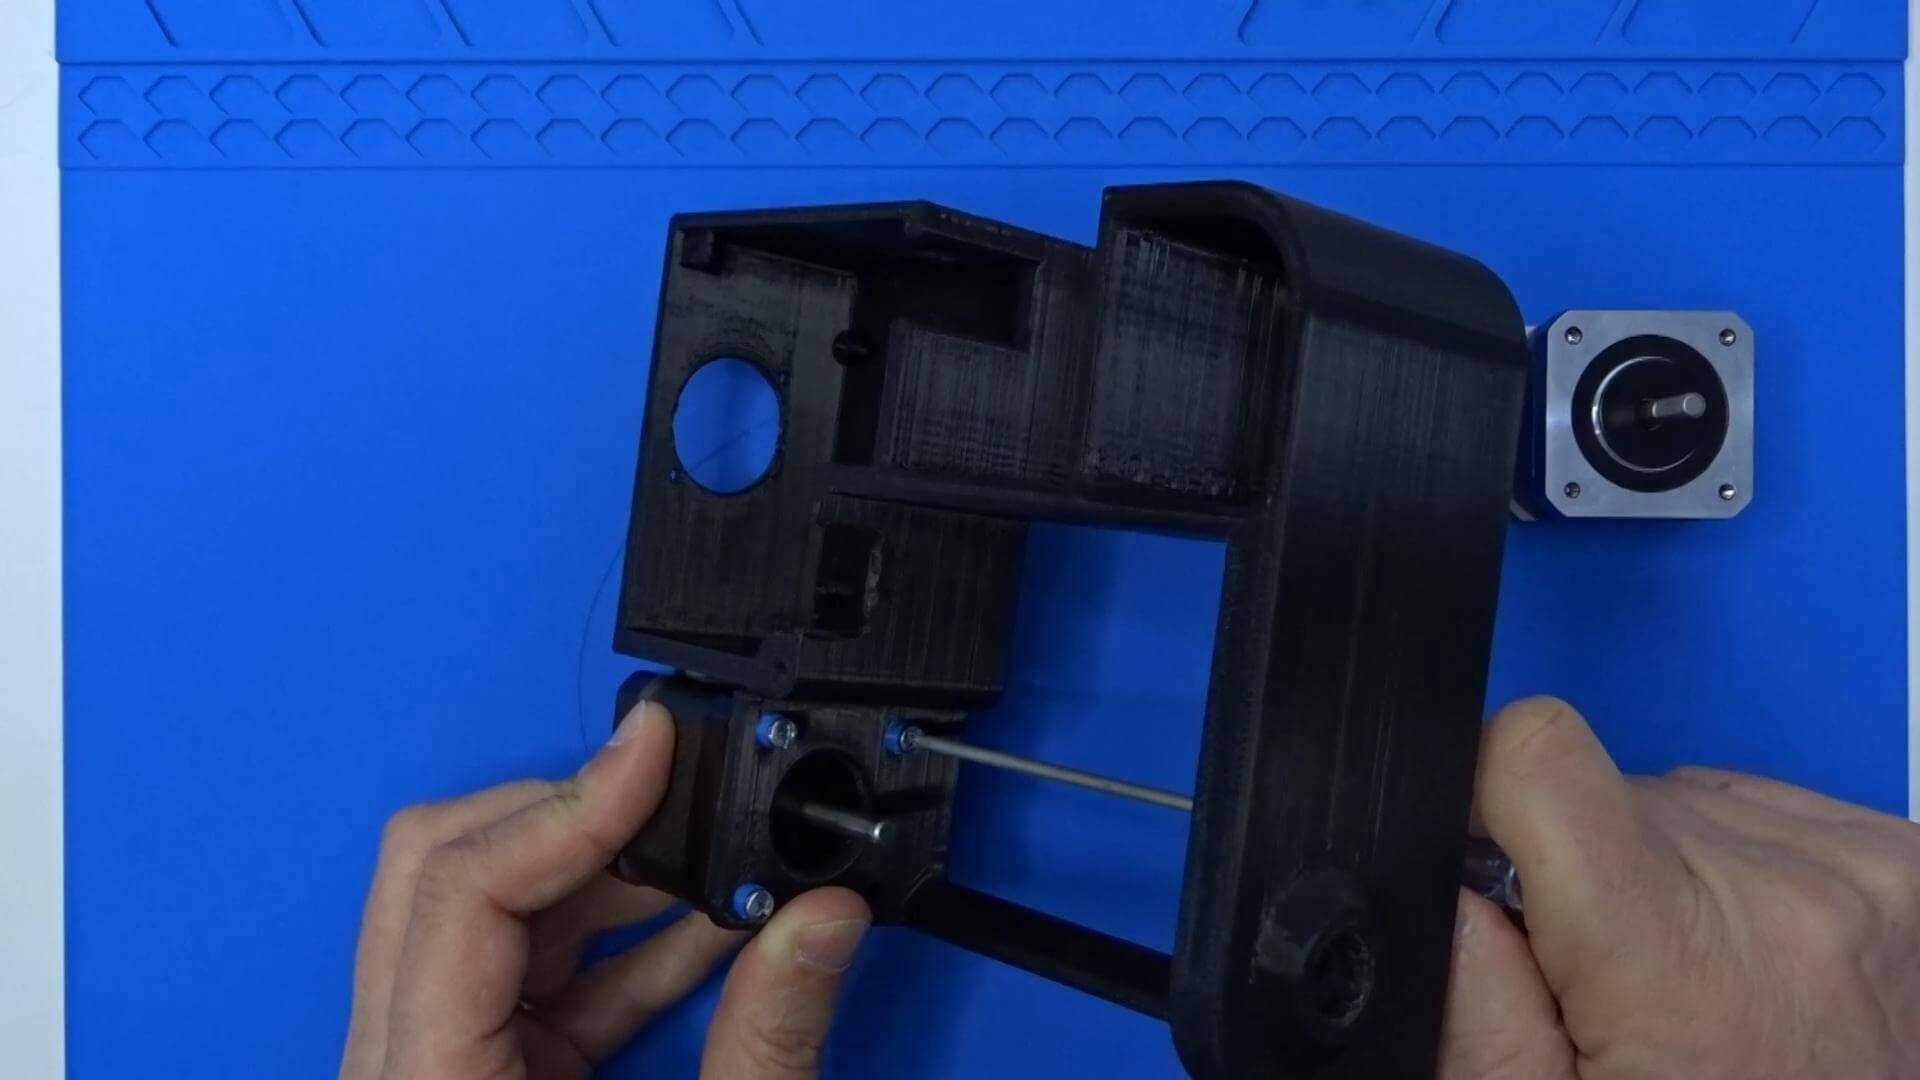
First, let’s attach the motor that will rotate the egg. To do this, we use M3x10 screws and special 3D printed spacers. We install everything carefully, without distortions, so that the motor runs smoothly.
Second step – assembling the marker holder
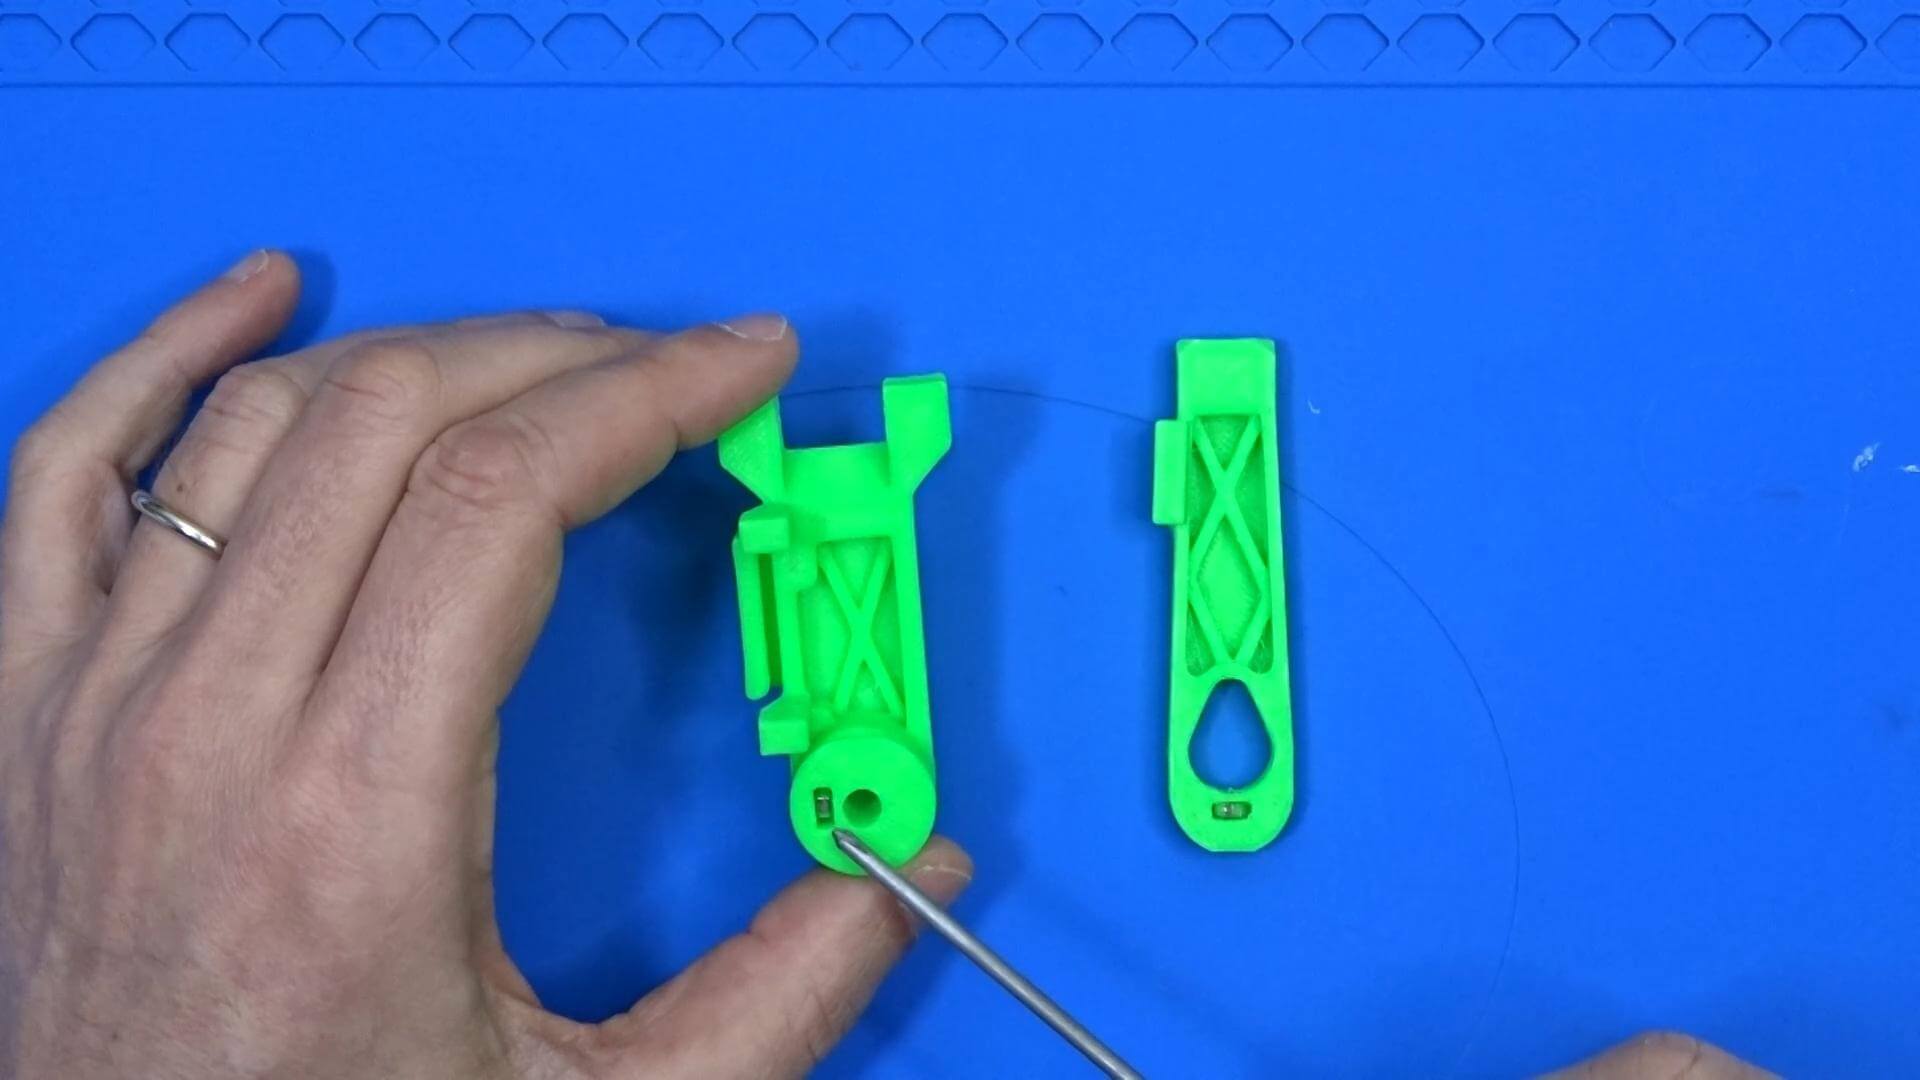
The next step is the “hand” that will move the marker up and down. We also fasten the lower part with M3x10 screws, and the upper part with M3x5 hex head screws, which we recess into the body so that nothing interferes with movement.
Third step – install the servo drive
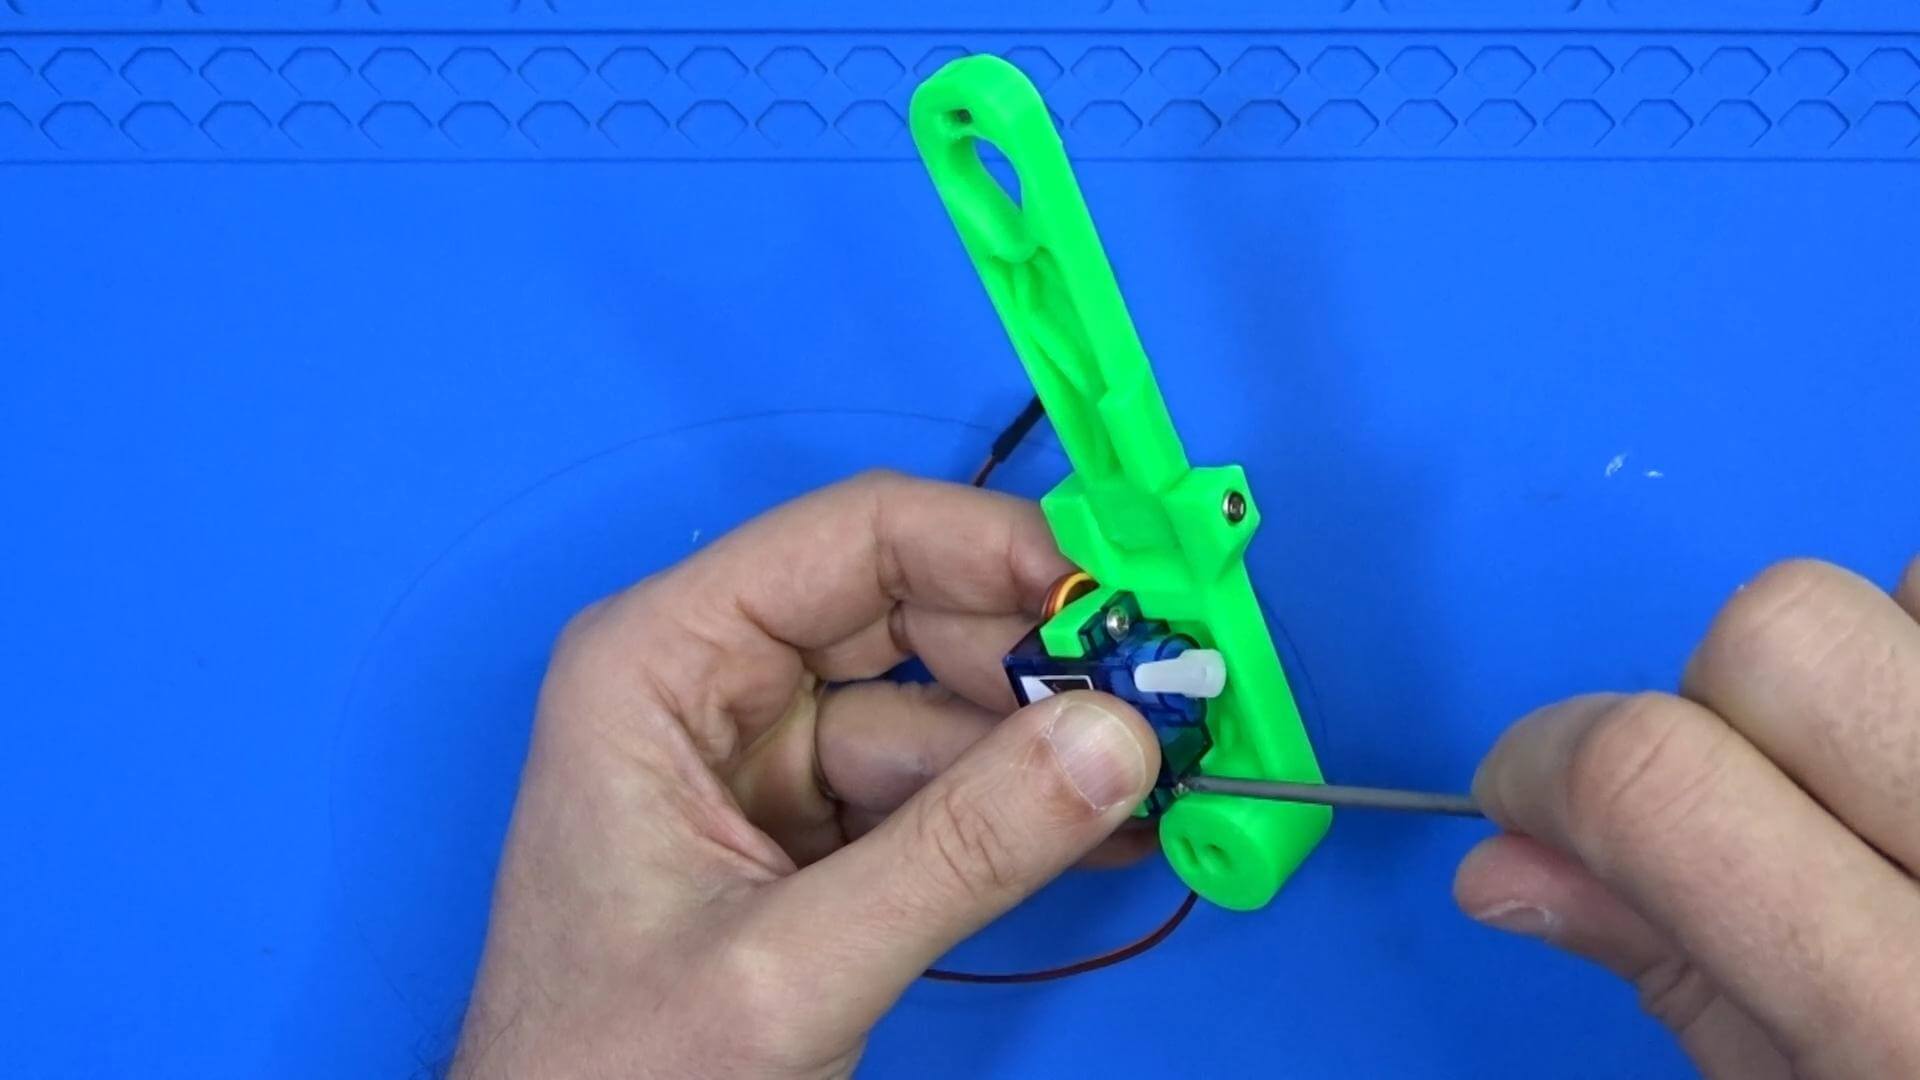
We use a standard 9g servo. It is important to connect the wires correctly:
- Orange (signal) – separately per pin
- Red and black (power) – together in a double connector
We place the wire from the servo drive in a special groove so that it does not interfere with the movement of the hand, and secure everything with the supplied screws.
Uploading firmware to Arduino
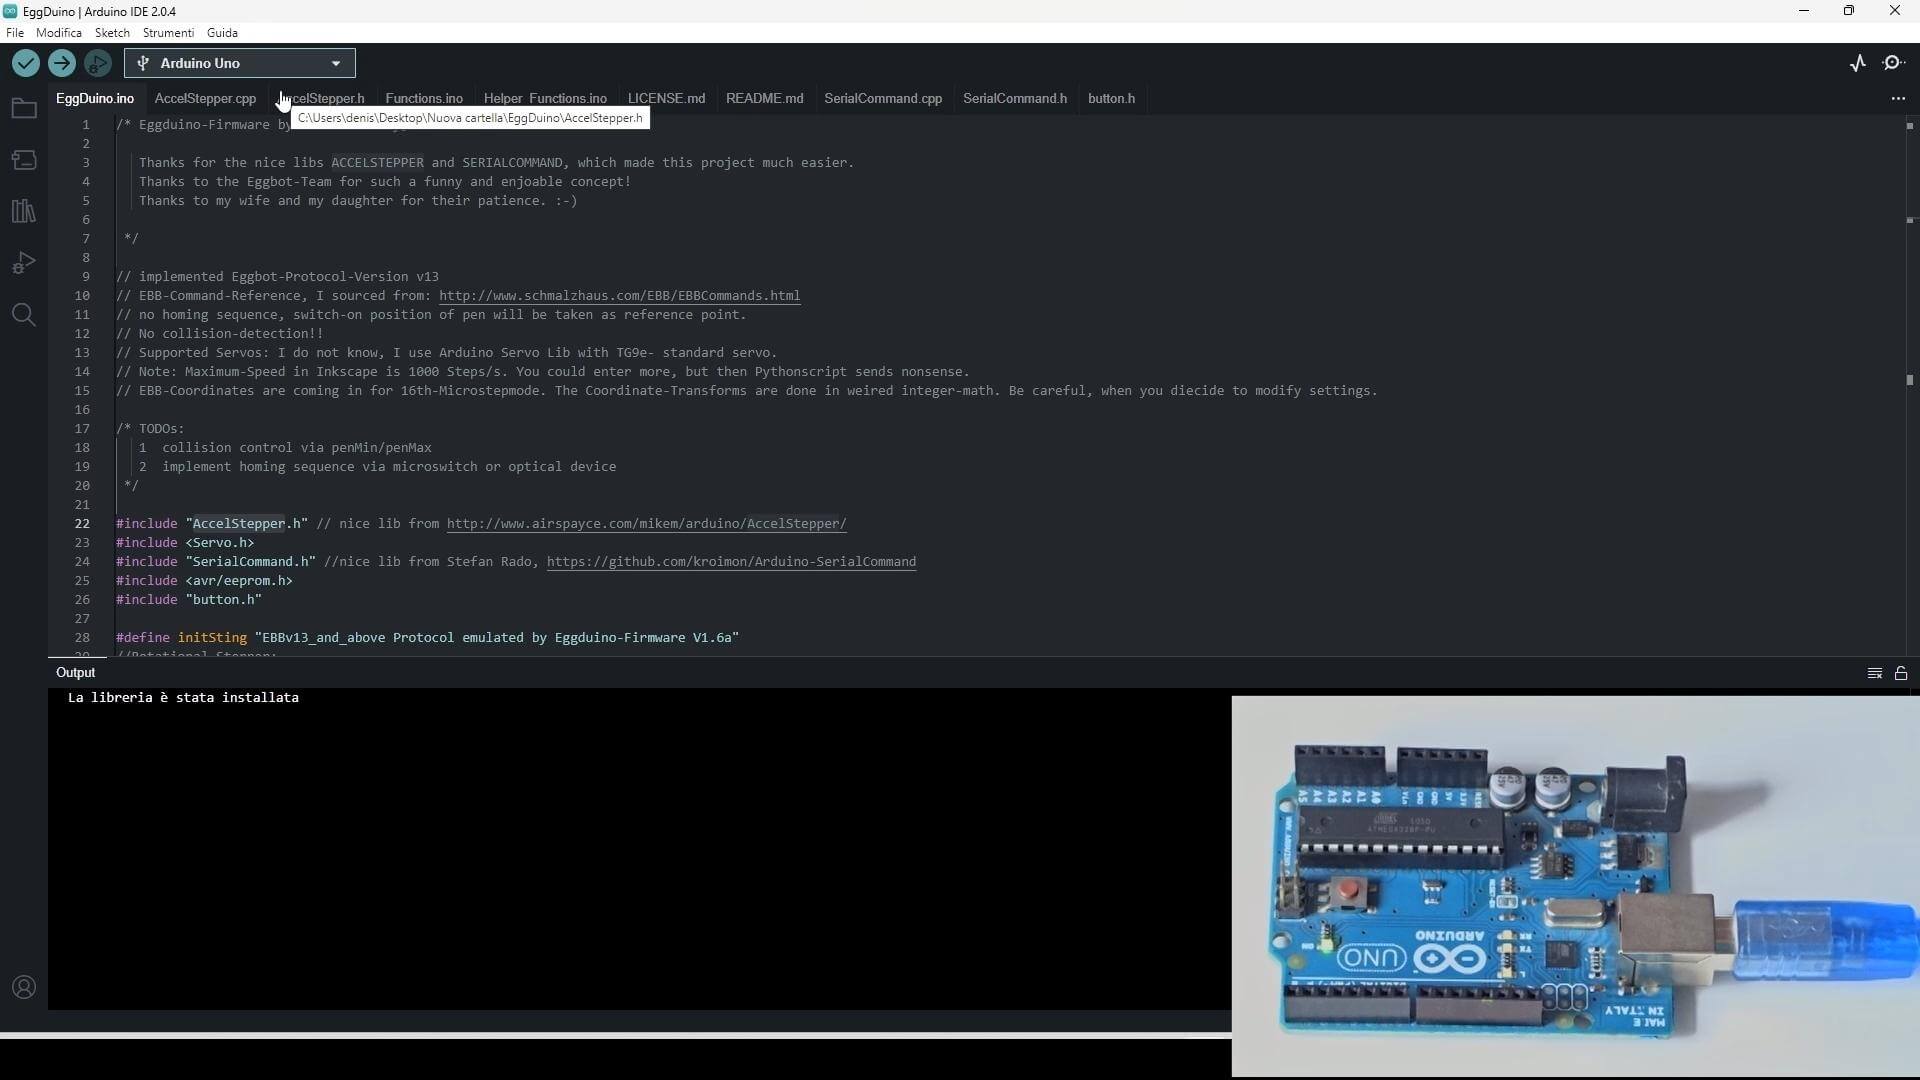
Download the archive with the Eggduino.zip firmware, unpack it and open the eggduino.ino file in the Arduino IDE. Install two libraries:
- AccelStepper – can be found directly in the library manager
- SerialCommand – you will have to install it manually via a ZIP file
Connect the Arduino to your computer, select the Arduino UNO board and upload the sketch.
Assembly of CNC Shield and drivers
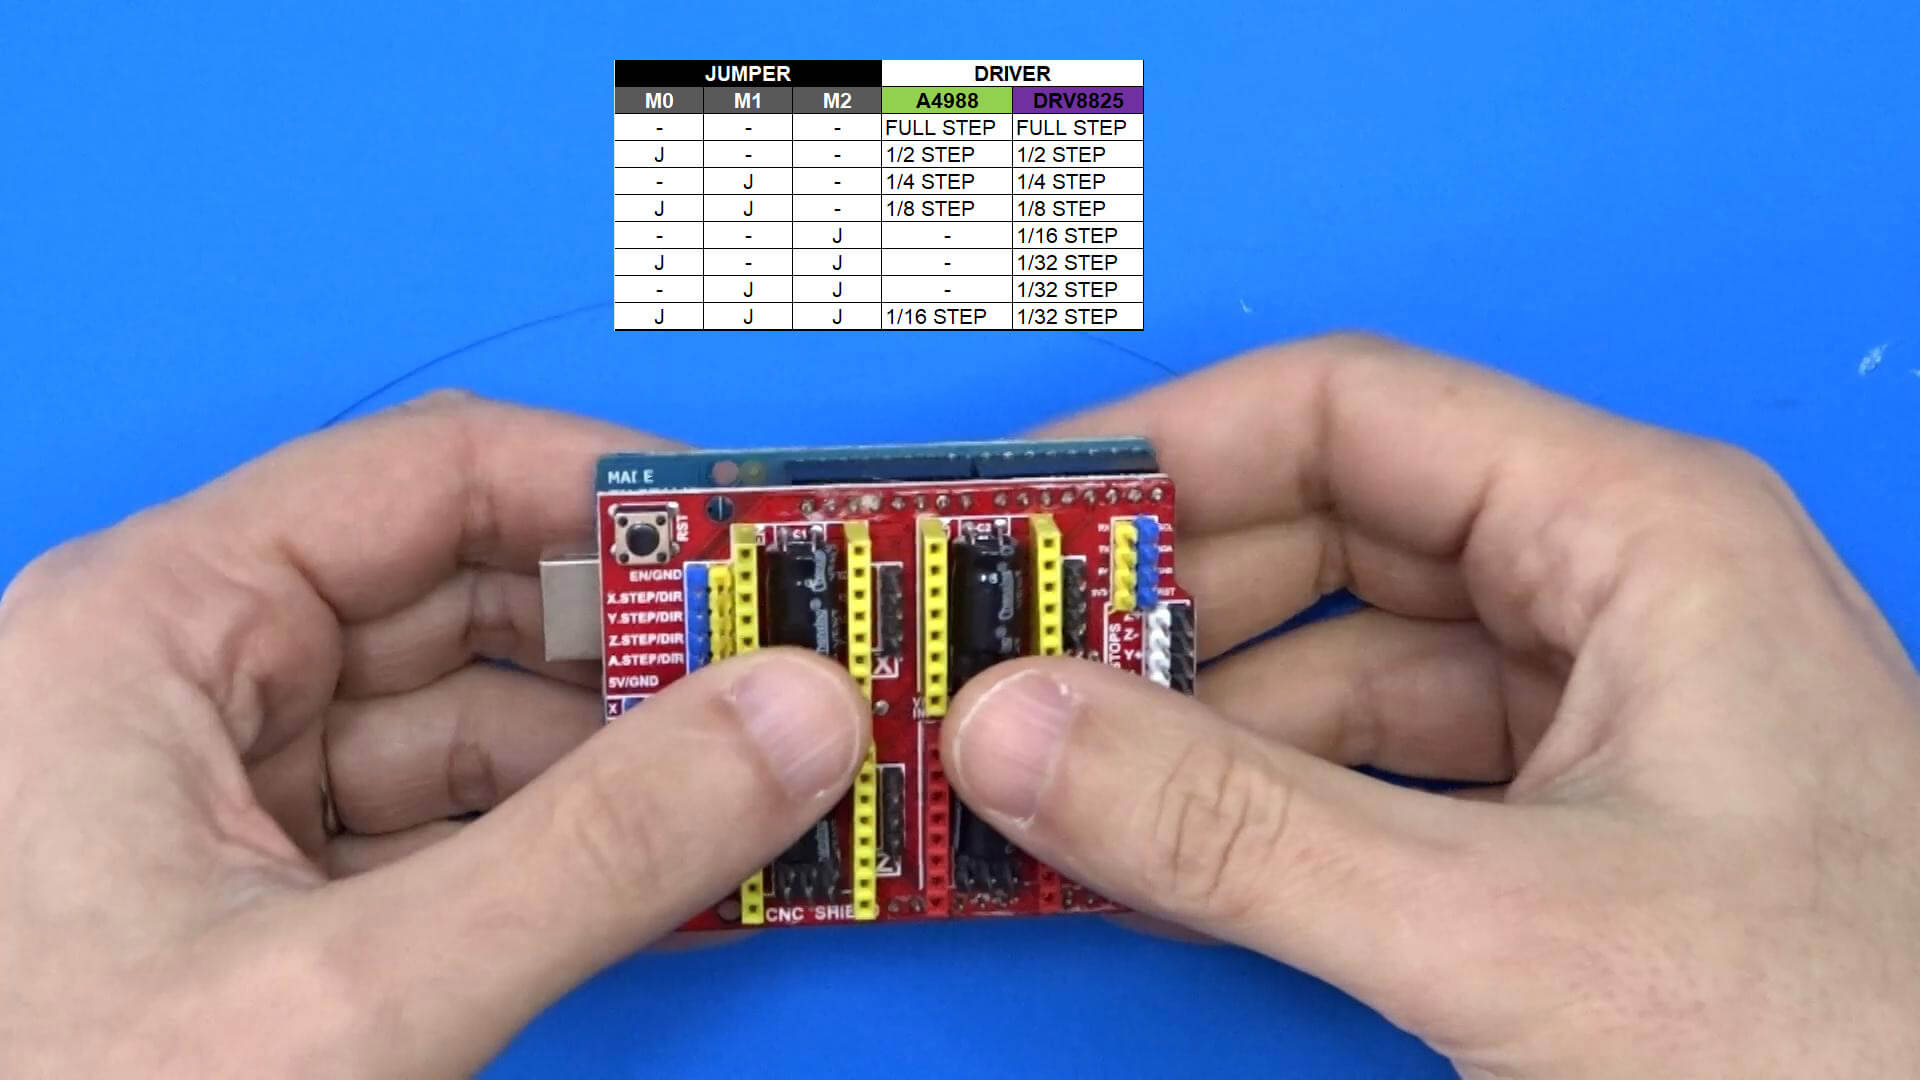
We install the CNC Shield directly on the Arduino, making sure that all the pins match. We plug the A4988 drivers into slots X and Y (potentiometers should be directed towards the power source). Don’t forget to set microsteps – it’s best to use 1/16 division, this will give a smooth movement.
Setting the current on the drivers (Vref)
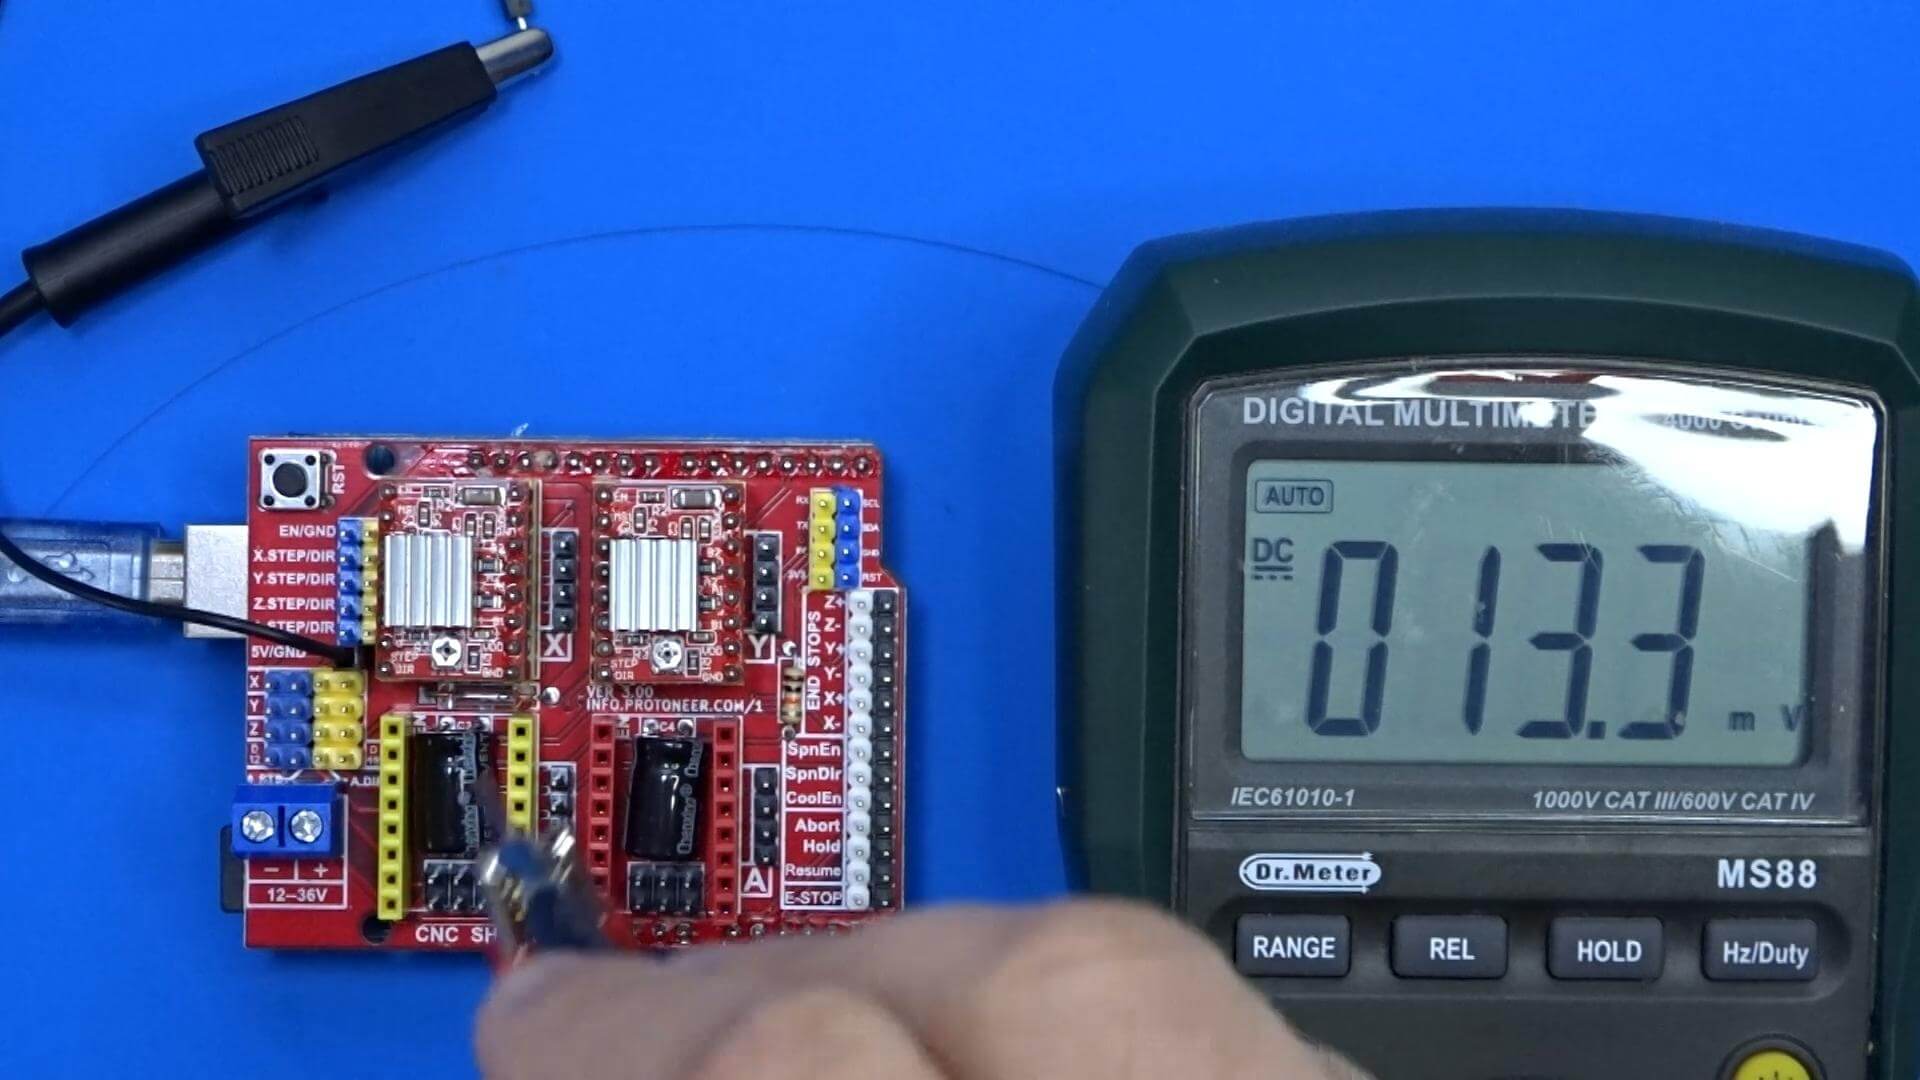
Here you need a multimeter. We calculate the required Vref using the formula based on the maximum motor current (see datasheet). Then:
- Black probe – to GND
- Red – on the potentiometer screw
- Twist until we reach the desired value
This is important – if you don’t set it up correctly, you can burn out the driver or motor.
Power and final settings

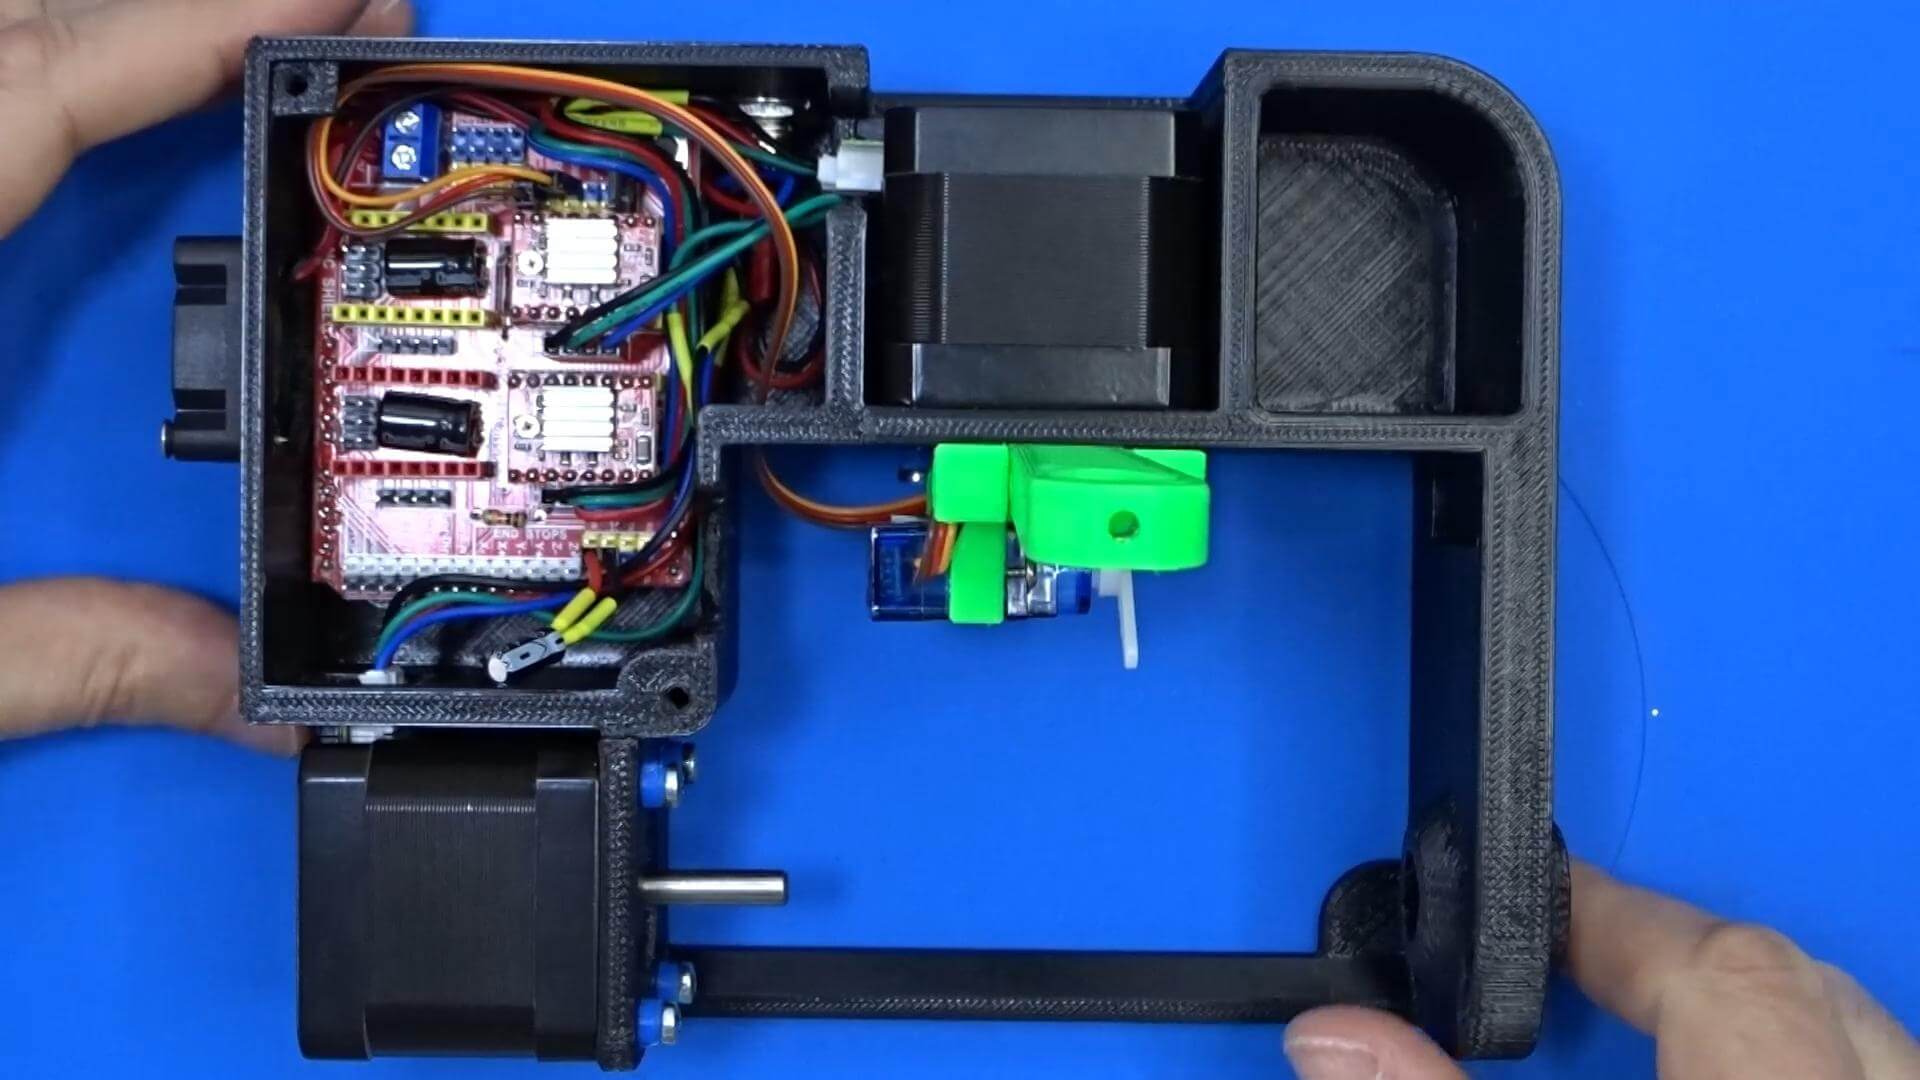
Insert a jumper between EN and GND – this will turn on the board. To disable auto reset, solder a 10μF capacitor between RESET and GND. We connect the cooler to the CNC Shield – cooling will not hurt. We connect the power, wires, put bearings and rubber gaskets on the rollers for better adhesion to the egg. We cover the electronics with a lid and, if desired, glue a custom logo.
Checking work using Inkscape
- Open Inkscape version 0.91.
- Change the canvas size to 3200×900 pixels.
- Insert the desired picture. Next, go to: Extensions → Eggbot → Eggbot Control
- Set the pen height (for example, 55 and 70 for lowering/raising) and start a test print.
- If everything worked, you can start full-fledged printing!
Color printing? Easily!
Yes, yes, Eggduino can draw not only with black, but also with colored markers. Just change the marker in the holder and start the desired area of the drawing. A little patience – and the egg will become a real art object.
Conclusion
As a result, we get a simple but cool robot artist that will definitely surprise friends and family this Easter. Eggduino is not only a way to create unique jewelry, but also a great excuse to dive into the world of Arduino and mechatronics. And it’s also just fun. It’s true, who hasn’t dreamed of having a robot draw for them?
DBMaking, Italy
Recommend to read
 UPDATED TABLE
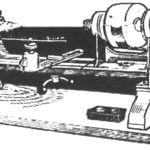
Many hobbyists and tinkerers have a tabletop lathe woodworking machine STD-120 and its modifications. There are machines and in school workshops. The presence of such equipment allows...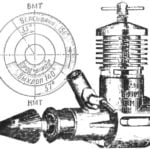 SOKOL
SOKOL
"Dear edition! I have been modeling, build kordovye-models, flight a big request To you — please let us know what new model airplane engines went on sale in 1973". V. Vasiliev. Chita...
