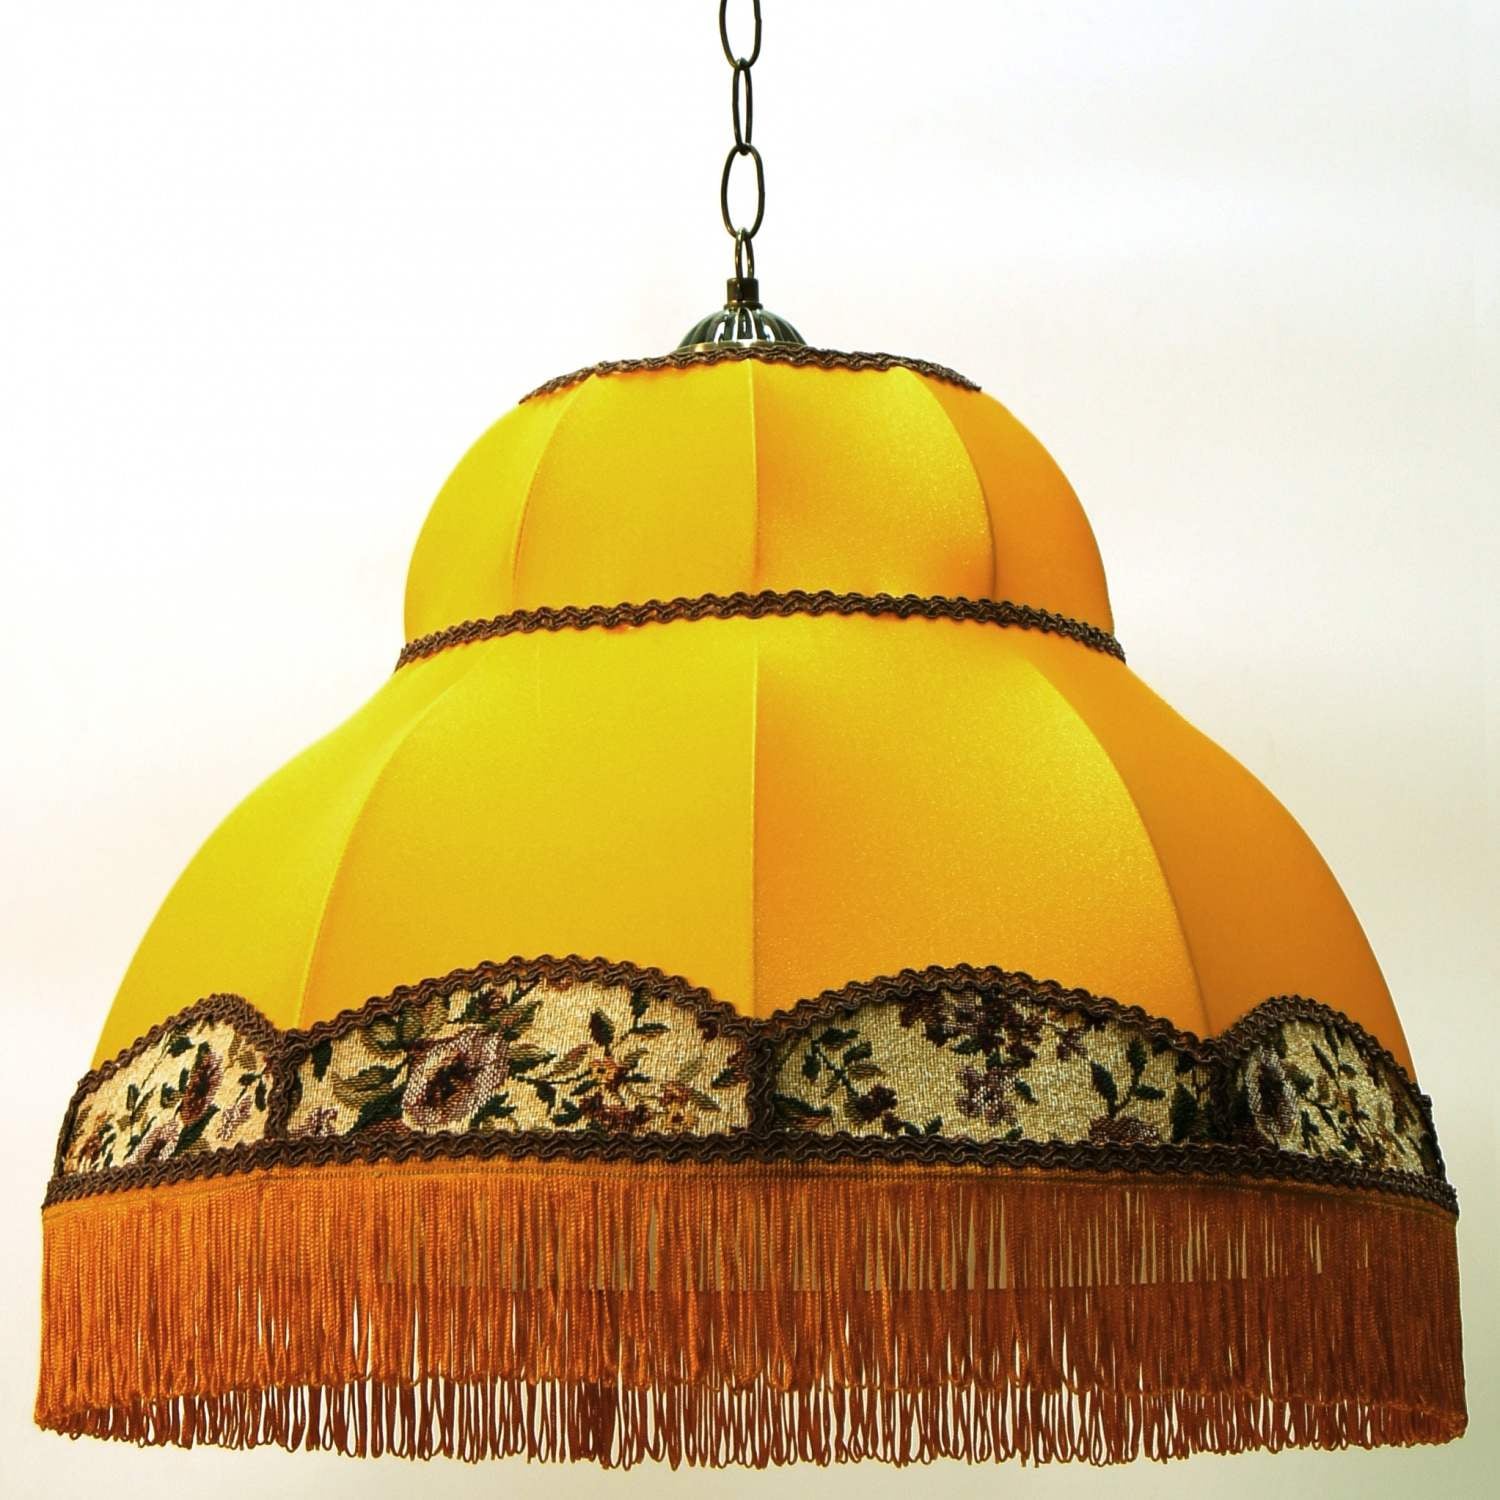
 Currently, it has become fashionable household electrical lamps with shades. The publication describes this decoration to the lamp, which is easy to do it yourself from simple materials.
Lampshade consists of three parts: frame, case and fittings, including socket and wire.
Frame. For the frame need steel ordinary 3-mm wire, solder, flux and nitro.
Of wire make three rings: large, with a diameter of 400 mm (the length of the workpiece 1256 mm); small, with a diameter of 120 mm (stock length 377 mm), and a ring holder electroputere with a diameter of 50 mm (stock length 157 mm). The rings can bend the wire on the lug of the corresponding diameter (as the boss you can use a section of pipe, bucket, jar, etc.).
The edge of the frame (10 PCs) bent from wire with a length of 300 mm (Fig.1) the bosses of the respective diameters or pattern.
Rib holder electroputere (3 PCs) — wire length 65 mm.
To build the frame of the lampshade you’ll use welting. You will need a solder type POS-40 (tin), etched zinc, hydrochloric acid, coated abrasives, file, brush and a soldering iron with a power of 90 watt. The soldering joints must be cleaned with sandpaper or a file, to be moistened with acid. Each ring stacked on a flat, smooth surface and obslujivaem the junction.
Then, the ring holder espectrometria 50 mm in diameter, solder the edges, previously marked out the ring to 120 degrees.

Next, mark the large and small rings into 10 equal parts each and solder the rib cage at first to large and then to the small ring. Then on the inside of the frame to the small ring of solder in the cartridge holder. After that, we clean with a file space rations and painted the frame of the lampshade nitro.
Case. For sewing cover any suitable fabric, but it is more practical to make it of acetate silk or lightweight curtain fabrics. From fabric to cut the pattern five wedges. Then take two wedges, lay them right sides, aligning the edges, and stepping back from the edge about 5 mm, stitch along the side edges, the beginning and the end of lines to fix reverse stitches (step stitch should be 2 mm). Successively to sew the rest of the details of the case, and the last stitch with the first. For best appearance, you should tuck and stitch the seams; the edges of the cover bend by 6-9 mm; to stitch around so that it was possible to insert the nylon thread or string. Case ready.
Assembly. Put the cover on the frame so that the joints coincide with the edges of the frame; then tighten the cord at the bottom of the case and tied it into two knots, cut the excess ends. Similarly, tighten and tie the top cord (in the neck), while achieving a uniform stretching of the fabric on the frame.
Now produce tight, additional, surface-mounted cord at the top of the shade at the mouth, in place of the deflection of the frame. Then this cord is closed with a decorative braid, the ends of which are fastened with white glue or tying a beautiful bow. The lower part of the lampshade can be decorated with fringe, sew it or stick.
In the finished lampshade, it remains to insert the cartridge (it is convenient to use electroputere Е27Н10.2ΡΠ 1 with a pair of rings for attachment of a lampshade).
For the suspension of the lampshade and adjust the length of the cord should be made of 2-4 mm fiber or cardboard holder. Via two holes to thread the wiring, and the third hole to hang the shade to the ceiling hook.
If you want a lampshade can be made for a table lamp and a floor lamp, that is to make the light in the room or apartment of the same type.
P. IVANOV


