During the experiments, building various electronic projects there is often a need for a DC source of relatively high capacity. For example, the battery voltage of 4.5 V is composed of three elements of “373.” To do this, you can put them in the original container tape out cut Velocimetry (see “M-K”, 1986, № 4), bonding like candy wrappers, wrapped in heavy paper (“M-K”, 1988, № 6), or dock in a unit with paper capsules-“shirts” from the same items (“M-K”, 1989, № 11). But still to provide a sufficiently reliable contact in such cases is not always possible. That is why many are still doing the old-fashioned way — connect the elements with each other lengths of wire with rations.
However convenient, reliable, ready-made cassette elements are almost everyone. It’s a flashlight. So use them, temporarily turning it into a lab power supply.
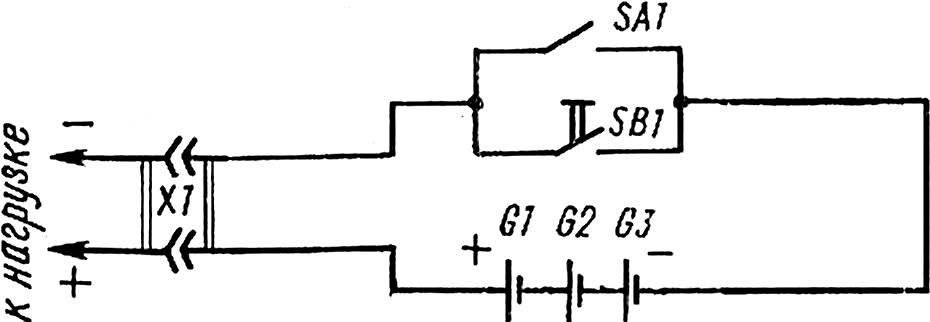
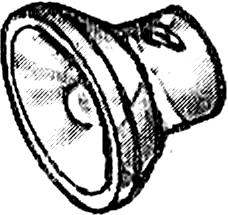
Remove the attachment from the reflector and Unscrew the bulb, replace it and fabricate a mating connector X1 for connection to the battery of an external load. To do this, take the blown bulb, wrap in several layers of cloth, pliers, gently crush the cones, and then podaite flexible stranded wire. In the hole of the cap insert (better glue) rubber tube cap, cut out, for example, from eraser. So made a plug to screw into the threaded socket for the bulb, and universal power pack with push-button (SB1) and slide (SA1) circuit breaker ready. It is convenient when checking the motors, suspension models, when you want to repeatedly run drivers. At short inclusions are SB1.

 During the experiments, building various electronic projects there is often a need for a DC source of relatively high capacity. For example, the battery voltage of 4.5 V is composed of three elements of “373.” To do this, you can put them in the original container tape out cut Velocimetry (see “M-K”, 1986, № 4), bonding like candy wrappers, wrapped in heavy paper (“M-K”, 1988, № 6), or dock in a unit with paper capsules-“shirts” from the same items (“M-K”, 1989, № 11). But still to provide a sufficiently reliable contact in such cases is not always possible. That is why many are still doing the old-fashioned way — connect the elements with each other lengths of wire with rations.