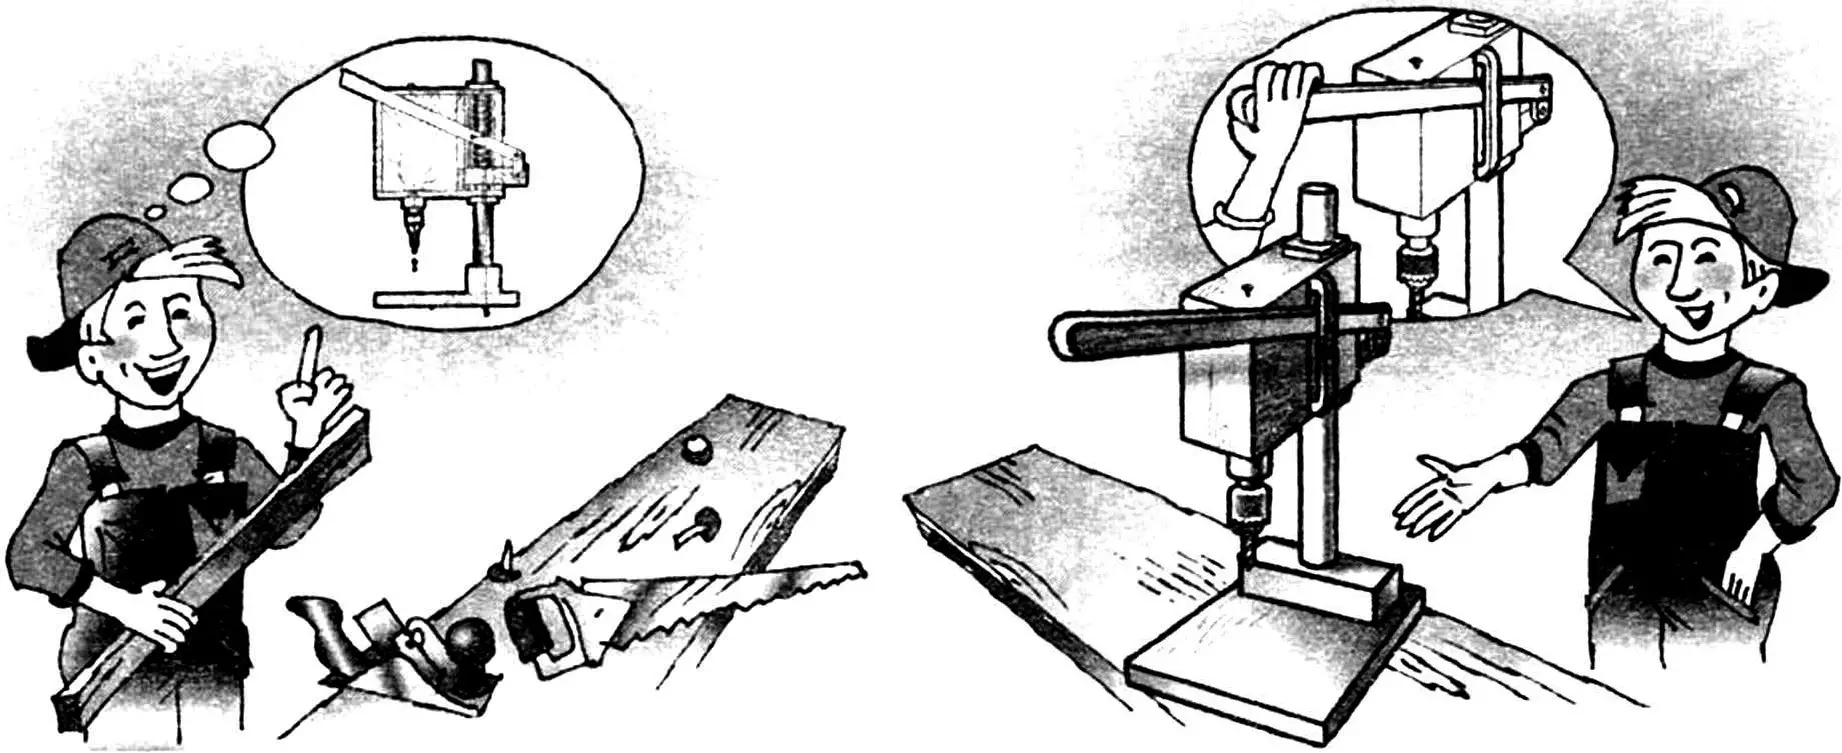
It is generally accepted that the drill is the main tool of home handymen, hobbyists who like to build things with their own hands for the home and family, and also the primary means of mechanizing labor-intensive processes when building homemade machinery. This is no coincidence: thanks to a variety of auxiliary or additional attachments, a drill can even replace some machine tools. For example — a drill press, for which you can make extremely simple tooling published in the Hungarian magazine «Ezermester».
Purpose and design
With the proposed attachment, the drill can perform the functions of a small bench drill for drilling work when making or repairing various household appliances, as well as in amateur radio construction. It provides sufficient accuracy even for contour milling or grinding, and polishing smooth or relief surfaces made from various materials.
You do not need any scarce parts, assemblies, or materials, nor special tools: everything will be made from materials any home handyman already has on hand. Moreover, you will not even need special design skills or experience working with materials and tools. You can easily see this by looking at how the proposed fixture is built.
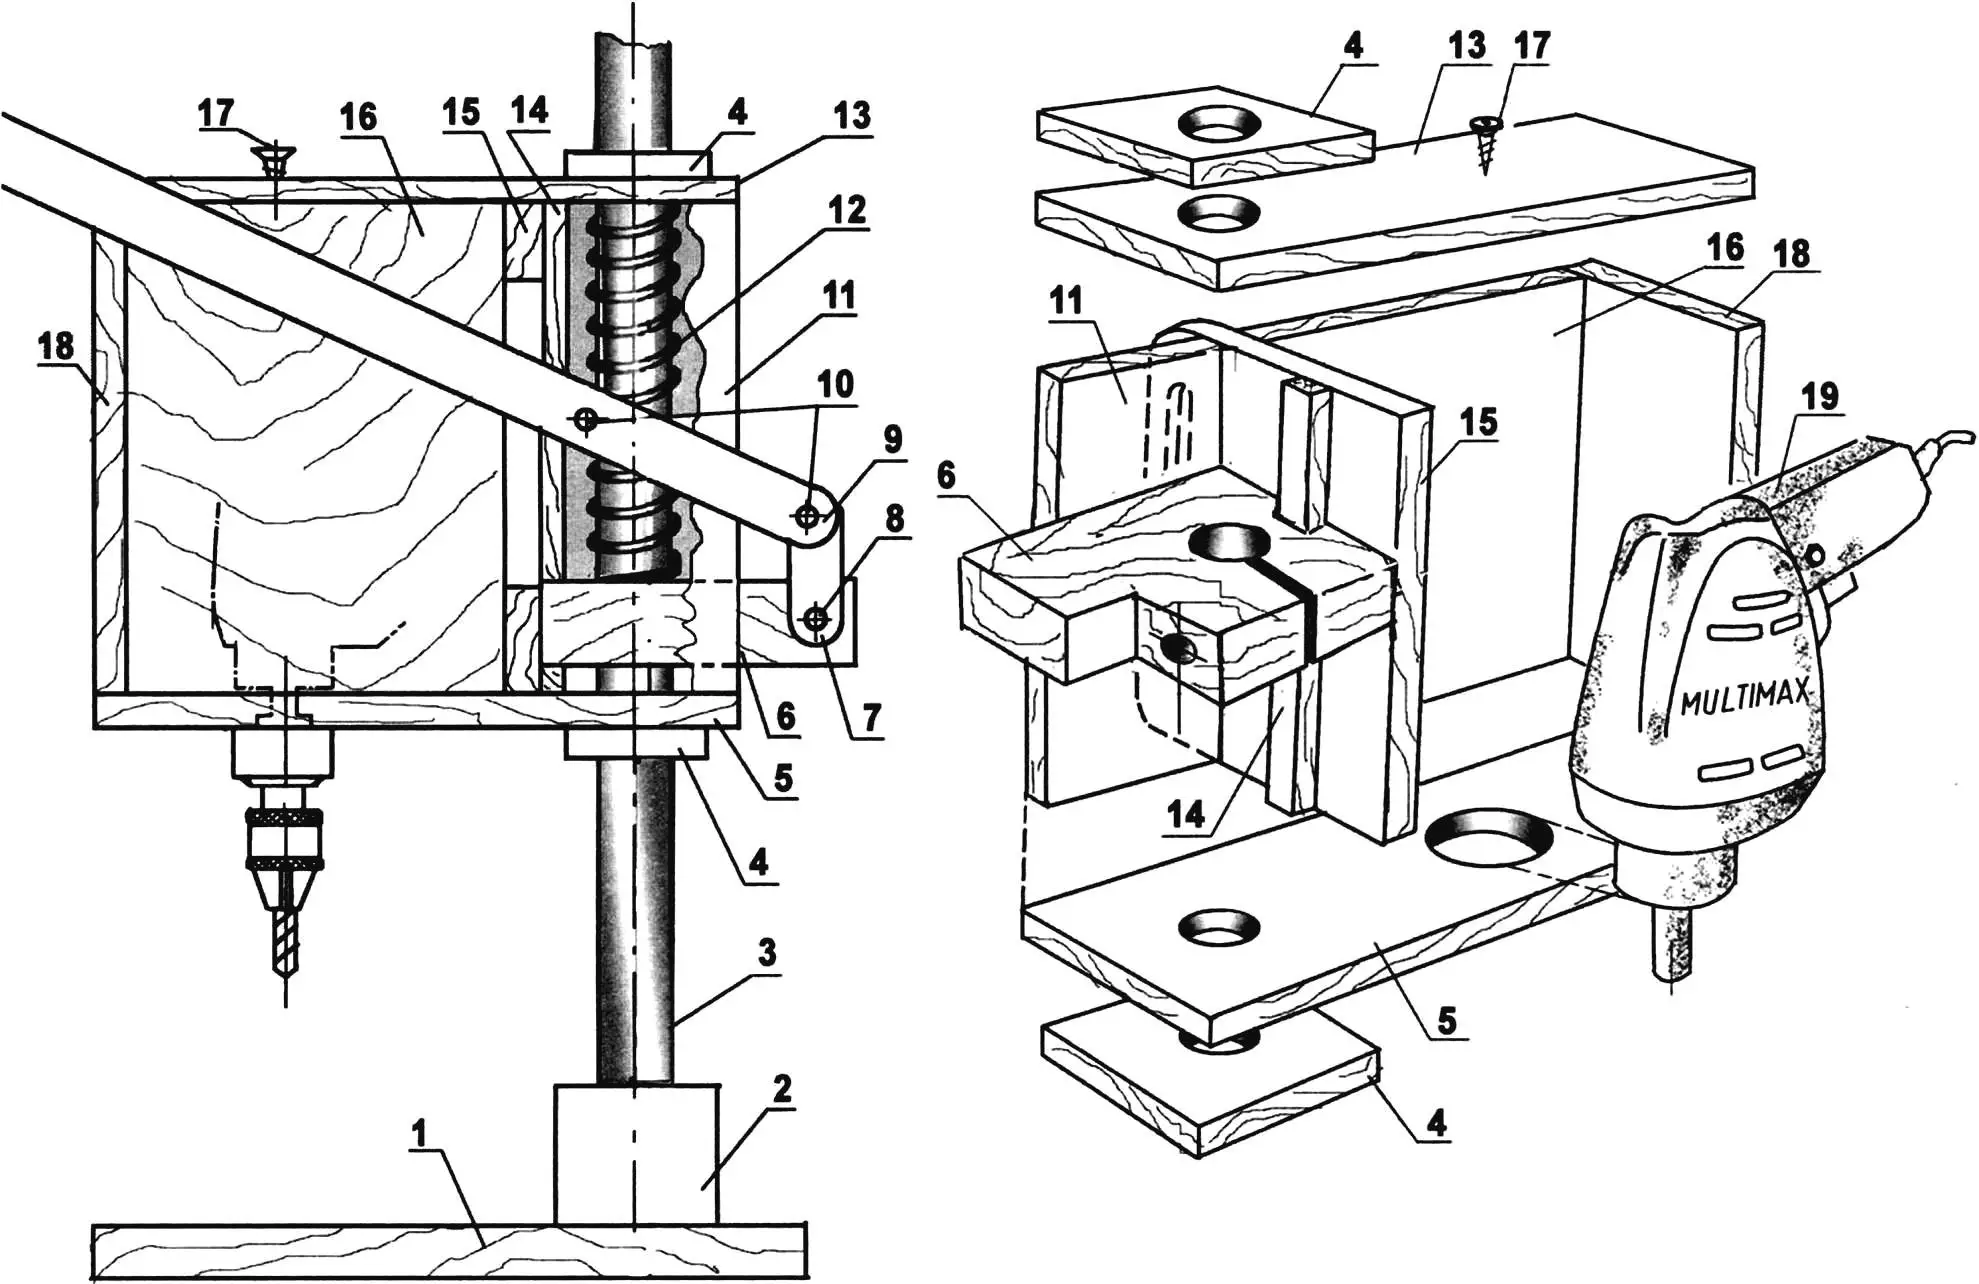
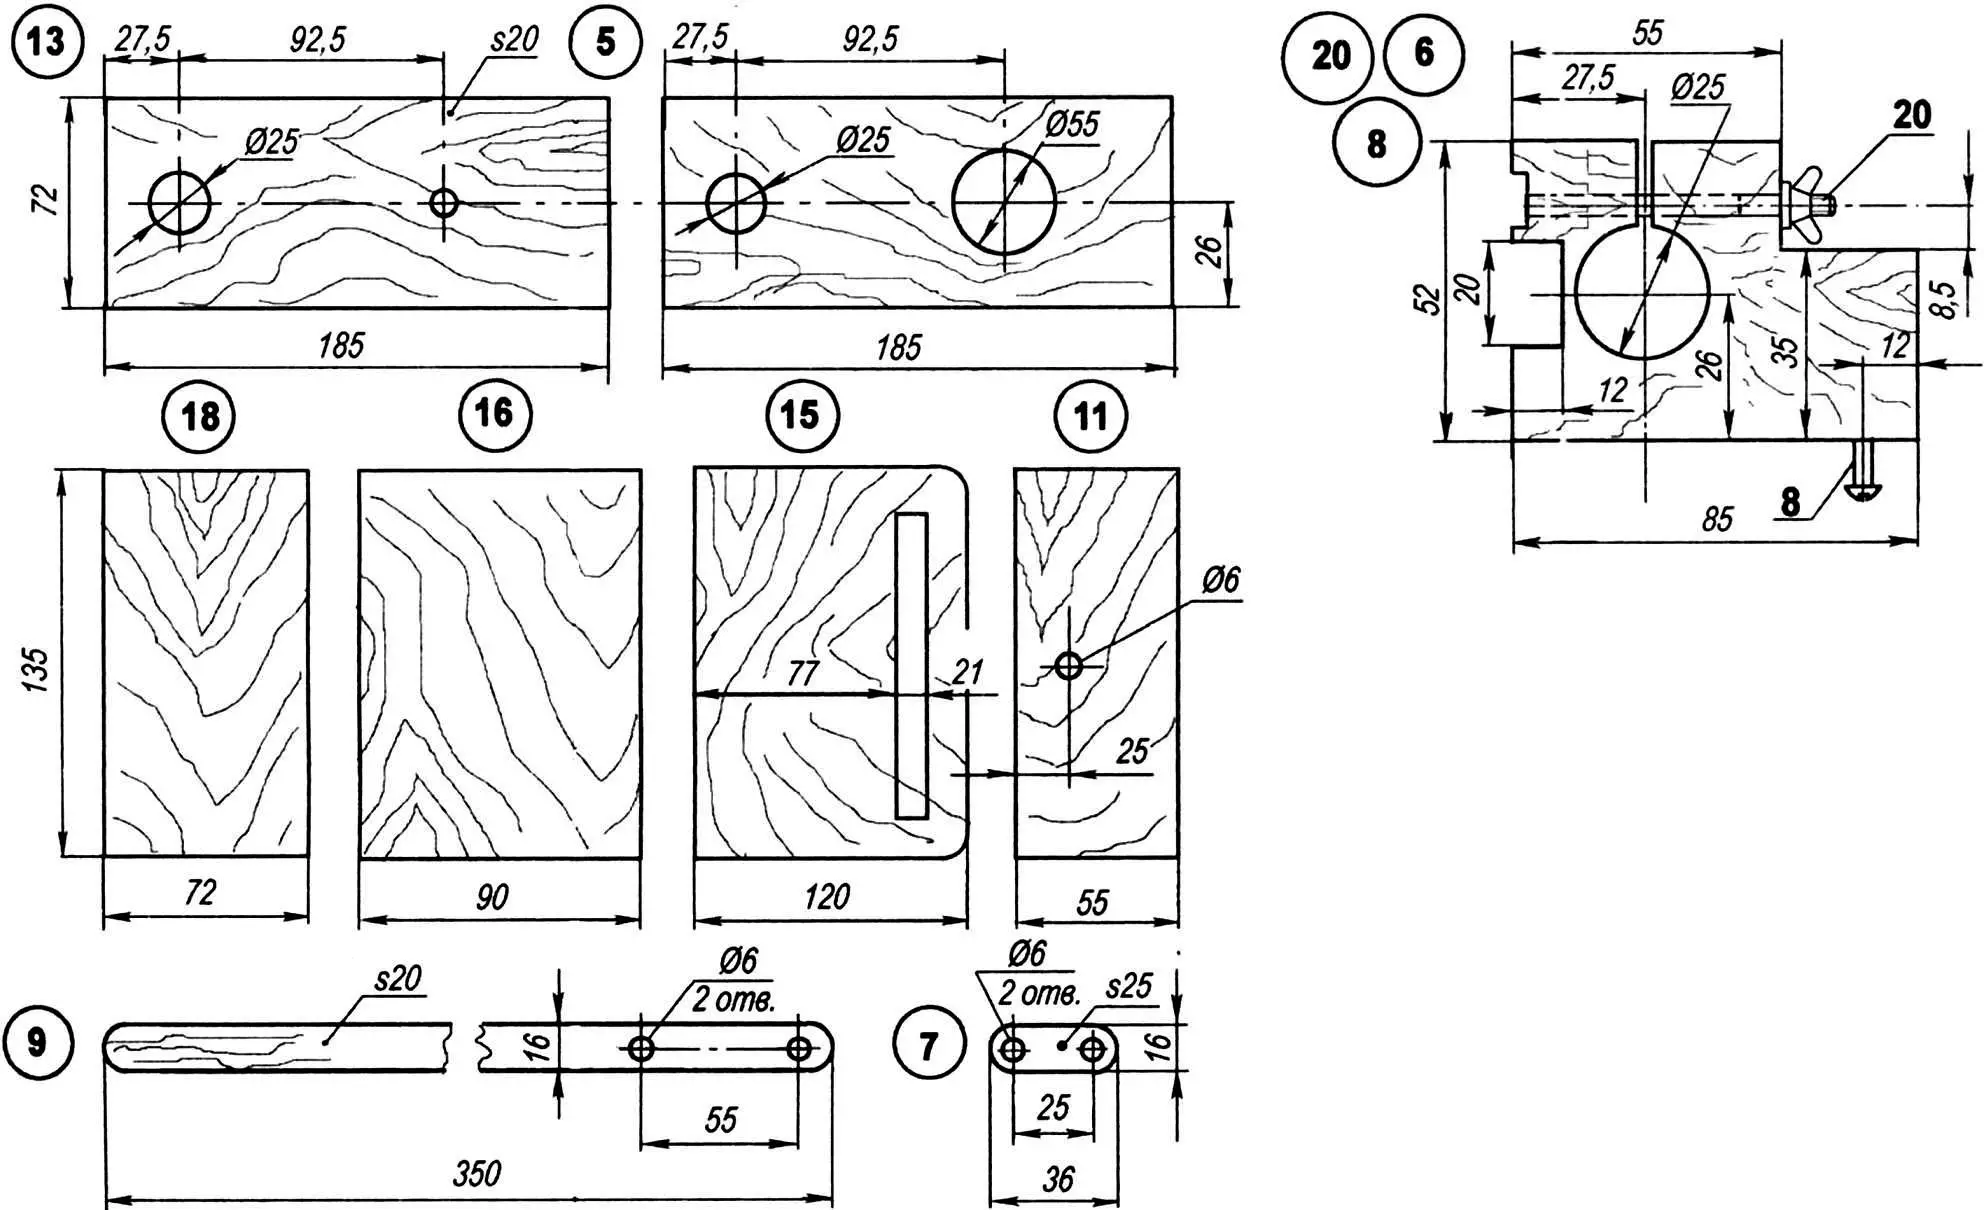
1 — base (work table); 2 — top block with a socket for the column; 3 — column; 4 — pads (wooden strips); 5 — bottom of the housing; 6 — spring support plate (lock for housing lift height); 7 — hinged arm of the operating lever; 8 — pivot pin of the hinged arm; 9 — operating lever; 10 — pins of the operating lever; 11 — rear wall of the spring compartment; 12 — spring; 13 — housing cover; 14 — guide for the support plate; 15 — housing partition, 20 mm thick; 16 — rear wall of the drill compartment; 17 — drill clamp (screw); 18 — housing side, 20 mm thick; 19 — drill; 20 — clamp screw of the spring plate
So, besides the drill already mentioned (any make and model), you only need a few offcuts of 20 mm boards, a short tubular column 25 mm in diameter, and a not-too-stiff compression spring. The only tools required are those found in any household: a wood saw for cutting the blanks and a screwdriver with screws to assemble the piece.
The drill attachment itself is a small wooden housing shaped like an open box, mounted at the required height on a vertical column fixed to a flat base that also serves as the work table. The drill fits inside the box and is secured; together with the housing it can move vertically using the operating lever and return spring. The lever is hinged to the housing and to the sliding lock plate on the column; the return spring inside the housing rests on the same plate and slides on the column. The lower end of the column fits into a socket in the top block on the fixture base.
Housing
As already stated, the housing is assembled from board blanks as an open vertical box on one side, with a composite rear wall, cover and bottom, one side panel and an internal partition separating the drill compartment from the return spring compartment with its support plate.
When assembled, the partition extends beyond the rear wall; on this protruding edge it has a slot through which the operating lever moves. On the spring side, a vertical block is attached to the partition and fits into a groove in the spring support plate: when the plate is locked on the column, the block acts as a guide that prevents the housing from turning accidentally during the working stroke.
The housing cover has two holes: one for the column passing through it; the second, small one, for a screw that secures the drill inserted in its compartment. The bottom also has two holes: a small one for the column and a large one sized for the neck of the drill being installed. Auxiliary pads — wooden strips with holes for the column (simple sliding bearings) — are attached to the outer faces of both panels.
The side panel of the drill compartment and the partition act as stiffening elements for the whole structure.
Operating lever
The operating lever itself is not complicated: it is a wooden bar at the back of the housing, passed through the partition slot and joined to the housing with a bolt pin. At the end, the lever has a second such pin — to connect to the hinged arm that links it to the spring support plate.
It is called an operating lever for a reason: when you press the upper end, force is transmitted through the pin to the fixture housing, which moves down, and the drill installed in it performs the working stroke.
Spring support plate
The spring support plate is one of the main parts of the fixture, because it sets the working height of the stand. Hence the specifics of its design.
The plate is made from a rectangular wooden block with a hole drilled for the column. Thanks to a saw cut and a clamp bolt, the plate can be locked firmly on the column at any required height. And the groove cut in it, as mentioned, stops the housing from rotating horizontally.
Stand base
The stand base consists of two parts: the work table and a support block into whose hole the end of the column is inserted.
The table can be made from a board, a sheet of thick plywood, or chipboard. For better stability, rubber anti-slip feet can be glued at the corners on the underside (not shown in the figure).
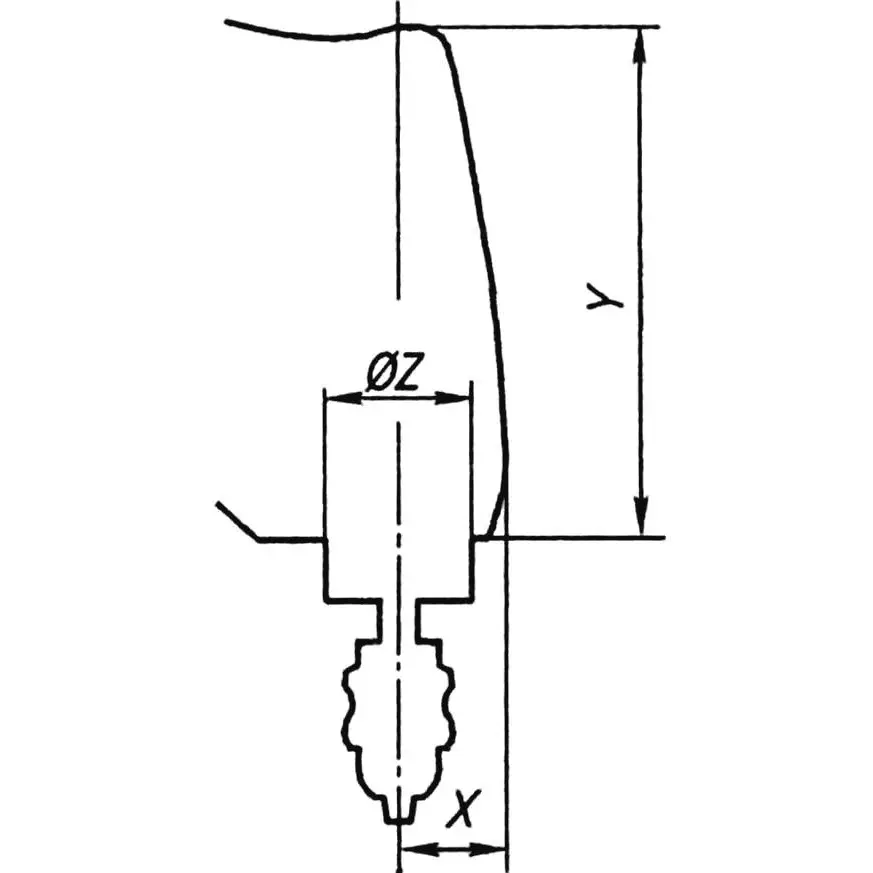
x — front projection of the drill; y — housing height; z — diameter of the drill neck
The column support is a square wooden block 60 × 60 mm with a hole drilled for the stand column. The column simply pushes in but can have extra fastening (e.g. a set screw) so the fixture can be folded for compact storage when you are done.
Assembling the fixture
Assembly is also straightforward, because all main parts are wood, so joints are traditional for that material: screws or glued round dowels (with carpenter’s or PVA glue).
First the housing is built from parts sized for your drill, along with the work table and support block for the column. The operating lever with the hinged arm and spring support plate is assembled separately, then all elements of the fixture are joined.
To do this, the column is set in the support on the work table; the operating lever is passed through the partition slot; the spring support and the spring itself are inserted into the housing, then the assembled unit is slid onto the column.
Finally, tighten the support plate bolt at the required height on the column, insert the drill into the housing so its neck fits the hole in the bottom, and secure it with a screw through the hole in the cover. That is it — you can start work by chucking the bit you need.
«Modelist-Konstruktor» No. 11, 2007
Recommend to read
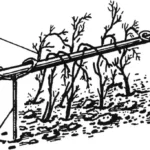 “FAST” SUPPORTS
Transformable supports for currants, gooseberries, and other shrubs can be easily made from steel wire with a diameter of 5—8 mm ("rod wire") and available materials like poles. And with...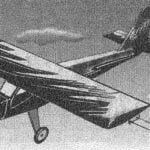 THE CORRUGATED BOARD MOTOR
Not so long ago in the journal "modelist-Konstruktor" was about the simplest model of a glider made from a conventional packaging corrugated Board material although not aeromodelling,...
