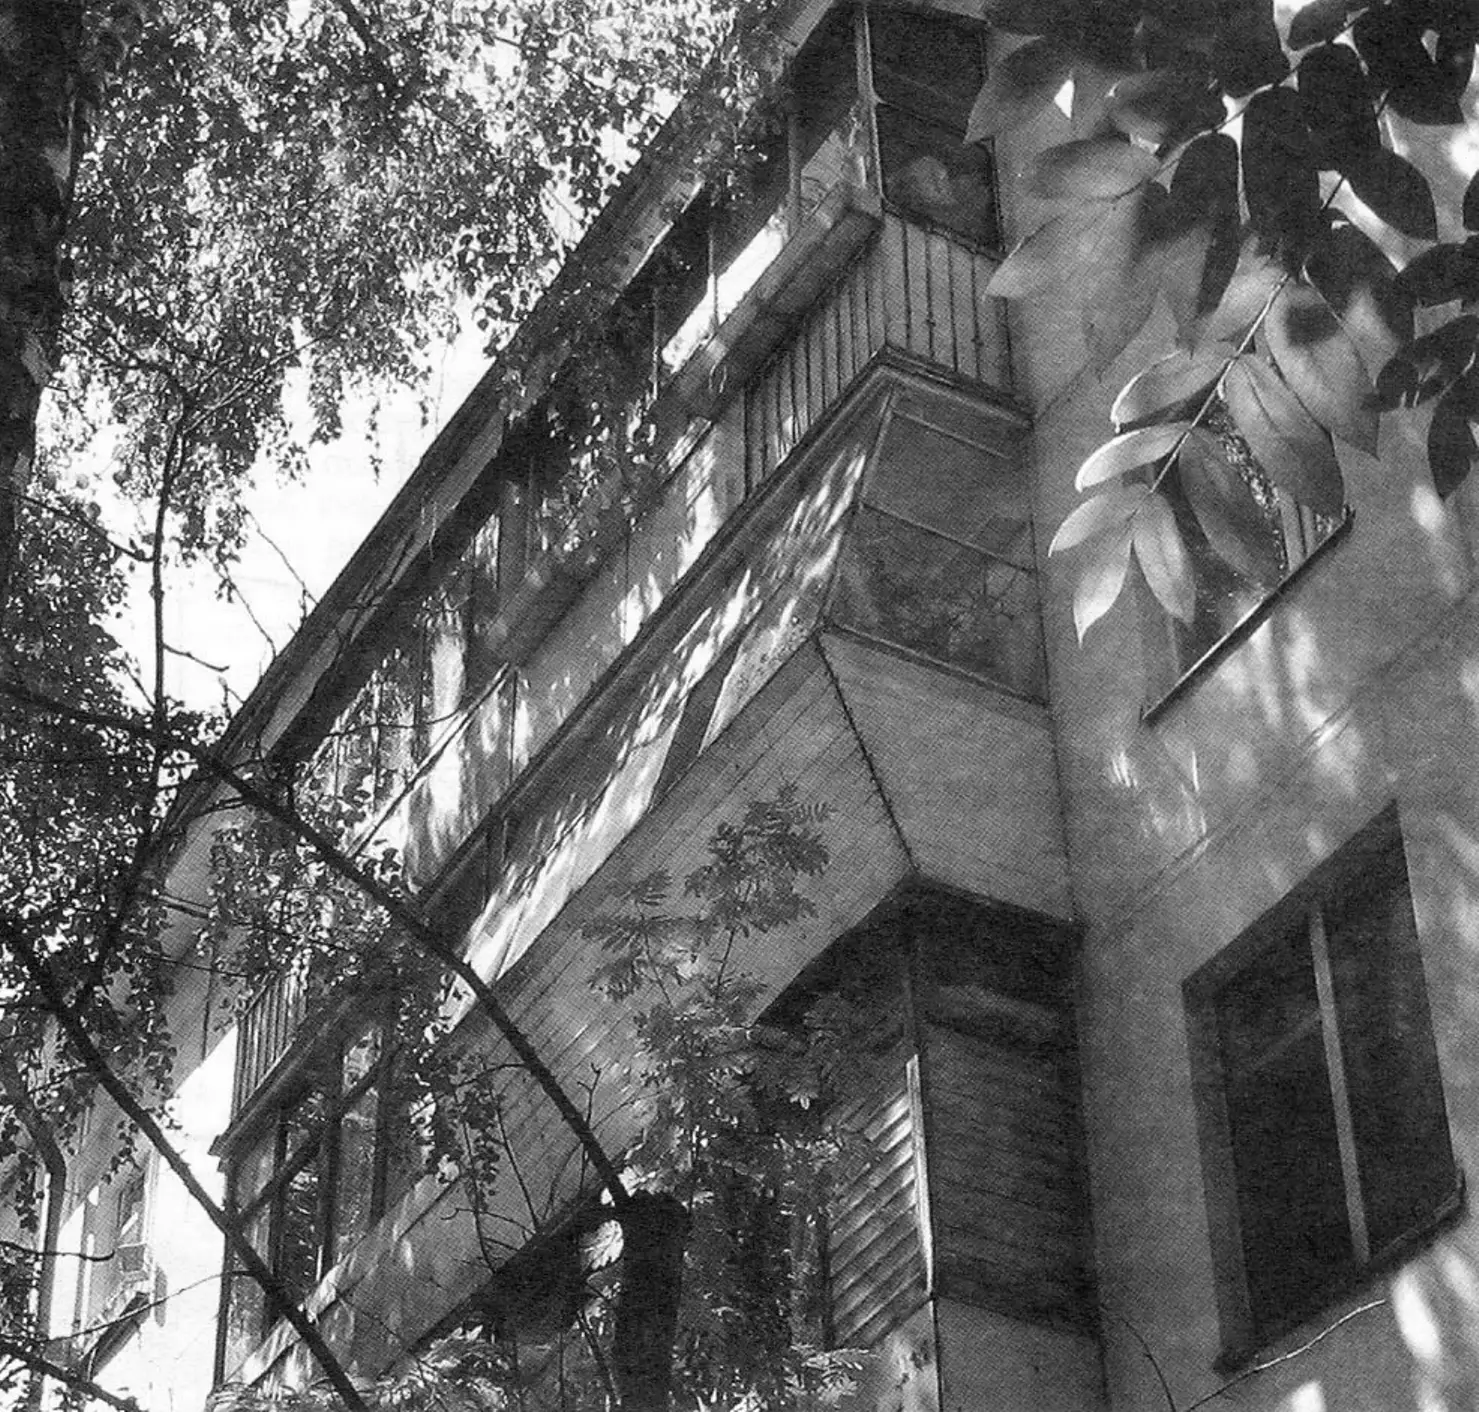
For small apartments, a balcony is a substantial addition to the living space, but it is neither all-season nor all-weather. To provide those conditions, the balcony must be protected from precipitation and wind — that is, at least glazed, which was not the case in houses built in the Soviet era. Fitting out balconies at the owners’ expense or by their own efforts was forbidden: it was considered to spoil the architectural appearance of the building. That is why today’s mass glazing of balconies in “Soviet” houses is a forced measure. Entrepreneurs understood this too and widely established such a service.
However, most of their designs are such that when you step onto the balcony you feel cramped: there is nowhere even to lean your elbows while breathing fresh air, and the flower boxes become almost inaccessible…
Designs with a projection of only the glazed part are offered. But then a canopy-roof over that projection is required. And here claims may come from the neighbors above: splashes from raindrops, bouncing off the canopy, partly fall onto their balcony.
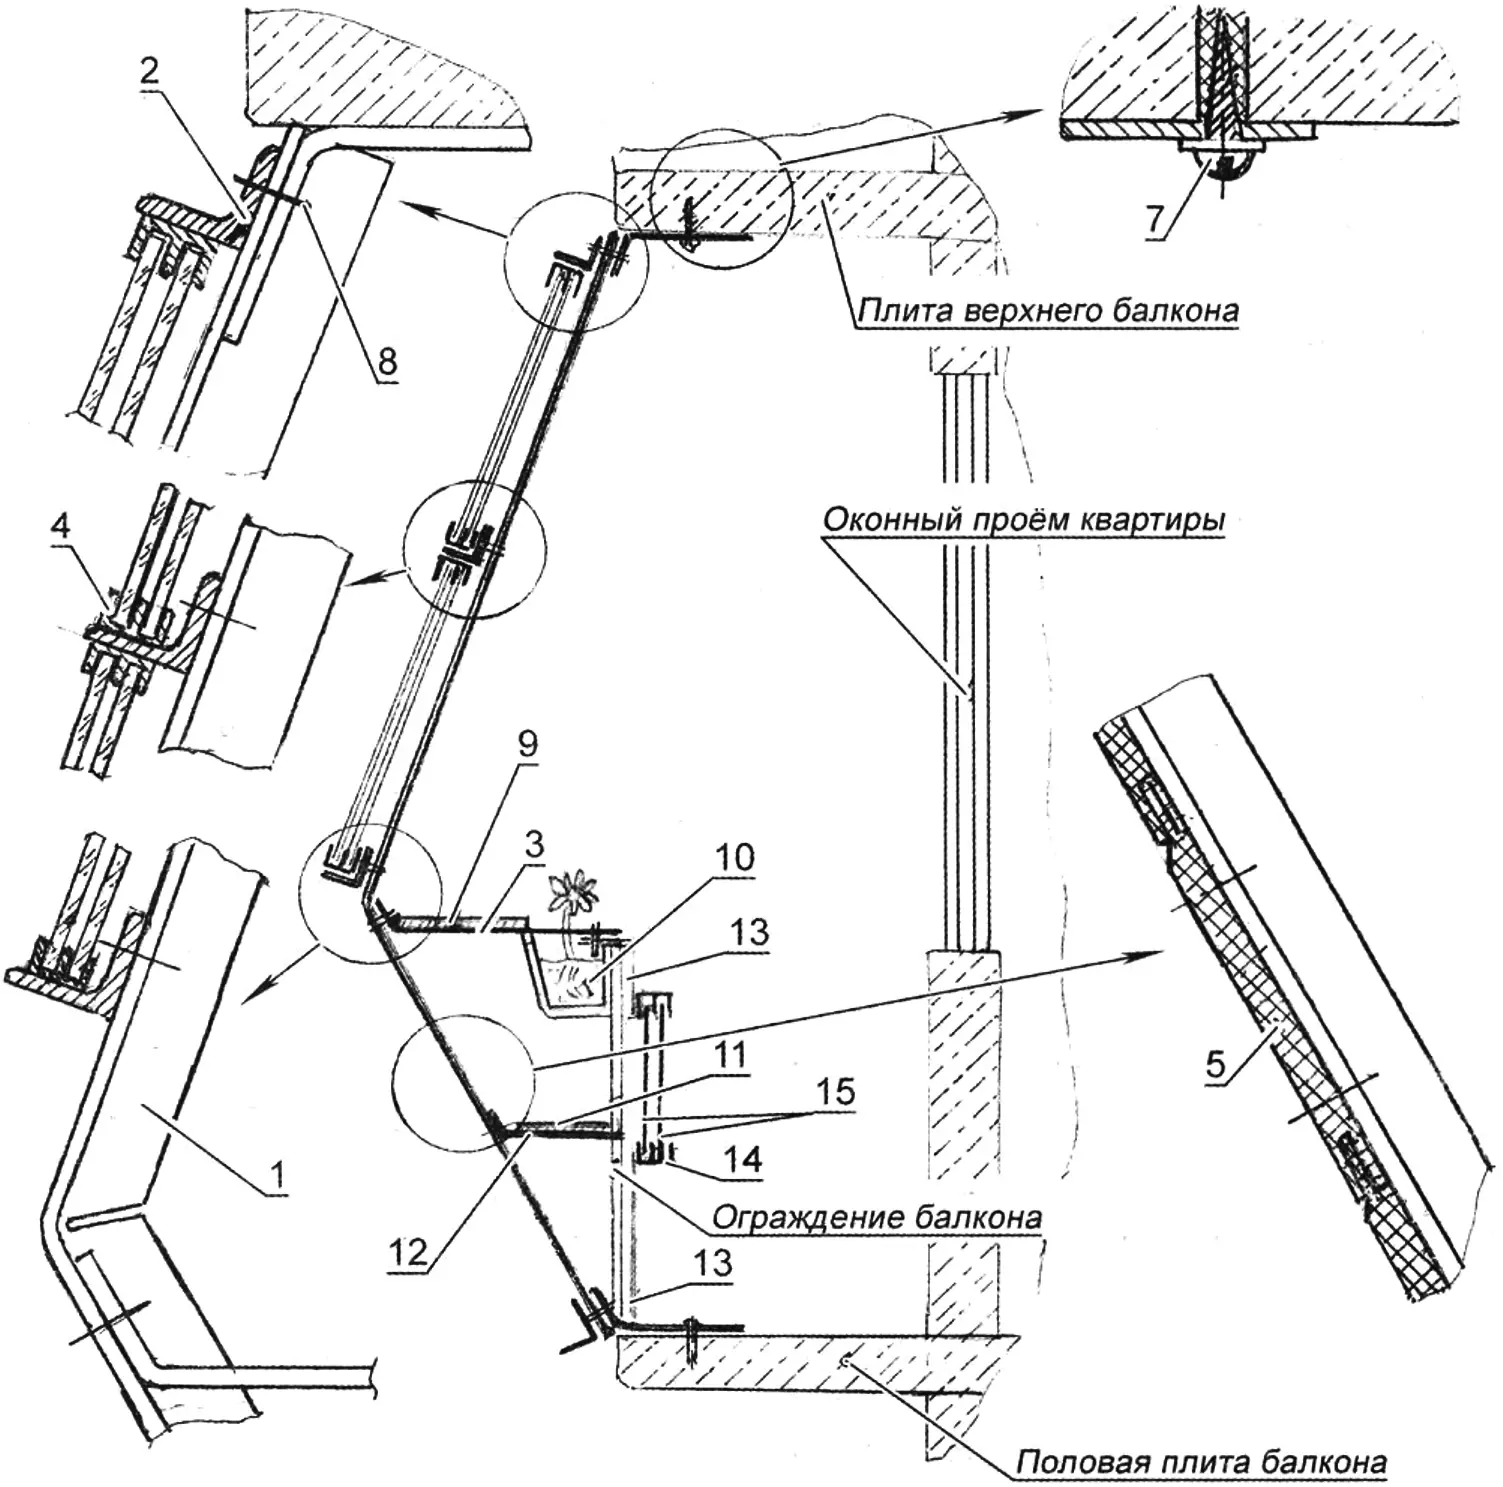
1 — upright (steel angle No. 2.5, 4 pcs.); 2 — crosspiece (steel angle No. 2.5, 4 pcs.); 3 — tie (steel strip 4×25, 21 pcs.); 4 — guides (duralumin profile, 4 pcs.); 5 — cladding (lining boards, siding); 6 — glass (s4); 7 — dowel or self-tapping screw (12 pcs.); 8 — M4 bolt (24 pcs.); 9 — window sill board; 10 — flower box; 11 — shelf; 12 — additional tie (steel strip 4×25, 7 pcs.); 13 — upper and lower walls (hardboard); 14 — guides (plastic, 2 pcs.); 15 — shutters (acrylic glass)
Therefore I decided to glaze the balcony myself using my own original design that would eliminate the problems listed above. In doing so, my family and I gained:
1 — extra volume on the balcony for storing household items;
2 — additional shelves for placing a flower collection beyond the balcony floor area, but under the glazing, i.e. protected from bad weather;
3 — the ability to hang a planter that does not crowd or interfere with walking or working on the balcony;
4 — a sense of shelter and, at the same time, spaciousness while on the balcony.
The proposed “orangery” is simple and does not require professional skills for DIY installation, nor significant material costs or scarce materials — the list of which is quite small. It is also important that all work is done from one’s own balcony, regardless of the floor.
In describing the design, a scaled diagram is used, but without dimensions, because anyone repeating it will have to follow their own measurements, which will differ.
Assembly of the structure is preceded by making individual elements, of which there are few types: uprights, crosspieces, brackets. All the panes are identical (except the side ones), as are the siding cladding strips.
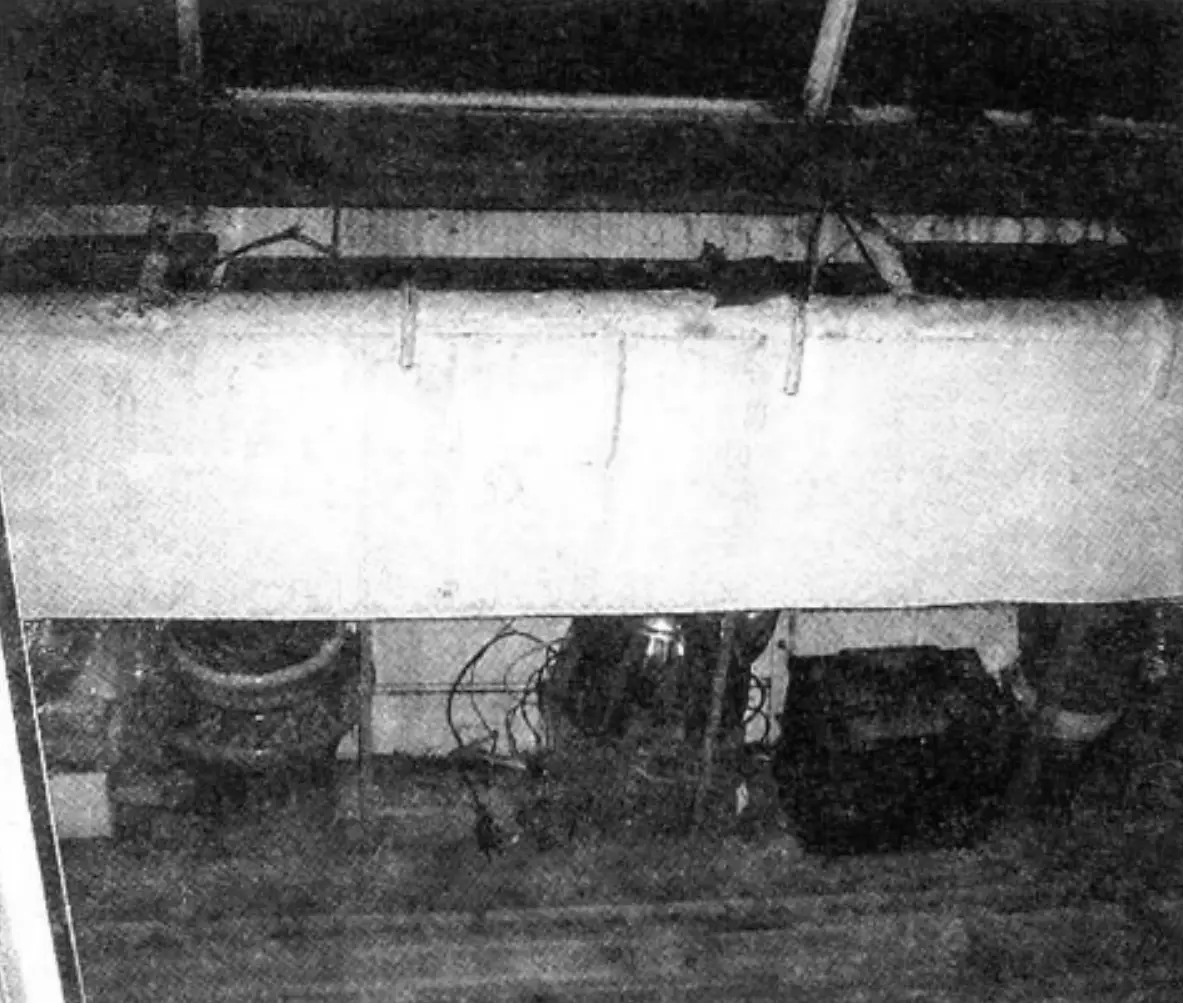
You can start by making the uprights from steel angle (item 1 on the diagram). I have six of them. The first can serve as a template for marking holes in the remaining uprights for fastening four crosspieces (item 2), also made from 25×25 mm angle. The ties (item 3) by which the uprights are fastened to the balcony slabs and the railing handrail are made from steel strip of 25×4 mm cross section. The ties vary in length, determined on site. To the balcony slabs the ties are shot with steel dowels or fastened with self-tapping screws driven into pre-drilled holes with plastic wall plugs. To the upper frame of the balcony railing and to the uprights the ties are bolted with M4 bolts (with washers and nuts) through pre-drilled holes. It should also be noted that the outer middle ties are installed at an angle (about 45°) to the frame. This ultimately provides rigidity for the whole structure.
The uprights are joined by three crosspieces (item 2), and duralumin guides (item 4) for the panes (glass thickness 4 mm) are pre-fastened to the crosspieces with countersunk M3 screws. All other fastening is also done with M4 bolts. The guides allow the panes to be slid aside, opening almost half of the glazed part of the balcony, and fully closed in bad weather.
Cladding is fastened to the lower part of the uprights; the choice of material is quite wide: lining boards of various woods, plastic siding, and even metal.
The middle ties fastening the uprights to the upper frame of the balcony railing serve as supports for the window sill. But I made the sill only half the width of the balcony extension. I left the nearer half open and placed flower-collection boxes there. Below the sill, along the full length of the balcony, I arranged a shelf from a board laid on additional ties. On the shelf I keep tools (since I use the balcony as a home workshop) and other household items.
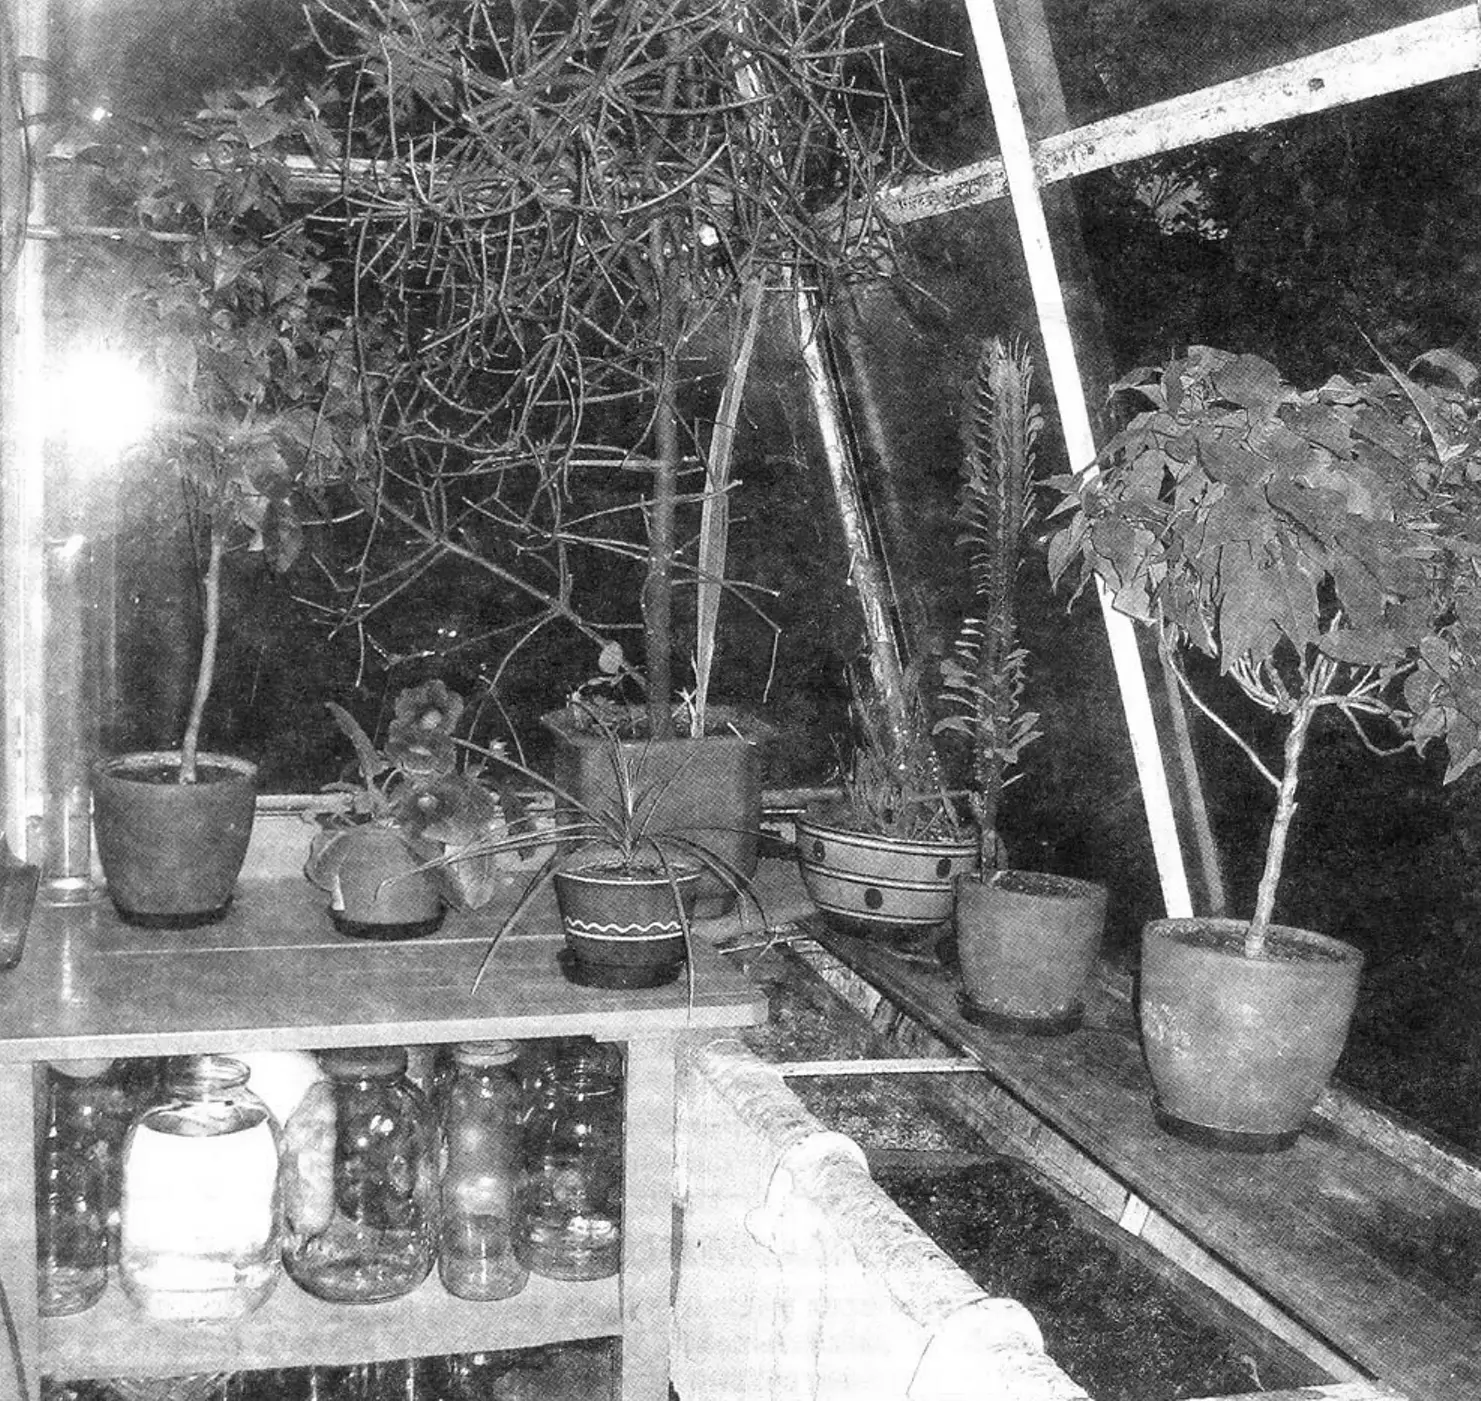
I partly closed the extended balcony niche (top and bottom) with walls of hardboard (fiberboard) sheets. In the middle between them I mounted sliding acrylic-glass shutters in guides (like bookcase shelves). I painted the sheets and shutters white (any other suitable color can be used).
I covered the steel railing handrail with “warm” handrails. I made the handrails from toilet-paper rolls cut lengthwise in half and impregnated with PVA glue. In strength they surpass wooden ones, although that is not required of them.
There were concerns that the panes might break if icicles fell on them. But practice showed that this does not happen, because the glass is thick enough and its angle from the vertical is small — even street dust does not settle on it.
“Modelist-Konstruktor” No. 8’2015, V. ALYOSHIN
Recommend to read
 IF CRUMBLED BEARING
I want to share with readers the experience of recovery separator sealed bearings in the field of wire inserts for the distribution of balls in the clip with the desired step. This will... BIRD
BIRD
Stories about the competition Experiment, systematically held in our country attract attention of not only athletes modelers, but readers are far from this sport. So unusual look time,...
