Lined with plastic kitchen furniture usually serves for decades, almost without losing their appearance and not leaving the building. However fastidious the fashion time from the time makes us the critical eye to gaze at the rather boring tables, cabinets and tables: and not to replace it all for something new!
This problem, however, is nowadays almost impossible to buy new, and even fashion, kitchen is now very, very difficult.
But let’s look at the furniture that appears as a sample in furniture stores, and the one that is in your kitchen. Most often the difference is not too big, and bring “yesterday” cabinets and tables to the present standard is not so difficult. In this post we will introduce you with the most simple methods of reconstruction of kitchen furniture.
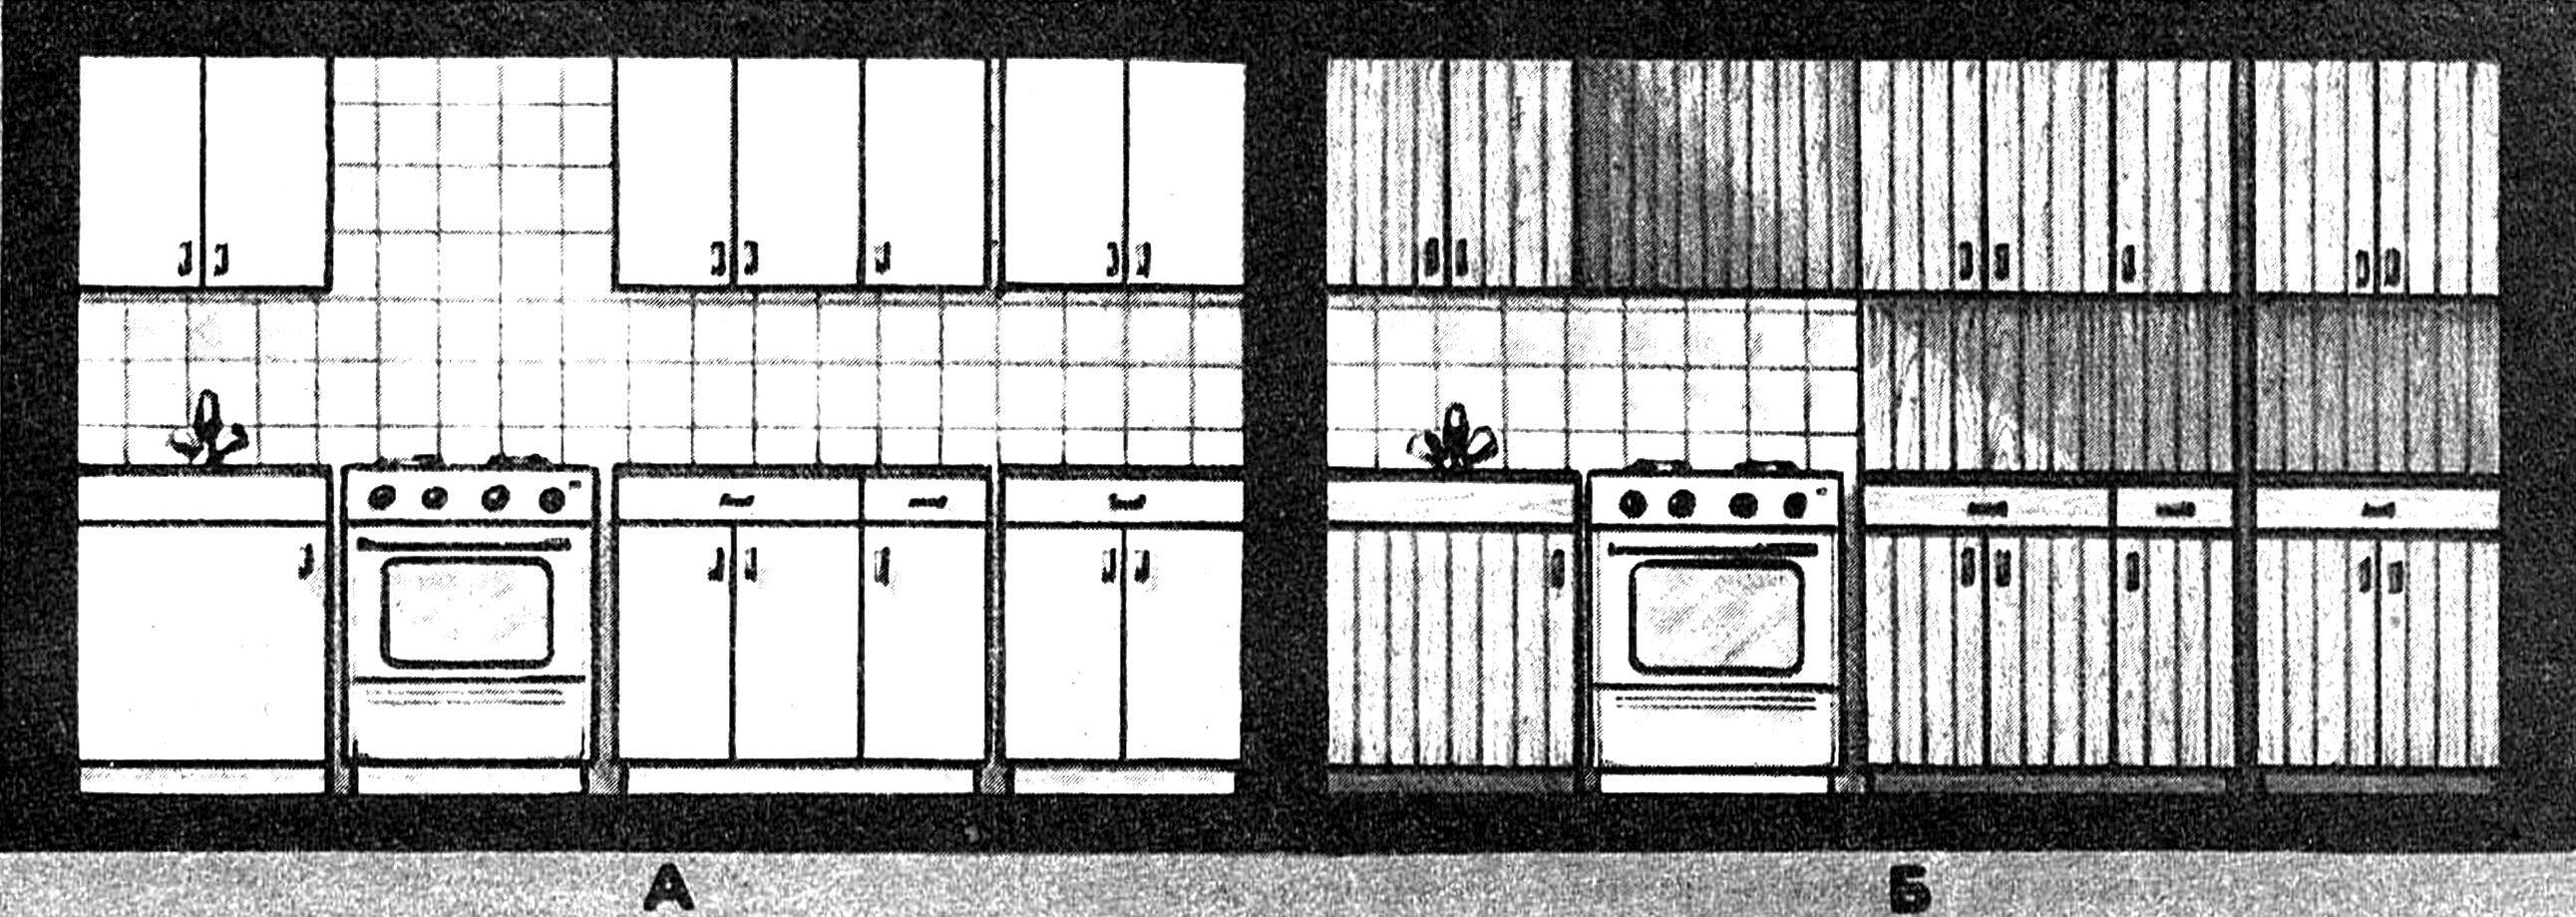
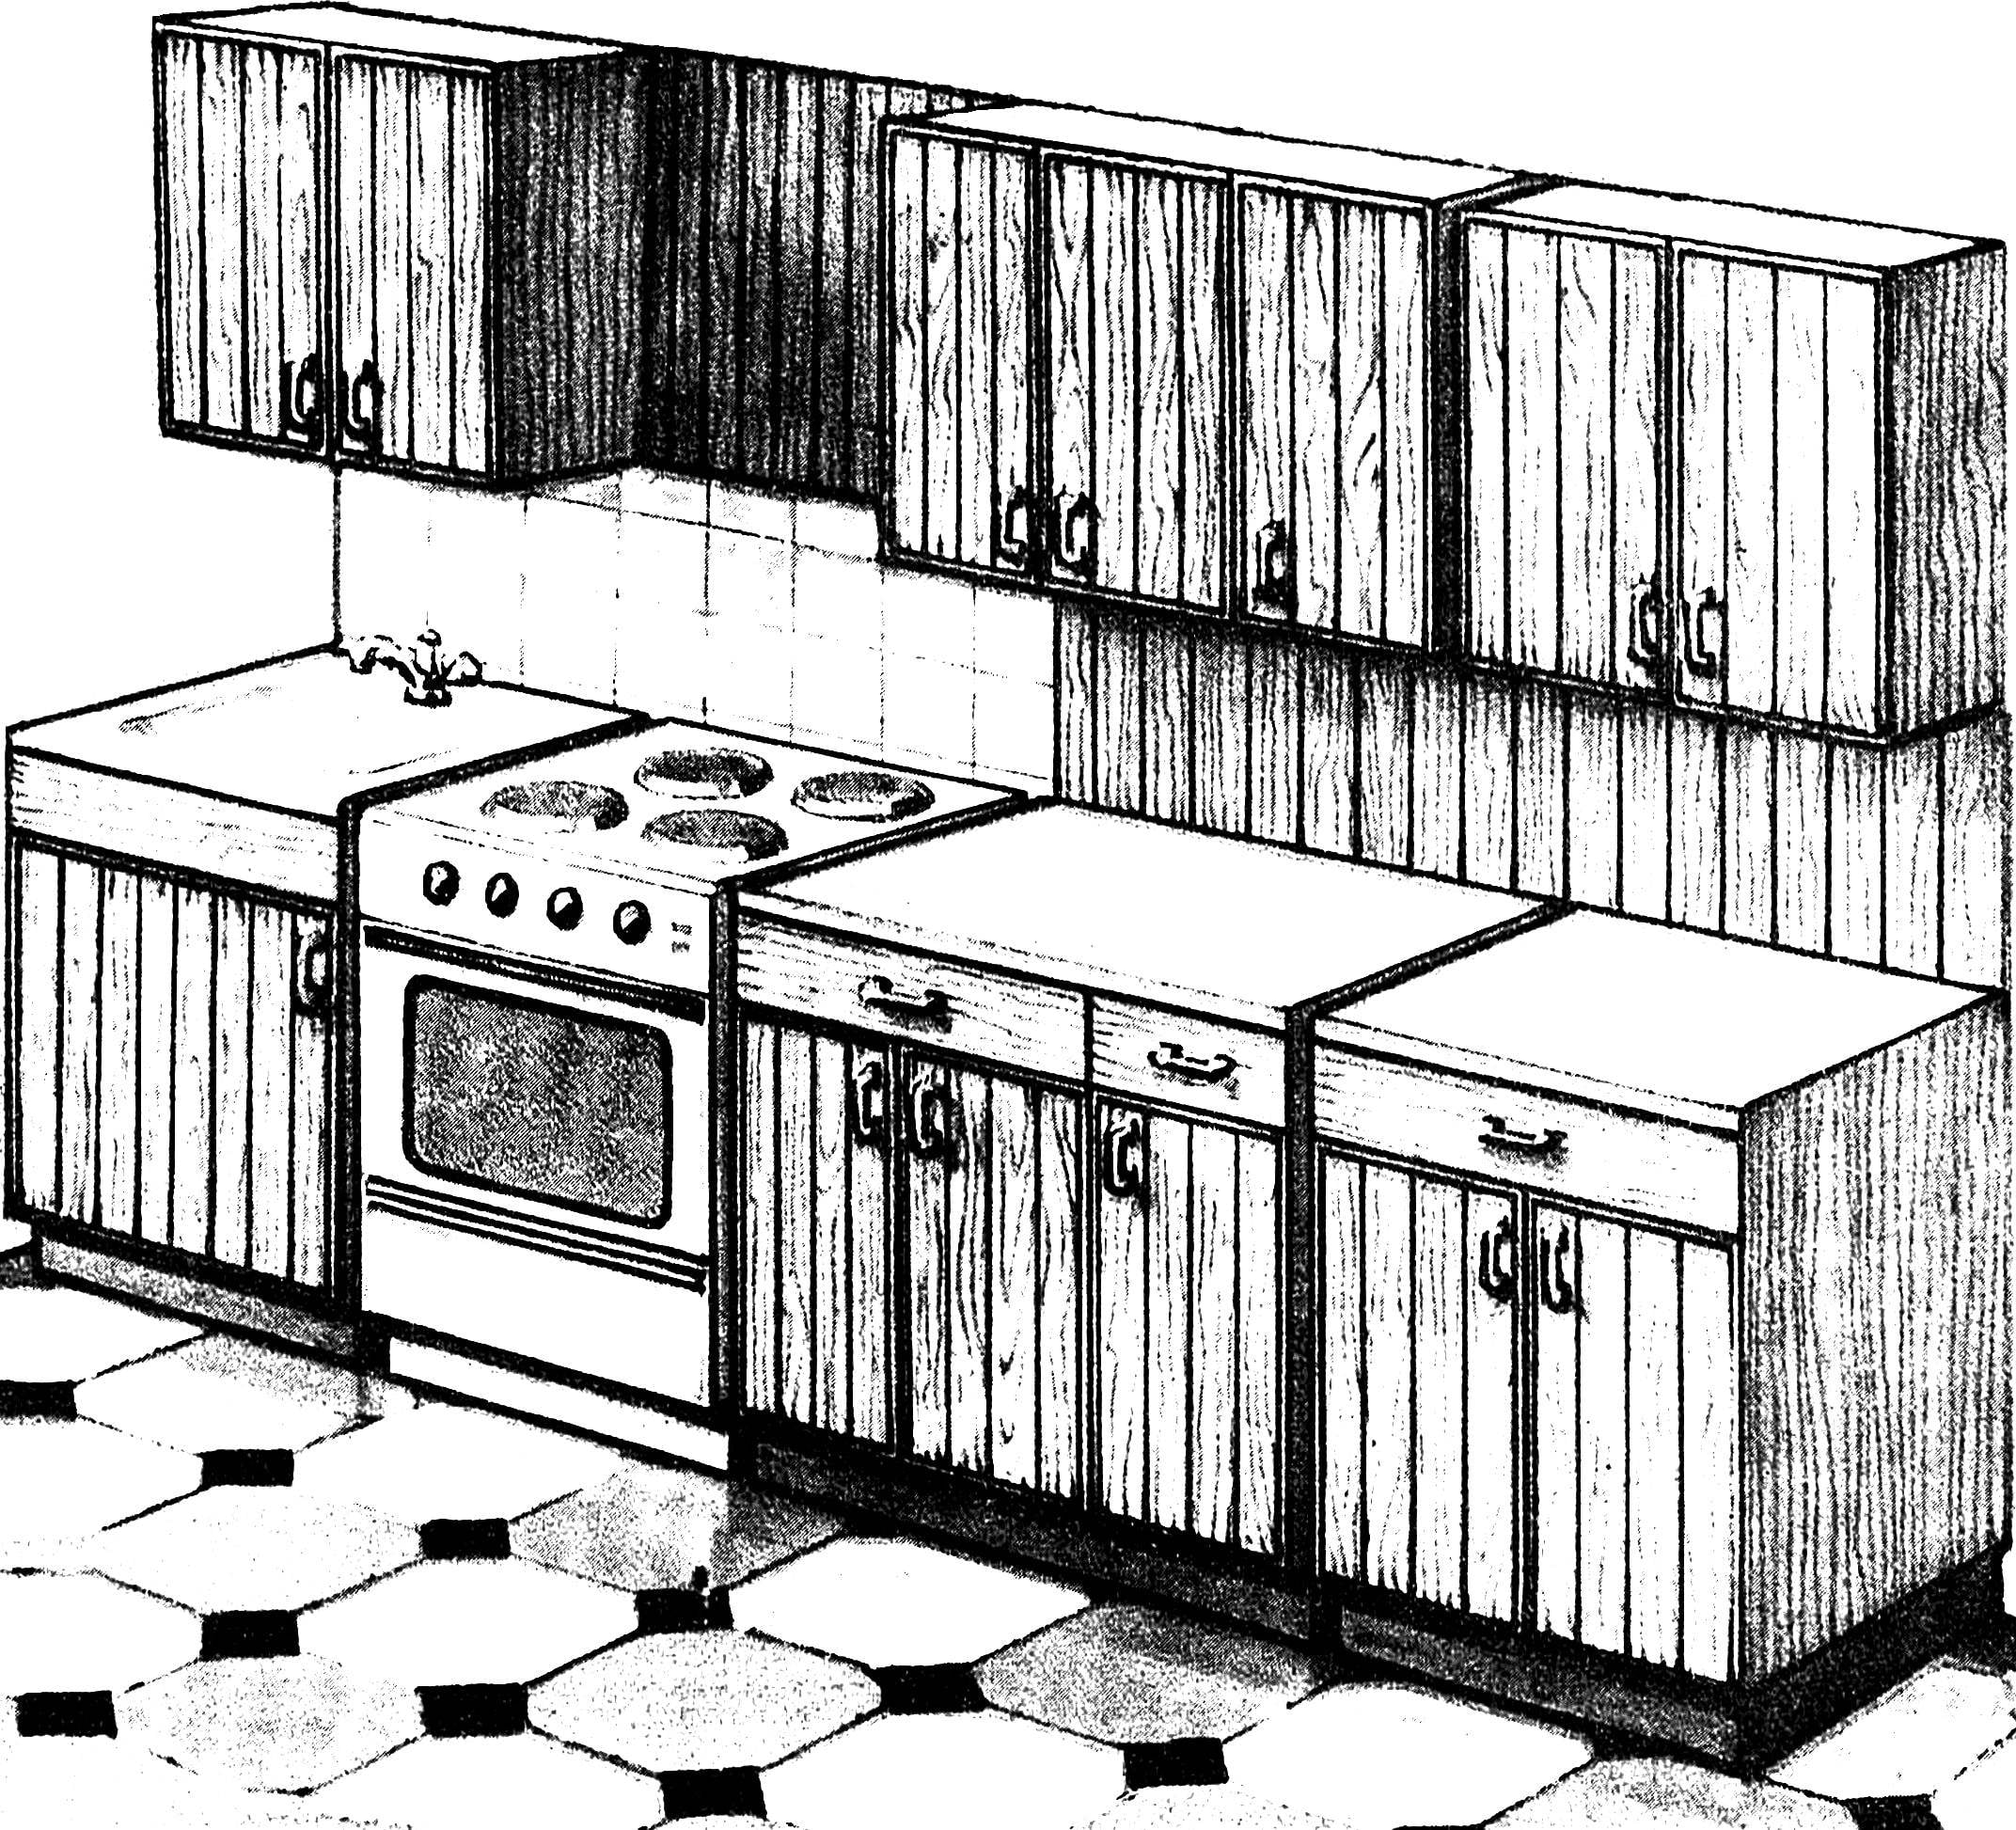
Kitchen before reconstruction (A) and after reconstruction (B).
Plastic now is not honored. Consumers today are not satisfied with even the plastic “wood” or self-adhesive vinyl “wood” film — give him the natural wood. Now even the kitchen sets off the usual plates, which makes the room more cozy, Sunny, more residential.
Today we will tell you how to make for the kitchen cabinets and tables, doors, panels and other elements, with which the appearance of any headset obsolete you can change.
First you need to pick up the necessary number of the same width and thickness of planks.. Well, of course, to use the new boards (paneling, fence or, best of all, pieces of trim) but it will fit and pallet wood. It is desirable that the thickness of each billet was approximately 20 mm of these boards to make door panels easier. To begin the plank carefully vystragivaetsja a plane, a piece of iron which should literally be sharpened to razor sharpness. Pay very serious attention: the blunt instrument immediately ruin the workpiece. When vystragivanie position the plate so that the plane did not raise a Burr and didn’t do chips. It is also advisable to walk on the surfaces of the boards with a jointer that will get the most smooth surface. Of course, a piece of iron of the jointer should also be razor sharp.
 Lined with plastic kitchen furniture usually serves for decades, almost without losing their appearance and not leaving the building. However fastidious the fashion time from the time makes us the critical eye to gaze at the rather boring tables, cabinets and tables: and not to replace it all for something new!