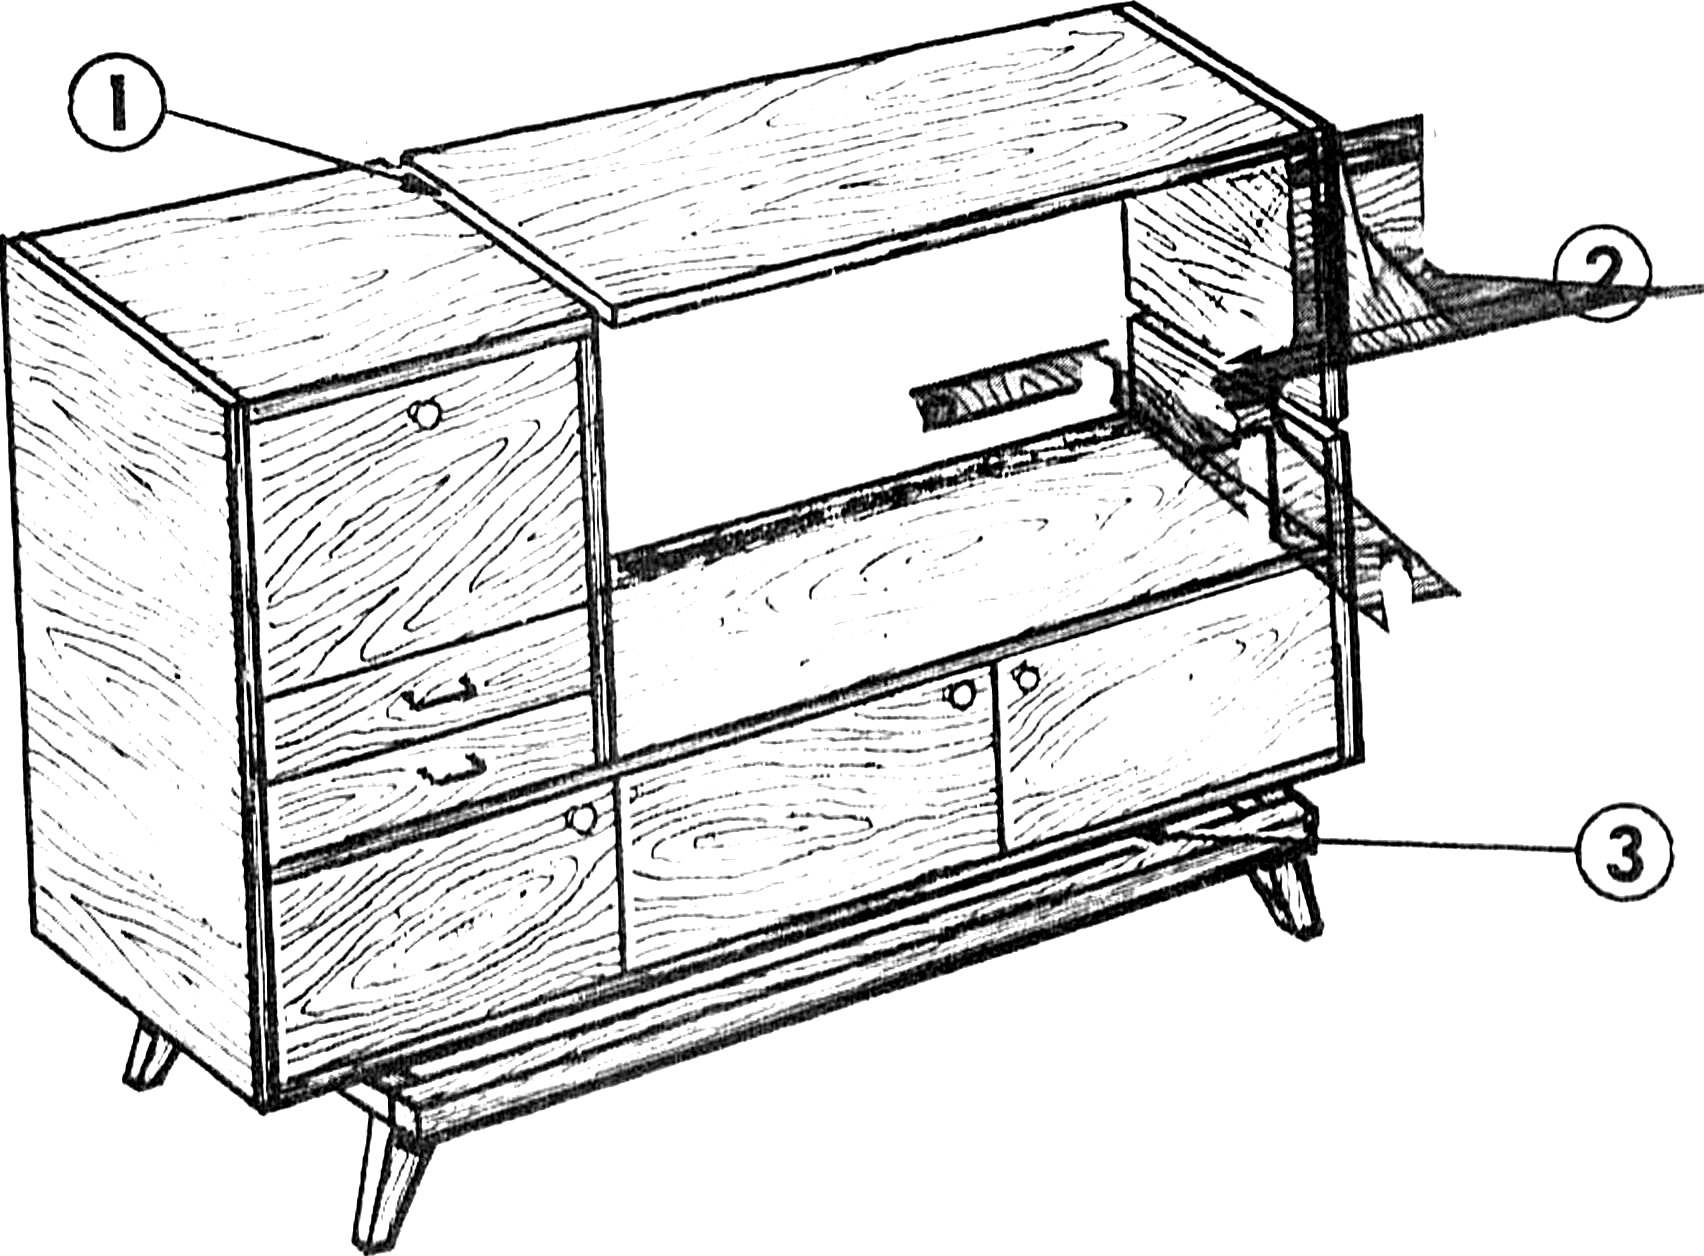
Now it is necessary to divide top and side panels: upper, useful for the table (it can be if you want to shorten), side for shelves.
The sideboard of the side panels are attached with screws metal corners (Fig. 2). The ends of the panels should be zapanirovat, sand these and varnish. The inner side panels are drilled blind holes, lubricated with epoxy glue, and then insert the metal pins of appropriate diameter with threads on their free ends. After complete solidification of the glue on the rods strung carved wooden sleeve. The free ends of the rods are inserted into the holes on the panel and tightened the bottom nuts. The side table is attached with screws (to the dural area).
Fig. 2. The installation of a telephone shelves:
1 — top panel 2 — steel threaded rods, 3 — metal corners, 4 — wood bushing, 5 — lower panel.
Shelf, as shown in figure 3, is attached with a metal pin (fixed with epoxy glue at the end of the shelves), which enters the hole in the sidewall, and bolts connecting the shelf to the table through the wooden bushings; pre-hole vypressovyvaetsya metal bushing with thread.
Fig. 3. Installation of shelves for phone book:
1 — top telephone panel with shelves, 2 metal threaded bushing, 3 — pin, 4 — wood sleeve, 5 — screws, 6 — shelf.
If in the cupboard there is no separation (POS. Figure 3. 4), it is necessary to insert as a stiffener.
Fig. 4. The lower part of the Cabinet in assembled form:
1 — airbag, 2 — base, 3 — partition.
The Cabinet can be installed directly on the floor, but it’s better to lift it by making a frame of slats. On top of the Cabinet is covered with leatherette foam seat cushion.
For the manufacture of the stool frame, disconnected from the sideboard, is shortened to the desired size. With glue and screws it is attached to the panel of chipboard (cut, for example, of a removable shelf of the cupboard). The panel is overlaid with a sheet of foam and is covered with leatherette, which is nailed from the bottom of the furniture with nails.
Fig. 5. Ottoman.
Finally, it remains to make a hanger. First Assembly of frame, it is attached to a sheet of veneered chipboard. You can, of course, the veneer panel and other material. The lower part of the frame is glued with foam and upholstered with leatherette. Made of round wooden slats made a shelf for hats. To the panel with screws or standard screws attaches hanger, which can be purchased at a hardware store. For attachment, use a loop hanger; it is only necessary in the area to drill through holes in the panel. Finally, using these loops made racking is mounted on the wall. Additionally, it can be fixed with a screw.
Fig. 6. Hanger:
1 — frame, 2 — panel (veneered chipboard), 3 — sheathing foam and faux leather, 4 — shelf for hats, 5 — panel with hook-and-loop attachment, 6 — screw.
V. ANTIPAS, teacher
Recommend to read DON’T SPOIL THE VIEW OF THE BALCONY Quick-drying underwear on the balcony, loggia, but how ugly looks like a house from the street. Offering a simple design linen dryers with removable cords strained at the railing, and... Kia Rio The global economic crisis has piqued the interest of buyers to a relatively inexpensive, compact and economical cars. One of them good demand and Kia Rio — Korean car size class. Korean... 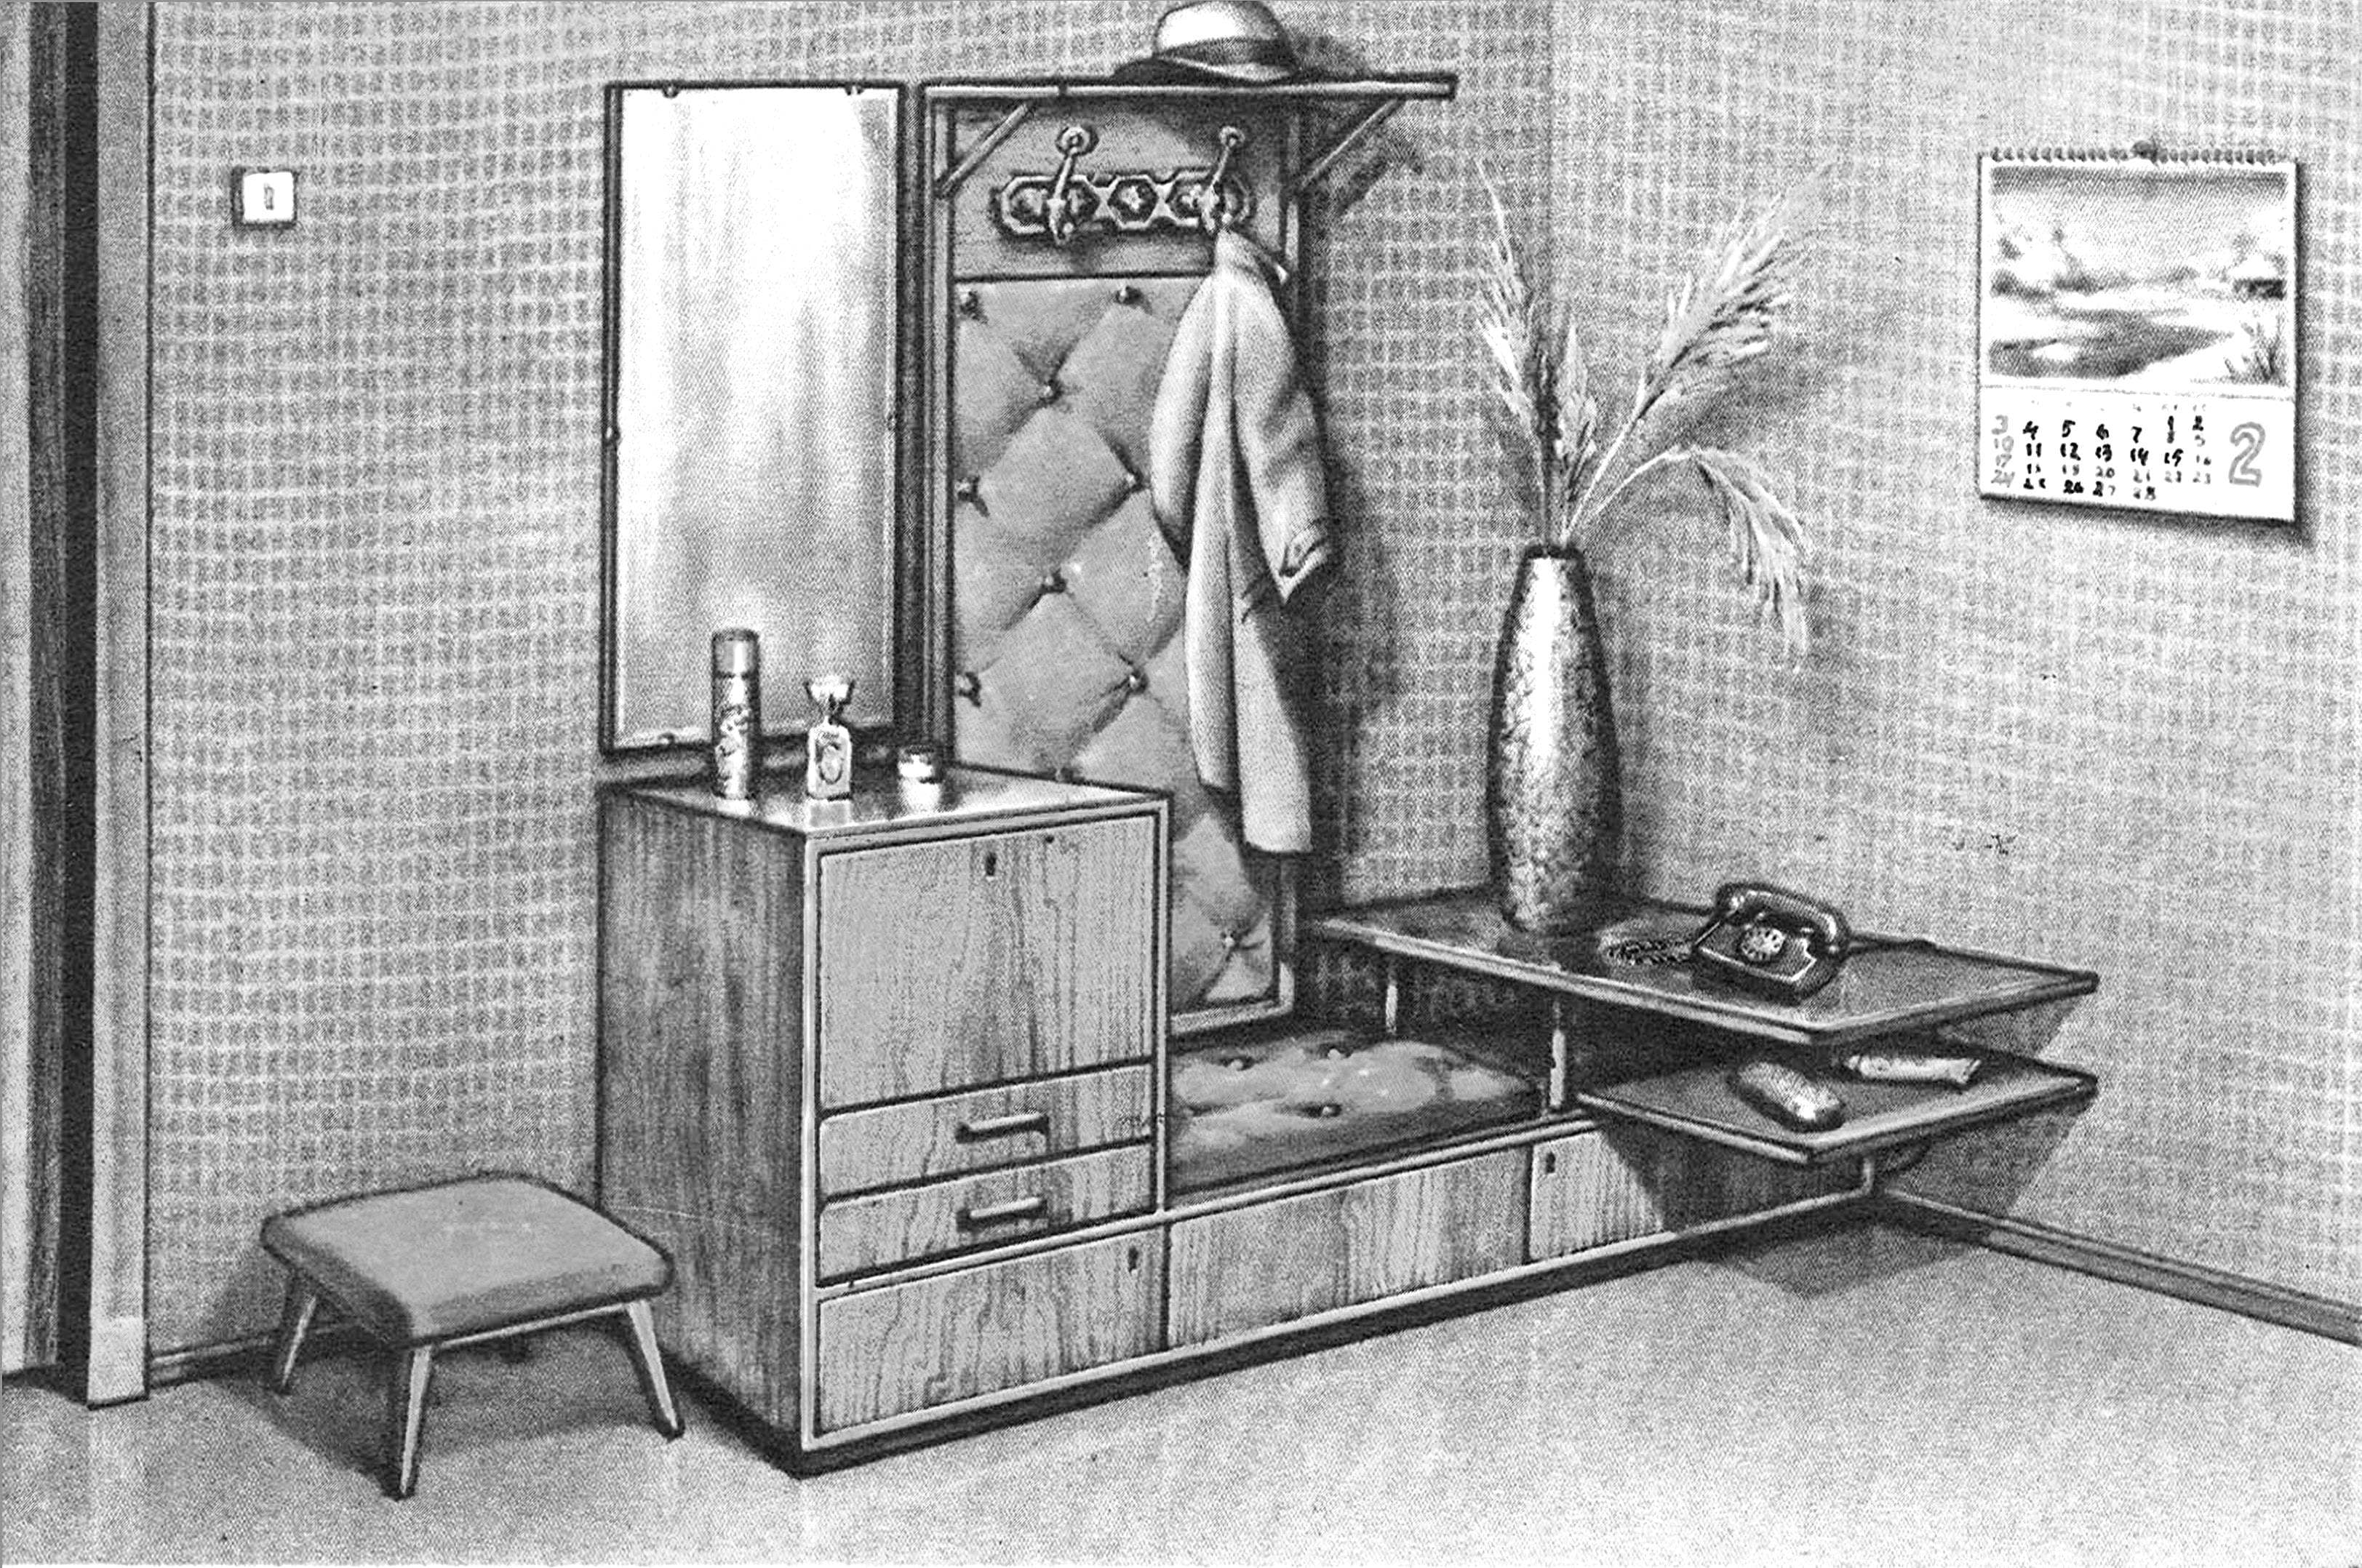
 If you are facing a problem to create a cozy and, most importantly, cheap hallway, I suggest one of the variants of solving this problem.