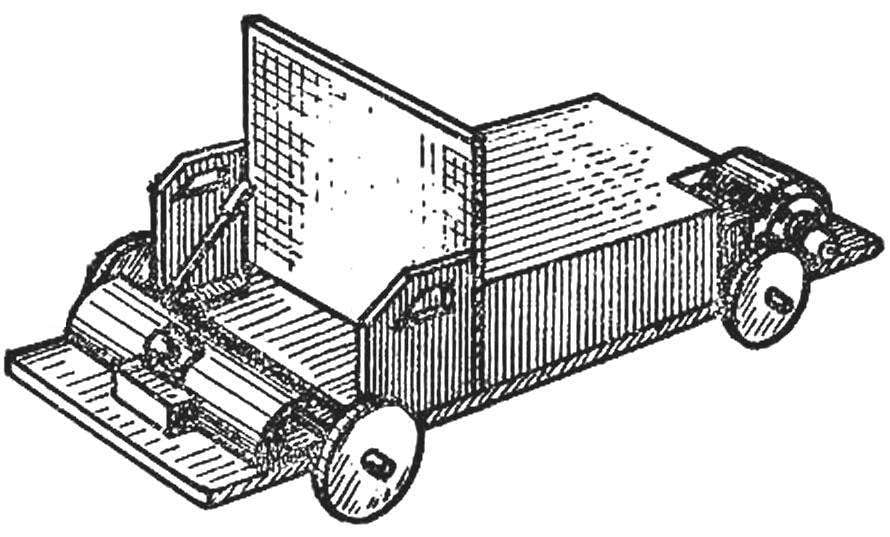
 You can make a simple model of the electric vehicle that will run on batteries. This will require: microelectrochemical PD-12A, flat battery, 4.5 V, two coils of No. 10 without thread, plate size 70X180X2 5 mm, the light from the flashlight, two knitting needles, scraps of wire, pieces of copper, thin cardboard. Prepare also a jig saw, small pliers, electric soldering iron for small jobs. Glue is better to take a synthetic, quickly hardening.
Four-wheel models are made from coils (see Fig.); their wide parts are sawn off with a jigsaw from the middle roller. Then, in the hole of the wheel is glued a segment of a pencil, graphite which is then carefully extracts a thin nail. The wheel should be placed on wooden or metal disc with a hole of 2.5—3 mm. Slices of the wheels sanded with fine emery paper.

The electrical circuit model.
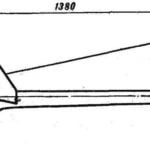
For the chassis, take a pine Board and saw two shallow grooves. There put two axes made out of knitting needles. Axis fixed with pieces of thin plywood with two small screws.
On the protruding ends of the axles put on the wheels (see picture). and fix them in small tubes (segments of insulation or plugs).

Now mark on the chassis with a pencil the location of all parts.
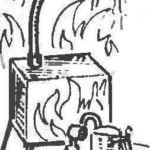
The picture is given the pattern for the bulb — lights of the electric vehicle. The cartridge is assembled from thin strips of copper, in the centre is drilled a hole, Ø 8 mm, where the light bulb is screwed. The second part of the cartridge will be the head of a small screw, better than copper, is installed on the chassis under the lamp. Attaching the bulb to the battery terminals in the overall scheme of the wiring shown in the diagram. If desired, the circuit can be simplified by removing the light bulb-headlight. The gear shift lever (see picture). going on a small wooden block to which is screwed the front of the plastic. The rack is attached to the lever is a strip of copper with a small bolt with a nut. The second contact is copper circuits from the unusable cartridge for table lamps, which should be separated from the porcelain bases of the cartridge.
Installation of electric motor on the chassis and the connecting the axis with the rim of one of the wheels (friction gear) is shown in the figure. The engine is attached to a small wooden plank, which in turn is connected to glue the Board to the chassis. The tube is mounted on an axle should be tightly pressed to the rim of the wheel to make the model durable. The engine is additionally secured with a strip of paper smeared with glue.
V. TARASOV


