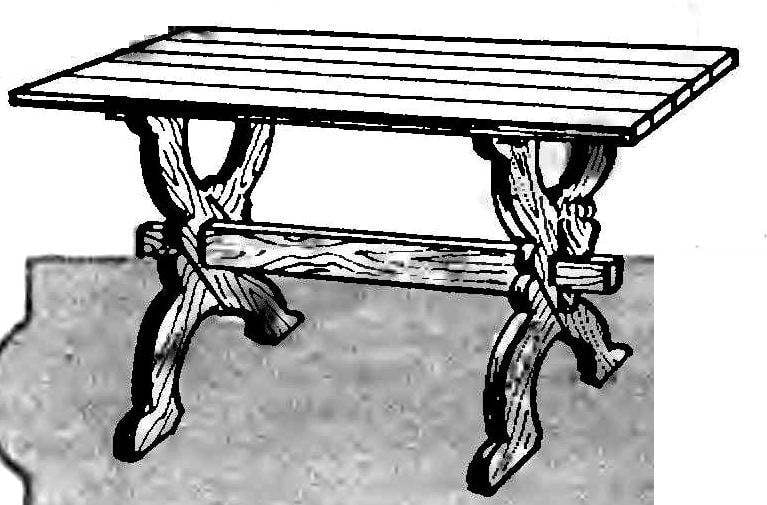
This table, despite its simplicity, can take a worthy place in a suburban house and in the kitchen of a city apartment. Made of natural materials in the style of folk traditions, it will fit into any interior. Main used in construction material — Board thickness 30 and 40 mm (perfect used for nastilki floors) in addition, you will also need the beam cross-section 75X100 mm and a few wooden rods 0 mm. 12 Probably not need to remind you that all the blanks must be of good quality, straight, free from knots on the outer surfaces and fishermen. Greater use in the work will bring the use of power tools (but you can a lot of and the old — fashioned way, using traditional carpentry set)
The first stage in the manufacture of table — processing legs, Their configuration is shown in the figure, the Image grid should be moved to thick cardboard Using the template, it is easy to get to all four parts were the same
Giving the blanks the desired shape, begin cutting out of grooves in them. Simple trick allows to perform this operation saving time and effort. To do this within the boundaries of the groove to a depth less than required on 1,5,2 mm and the minimum pitch is made narrow cuts Then a wide chisel walls between the cuts are removed and completely treated inner surface.
 This table, despite its simplicity, can take a worthy place in a suburban house and in the kitchen of a city apartment. Made of natural materials in the style of folk traditions, it will fit into any interior. Main used in construction material — Board thickness 30 and 40 mm (perfect used for nastilki floors) in addition, you will also need the beam cross-section 75X100 mm and a few wooden rods 0 mm. 12 Probably not need to remind you that all the blanks must be of good quality, straight, free from knots on the outer surfaces and fishermen. Greater use in the work will bring the use of power tools (but you can a lot of and the old — fashioned way, using traditional carpentry set)