For sticking the next cloth is not required to recapture the cord line. However, care must be taken that each next strip is superimposed is strictly parallel to the previous one. In the case of wallpapering in place chandelier pendants, they cut a hole, and the wiring is de-energized. When all strips are glued, you need to trim the excess ends until the glue dries.
The basis of the Wallpaper
After the wall surface is dried and sanded smooth with sandpaper, it is necessary to remove dust. Before wallpapering the walls are primed, the glue, which later will be used for wallpapering. According to the instructions, the prepared adhesive is applied on the wall even, thin layer. For this purpose roller (Fig. 15). The walls are coated with paint based on synthetic, are treated with a solution of casein glue. The solution should not be too thick. Otherwise, the wall surface roughness produced, which will later be visible under the Wallpaper.
Wall-papering the walls
Sticker Wallpaper on the walls compared to the ceiling more simple. The work starts from the window and conducted in such a way that the edge of the glued overlap of Wallpaper were always drawn against the light. When cutting Wallpaper should monitor the convergence of image. Top and bottom should be a margin of a few centimeters.
On the strip, laid on the table, is applied to the adhesive (Fig. 17), and it folds two-thirds of the length from the lower side, and a third length on the other that will be riding. In this case, the whole is covered with glue, the surface will be closed, which is convenient for carrying and climbing a ladder.
While the glue is absorbed into plastered Wallpaper, you can relax a bit. With the help of plumb line marks the labels first band. Now climb the ladder, unfold the folded third edge of the strip and affixed to the upper edge of the wall (Fig. 18). Then gently unfold the remainder and apply it to the wall, then smooth it with a brush from the top down and from the middle to the edges (Fig. 19). Every time you get to the corner of the room for stickers next band used a plumb.
After acquired some experience, you can spread the adhesive a few bands, but only enough to time to process for 15 minutes. Wallpaper paste is better in a cool room; however, at the time of operation and subsequent drying is necessary to close the vents and doors to avoid drafts.
Over length 2 – 5 cm should be cut along the ruler until the glue dries. Reaching the sill, you need to crop the Wallpapers in the contour of the protruding parts.
It is impossible to make the junction of the two lanes on the outer corner. In this case the Wallpaper does not keep long. If we come across protruding above the plane of the wall, for example, receptacle, switch, you should disconnect the grid of the room, Unscrew and remove the cover from the outlet, and on the wall to make the cross-slot. Extra pieces of Wallpaper trim, the edges of the slot tightly rolled with a roller. Cap is put into place and the Wallpaper is again smoothed with a brush.

Fig. 15. For sticker Wallpaper on the wall previously applied layer of adhesive. It is easy to do with a roller
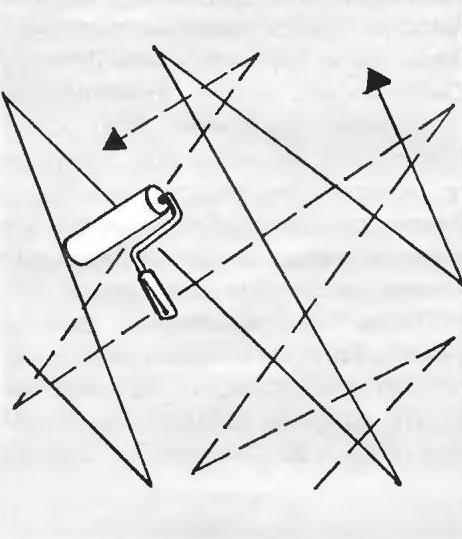
Fig. 16. The scheme of cross-motion roller when applying the glue on the wall
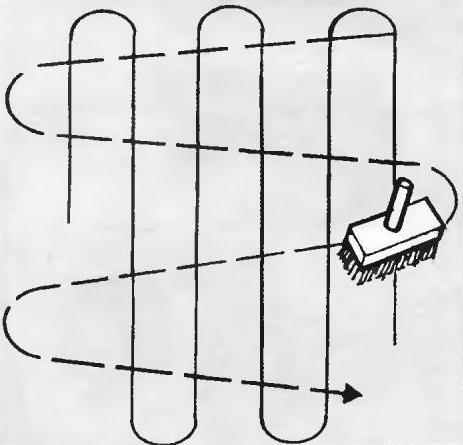
Fig. 17. The sequence of smearing the Wallpaper with a brush
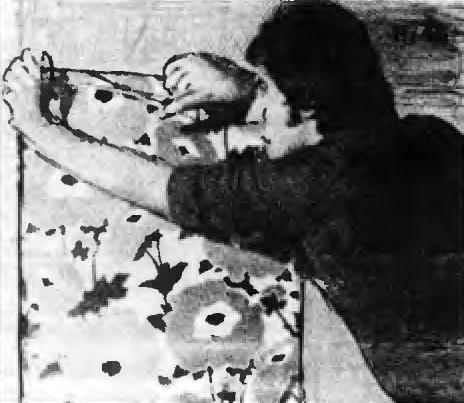
Fig. 18. Sticking the blade begins from the top edge
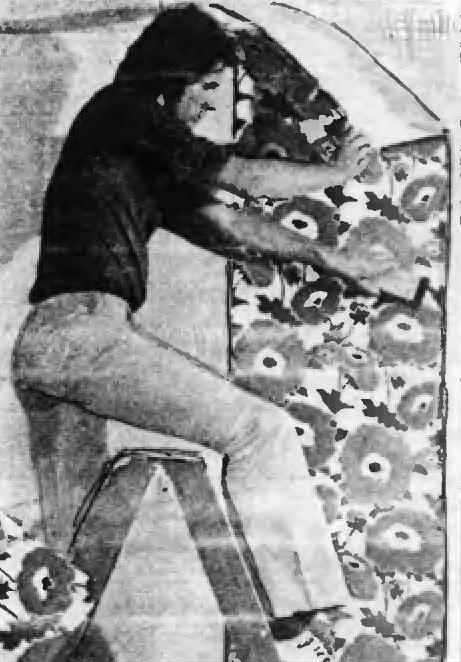
Fig. 19. Spread the cloth on the wall brush from the middle to the edges
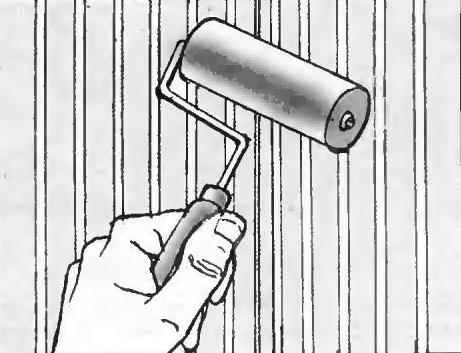
Fig. 20. It is important to carefully laminating roller joint panels
As a rule, is sufficient to smooth the Wallpaper with a brush, but if they lay down enough or evenly under them there are too many air bubbles, you can use a rag or a rubber roller.
Seams (joints) definitely rolled with a roller (Fig. 20). After drying, the extruded adhesive forms are often opaque layer. So after a smooth speaking at the joints, the glue should immediately wipe with a dry, clean cloth.
After the Wallpaper will be fully affixed to the wall before drying should be cut at ceiling and floor.
At the junction of walls and ceiling is sometimes edged plank, with a rectangular or semicircular cross section, painted or varnished. Such straps can be made manually, for example, of cardboard, covered with Wallpaper. However, the easiest way to buy straps at stores. Lath nailed with small nails or stick. Instead, they often used the paper tape. It is glued directly onto the Wallpaper, fast-drying glue.
If stickers Wallpaper was removed plinths after completion of works they are put in place and at this time not to damage the Wallpaper, between the baseboard and the wall is placed a strip of cardboard.
If the apartment has plastic skirting boards, then after drying they are glued with glue of type “Moment” directly on the wall, the floor is left not covered with a strip width of 20 to 30 mm.
Repair of walls
Great work on updating the walls have to perform not too often. What can be said about the elimination of small damages and minor defects.
For example, the most common variant – the peeling Wallpapers. If it happened at the junction of paintings, repair is easy. Quite carefully peel back the departed the edge of the cloth and just gently brush them with glue and then pressed with a roller or clean rag.
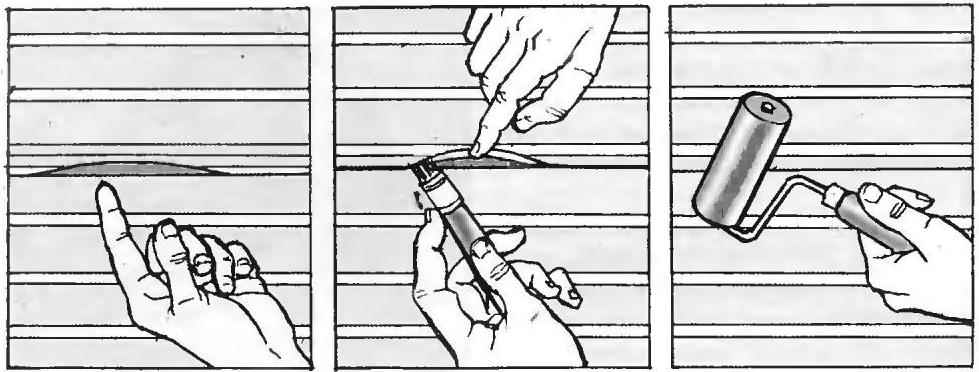
Fig. 21. Exfoliated the junction of Wallpaper carefully greased with a small brush with glue and laminating roller
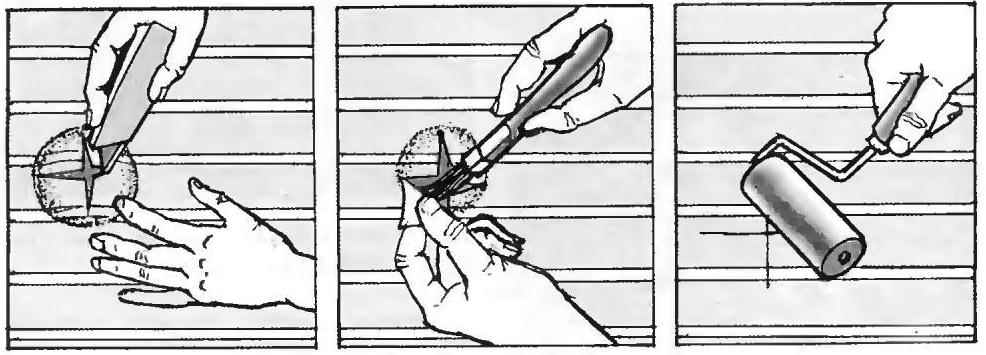
Fig. 22. Swelling of the leaf cut up with a cutter blade after the glue is rolled using a roller
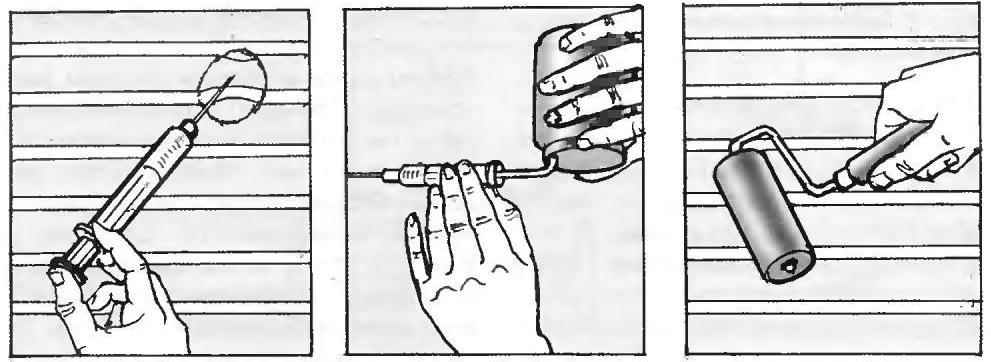
Fig. 23. The option of eliminating the air bubble in the Wallpaper, for example, a syringe with glue
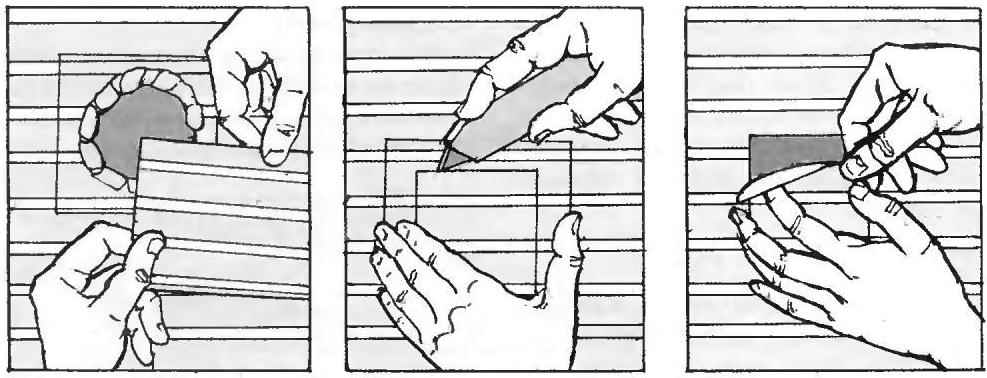
Fig. 24. The sequence of manufacturing and gluing patches on Wallpaper
Appeared swelling of the area of the Wallpaper can be eliminated in two ways. First the easiest: the site of the cloth should be cut crosswise with a sharp blade (e.g., razor), I get the petals to bend and lubricate the inside with glue, then roll with a roller. The second method is “jewelry”: the bubble is punctured with a syringe with glue, and if the plot is lengthy -syringe connected to a soft plastic with spray adhesive, which is extruded the required amount of it, and the cloth is then again pressed against the wall (roller sponge).
If the damage is separate Wallpaper can be closed with a patch from the spare roll of the same pattern. Prepared for this large flap is superimposed on the “wound” paintings, cut with a sharp knife together with the Wallpaper to the wall, and then the resulting panel smeared with glue and carefully aligned with the edges of the cut out section of the Wallpaper.
Listed both ways give a good cosmetic result: the repair is almost never seen.
B. VLADIMIROV, drawings N. KIRSANOVA
Recommend to read
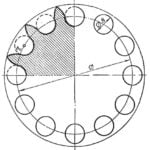 SPROCKET FOR CHAIN TRANSMISSION
the Designers often have to choose the right transmission ratio, and in this regard to look for suitable veins. The case is ungrateful, requiring large expenditures of time. It is much...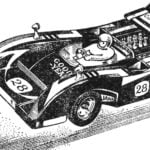 THE FORMULA “GT”, SCALE 1:8
In recent years avtomodelisty closely watching the development of a new direction for technical activities and sports design of high-speed radio controlled model with internal combustion...

 An increasing number of people would be able to apply Wallpaper in your apartment or room, saving the money and not be restricted by the presence of outsiders -masters. Indeed, it is not hard work, it can be done yourself, but it requires patience, accuracy and some preparation. The lack of expertise here kompensiruet high accuracy and sensitivity.