I shared my trouble with a friend, and he told me how to get rid of such holes. I had nothing to lose -just rusty wing was under the replacement, I decided to follow the wise advice and at least check the offered me technology. Tried – and for a year on my car – self-renovated wing, which by the verdict of the specialists of the service center have long had to go to scrap.
The technology of repair was quite simple – I’ll talk about it taking into account my own experience.
The first step is to align the hole, gently clean the edges with sandpaper and thoroughly, in stages, treated with rust Converter. Then the edge of the hole should be slightly bend inward when filled with epoxy mass is formed the lock, fixing leaky epoxy wing stub.
Next you need to find a suitable plastic bottle and cut it a kind of boat, the size of which should be slightly more contours of the hole. In the middle of the “boat” with an awl, pierce two holes and thread them through the harsh thread, which can be tightly secured with a “boat” to the inner side of the fender, opposite the hole for which the string is tied tight on bent of steel wire, four-wire “the filly”. And yet – the hole in the wing is along the perimeter to paste over with a tape-tape, which will prevent the ingress of putty and paint on the car body.
“Boat” can be cut from a plastic bottle of appropriate size, it should be noted that the contours of the “boat” should be 10 mm more than patching up the holes. Then in the middle of the “boat” pierce a couple of holes and thread them through the harsh thread
The rusted hole is aligned, treated with rust Converter; the edges of the hole straightened using a special tool, cut from strip steel with a thickness of about 3 mm
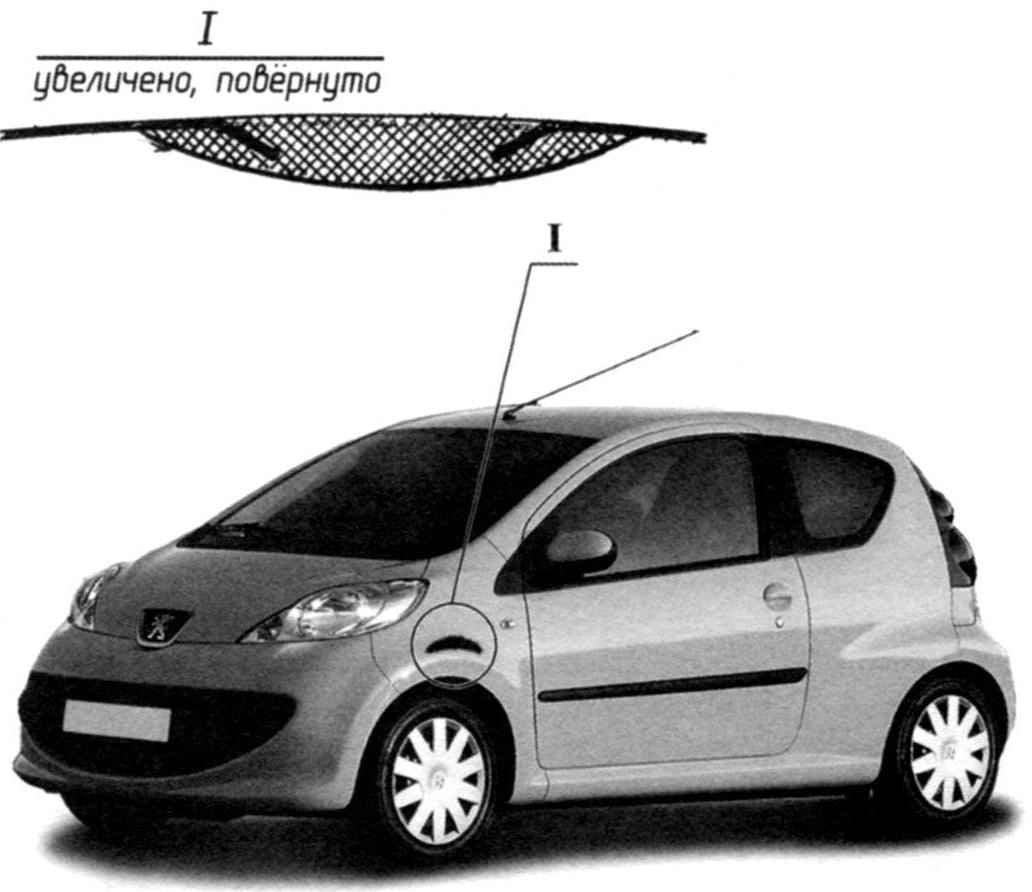
As can be seen from the figure, epoxy the patch gets into a kind of castle. After polymerization of the putty surface of the former holes is aligned with sandpaper, polished and painted
“Boat” is bent in the form of a tube and is passed through the hole inside the wing – try not to drop it in the box. Above the hole is set bent from 2 mm wire “filly” with “legs”, “shod” in the segments of rubber tubing, and boat attached to her stern thread
The next phase of work consists of the preparation of epoxy putty to thoroughly mix the epoxy resin with the hardener in a ratio of 1:10, and then enter in a mixture of pulverized mineral filler, cement, plaster or stucco. The consistency of the mixture should be such that it does not leak from the cavity formed by the boat and the inner part of the wing. Note that the time for this work, you will have not too much epoxy begins to “seize” within 30 minutes, and its final curing occurs for 3 to 4 hours.
After polymerization of the resin filler is treated with sandpaper flush with the wing surface, and optionally is aligned with the automotive two-component putty. Next, the surface is primed and painted.
If the hole on the wing was quite large, it makes sense to first fill the cavity with foam, and after polymerization, trim the excess, to deepen hole 5 to 7 mm and have it fill with epoxy putty.
I don’t know if acceptable to you, my advice for painting the small areas of the surface of the body. First of all order in the store, where there was a section of computer color matching, a small amount of paint, and five or six transitions, with intermediate grinding, and carefully fill the spot… with your finger. I advise you to start a little practice – the smoothness and thickness of the paint film is largely dependent on the ability to dial in the your quantity and the force with which the finger squeezes the paint. Well, if my method you don’t like it, nothing can be done, you will have to contact the painter – professional.
I. EVSTRATOV
Recommend to read AND COUPE, AND A MINIVAN European sales of this vehicle started in September 2001. An incredible price for a fully "packaged" AVANTIME sellers were asking $ 36 000!— not deterred buyers. The car cost them and... EKSPRESS-OPTIKA "Bespectacled" they know that most victims are not glass and frame: breaks down on the bridge of his nose, bursts into tight spots. If no spare points, you can use a simple Express...
 A small speck of rust on the wing in a few weeks darkened, and then turned into a hole with ragged edges. Avtostantsii the sentence was harsh – the wing needs to be changed. Preliminary estimations showed that such a repair would cost me quite a decent amount.
