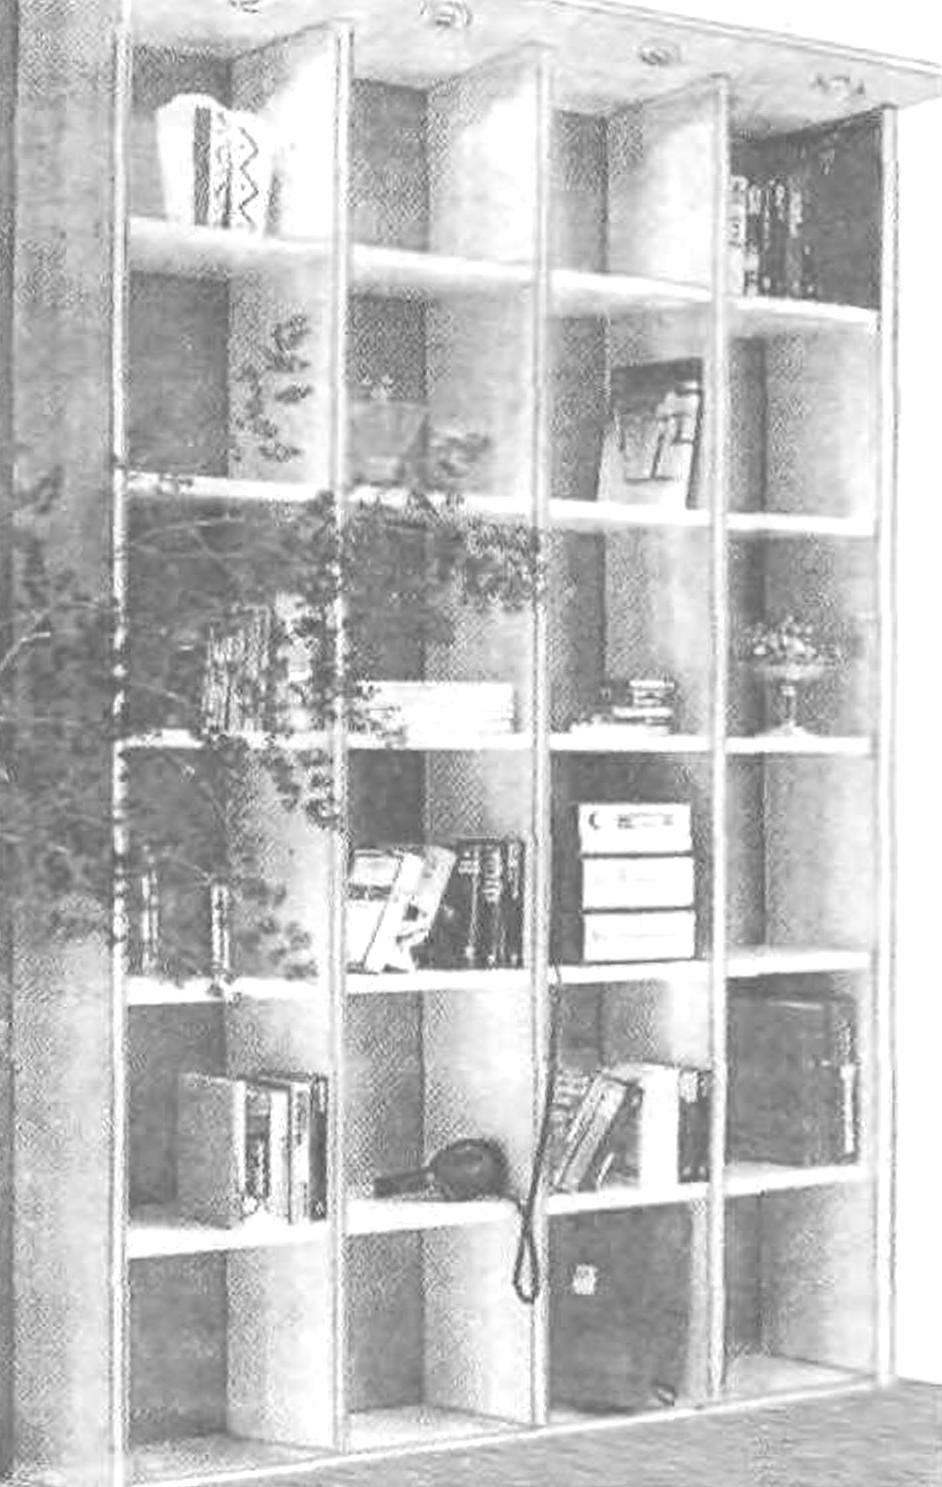
The figures are presented for the second alternative of wall units, which can be called half-hearted, as the design consists of two halves would be cut in half as the original version. This solution is convenient not only in connection with the use of the original sheet material of small size (for example, in the sale of furniture boards, besides those already mentioned above), but also, if necessary, dismantling of the wall units when moving or shipping assembled.
Independent (see Fig.) upper (I) and lower (II) the blocks of this design makes use of a shortened outer and inner vertical panels and additional horizontal panels on the border blocks. It is possible and other device with special shelves connecting them with the supporting partitions. Here the shelf constitute a full panel to full width of wall units to side of vertical panels with which they are connected in the same way as in the first embodiment. And with internal partitions allowed for a more simple and convenient docking station — opposite grooves, as shown in the last picture.
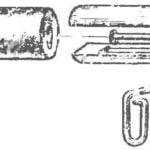
Composite (“halved”) shelves (1 — top half; II — lower half):
1,2 —halves of the side panels; 3—sub-panel (the original package)
A splice variant of the internal details of the composite stack:
1 — vertical post; 2 — bar-shelf: 3 — counter-grooves for connection details
Method, by the way, opens up new opportunities — for example, the collapsible design: the outer panels are connected only with each other, forming a box in which to insert the grid shelf, and inner vertical panels (walls), connected by opposite grooves, and even without fixing to the box. In this case, to disconnect, disassemble this Assembly (for example, for shifting or transportation to the cottage or country cottage), will not require much labor or time. It is easy to imagine that is removed from within the grille freely is divided into a bundle of separate panels, which are added to riswinandi part of the outer boxes. All this in a new place without any problems going in reverse order.
Finish
It is quite simple for details the second option, if you have used the furniture Board, the surface of which, as a rule, already finished with veneer or plastic (and in the enamel colouring, too). In this case, the revision will only require edge formed after cutting. If they don’t have on the joints, visible of them are pasted over with strips of veneer or plastic ready. As the glue is convenient to use a now common “Moment” or PVA. The first can be applied in a single layer and press: he grasped instantly (so called). And PVA glue is good for at least reliable, if an edge and a strip of edging to apply it in a thin layer and allow to dry (“to touch”), and then repeat the lubrication and after pressing how to warm up. For wood veneers, this can be done simply paving iron and the plastic tape is better to heat the dryer — the hot air from it heats up softer.
Such treatment of edges is also suitable for other materials. But the surface of the panels in this case will require selective treatment. If the plywood is to pay attention to the natural pattern of its surface and in a winning case to save it and to underline processed after sanding the stain, and then covered with transparent furniture varnish in several layers, with intermediate thorough drying and polishing of fine-grained sandpaper.
With regard to the use of workpieces made of chipboard, which you can paste over the texture film “under the tree” (better with existing adhesive backing or taking advantage of the white glue). But it is simpler and easier to paint with enamel paints (at least two coats). It is possible to vary the color: for verticals — one for the shelves — another, which enhances the decorative effect of the design.
B. VLADIMIROV
Recommend to read
 “MNOGOTSVETIE” CUSHION
For painting walls, fences and other large surfaces are often used paint rollers. However, if you use several different paint colors, it is necessary to acquire a set of rollers or spend...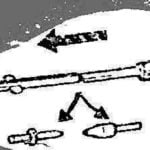 ROD TANKER
If the sale is not short refills for ballpoint pens, often use long - cut and fix someone's contrived — long shafts are most often without stops. However, there is another way to recover...

 It is believed that the atmosphere in the interior of the home, it is desirable from time to time to change — to maintain the psychological effect of novelty and revitalizing sensations of comfort and freshness of decoration. However, it is not necessary to spend money on new set — quite nice to rearrange individual items of the already existing, and the result will be achieved no less.