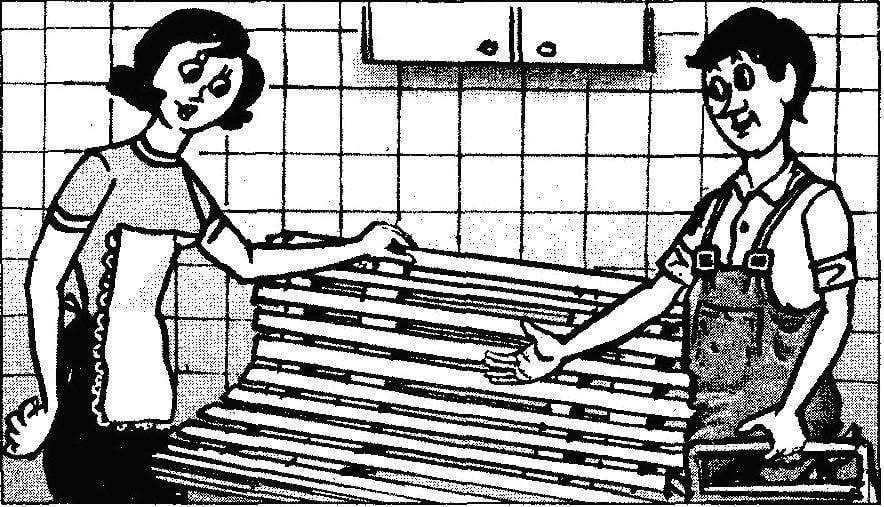
 The idea to make on their own comfortable sofa shop for kitchen appeared after unsuccessful searches at furniture stores, which would be in place and responded to my ideas about its design.
But to implement it was not so easy as it seemed at first glance. However, conceived the design I did. And helped me in the use for the manufacture of… gratings for bathroom, bought at the hardware store. A distinctive and advantageous feature of their that they assembled without a single nail — using nylon fishing line, which means they have the flexibility. Only needed to buy six of these lattices.
The work begins with two three-section lattice panels, officials later back and seat of sofa. Of the panels are joined at the butt with the power of rails with cross-section 20×20 mm, mounted on a carpenter’s glue and screws with a diameter of 3 mm, length 45 mm with countersunk heads.

Kitchen sofa shop:
1 — back (bars for the bathroom, 3). 2 — seat (the bars for the bathroom, 3). 3 — enhancing the rail (bar 20×20; L300); 4 — screws Ø3; L45; 5 — notched pickguard (rail 40×70; L2010, 2); 6 — mount console stand (screws Ø5; L80); 7 — moulding (steel 45, s2, 6 PCs); 8 — spacer grid for a bath; 9 — cantilever bearing seat (timber 40×40; L430, 3). 10 — vertical console stand (timber 40×40; 3). 11 — the baseboard
Design feature of sofa no front support legs. The seat is fixed on three supports located console. The connection of the supports with the upright supports is carried out “in spike”, with the obligatory reinforced by steel plates G-shaped. For the stands used rail 40×40 mm length 340 mm. From the rigidity of their attachment to the wall largely depends on the reliability of the whole structure. Therefore, this should be done tightly, a few screws with a length of at least 70 — 80 mm, and the top should be sloping. For convenience, the back of the sofa in its lower part located in an inclined position. The Assembly is completed by mounting to the front edge of the seat and upper backrest of figured overlays, giving a solid view of the product.
After machining the sanding paper (from rough to very fine) and zashpaklevyvaem holes for the screws, the bench is covered with varnish, stain or enamel. If desired, it is possible to put thin foam or made from old quilts quilted mattress, sewn in a decorative case.
G. ANISIMOV, Cheboksary


