STYLISH TABLE

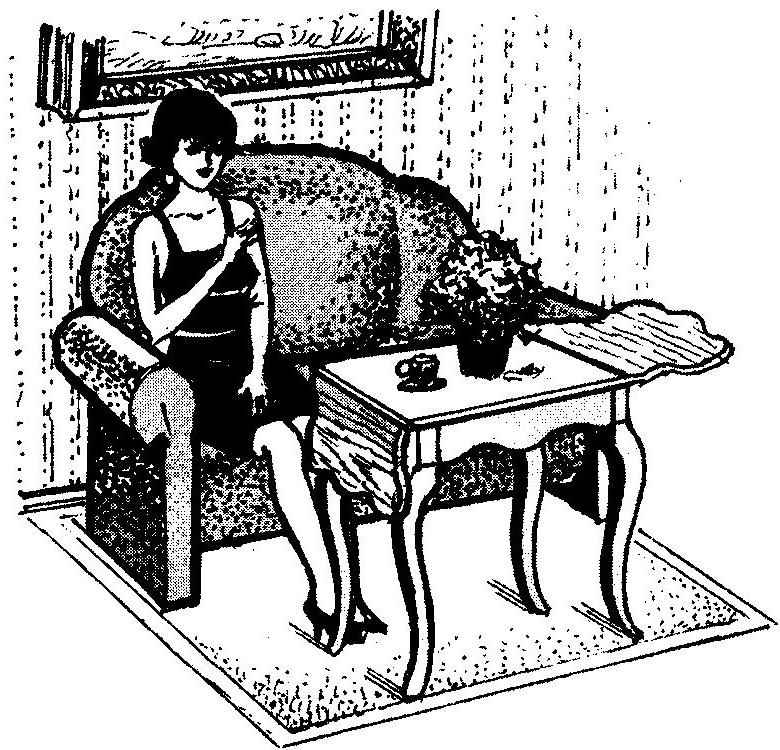
Skilled craftsmen-lovers will take great pleasure in having made this table with folding additional counter tops. We are talking about the French magazine “System D” model in “Royal” style, which is characterized by simple lines, with curved legs and the absence of any invoices or carved decorations. Such a table is a real treasure for those who love beautiful furniture.

In the old days for the manufacture of such furniture used predominantly walnut tree — this style is sometimes even called “walnut style”. If you go with a share of imagination, the table can be made from any wood and it will be no less spectacular.


For the manufacture of a table must have a scroll saw or a band saw. Of course, you can try to do luchkovoj a saw, hacksaw or contact the furniture shop where to order legs and other fittings.

Materials needed: 4 bar 625x100x100 legs; 4 boards 306x115x20 for tsarg; 2 chipboard panels 500x192x20 for folding parts of the countertop; 1 particle Board 500x500x20 for the cover of the table — table tops; 2 Board 128x90x20 for rotary brackets; 4 brass piano hinge 20×20.


The order of the elements. For making legs need bars of square section with dimensions of 100×100 mm (in draft form). Rallied from boards on glue sticks can also be used, with careful selection of color and texture.

To manufacture the leg, watertite on paper the outline accordingly to figure 1 and apply it to one side of the bar, as shown in figure 2 A. After cutting out along the contour (figure 2, B) fasten the sawn pieces at the same place: they will serve as a support when sawing the other face. Make sure that the second circuit applied precisely (see Fig.2). After sawing the workpiece legs (Fig.2, G) is processed by the Strug (knives), a rasp and sandpaper. Please note that the upper part of the stalk remains rectangular, the other with rounded corners (shown in detail in figure 2, D).

Fig. 1. The table in retro style

Fig. 1. The table in retrostile:

1 —”bent” leg (4 pieces); 2—drawer side (4 PCs); 3 — swivel mount (2 PCs); 4—folding panel table tops (2 pieces); 5—piano hinges (4 pieces); 6 — table top;
B — marking feet on the bar

All four legs are manufactured the same way and must be of the same profile.


Legs under the table top are connected cargame that are cut with scalloped lower edge on which the chamfer is made. The drawer sides are joined with feet on the dowels or tenons with glue. Then cut the panels tabletops and folding add-ons. Their surface is carefully leveled and polished. Contoured lateral sides of the cover can be made a little plane and a round chisel.

From folding parts of tabletop three curly facet, wavy and corrugated, are also processed manually. The notched profile on the outer face of the rotary bracket can be cut with a hacksaw.

If you want to get perfect appearance of the joints on the hinges, all parts must be procured and fitted with great precision.
It is also important that the swivel bracket which serves as a stop for the hinged panel in the raised position, was positioned vertically with the axis of the loop. All the loops are adjusted so that in any position of the main and flip parts of the countertop adjacent the ends fit together well with each other.

In the raised position, each flap is supported by the bracket, the shape of which is shown in figure 1(3). The brackets on both sides of the table are strengthened in the middle of the shell sections with hinges so that they are formed without interfering with the descending panels of the tabletop.

Finish. When the table is assembled and thoroughly sanded, you can proceed to the final finish. Furniture of this style is usually covered with two or three layers of clear lacquer, followed by polishing with turpentine and beeswax.

The modern method of finishing the following: wash the surface with a sponge, and once the wood is dry, sand the paper. Water color paint (stain) the color of walnut or mahogany. Then after drying, remove the sandpaper roughness and streaks formed when painting, and apply new coloring layer, carefully rubbing to fill all the pores of the tree. Finally, cover with a layer of lacquer and two coats of varnish with intermediate drying.
Finally RUB a polishing oil or fine sandpaper and paraffin until then, until you get the smoothest possible surface.

Some experts advise after the paint is dry, apply a very thin preliminary coat of varnish. This will serve a dual purpose: to lock in color and promote hardening a little savarises after painting a wood surface, facilitating the subsequent grinding and polishing. All this allows to give the product a completely finished look.

Recommend to read

  • DRILL-BABYDRILL-BABY
    I made the machine is, in essence, MICROTEL, because it does not have a flexible shaft. It's light and compact, at the same time a significant simplification of the structure did not...
  • WAY IN THE SKYWAY IN THE SKY
    A circle of aircraft modeling at the station of young technicians of the Novocherkassk Polytechnic Institute, the air force, where he became a Navigator of a military aircraft, was the...