
 Good day dear reader.
Today I’d like to tell you about how a few hours in his pocket only 300 rubles, and behind a bag of enthusiasm to make yourself such a useful thing as a dry erase Board.
So, let’s start
What we need:
- Glass from old Windows
- Two bottles white spray paint — 110 rubles / piece
- Sandpaper with a large grain
- Sandpaper with a fine grain
- Bucket of water + detergent
- Acetone or solvent — 60 rublesBank
- Rags
- Iron corners for furniture — 10 rubleshing
- Wooden bars
- The screws(large, with dowels on the wall and a little later it will become clear why) — 2 rubles=thing
- 2-4 hours of time
(Not everything, but the basic set shown).
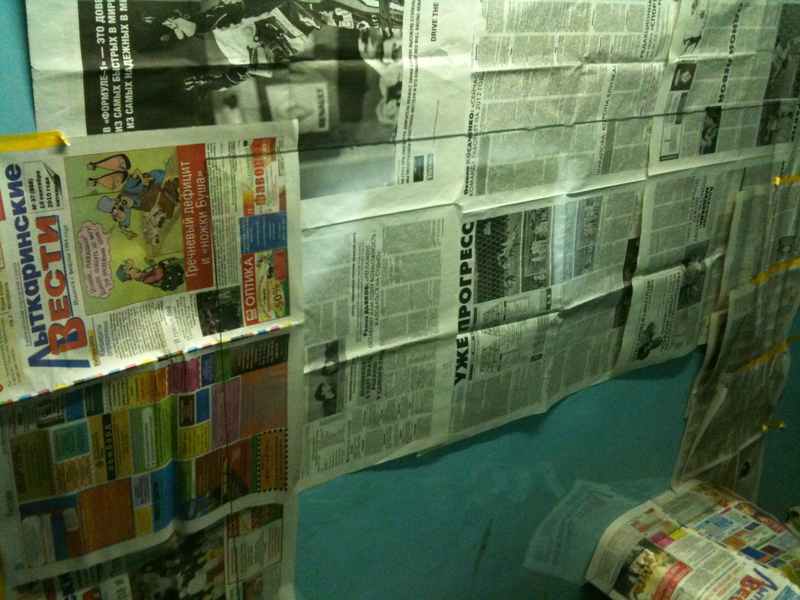
Step one: Looking glass
The first problem you may face is finding a suitable glass. I was lucky I found the right one on the fifth floor of his house. I can advise to look at a dump or a construction site, there this good in bulk. You can also order chopped to the desired size, the glass in the glass workshop, but it will increase the final cost the Board approximately seven hundred rubles.
Step two: Prepare glass for painting
Found glass? Great, now it needs to be cleaned. On my (window glass) in addition to dust and all the dirt was even old oil paint. Before painting all this mischief is to get rid of (we’re doing high quality).
Take up rags in detergent and water, clean the glass from dirt and dust. Then take a piece of cloth and acetone, and start to scrub the old paint. Coming out? You’re in luck! Scratch off all the paint and proceed to the next step.
I was not so lucky, and neither the paint with acetone or solvent are not attires, well, take up the sandpaper with a fine grain and a rag soaked in solvent, slowly now, very lightly begin to carefully go through the paint, sandpaper, periodically rubbing the place on which you now work as a solvent.
Of course it will leave small scratches, but after painting this will not be seen.
Somewhere in the middle of a fairly long process, I realized that the sandpaper is too wet in the solvent, it helps a bit.
Also the field is a sandpaper with a large grain walk along the end sides of glass in order to round them up and avoid injury during installation and use.
Step three: washing glass
After the glass left of the paint, it is again thoroughly washed in order to remove residues of acetone and various small nonsense which has adhered to over time get rid of the paint.
It is necessary to lay the paint evenly and under her left hairs and dust particles.
Step four: Painting
Well here everything is quite simple, although it requires certain skills.
Take the respirator(preferably), rubber gloves, a can of paint and go! Spraying the paint is at a distance of about 10-15 cm, don’t worry that the dye did not go to smoothly, remain badly dyed spots and stains(we’re not robots), we’ll paint four layers!
Attention!: The main thing to avoid stains, it is better to nadograditi one of the layers than to bruise, especially in the first two layers.
Spray paint dries fairly quickly, about 7-10 minutes per layer.
Applying the final layer can be a bit neglected smudges, if there are clearly not dyed places, and to paint them better(you can at these places to spread four and five, six and even seven layers).
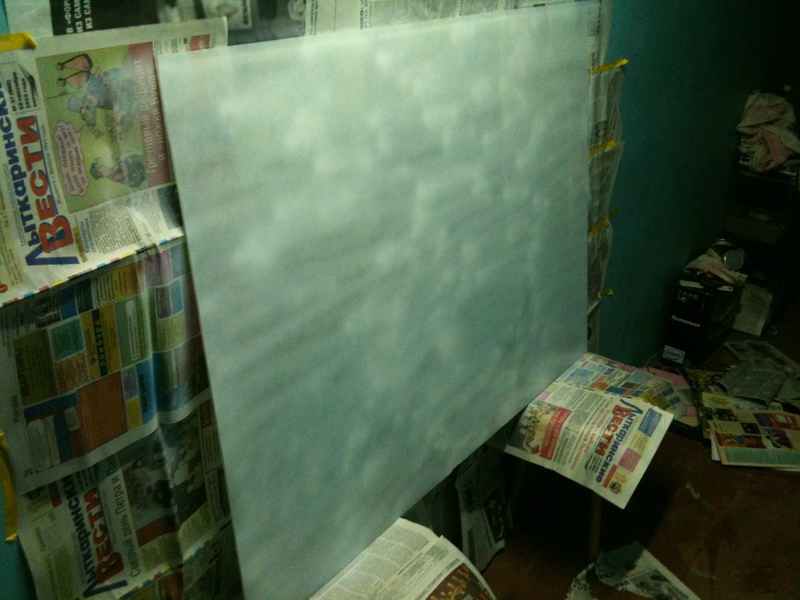
(The first layer)
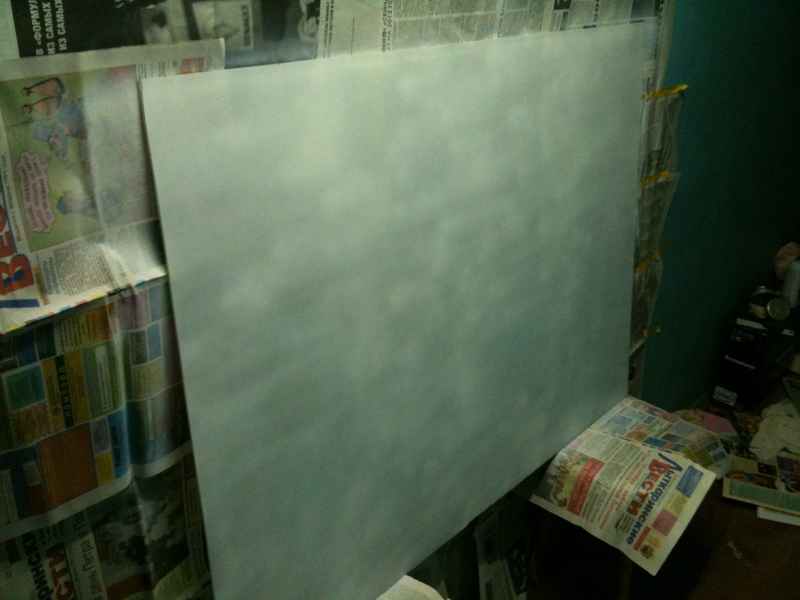
(Third layer)
Step five: Check
Painted? It feels good, let’s make sure.
Turn the glass unpainted side to us and inspect it for badly dyed spots.
If someone has not yet realized the unpainted side of our future Board facial! Yes, Yes it is. Marker on glass slides is much better and also several times better coming out. And we painted the glass so the marker was clearly visible on a white background, not transparent glass.
Well, all well? Then we go further.
Step six: Cook fasteners
Variants how to attach glass to wall quite a lot. You can use special fasteners which are sold in stores, you can drill into the glass holes and screwed it to the wall. But you can use regular furniture corners with small wooden wedges. That’s about the last option I’ll tell you.
Take a piece of wood and we cut out a few wedges, so that when you screw the bar to the corner, between the bar area and there is a gap about half a centimeter thick.
This gap is to put some rubber lining in order to protect the glass from direct contact with solid parts.
Unfortunately the process of making fasteners I didn’t get any pictures, but seeing the finished design you will understand.
Paint it to match the boards, and go to the wall on which you are going to hang the Board.
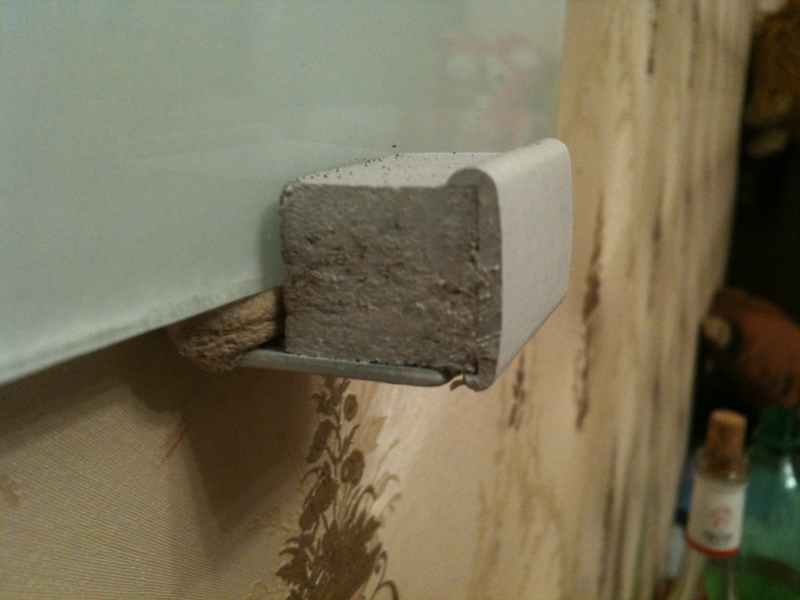
(Side view with seal)
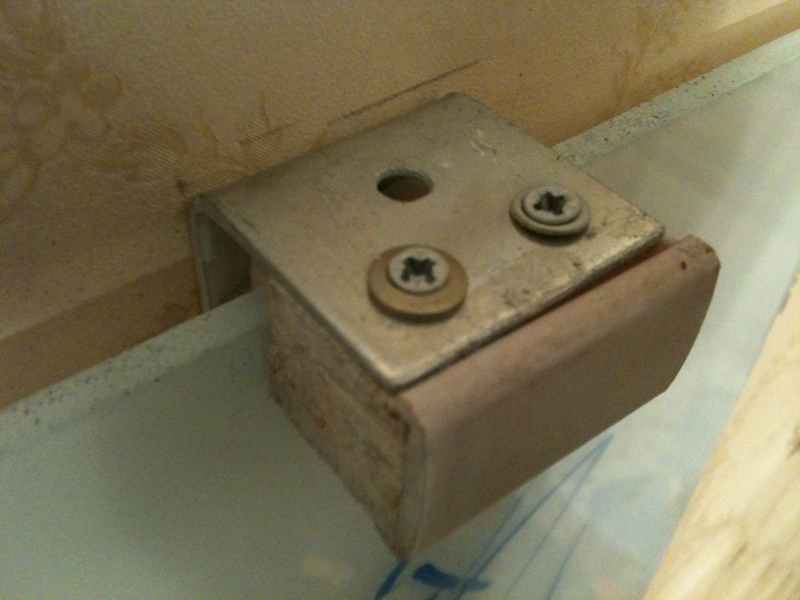
(View from top)
Step seven: Install
If you managed to accomplish all that I have described above and not break the glass, break an arm, or tie yourself to the floor, I think to drill some holes in the wall and screw them to the corners you get without my help. I will tell only about the pitfalls waiting for you.
The first step is to attach the lower corners, so then it was possible extinct where to tie the top. I did it this way: screw the two lower fasteners, put them on the glass, and put the top fasteners, pencil, noting their location. Then it is small.
Second, note that the cost to insert is quite large and fragile glass in this design from the side is problematic, so the upper fastener is to Unscrew the wooden blocks, insert the glass, then return the bars back.
Thirdly, I note that the glass recedes from the wall about half a centimeter, that with sufficient size gives the extra fragility of the structure. I have solved this problem by gluing on the back side of the glass about ten polusantimetrovoy rubber pads. They do not allow the glass to SAG in the center when we intensively erase him from my head.
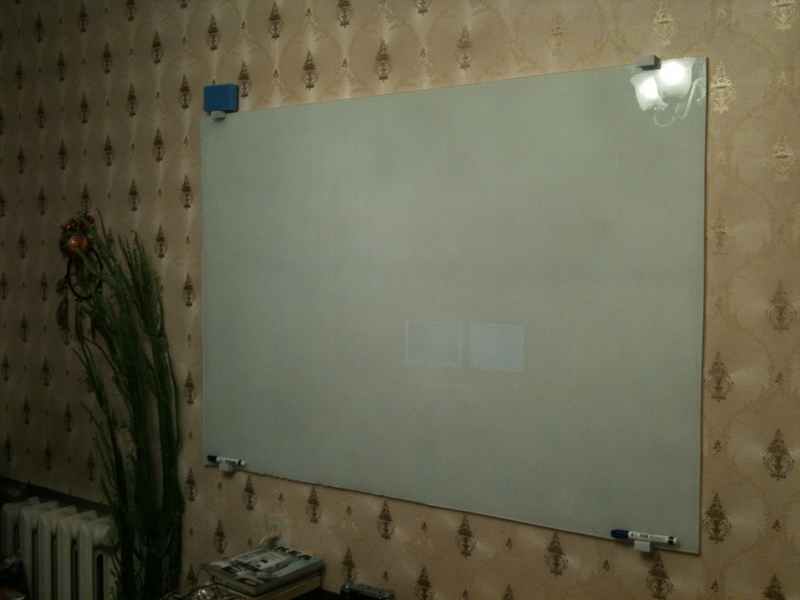
Step eight: Rejoice
Laugh? Nothing funny, the first 20 minutes I wrote on the Board different stuff or just didn’t take his eyes off her, quality, performance, accuracy, what she looks like almost as well as its counterparts for a few thousand and the fact that you made it with your own hands, gives heavenly pleasure.
By the way
As shown, this Board can not only help you to develop a project or thinking of a brilliant plan to take over the world, also this great thing at the party:
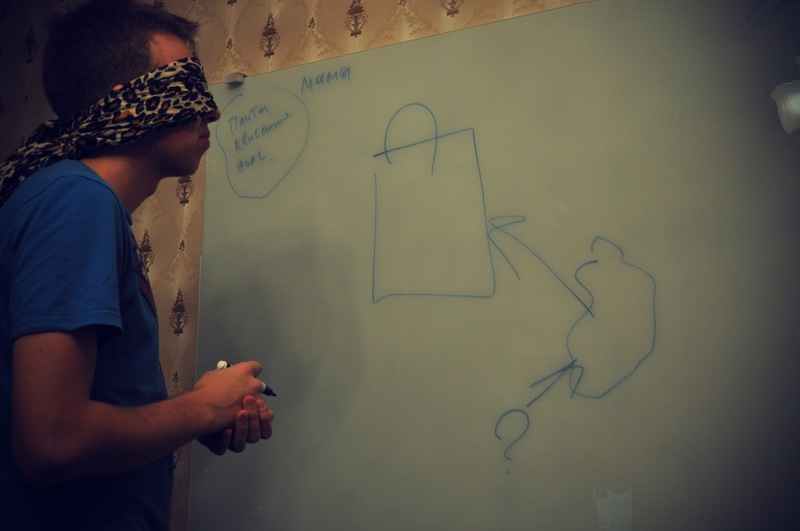
Game 1: Tie the eyes of one of the participants, put it in front of the Board, handing the marker to whisper nobody can hear what you want to draw in front, the Others guess.
Game 2: Draw on Board, for example: donkey, Mora pig and human, the player with zavyazanymi eyes it is necessary to draw the donkey’s tail, pig pyatochok(nose), the person will not specify what we added 🙂 but you can nose.
In conclusion
For the month Board was a great show, and paid back the time spent on its creation. Use almost every developed me project.
Of the changes I would have made a bit more elegant fasteners, very much those stick out.
Recommend to read
 PIONEER TILLERS
Which exhibit the most interesting? Obviously, the one with the most visitors, which often induce camera lenses. This exhibit at the Moscow city exhibition scientifically-technical... CANOPY FOR A BARBECUE GRILL
You will agree that cooking shashlik outdoors in rainy weather brings little pleasure. A simple canopy will help avoid inconveniences and enjoy appetizingly smelling meat, and its...
